The second maintenance release of the 25.08 series is out continuing the focus on stability and polish. It fixes issues with effects and transitions, improves clip selection, and resolves crashes related to filter jobs and effects on sequences. This version also comes with updated parameters for frei0r effects and GIF rendering preset.
The Windows package also fixes an annoying short freeze issue affecting the 25.08.1 version.
ICFK is organized by KaChaTaThaPa foundation headed by master calligrapher Narayana Bhattathiri. The event usually takes place on 2–5 October in Kochi. Varying talks, workshops, demonstration sessions, exhibitions, and above all meeting and learning from exemplary calligraphers is the best part of the event. The venue always bursts with beauty, energy, and fun; where everyone is approachable.
Reconnected with old friends and made new friends. Ashok Parab was traveling pan-India and documenting scripts, that lead to teaching scripts — including Malayalam — as well. Abhishek Vardhan is doing research on Nāgarī script. Syam is doing research on Malayalam calligraphy. They promised to share their findings and public/open resources, which would be very interesting to look at. Vinoth Kumar, Michel D’Anastasio, Nikheel Aphale, Muqtar Ahammed, and Shipra Rohtagi gave me souvenirs — thank you! I had chances for interesting long chats with Uday Kumar (who asked me about Sayahna Foundation after the t-shirt I wore), Achyut Palav, Sarang Kulkarni, Brody Neuenschwander, and also Shyam Patel of Kochi Biennale Foundation.
On many occasions delegates approached and asked me about font development process, complex text shaping and related topics. It was also too tempting to not buy fountain pens and Bhattathiri’s merchandise on sale, as gift to friends. The dinner with the ICFK team at Boulangerie Art Cafe was delicious. TM Krishna’s carnatic music concert on Saturday evening was a heavenly experience — Krishna Seth sitting next to me was spontaneously drawing on the notebook for the entire duration of the concert.
For the last edition, I presented a talk about font development, font engineering, complex text shaping, and such back-end tasks that designers generally find difficult. This year, I talked about the ‘Fundamentals of Typography’. I hope the talk succeeded to some extent in making everyone unhappy when they look at a badly typeset page .
The slides for the presentation are available here.
It has been a little quiet around my pet project Plasma Browser Integration. On one hand because I’ve been busy with life but also because browser extension APIs haven’t really gained much new functionality. Nevertheless, for Plasma’s October release I finally found the time to take care of some long-standing feature requests and/or bug reports.
Konqi surfing the world wide web
Plasma Browser Integration consists of two pieces: the “native” host and the browser extension. The extension is a regular JavaScript browser extension for Chromium-based browsers and Firefox and is distributed on the corresponding browser extension stores. The plasma-browser-integration-host on the other hand is a binary which talks to the system services (KRunner, KDE Connect, MPRIS, job tracker, etc) and is shipped as part of regular Plasma releases. Often a new feature requires changes to both parts which is why it’s hard to predict when a certain feature will actually be fully released. We also have to ensure that the extension remains compatible with potentially super old host binaries. Even the latest browser extension should work just fine with the host that came with a Plasma 5.27 LTS.
With Chrome sabotaging ad-blockers through Manifest Version 3 I am spending more time in Firefox again. The most notable new feature in Plasma 6.5 with the soon-to-be-released browser extension version 2.1 is that Plasma Browser Integration will prevent the system from going to sleep while downloading a file. Chrome does that on its own but the relevant Firefox bug report reached Ontario legal drinking age (reported against Windows XP), so I guess it was time to just do it ourselves. I recently added this functionality to KIO while copying files but there’s many more jobs that might want to do that. Therefore, I moved the logic into a dedicated KInhibitionJobTracker in KJobWidgets. You just register your job with this job tracker and the system will remain on for the entire duration of the task (on Windows, too!). When using KIO’s “dynamic job tracker” like most file-related operations, you get this automatically now.
Firefox tab title displayed in the volume applet
Speaking of Firefox, Plasma’s volume applet now shows the name of the tab that is playing audio. This information is actually provided by Firefox itself (and I wish Chrome did the same) and not Plasma Browser Integration but we didn’t show that property until Plasma 6.4. Pretty neat to have it now. For accessibility purposes, Plasma 6.4 also added a playback speed selector to the Media Controller in your System Tray which works with most websites.
The KRunner plug-ins (tabs and history) now limit the favicon size they send. Some websites have 512px favicons which, while visually pleasing, is a little excessive for the places we show them in (KRunner or Kickoff). It further requests the list of open browser tabs from the extension only once at the beginning of a new “match session”. They’re unlikely to change in between because, well, you’re interacting with KRunner right now. While KRunner waited for the request to complete before sending another one, it might have still requested your tabs several times depending on how fast you typed.
Finally, something I had wanted for a long time is to download the album cover on the browser extension side. Previously, the extension collected the artwork URL from a website and announced it via MPRIS. The plasmashell would then load that image and display it. You can probably imagine why it’s not a good idea to have the shell load random files off the internet. It’s also why album art from the browser didn’t work on the lock screen because it rightfully has no network access. From Plasma 6.5, the browser will actually download the album cover. This way it’s done in the browser’s protected environment and can also refer to your session cookies. Further, it leaks less information about you if only your browser is accessing the server. While the resulting image file can still be potentially malicious, it’s one less attack vector. I tried to draw the artwork into an off-screen canvas to sanitize it to a PNG on the browser side but I wasn’t able to do that from the extension’s background script. If you have any more ideas how to make this feature more resilient, please let me know!
Today I have finally been able to upload the first set of Ocean assets into Invent. For now, these elements will live in my personal git repository. These elements are not yet integrated into the Plasma ecosystem.
The page contains a few elements, a wiki page (under development and updates), color scheme (Light and dark), icon pack, and a Plasma style.
Users can submit bug or issue tickets into the issue tracker on Invent
Users can clone the repository and use the assets. Note that assets are set up as folders. To install on your system, you will either need to move them into the right directory or compress the folders and then install using System Settings
After applying fixes or suggestions into the application housing the assets, Figma or PenPot, we will create an export.
Exports are “not” workable copies of the assets. They are rendered graphics.
Exported assets will make it into the github repository replacing the copy put online with its respective commit message.
Note that these assets are under heavy development and are changing constantly. They are not 100% finished and bugs are present.
Known Bugs
Icons containing un-flattened and non-unionized paths will not render properly. This is most notable in emblem icons. We are working currently on fixing these icons. Another evidence of this issue is in icons that don’t change to the proper opposite color when switching to a dark color scheme. If you notice any of those, please report them.
Missing dark versions of Plasma style. We have not completed the work on the light theme so it’s hard to make color variations for a dark theme. Work is ongoing.
Missing app icons. Not all app icons have been redesigned. These icons take much longer to be done given they are colorful icons and require more attention. Redesigned app icons you see today, are also not fine tuned. They are the start of the redesign.
I wanted to thank all those contributors who have helped throughout this process. Your helpful recommendations, discussion, clarifications have aided to get to this point. More work is ongoing and I will report on that soon.
In September, I spent over 12 hours in airplanes and trains getting to Berlin to attend my second Akademy conference. The experience once again made the long trip worthwhile. It was lovely to see some familiar faces, and to meet other folks for the first time. This was my second trip to Berlin, and it was nice to see different areas of the city than last year. Like last year, people were so approachable, friendly and easy to talk to. The welcome event was at the lovely Schleusenkrug Beer Garden, just a short walk from the venue, nestled in one of the many areas of greenery.
There were more talks and BoFs I attended than I'll mention, these are things that stood out to me. There were so many good talks and workshops, I recommend checking out the recordings.
A small tangent about travel comfort
Or - How to spend a week in a different timezone without feeling like a zombie.
The jet lag was a lot easier this year because I learned the wisdom of hydration and getting decent rest on long haul flights. I took some electrolyte drink powder with me, which I mixed into the little bottles of water on my long flights. This made a huge difference in my energy levels and how much I enjoyed my time in Berlin.
Saturday
Opening things up, the keynote "Open by Design: How Governments Can Lead the Shift to Digital Sovereignty" made excellent points about the importance for countries to enable independence, autonomy and security in the digital world.
My colleague David Edmundson gave an informative talk on "Plasma: Lessons Learned and Our Path Forward in 2026 and Beyond". He recounted, with honesty and humor, things Plasma has done well and not so well over the years. There were good points to keep in mind, as someone focused on testing and quality, while reviewing bug reports and merge requests.
There were a handful of talks and BoFs about KDE Linux and the growth of the obtsalat. This is an important project for KDE in terms of dogfooding and testing, so I like keeping up to date on things here.
The talk "From Misunderstood to CEO – Breaking Bias and Building Inclusion" was particularly interesting, as a woman in a male dominated industry. I heard echos of some of my experiences, as well as useful advice on dealing with bias.
Sunday
The keynote "The Politics of the Pull Request: How Open Standards Can Shift Power" was educational. It made me aware of the ways in which technology does more than enable us to get work done. It shapes the conversations we have and the world we live in, in a tangible way. It determines who can access things that are fundamental to living in society and who can't. Open source can be more than a way of collaborating, it can also help make things more equitable for more groups of people. I especially liked that the "myth of meritocracy" was highlighted and challenged. It's a topic I've seen debated online quite a bit over the years. Recently, especially, I've seen various claims that "technology shouldn't be political", and this described the many ways technology can't help but be political. This is one talk I'd really recommend watching because it exposes things people might not think about or realize - such as how current systems enable rich and powerful families to stay that way and exclude others - as well as highlight ways open source projects can change things for the better.
"Handling Negative Feedback" by my colleague Akseli Lahtinen was informative about types of negative responses we might get in our open source work, and practical ways of handling it. He had useful advice not just about responding in productive ways, but also about taking care of ourselves to avoid burnout. There was also useful information about mentoring people, as well as encouraging community and maintainers. Related, David Edmunson had a talk specifically about "Maintainers Don't Grow on Trees".
"Getting Hired to Work on FOSS" had useful advice on working on FOSS for a paycheck and how it's different than when it's your hobby. It's useful for anyone thinking about making their FOSS work their living. There's information especially good for people who don't have experience working for a more traditional company.
In "Mass Migration from Windows", I could very much relate to the challenges of getting open source accepted in a business. Reluctant IT departments, nervous managers asking about who will support things; I'm sure I'm not alone in having met those points of friction when trying to use an open source operating system at the office. There was practical information of addressing those points and ways the sitation is improving.
Nate Graham, another colleague, spoke about "Minding the Big Picture: Opportunity from Chaos". This spoke to some of the surprising advantages of these "abnormal times" that KDE can take advantage of. There are some areas where KDE can do practical work to be a real leader in bringing the Linux desktop experience to more end users and enterprises.
The Social Event
After all those talks, it was nice to just hang out. We were at a bar and hacker space Sunday evening called c-base, which reconstructs a fictional, crashed space station. Neat! The company and the beer were nicely refreshing and it was a pretty chill place.
The Wednesday Day Trip
The day trip on Wednesday had two parts. The first was a scavenger hunt, which I skipped out on. Akseli, his wife and I went to Alexanderplatz and had bubble tea near the TV Tower before joining the others. The group then went to the Computerspielemuseum (Computer History Museum), which was a treat. In addition to information about historical computer advancements, and interactive exhibits, there is a small arcade, and some mini-room setups. There was a student desk that reminded me of one I had (mine had the Commodore 128 my brother and I shared). There were also models of historical computers on display. One of these was a TRS-80, the first model I had at home and where I learned word processing.
BoFs
End of 10 Campaign - discussion of the next steps and how folks can help out.
Automatic QA / Recoverability - in which I refreshed my familiarity with the tools currently being used.
KWallet Secret Service: problems and roadmap - this is something I keep up to date on in relation to development and QA.
KDE Out of Box Experience - you might be familiar with this as KISS. It's a setup UX for the first boot of a newly purchased / installed system. This is going to make life easier for people getting a pre-built system as well as for enterprise installation fleets.
That's a Wrap
After a week in Berlin, I was sad to leave but was at the same time looking forward to getting back home. As announced on 27-Sept - Rewatch the Highlights - Akademy 2025 Talks & Sessions Now Available Online. Time to check out recordings of things I wasn't able to attend. K'm looking forward to next year. The Call for Hosts is live, and it will be Akademy's 30th birthday!
Better late than never! After quite a few requests, here’s the second part of my backpacking adventure through the Balkans from back in July. If you missed the first part, you can check it out here.
After leaving Croatia, I traveled to the central Balkan countries: Bosnia and Herzegovina and Serbia.
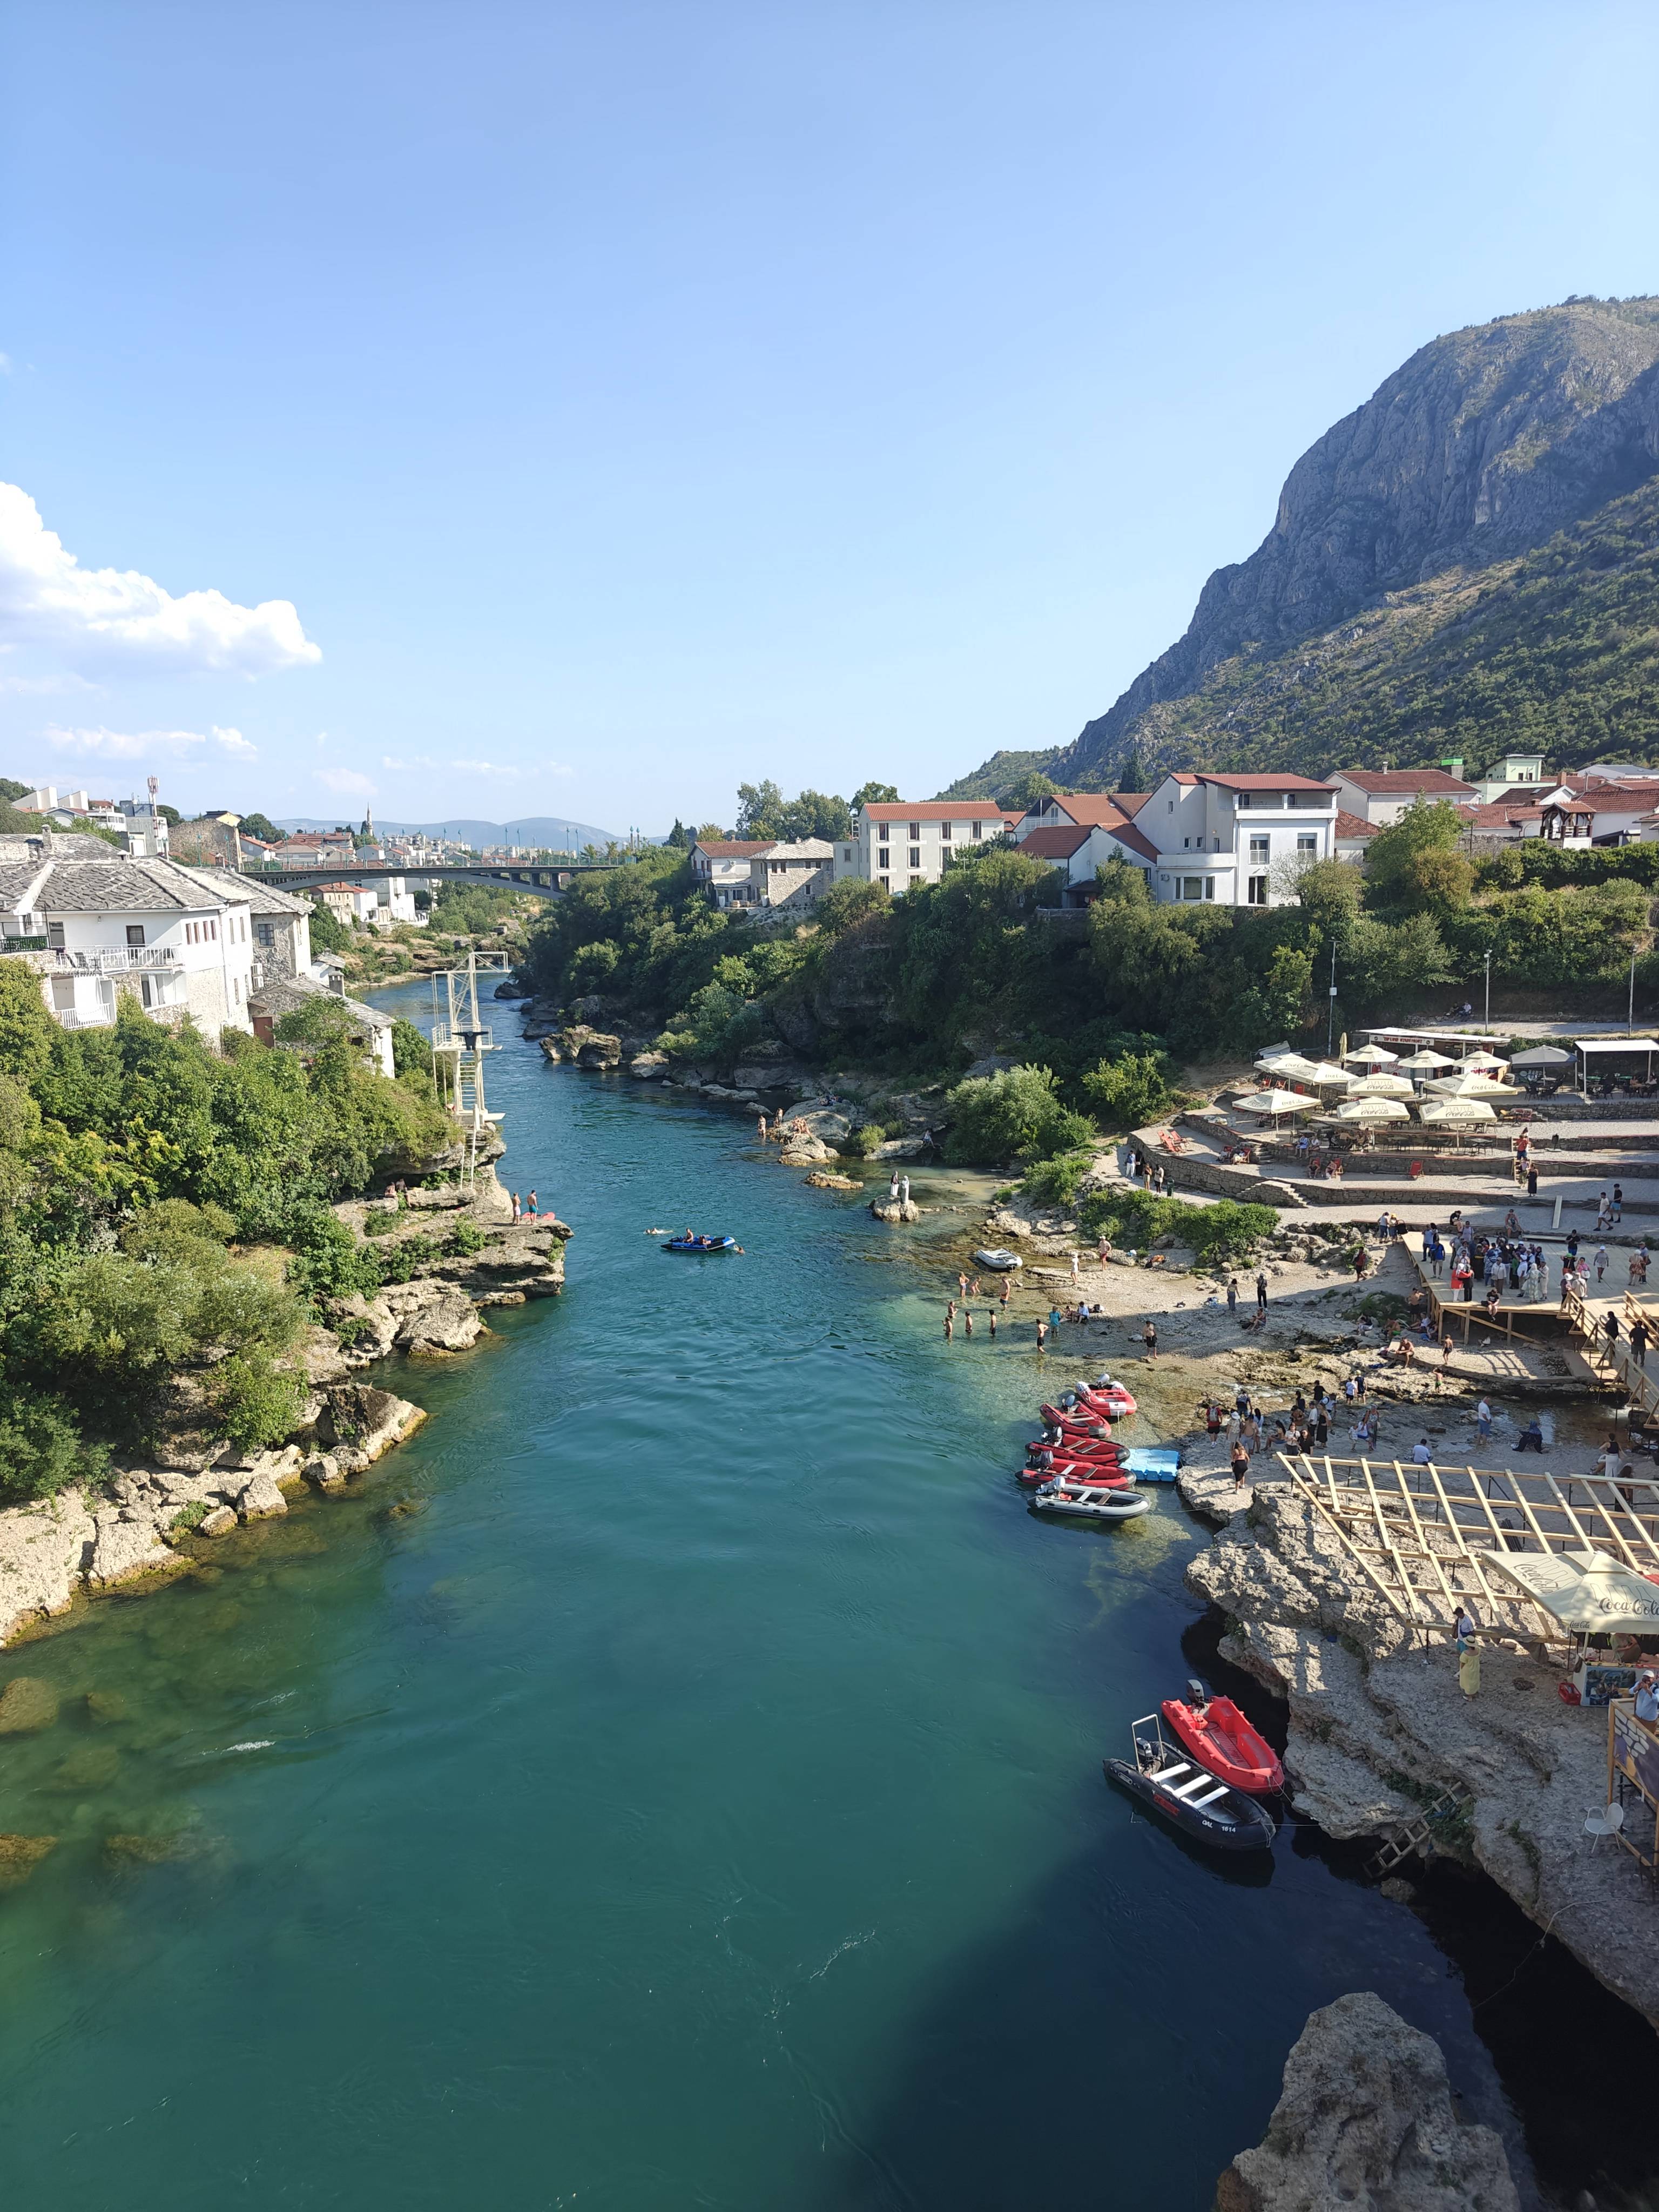
Mostar
Since there were no trains from Split to Mostar, I took the bus instead.
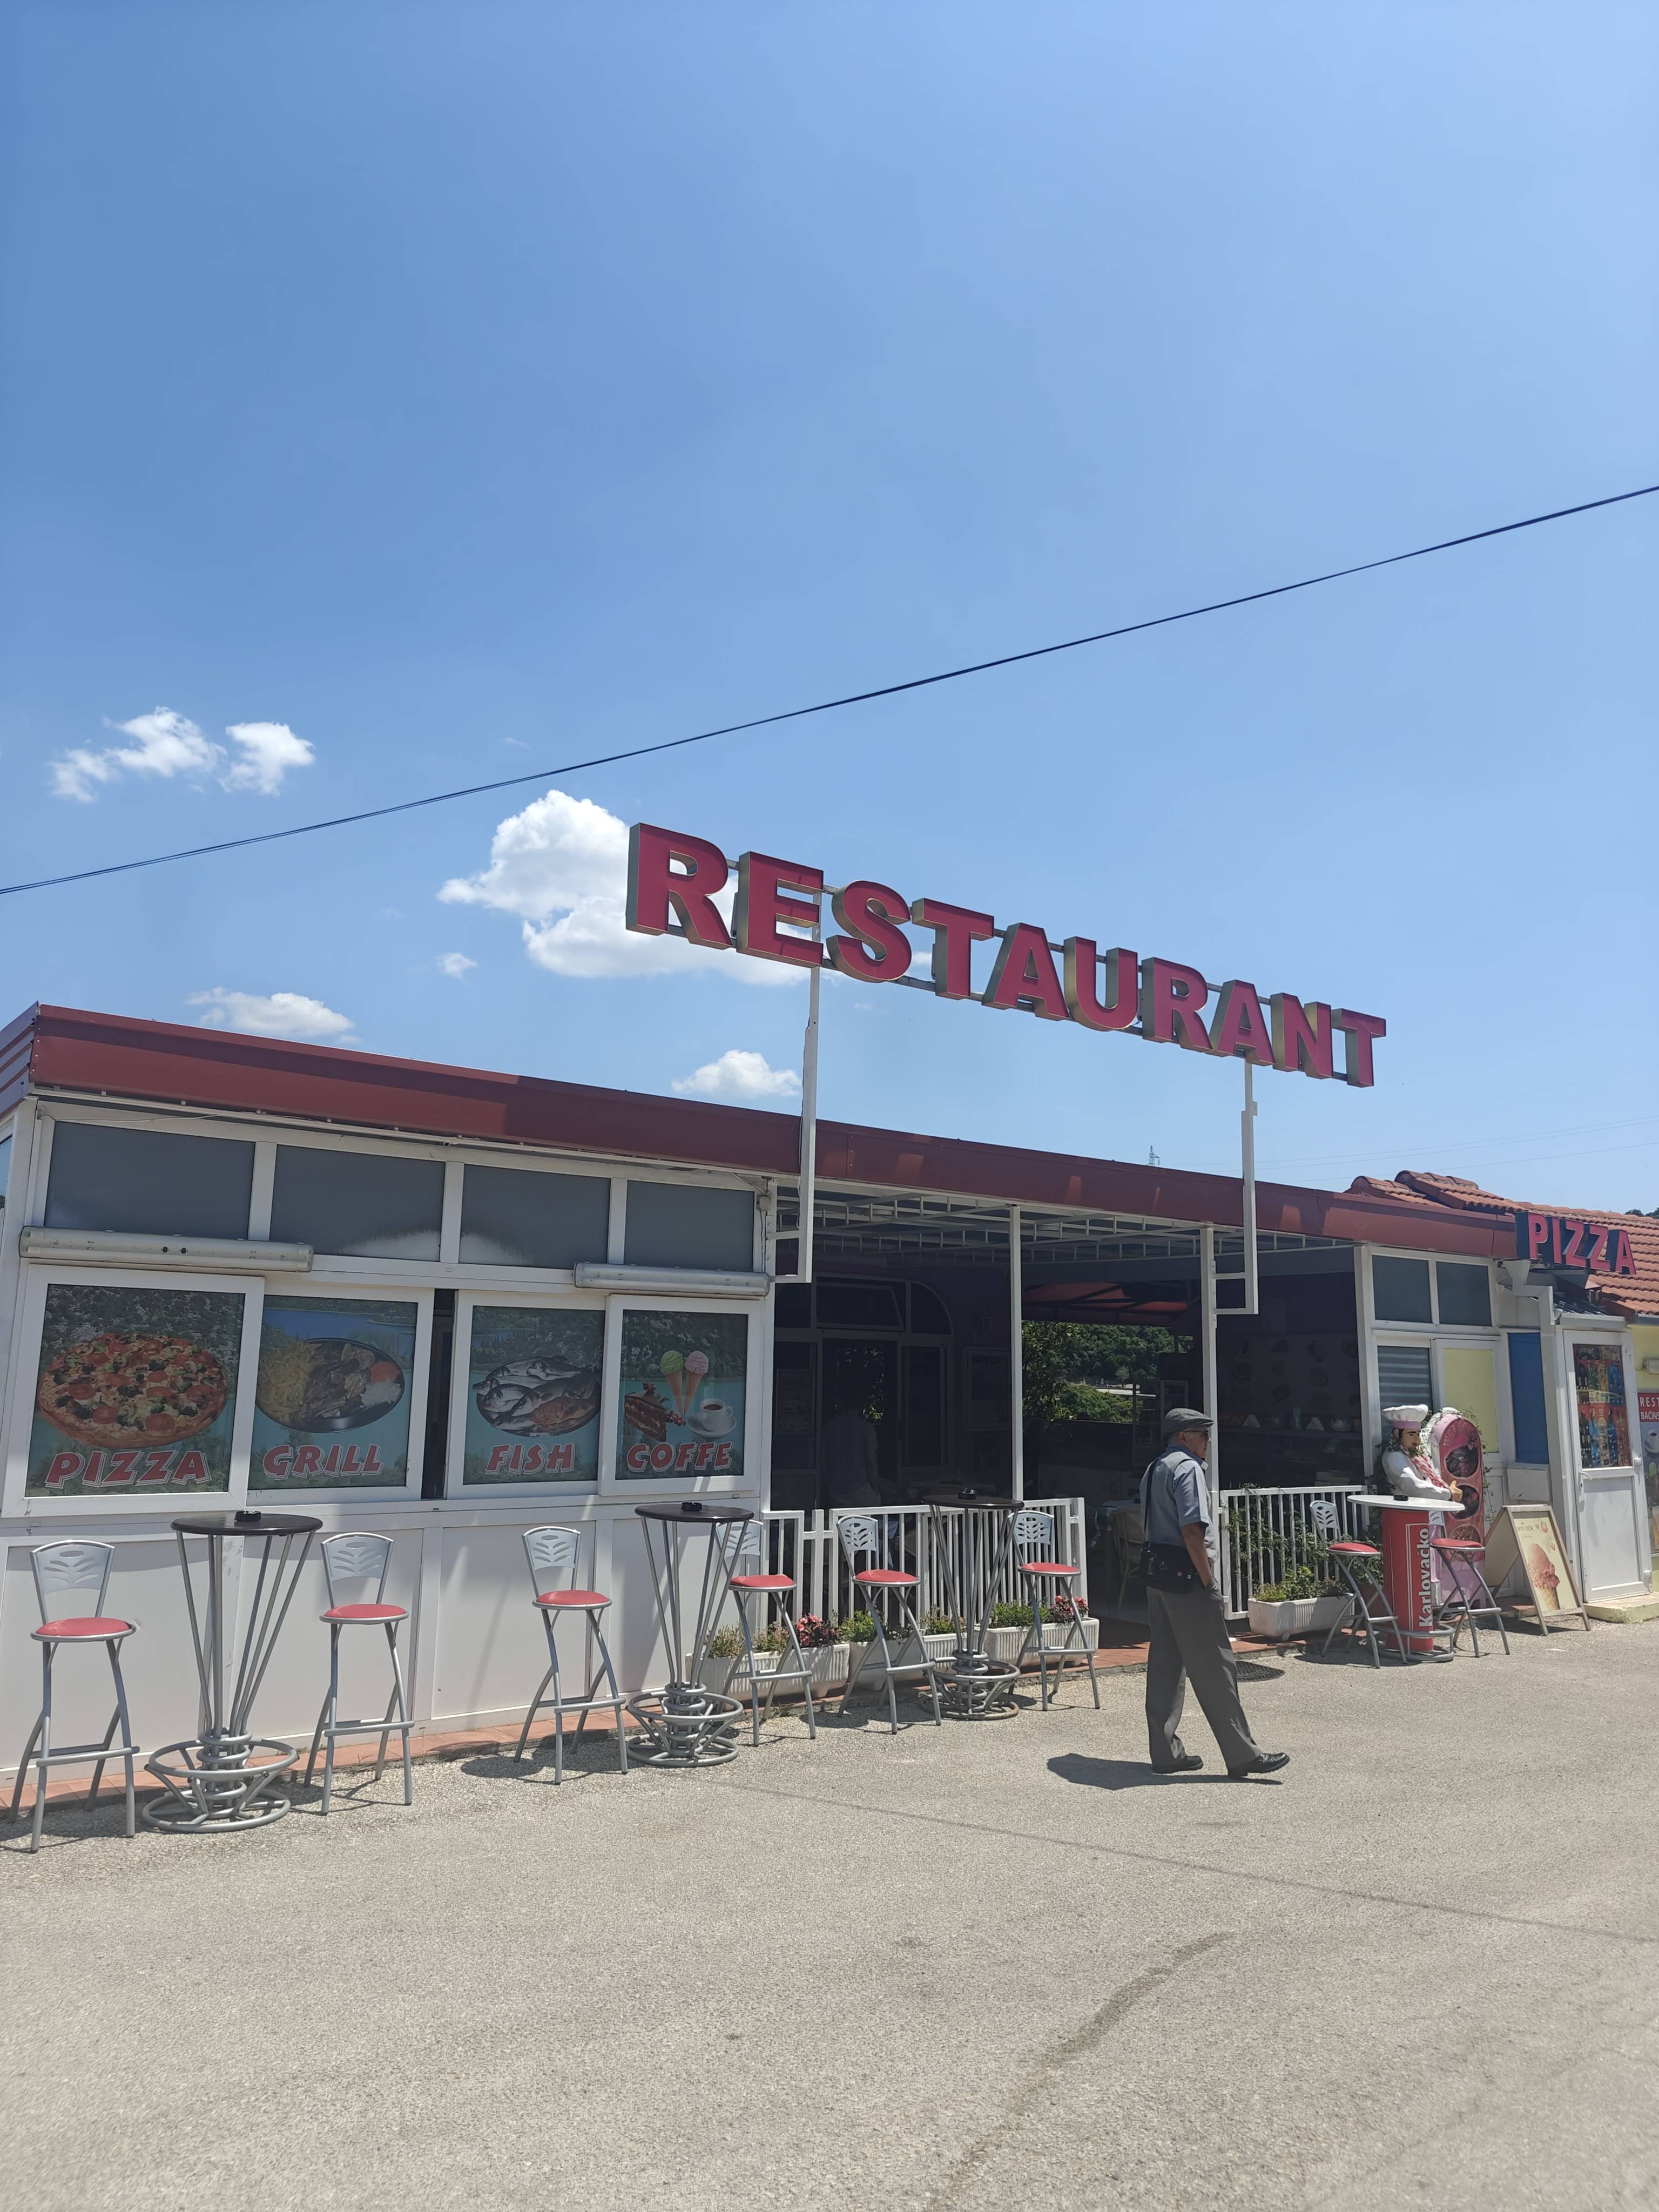
Stop on the middle of the road
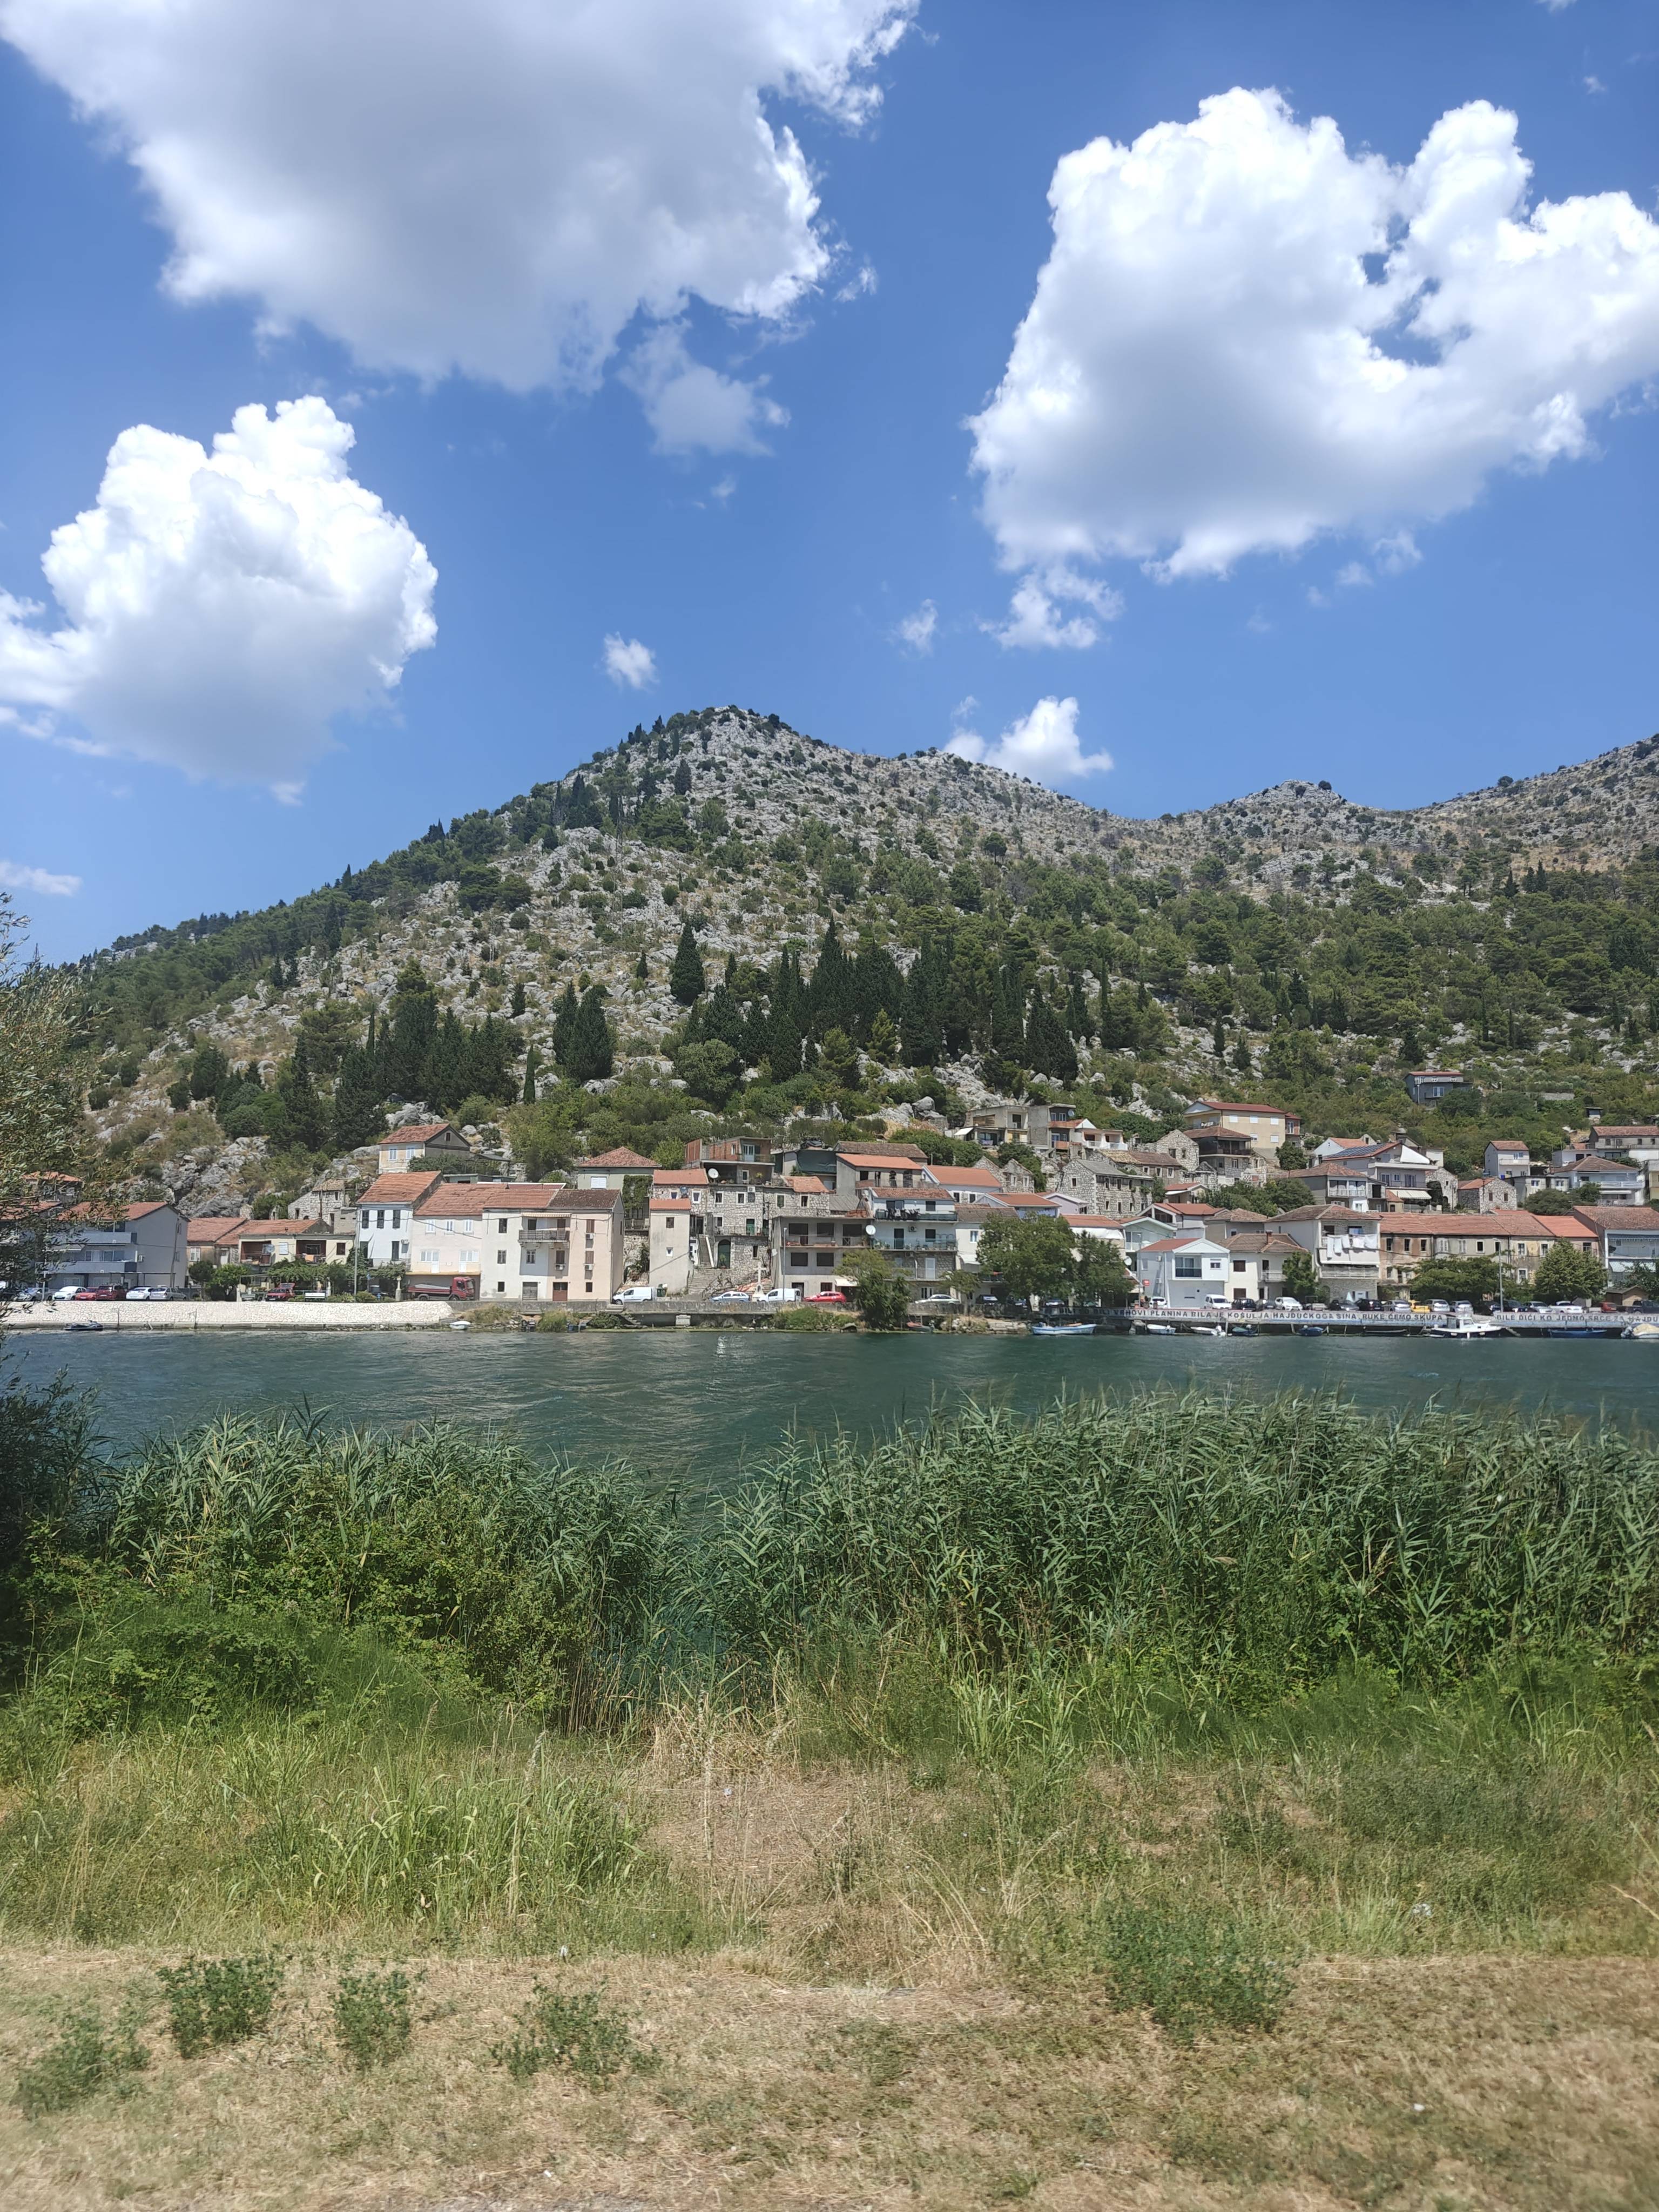
Landscape from the bus
In Mostar, I stayed at another Hostel called Taso’s House. It was a small hostel
but the host made us discover the whole Herzegovina region and explained us a lot
of things about his country, the complex political situation there and how it
was to grow up in Mostar during the war.
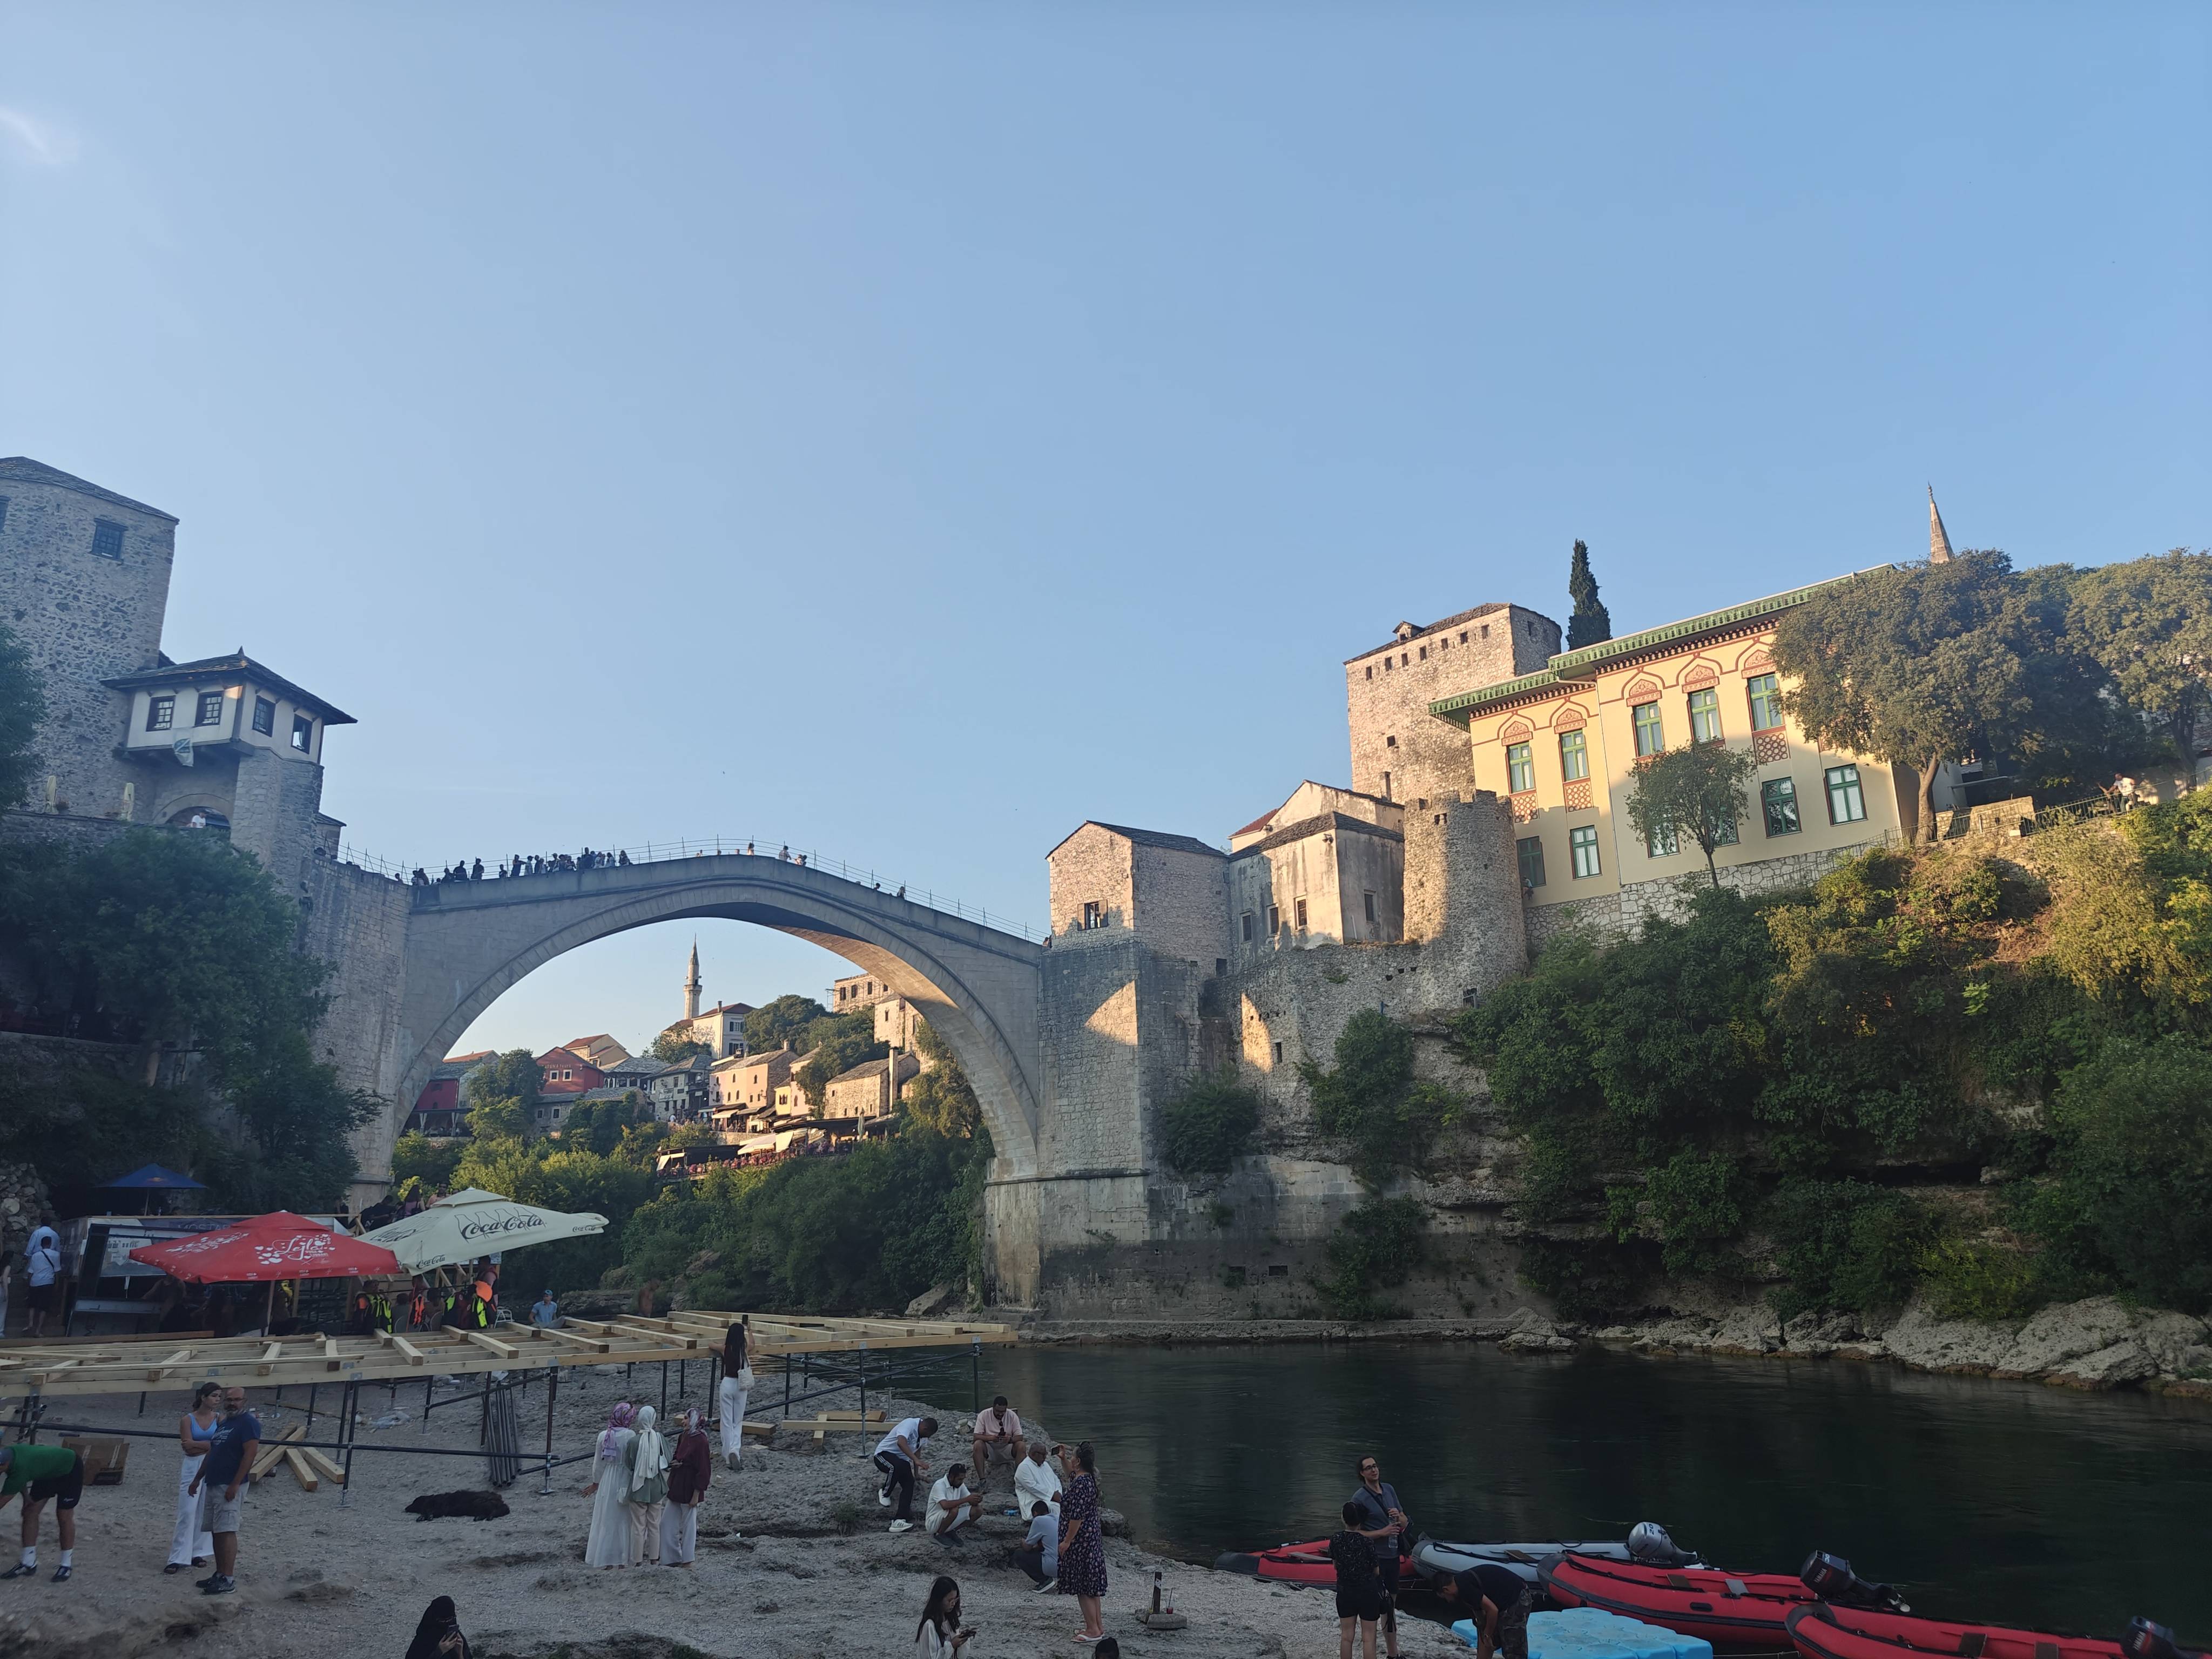
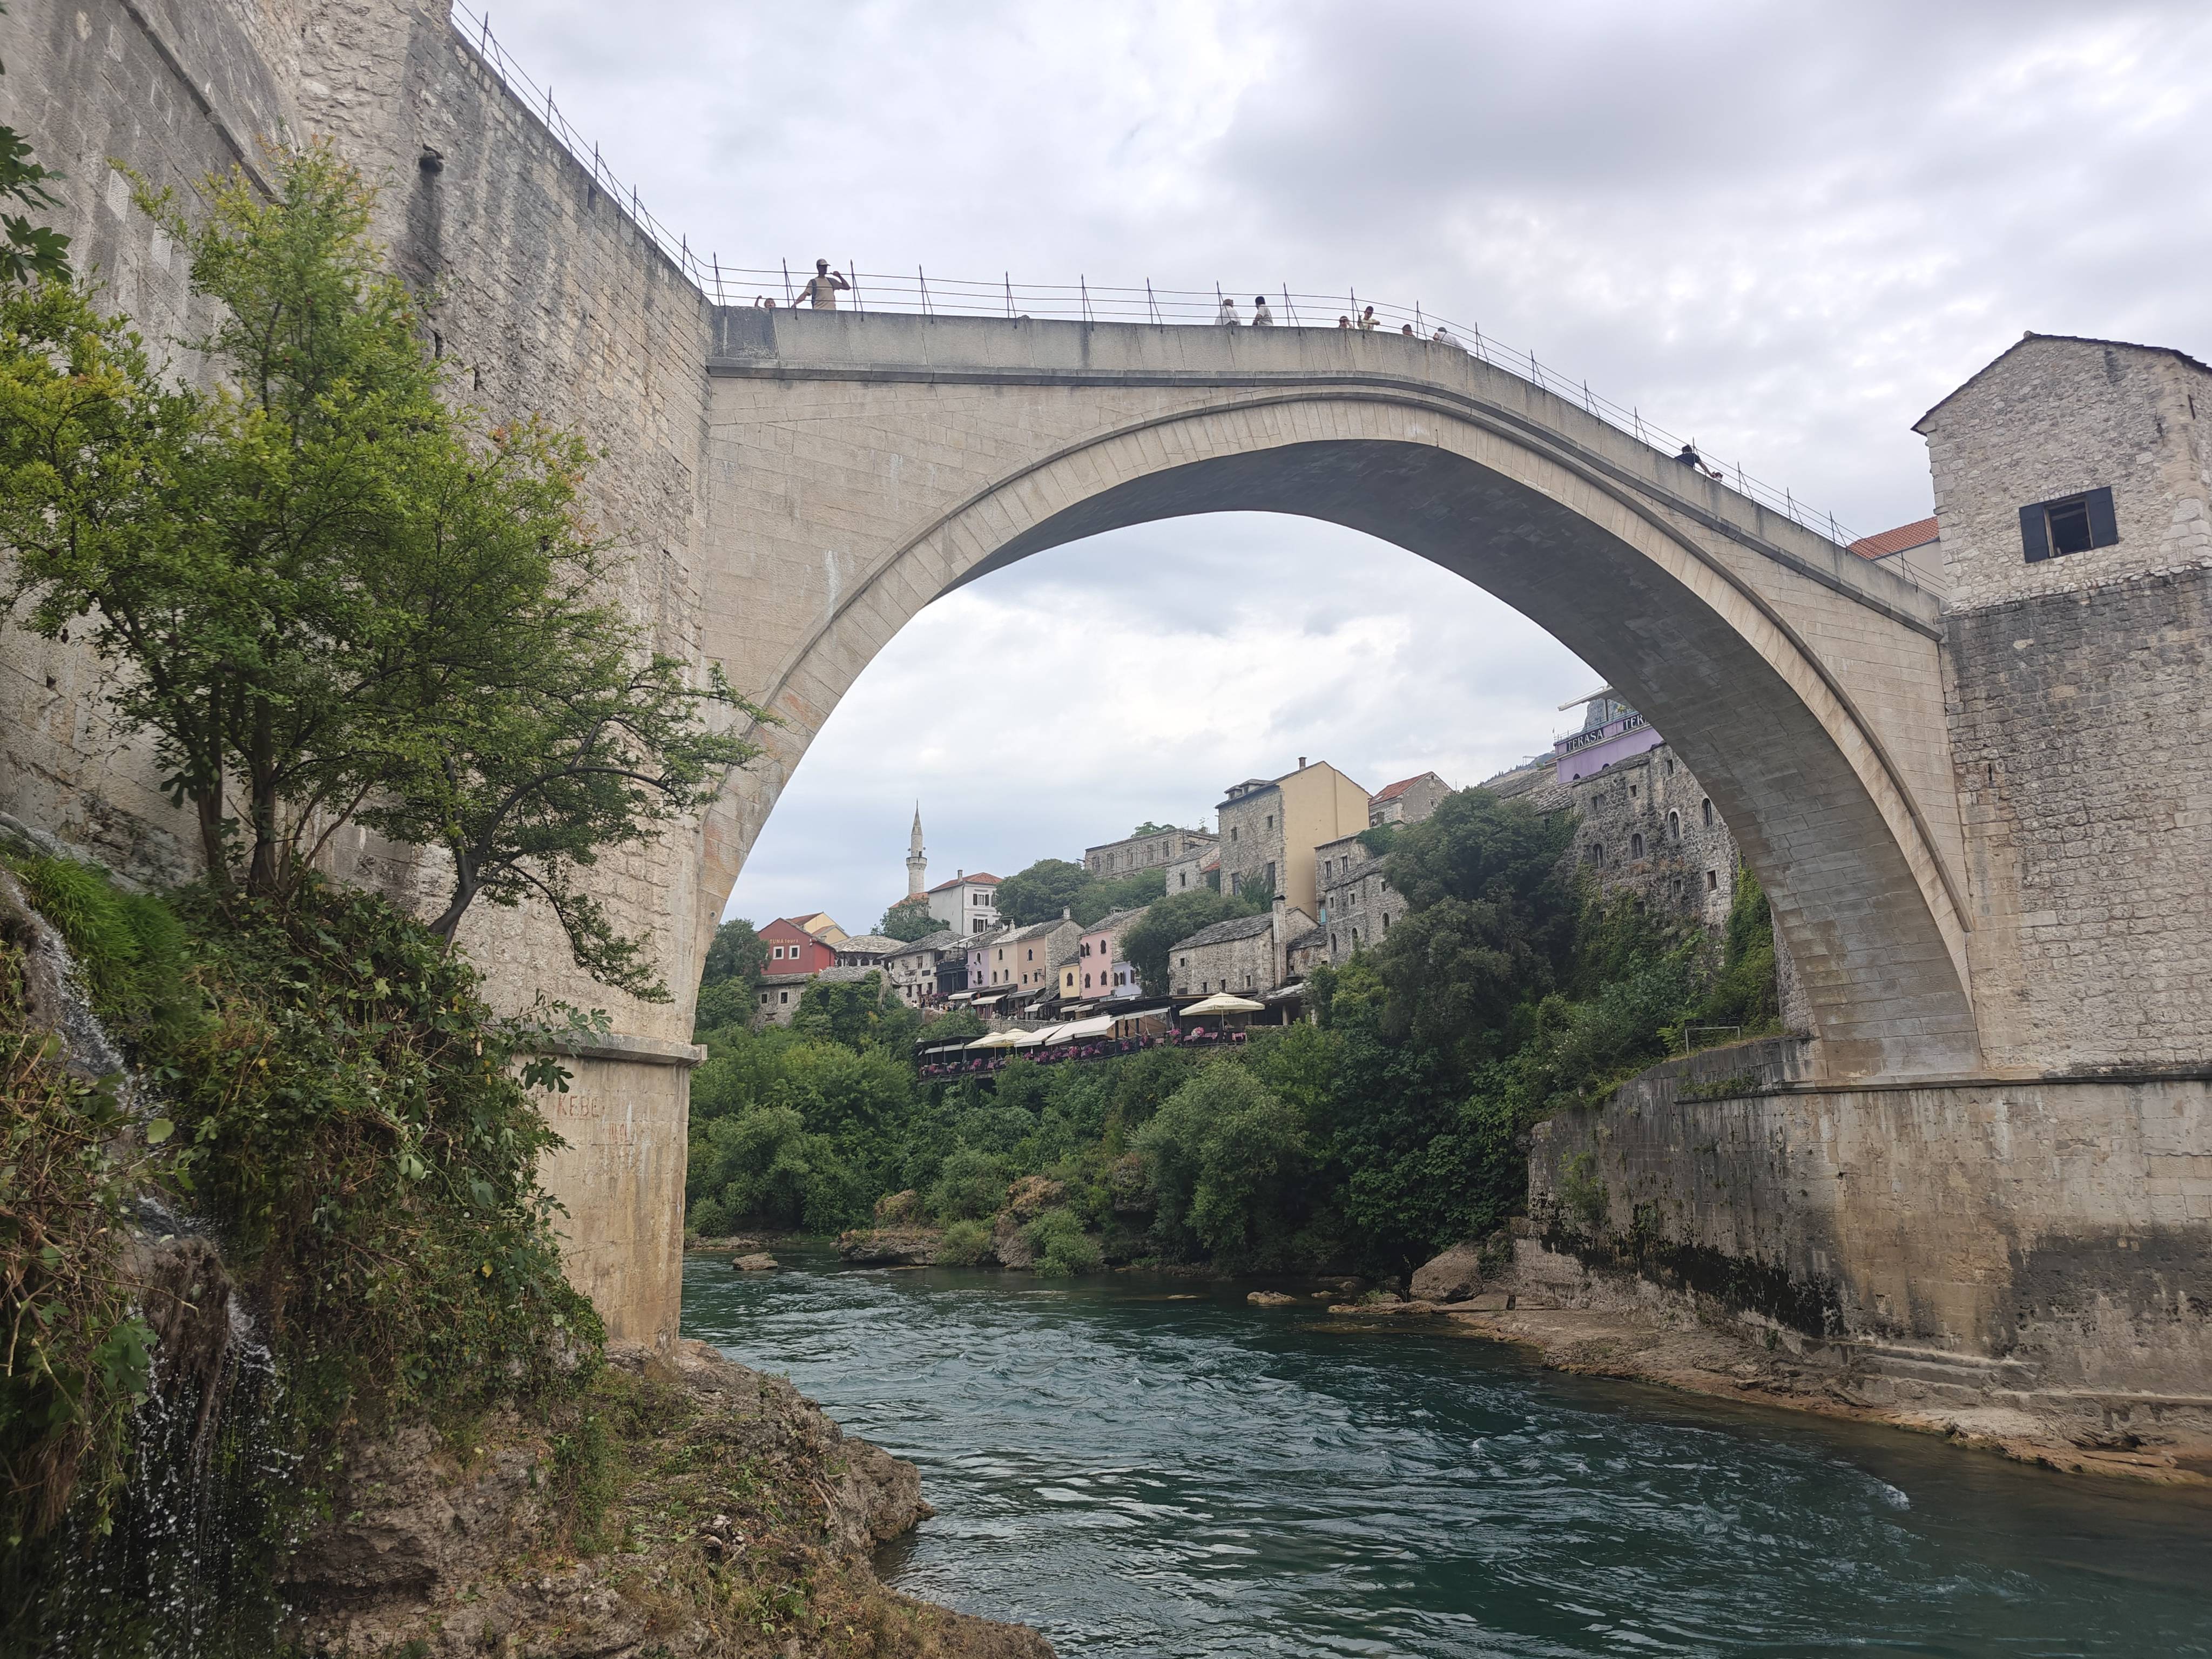
The old bridge of Mostar
View from the old bridge
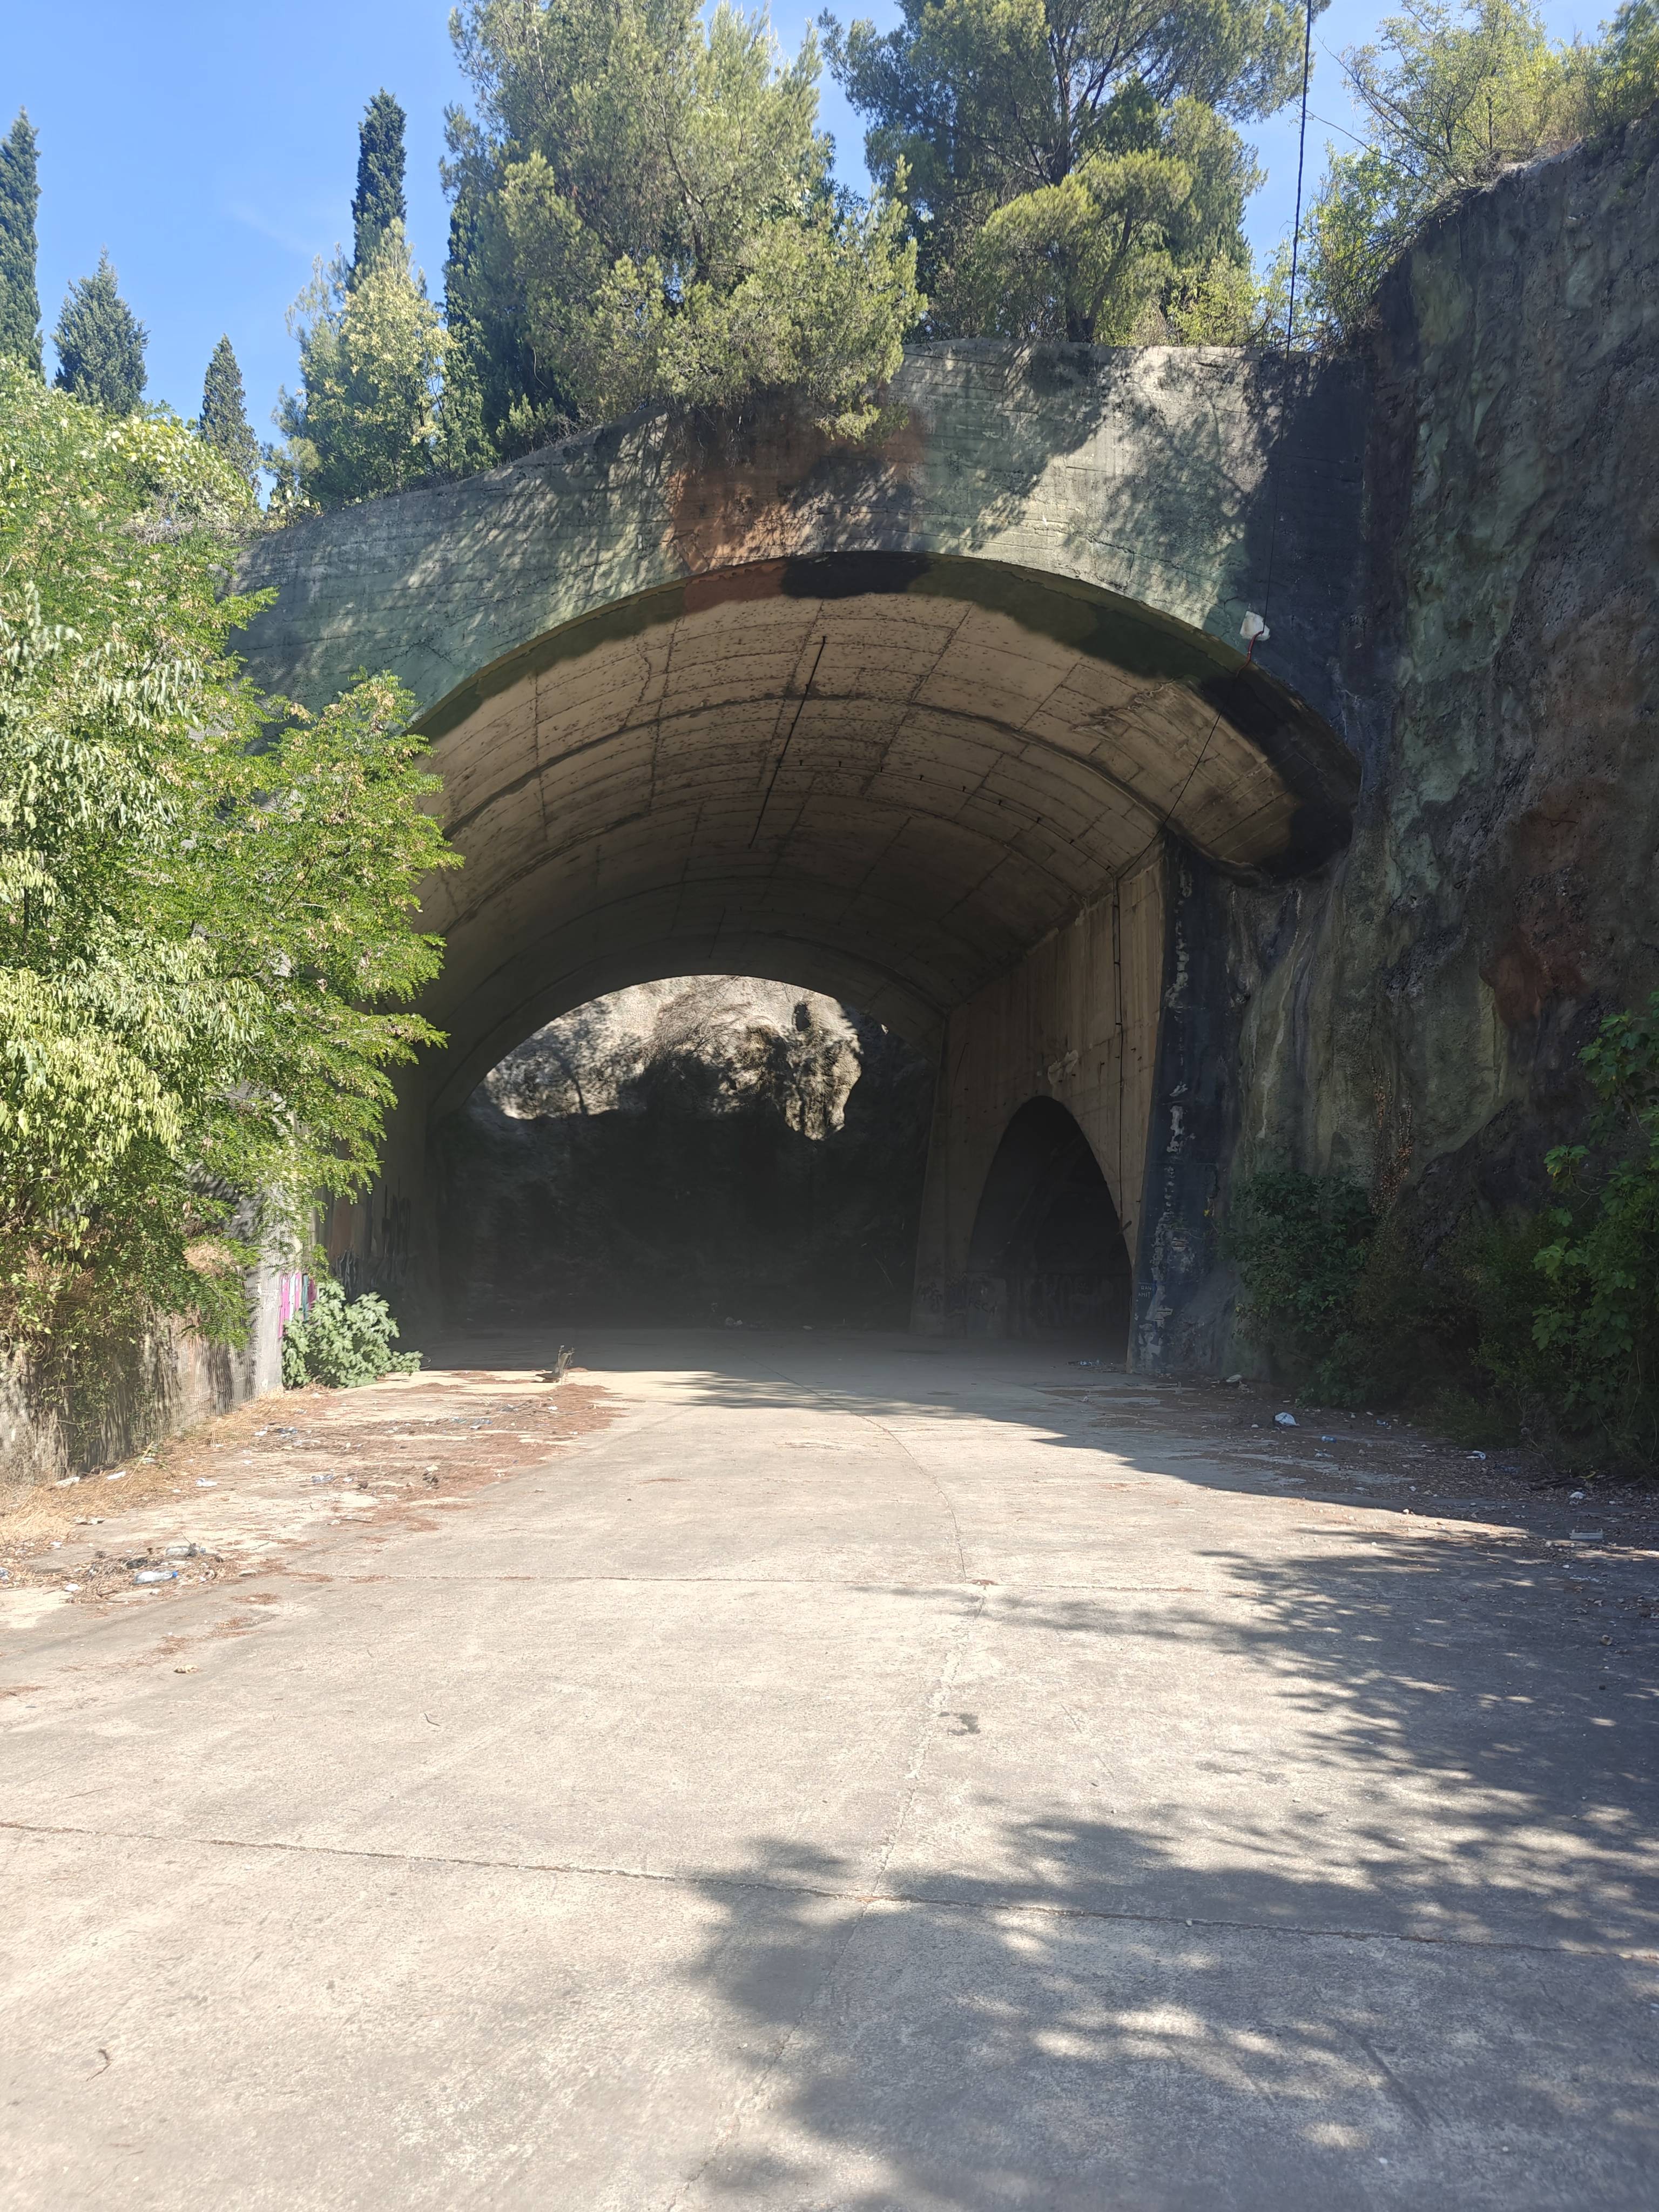
Bunker for airplanes build during the Yugoslavia time
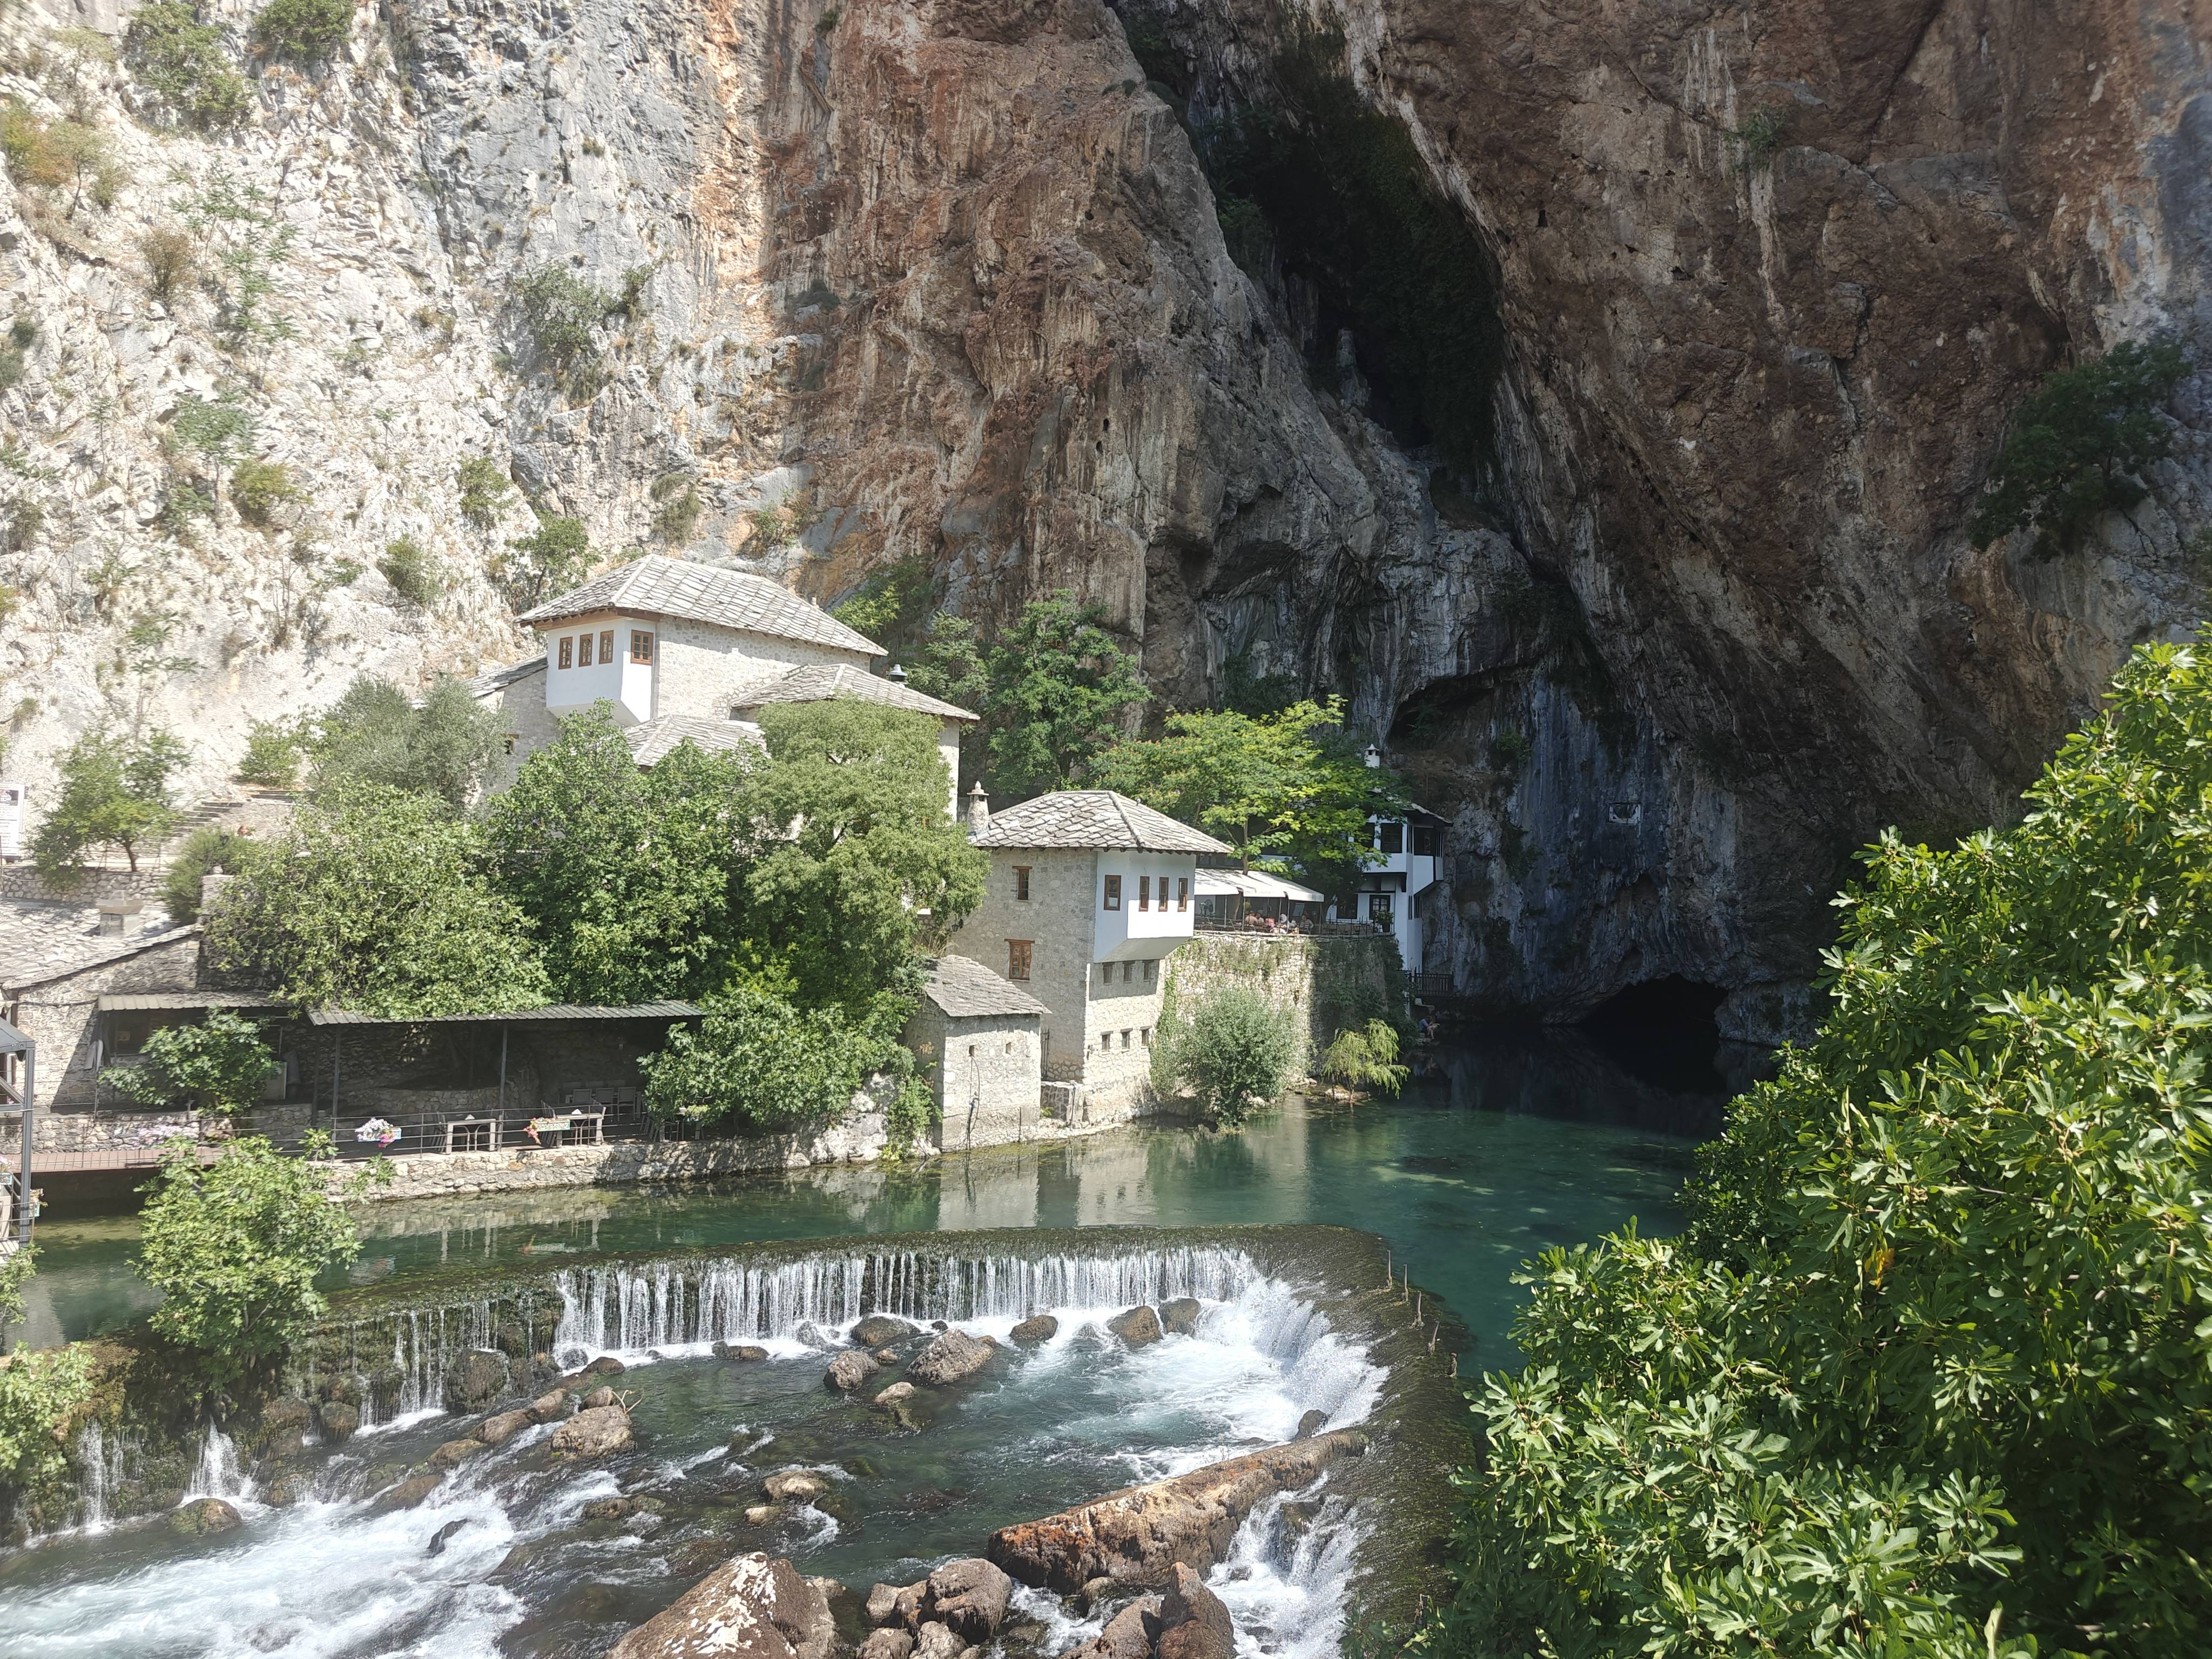
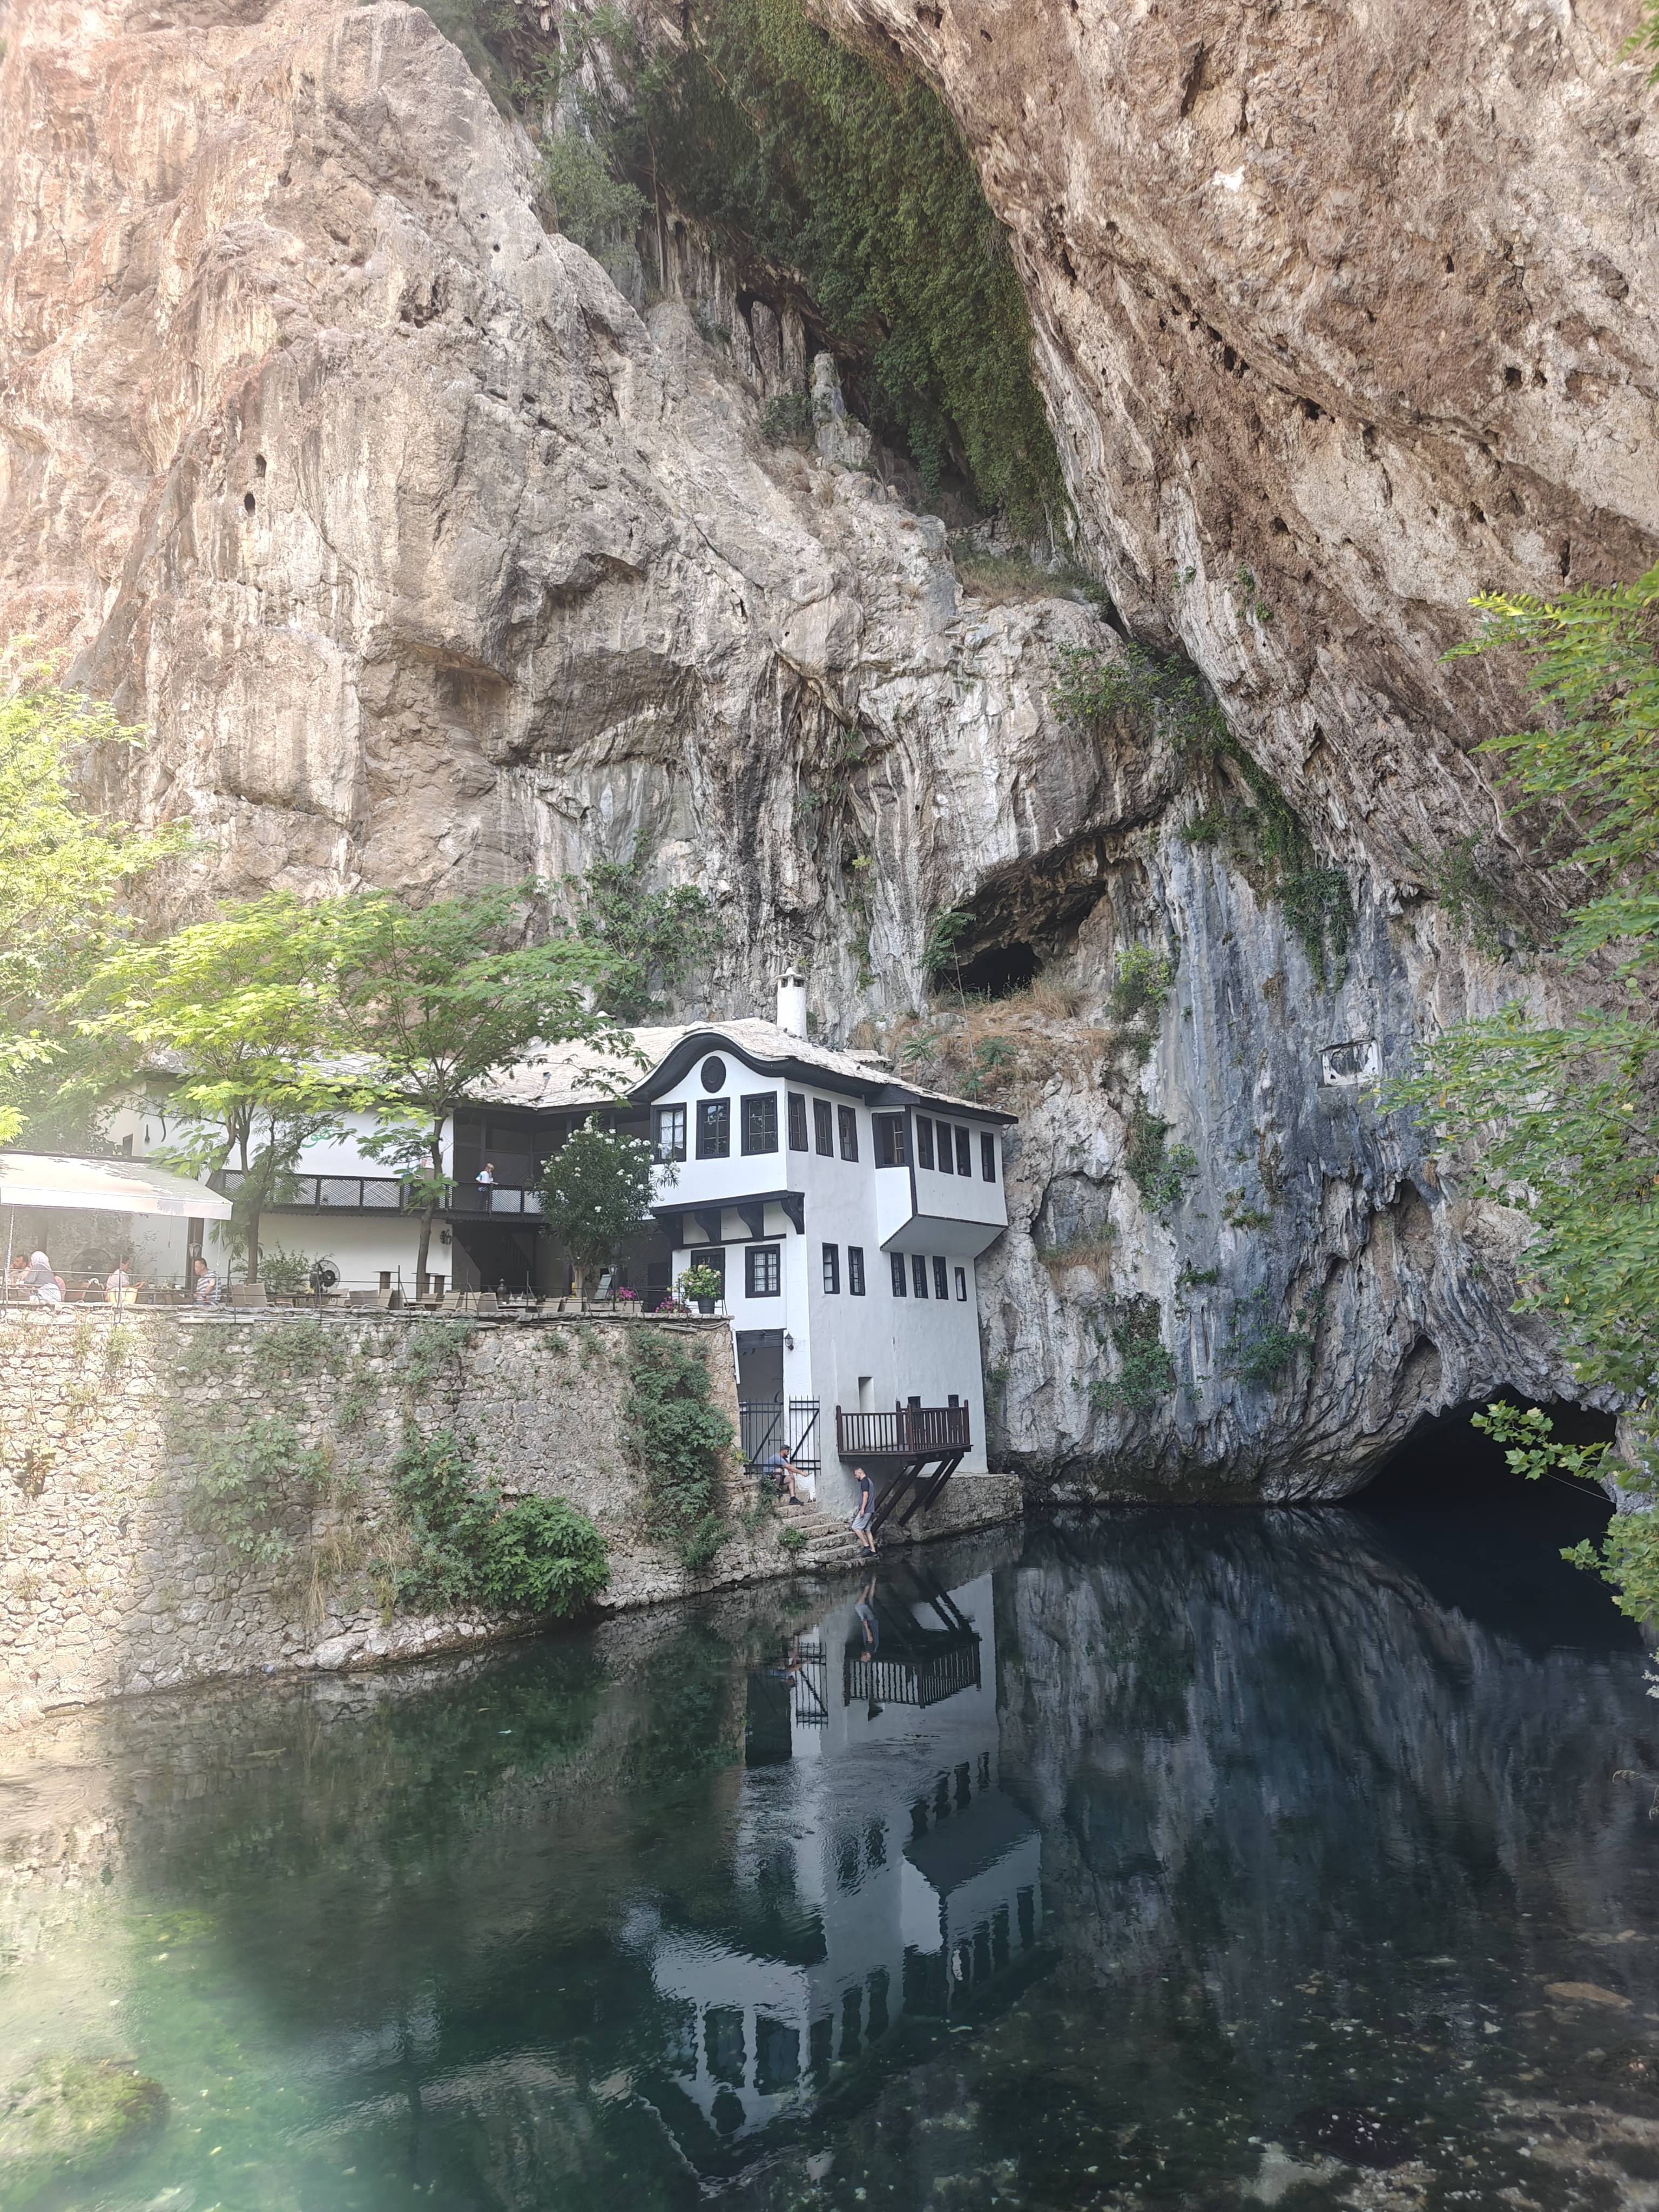
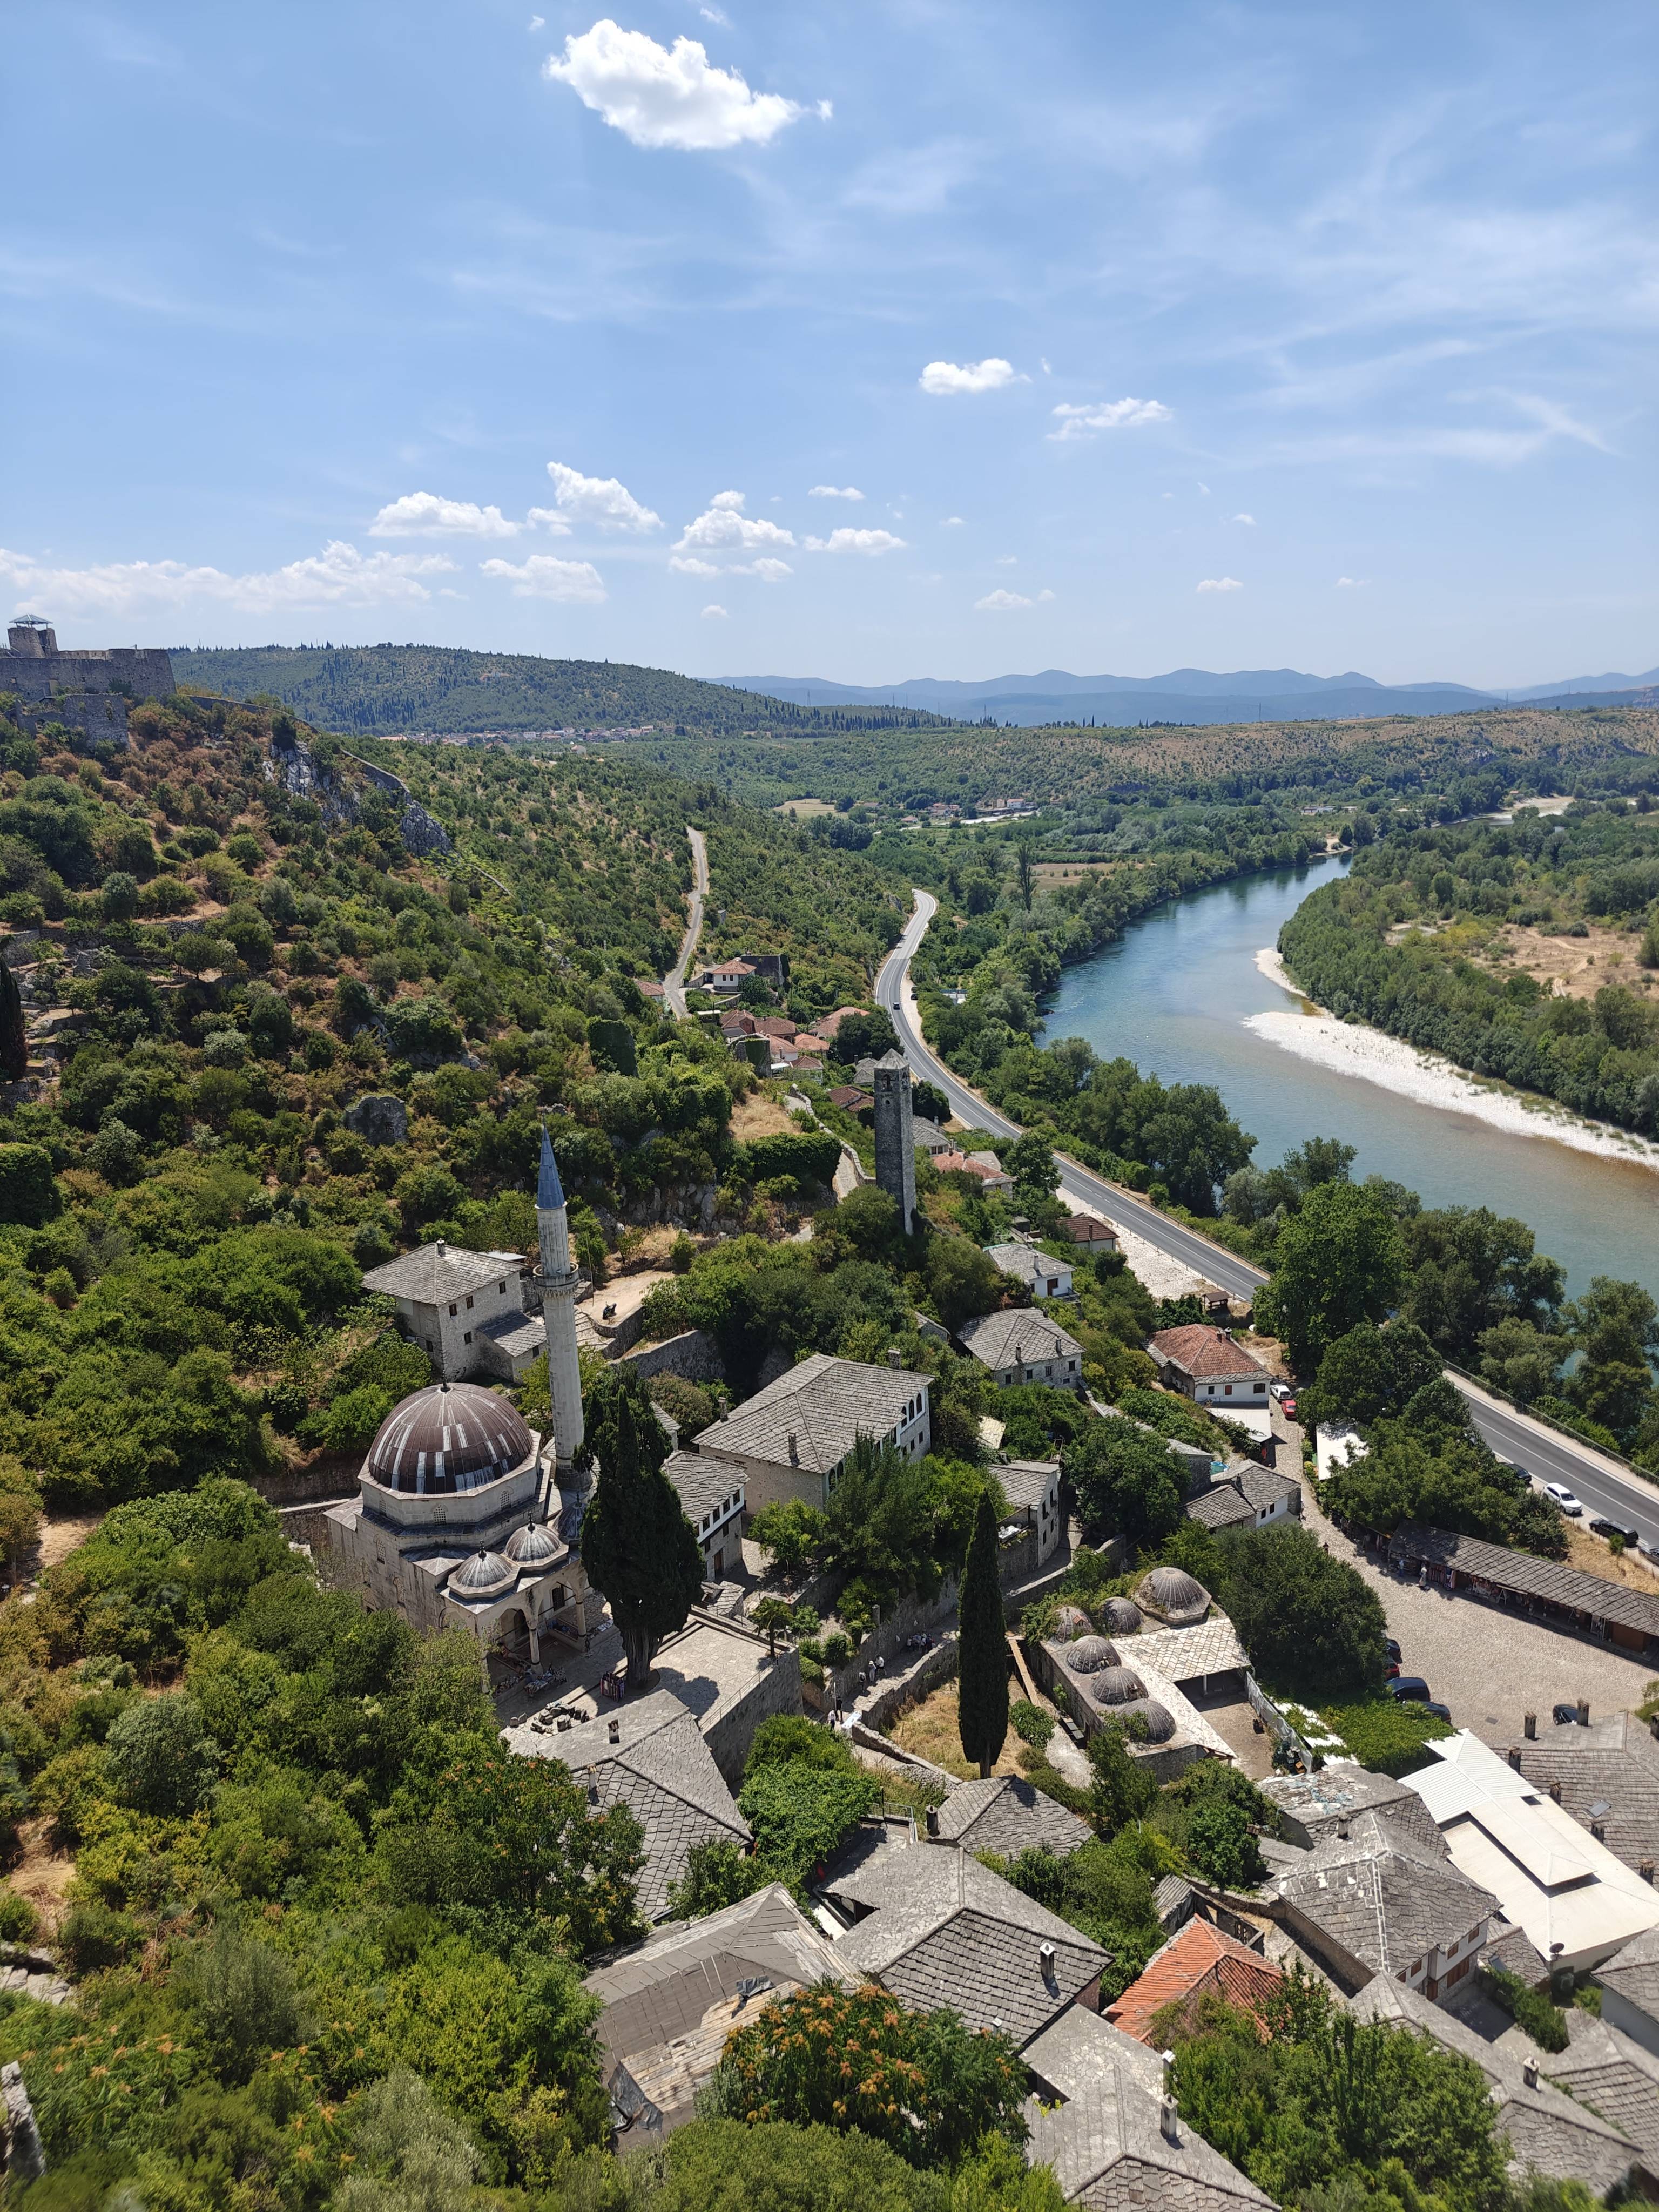
Town next to Mostar called Blagaj
Another view of Blagaj
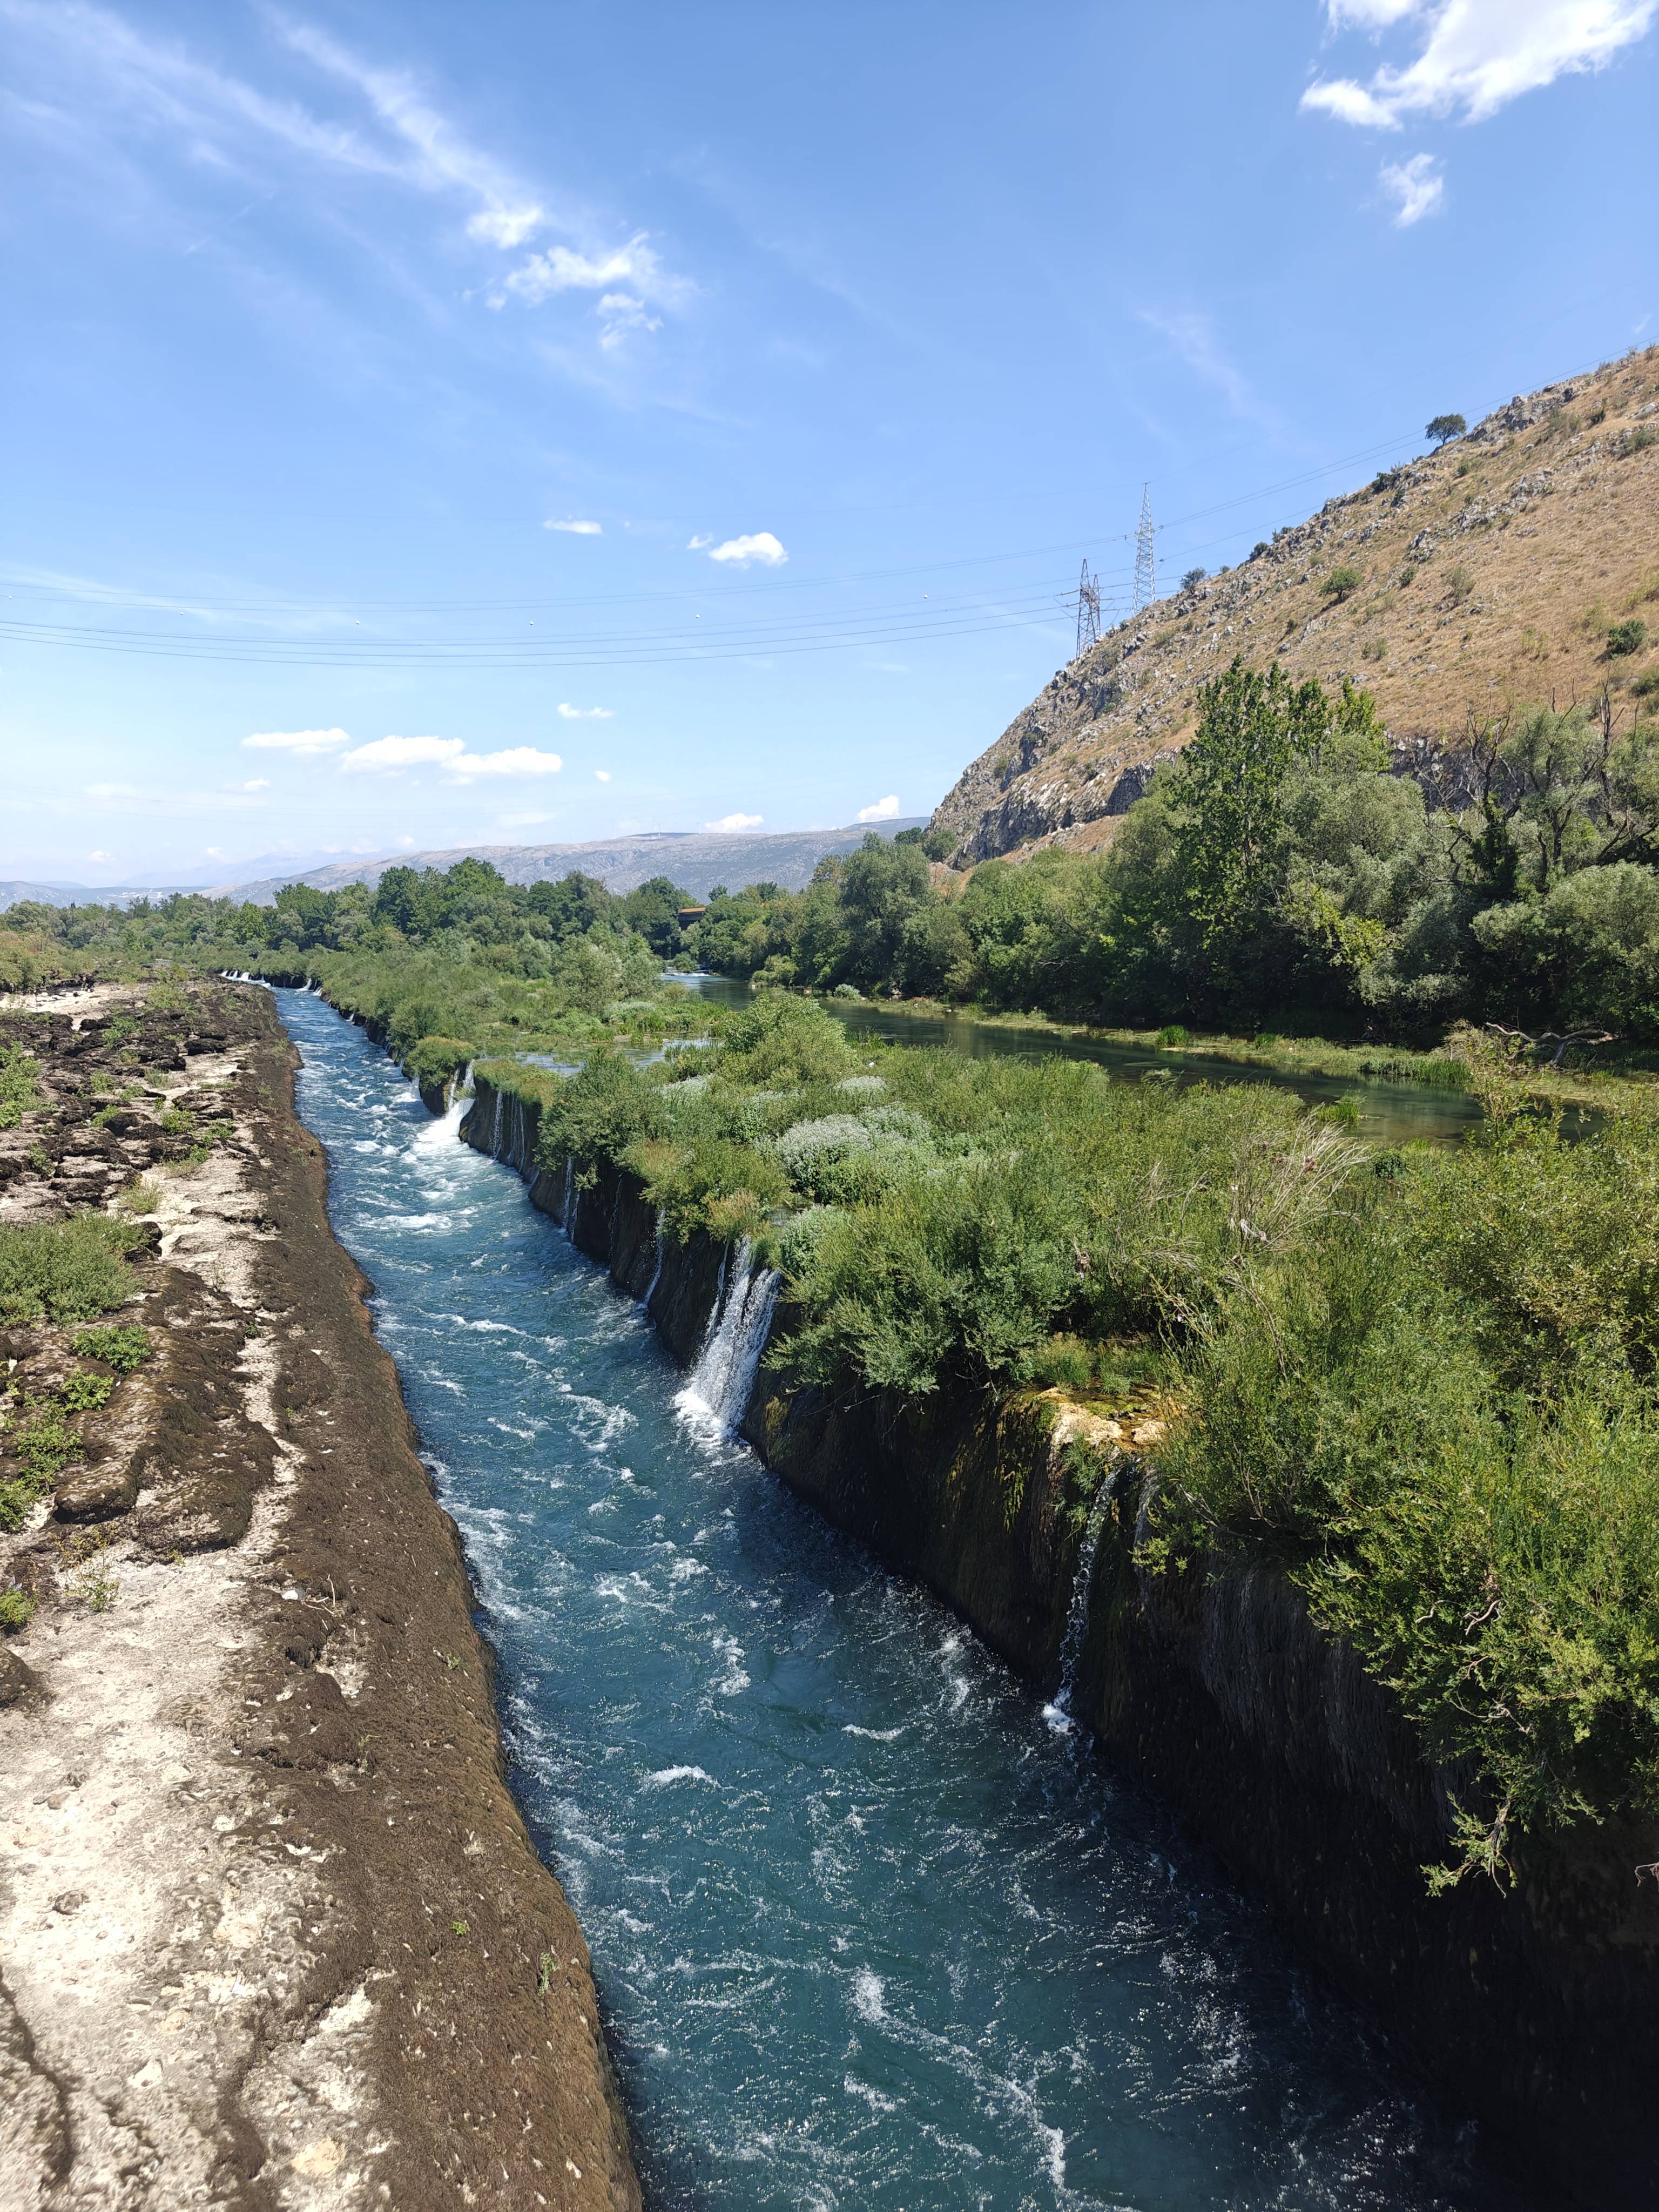
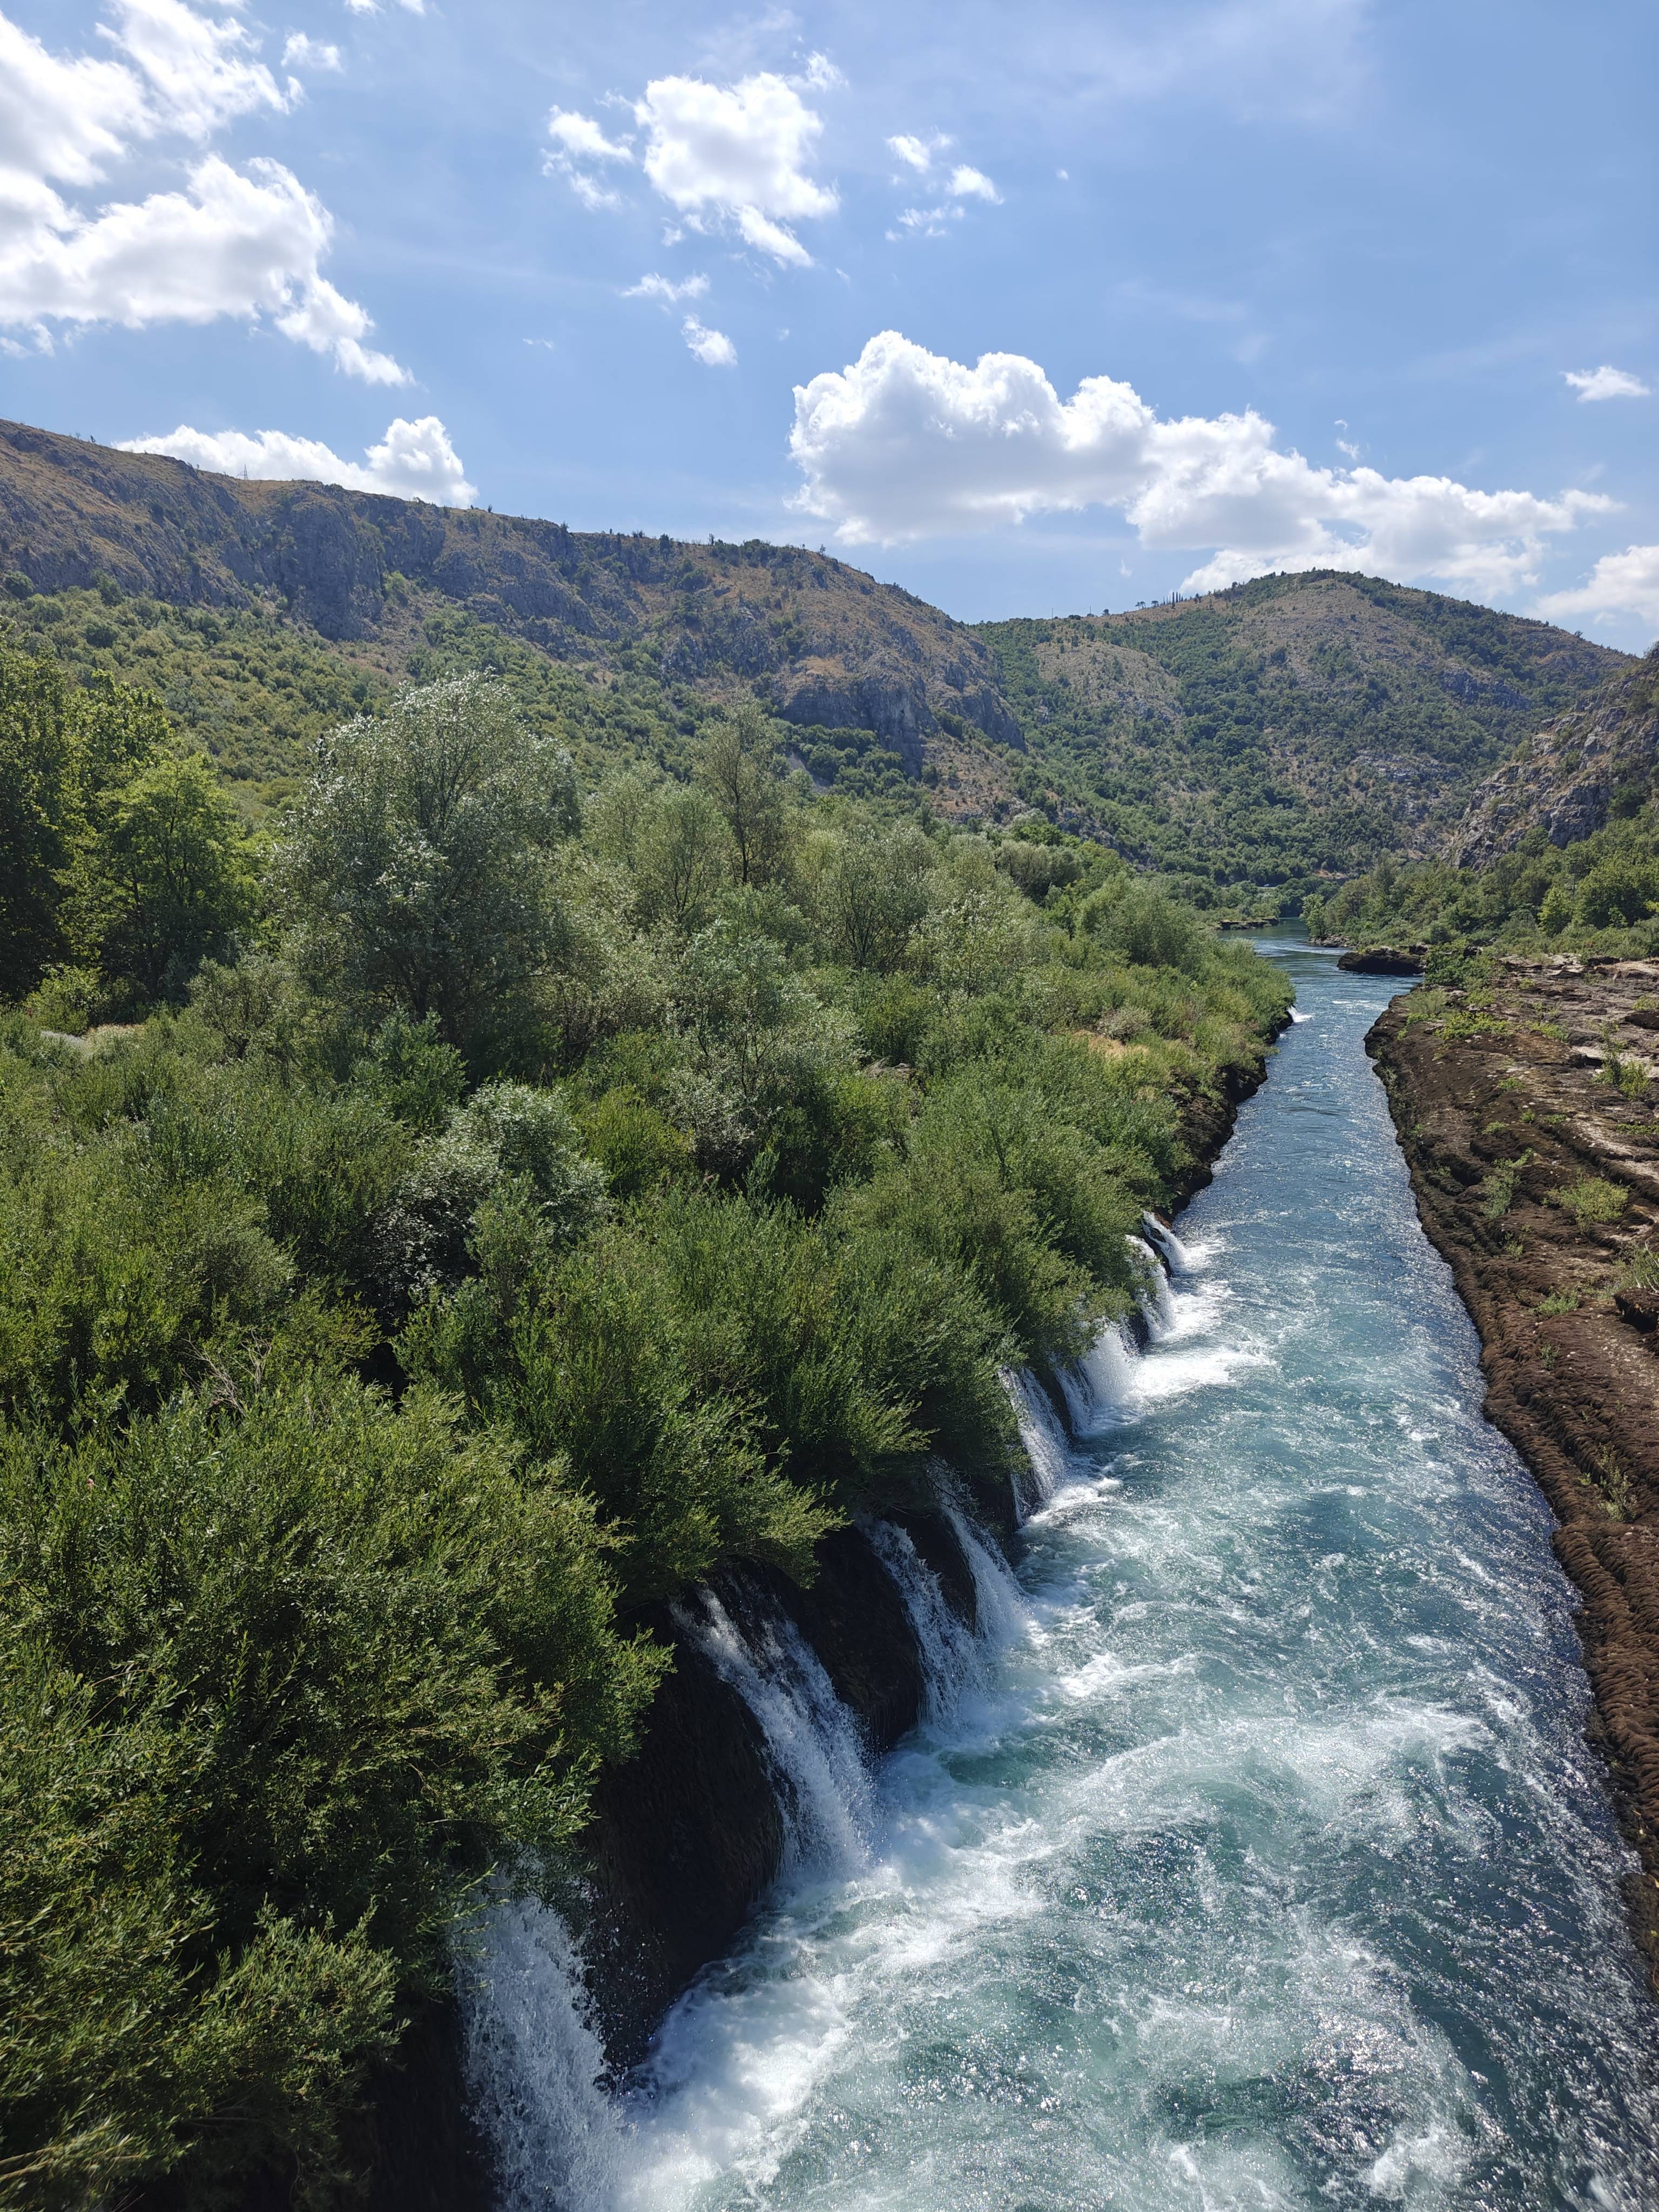
Two rivers merging together and creating some waterfalls
The same two rivers
Old Bosnian village
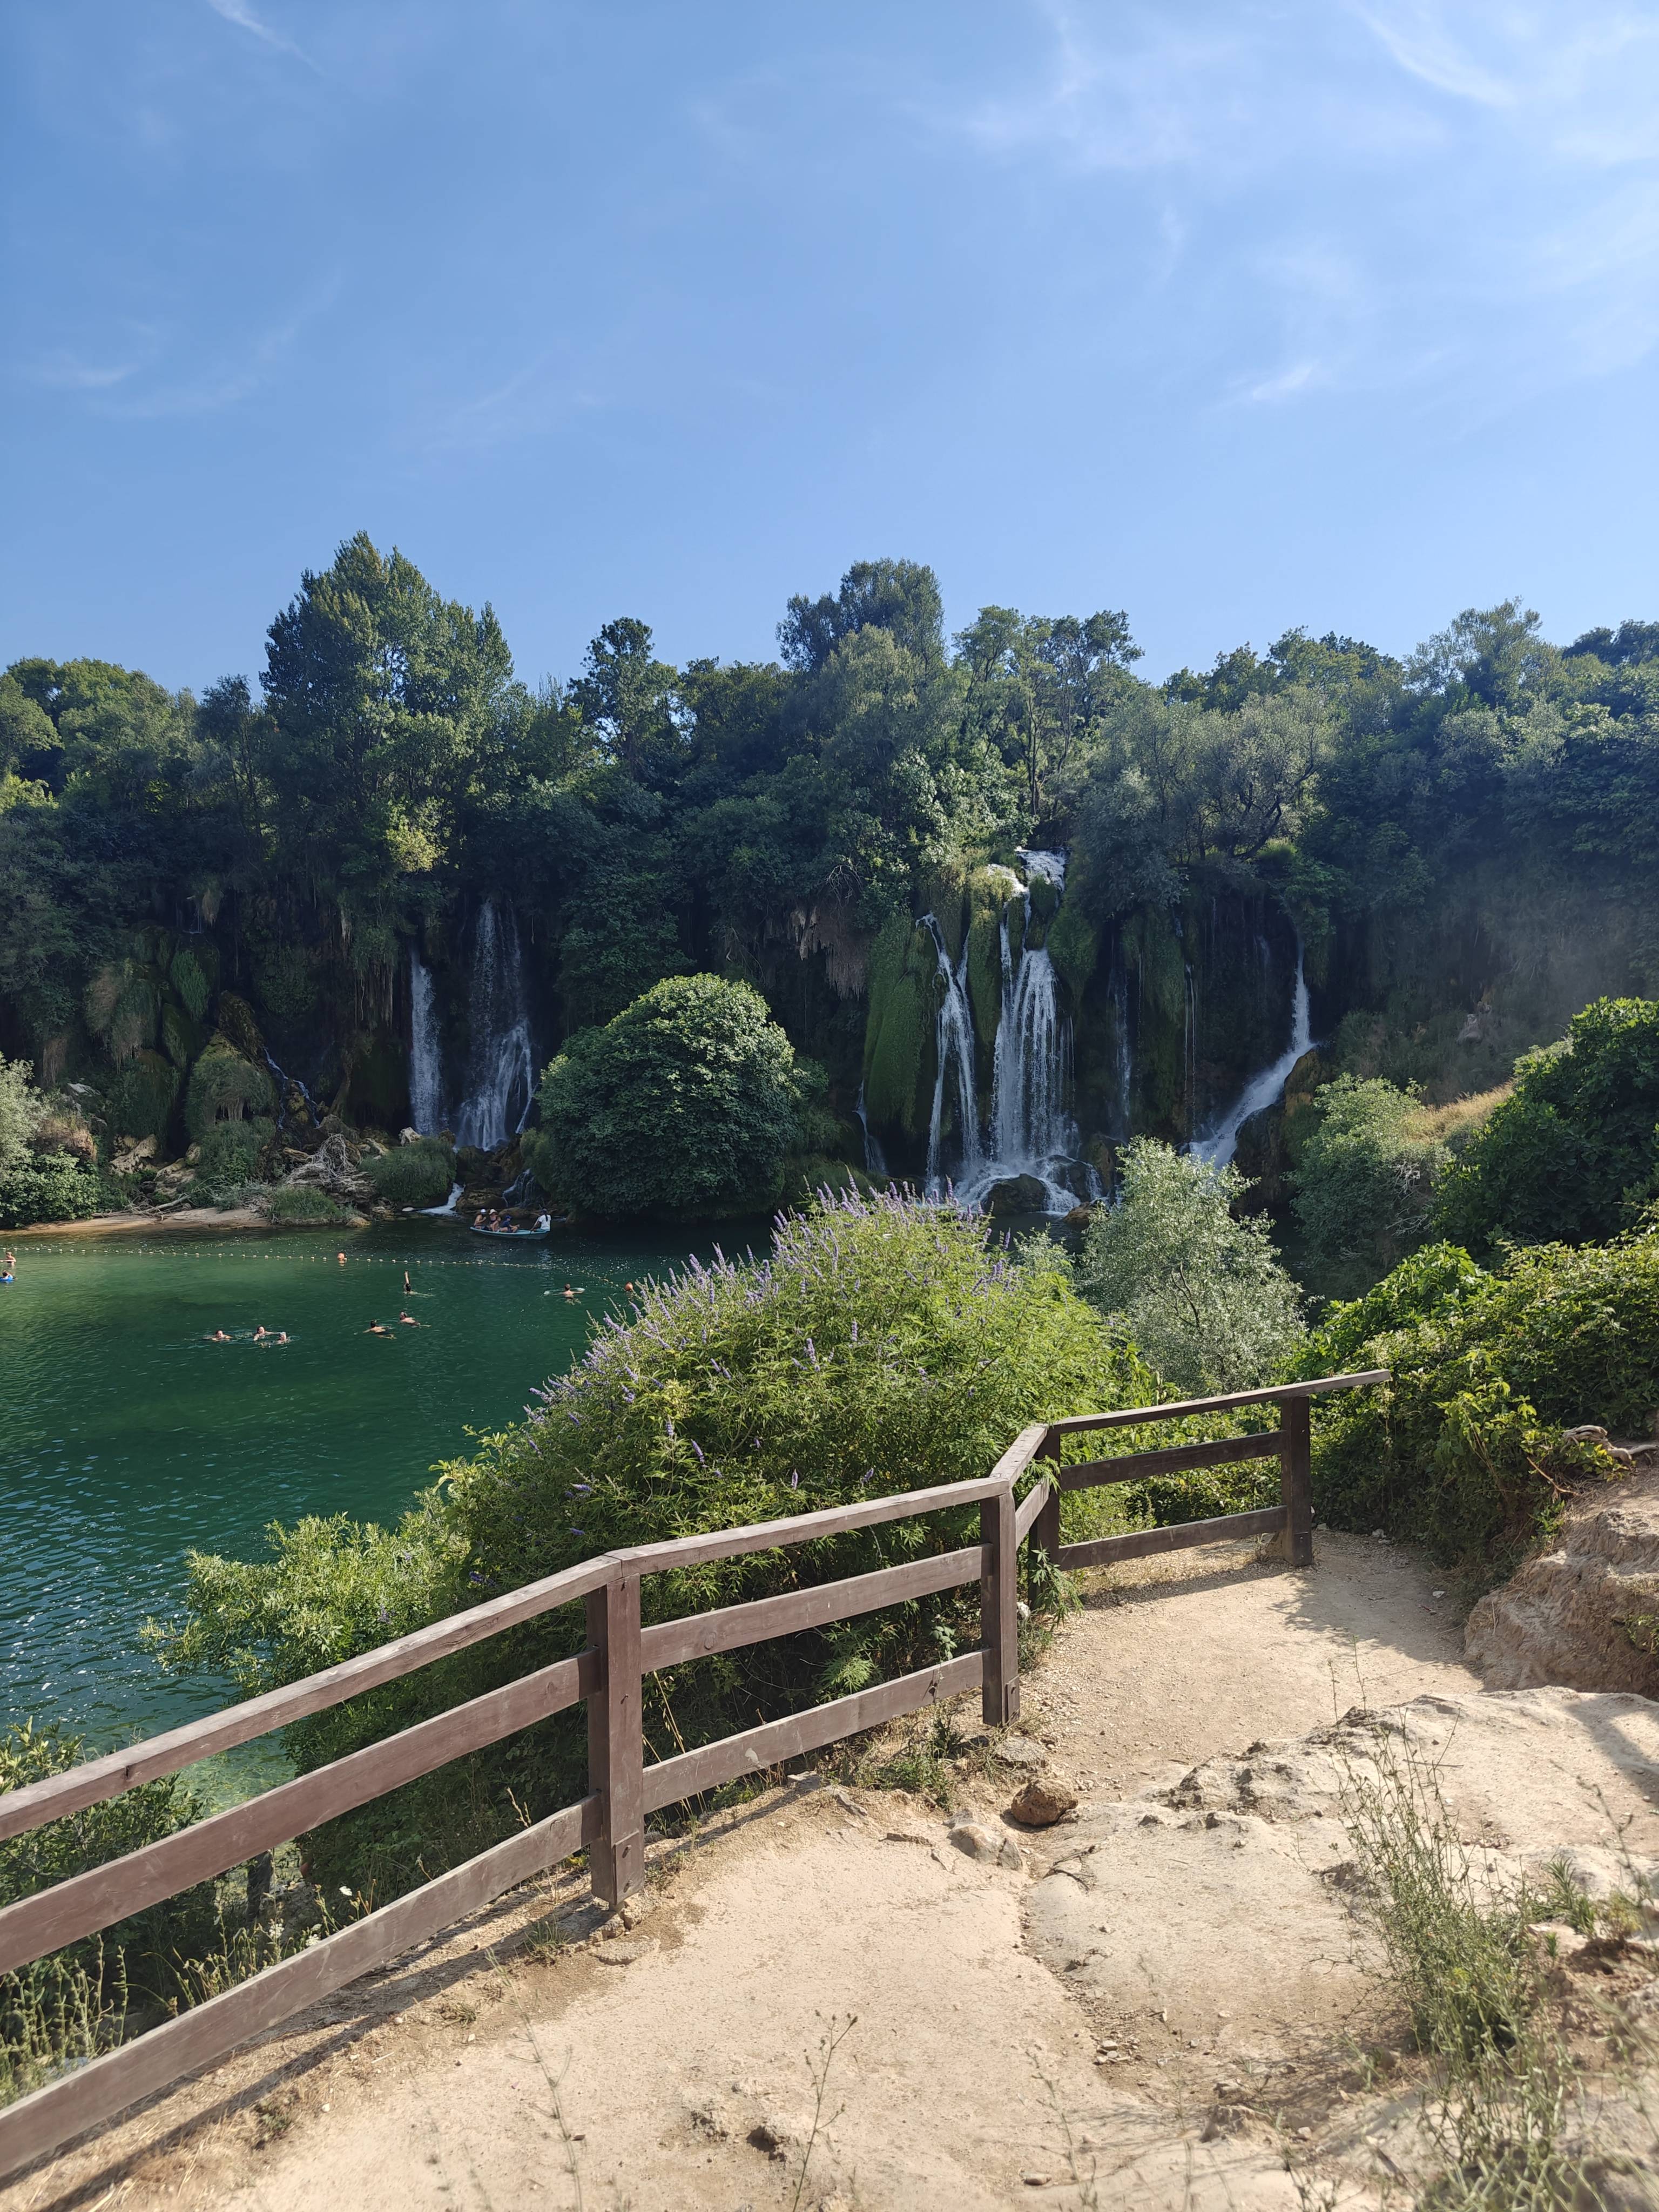
The Kravice Falls
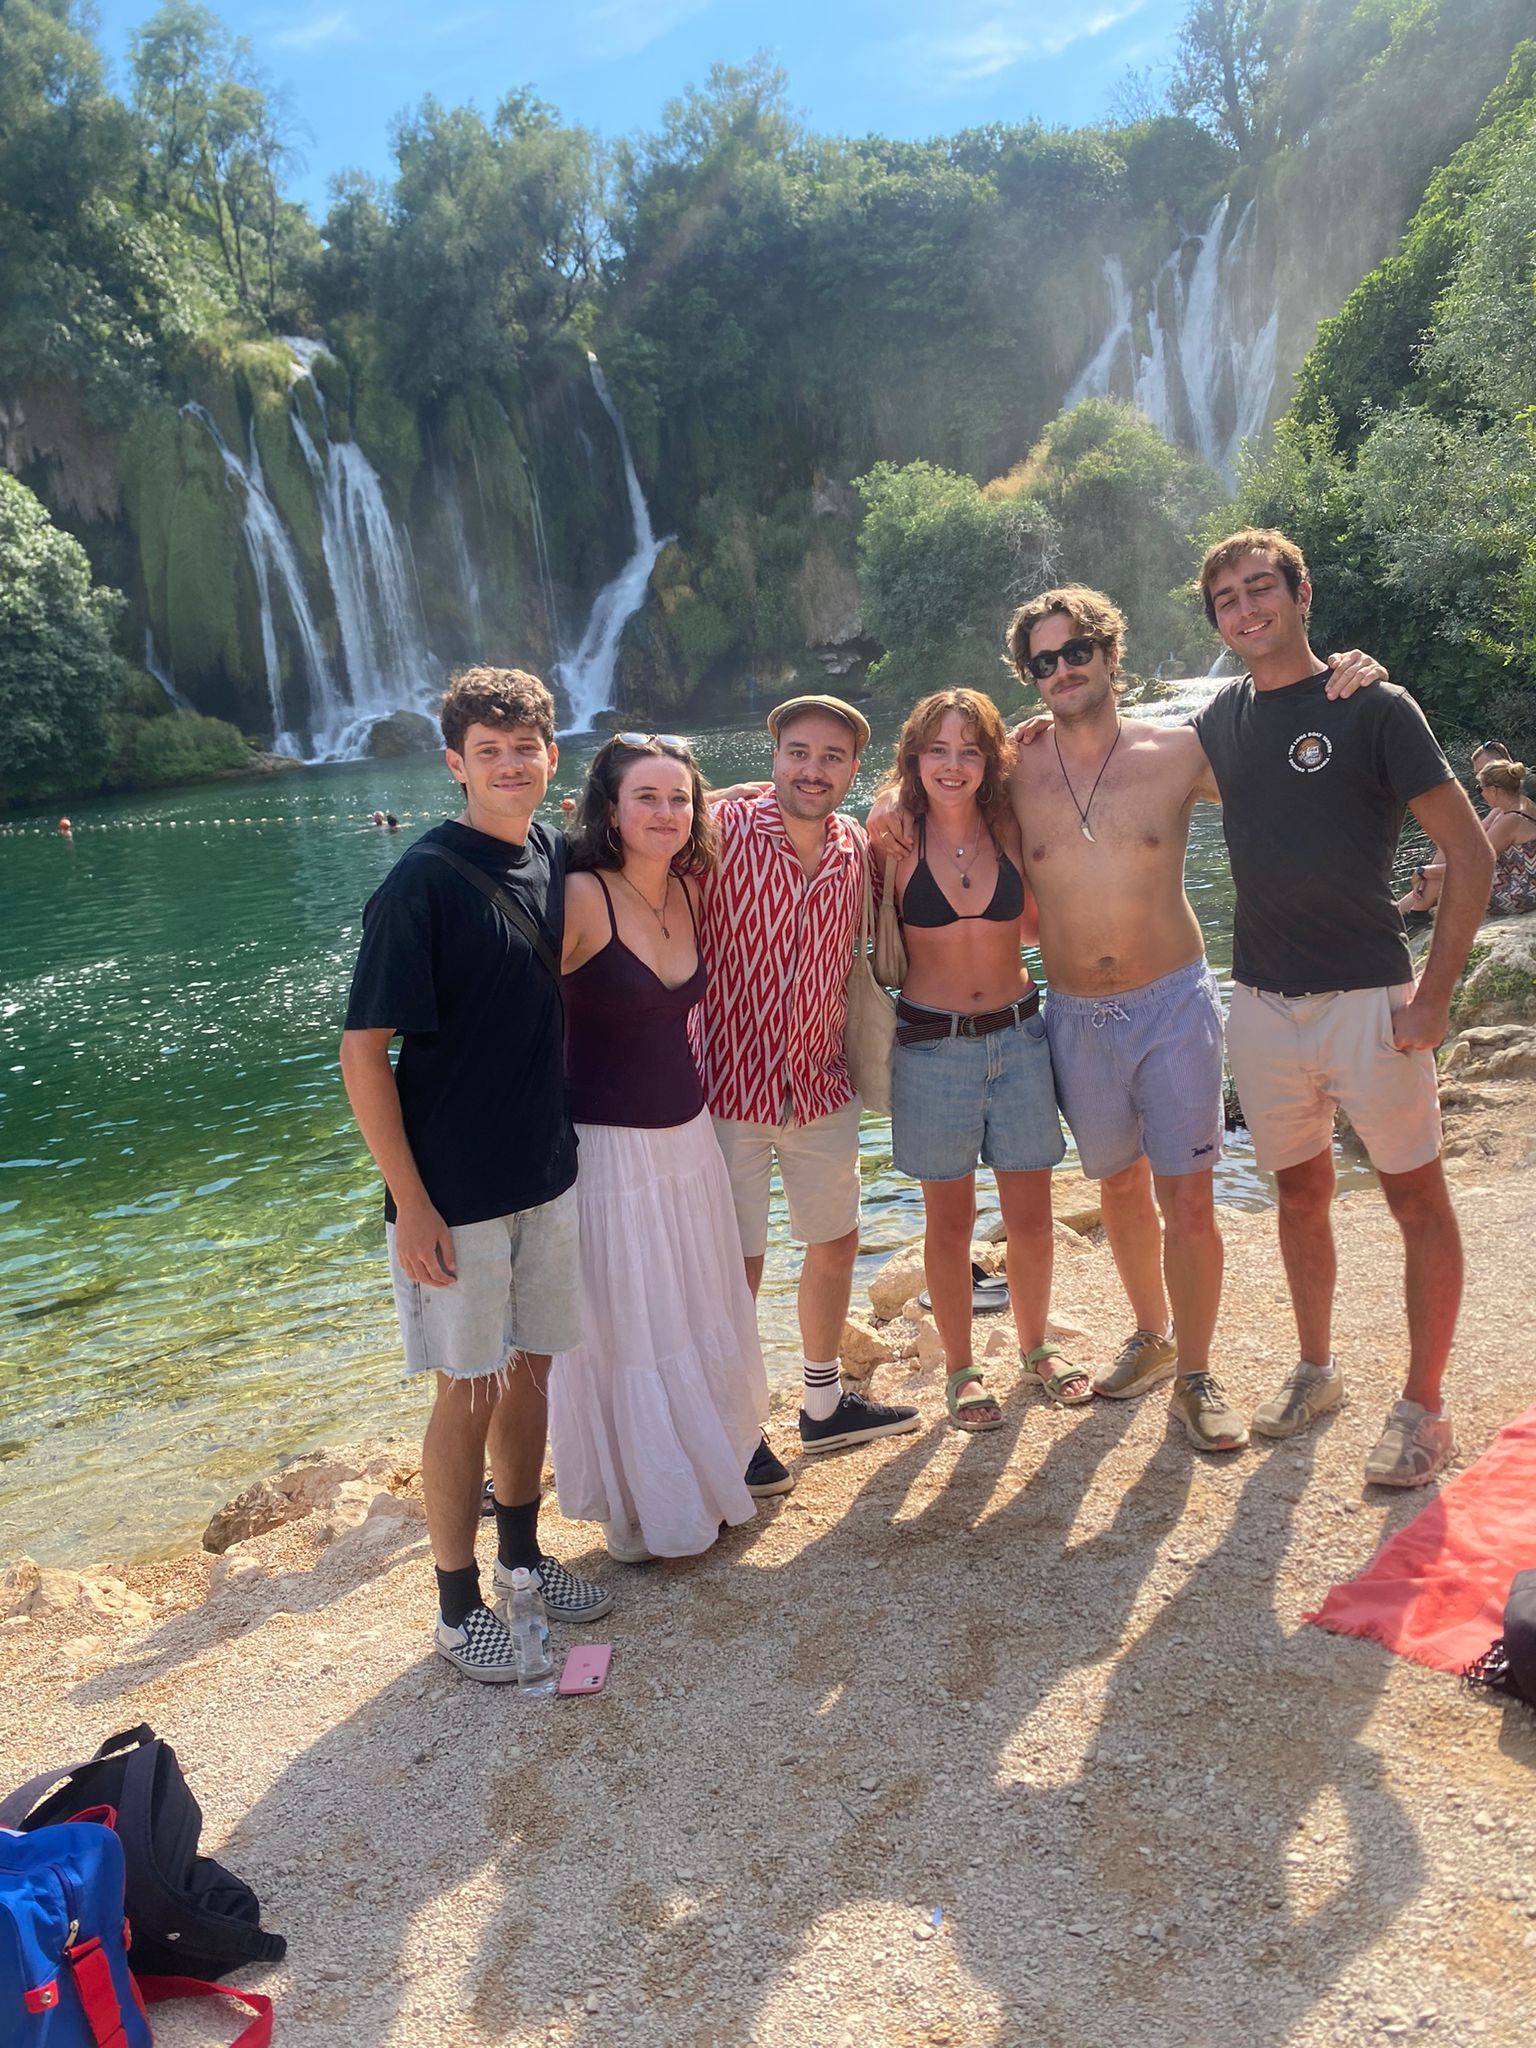
The group of people I spent my time in Mostar
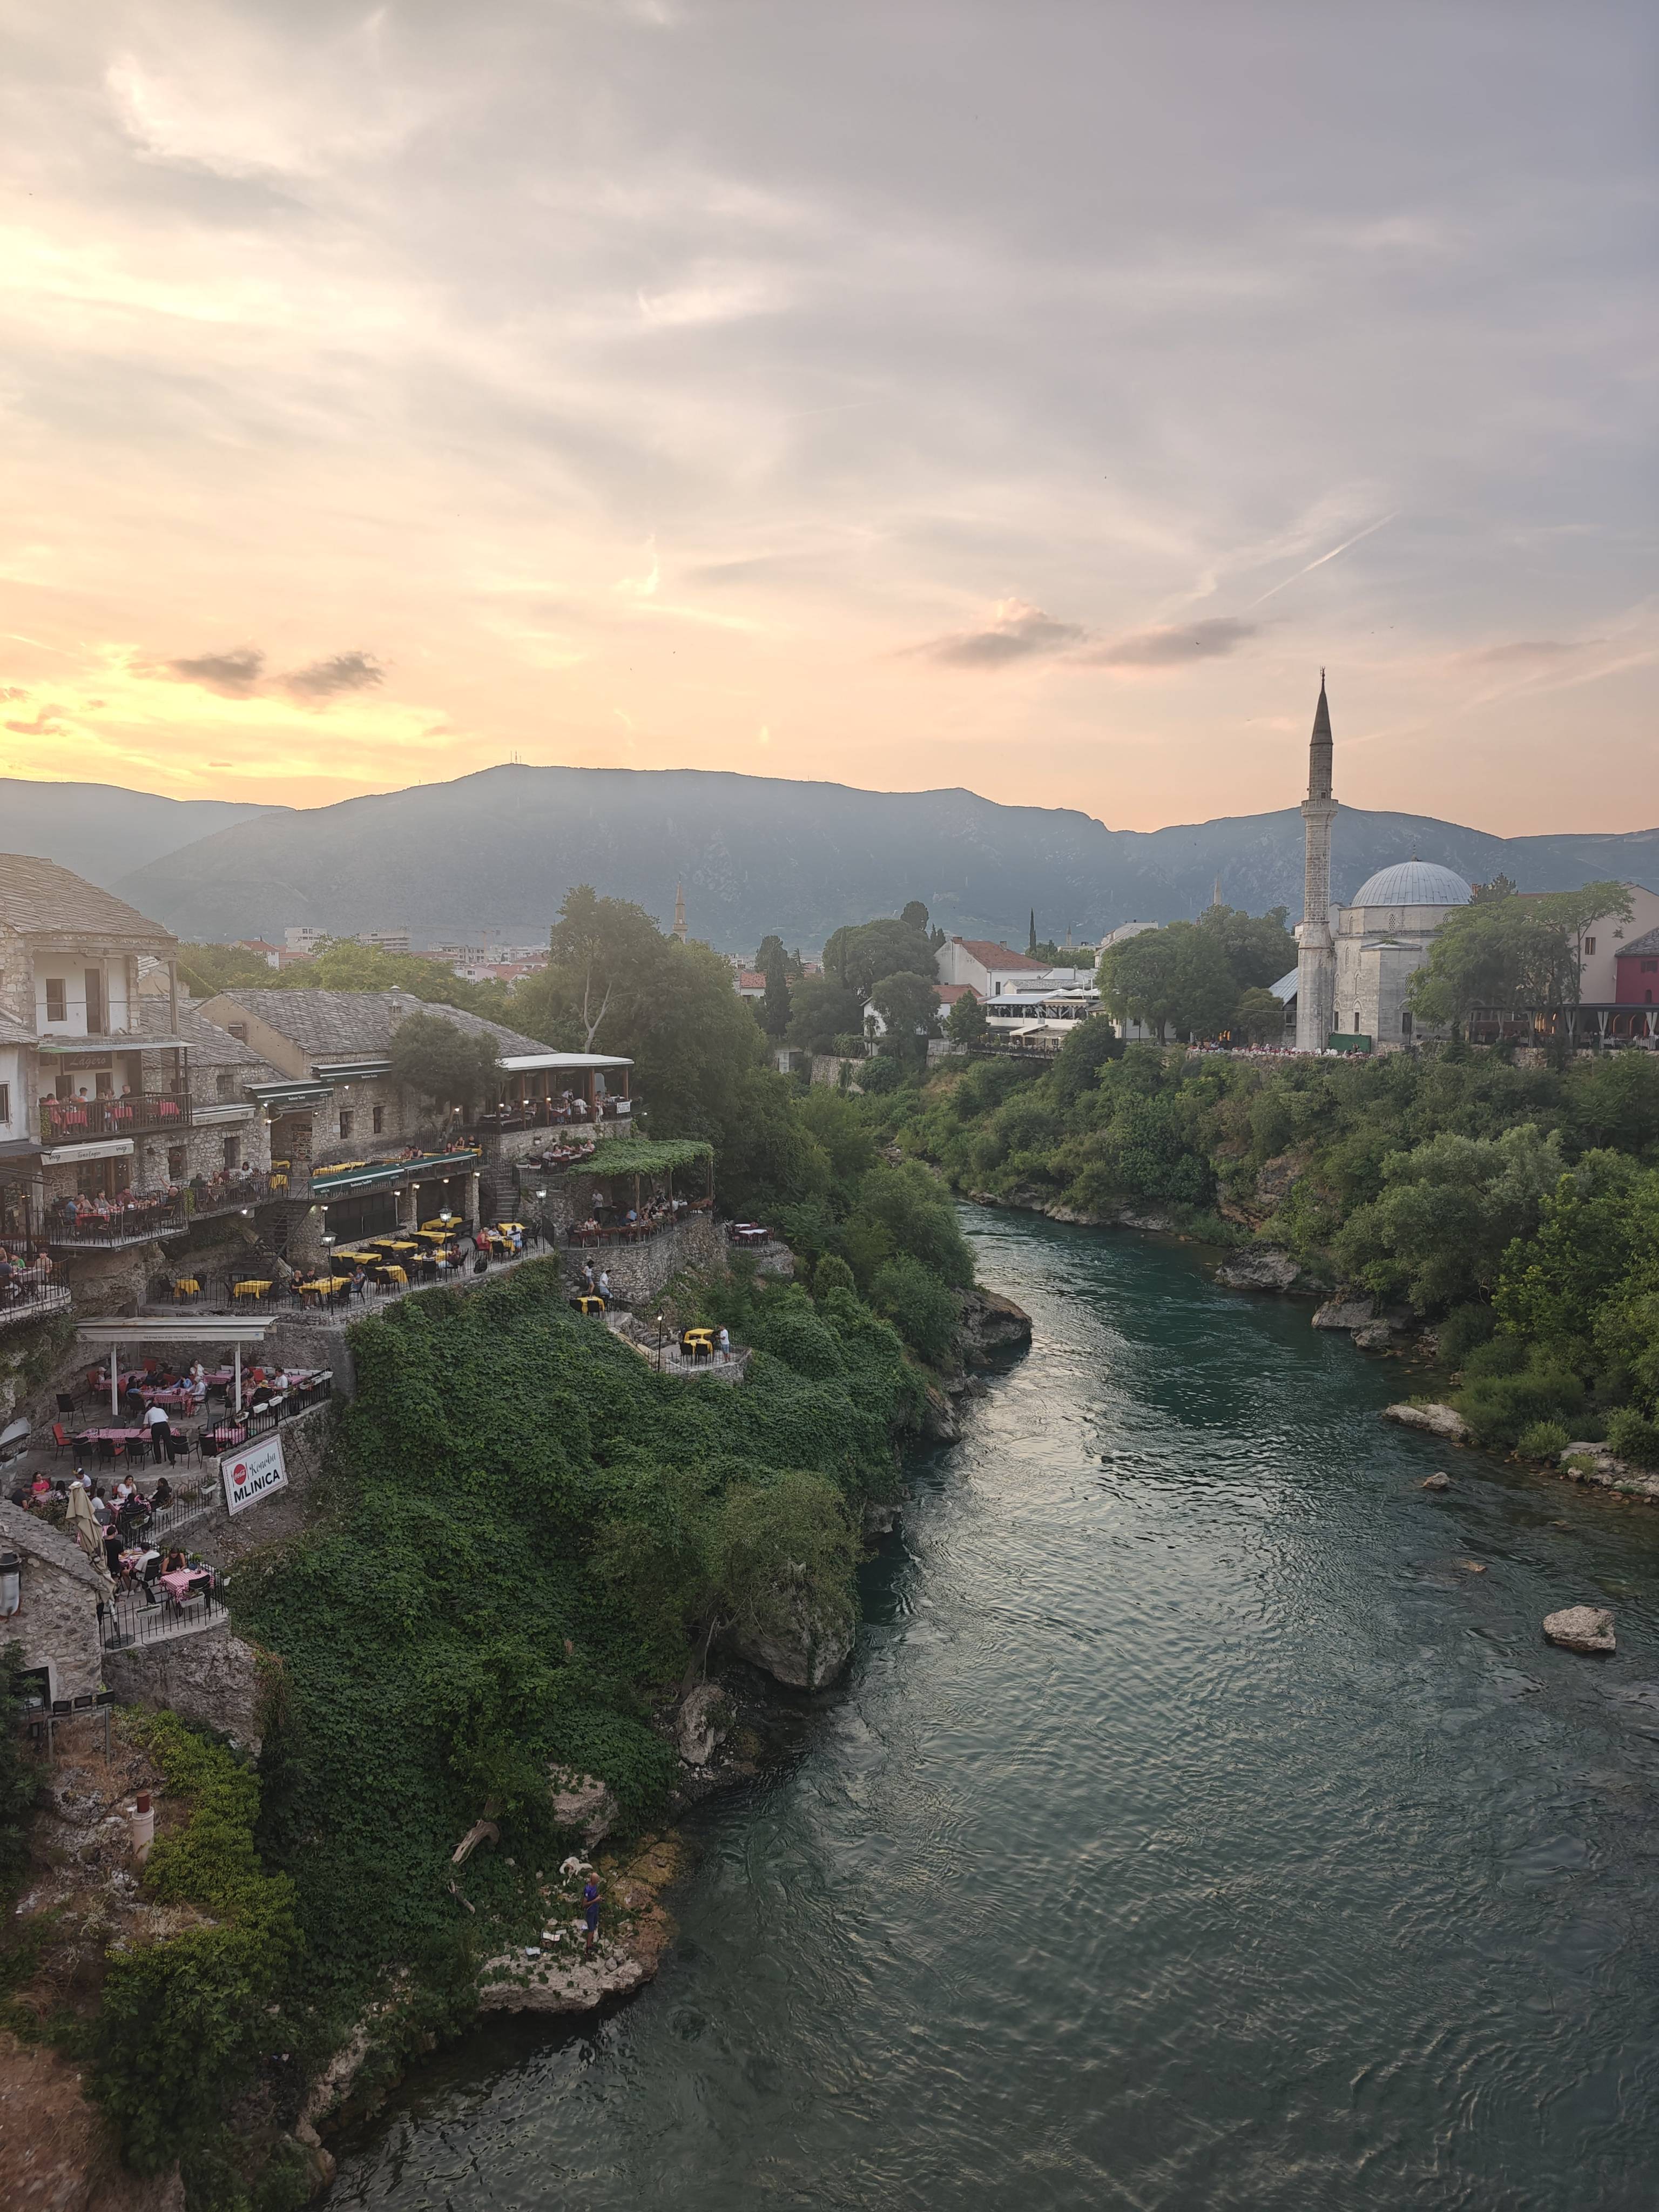
View from Mostar in the evening
Close view from the old bridge
I only stayed there for two nights, and I regret not staying a bit longer or
visiting the genocide museum, which I’d heard great things about.
Sarajevo
The next stop on my trip was Sarajevo, the capital of Bosnia and Herzegovina. I
booked a train ticket online, and this is what I got. It was slightly tricky to
import into KDE Itinerary, but the train ride itself was very enjoyable.
Interestingly, although the train has both first- and second-class coaches, all
tickets are sold as second class, and passengers are free to sit in the
first-class coaches — which I did. 😉
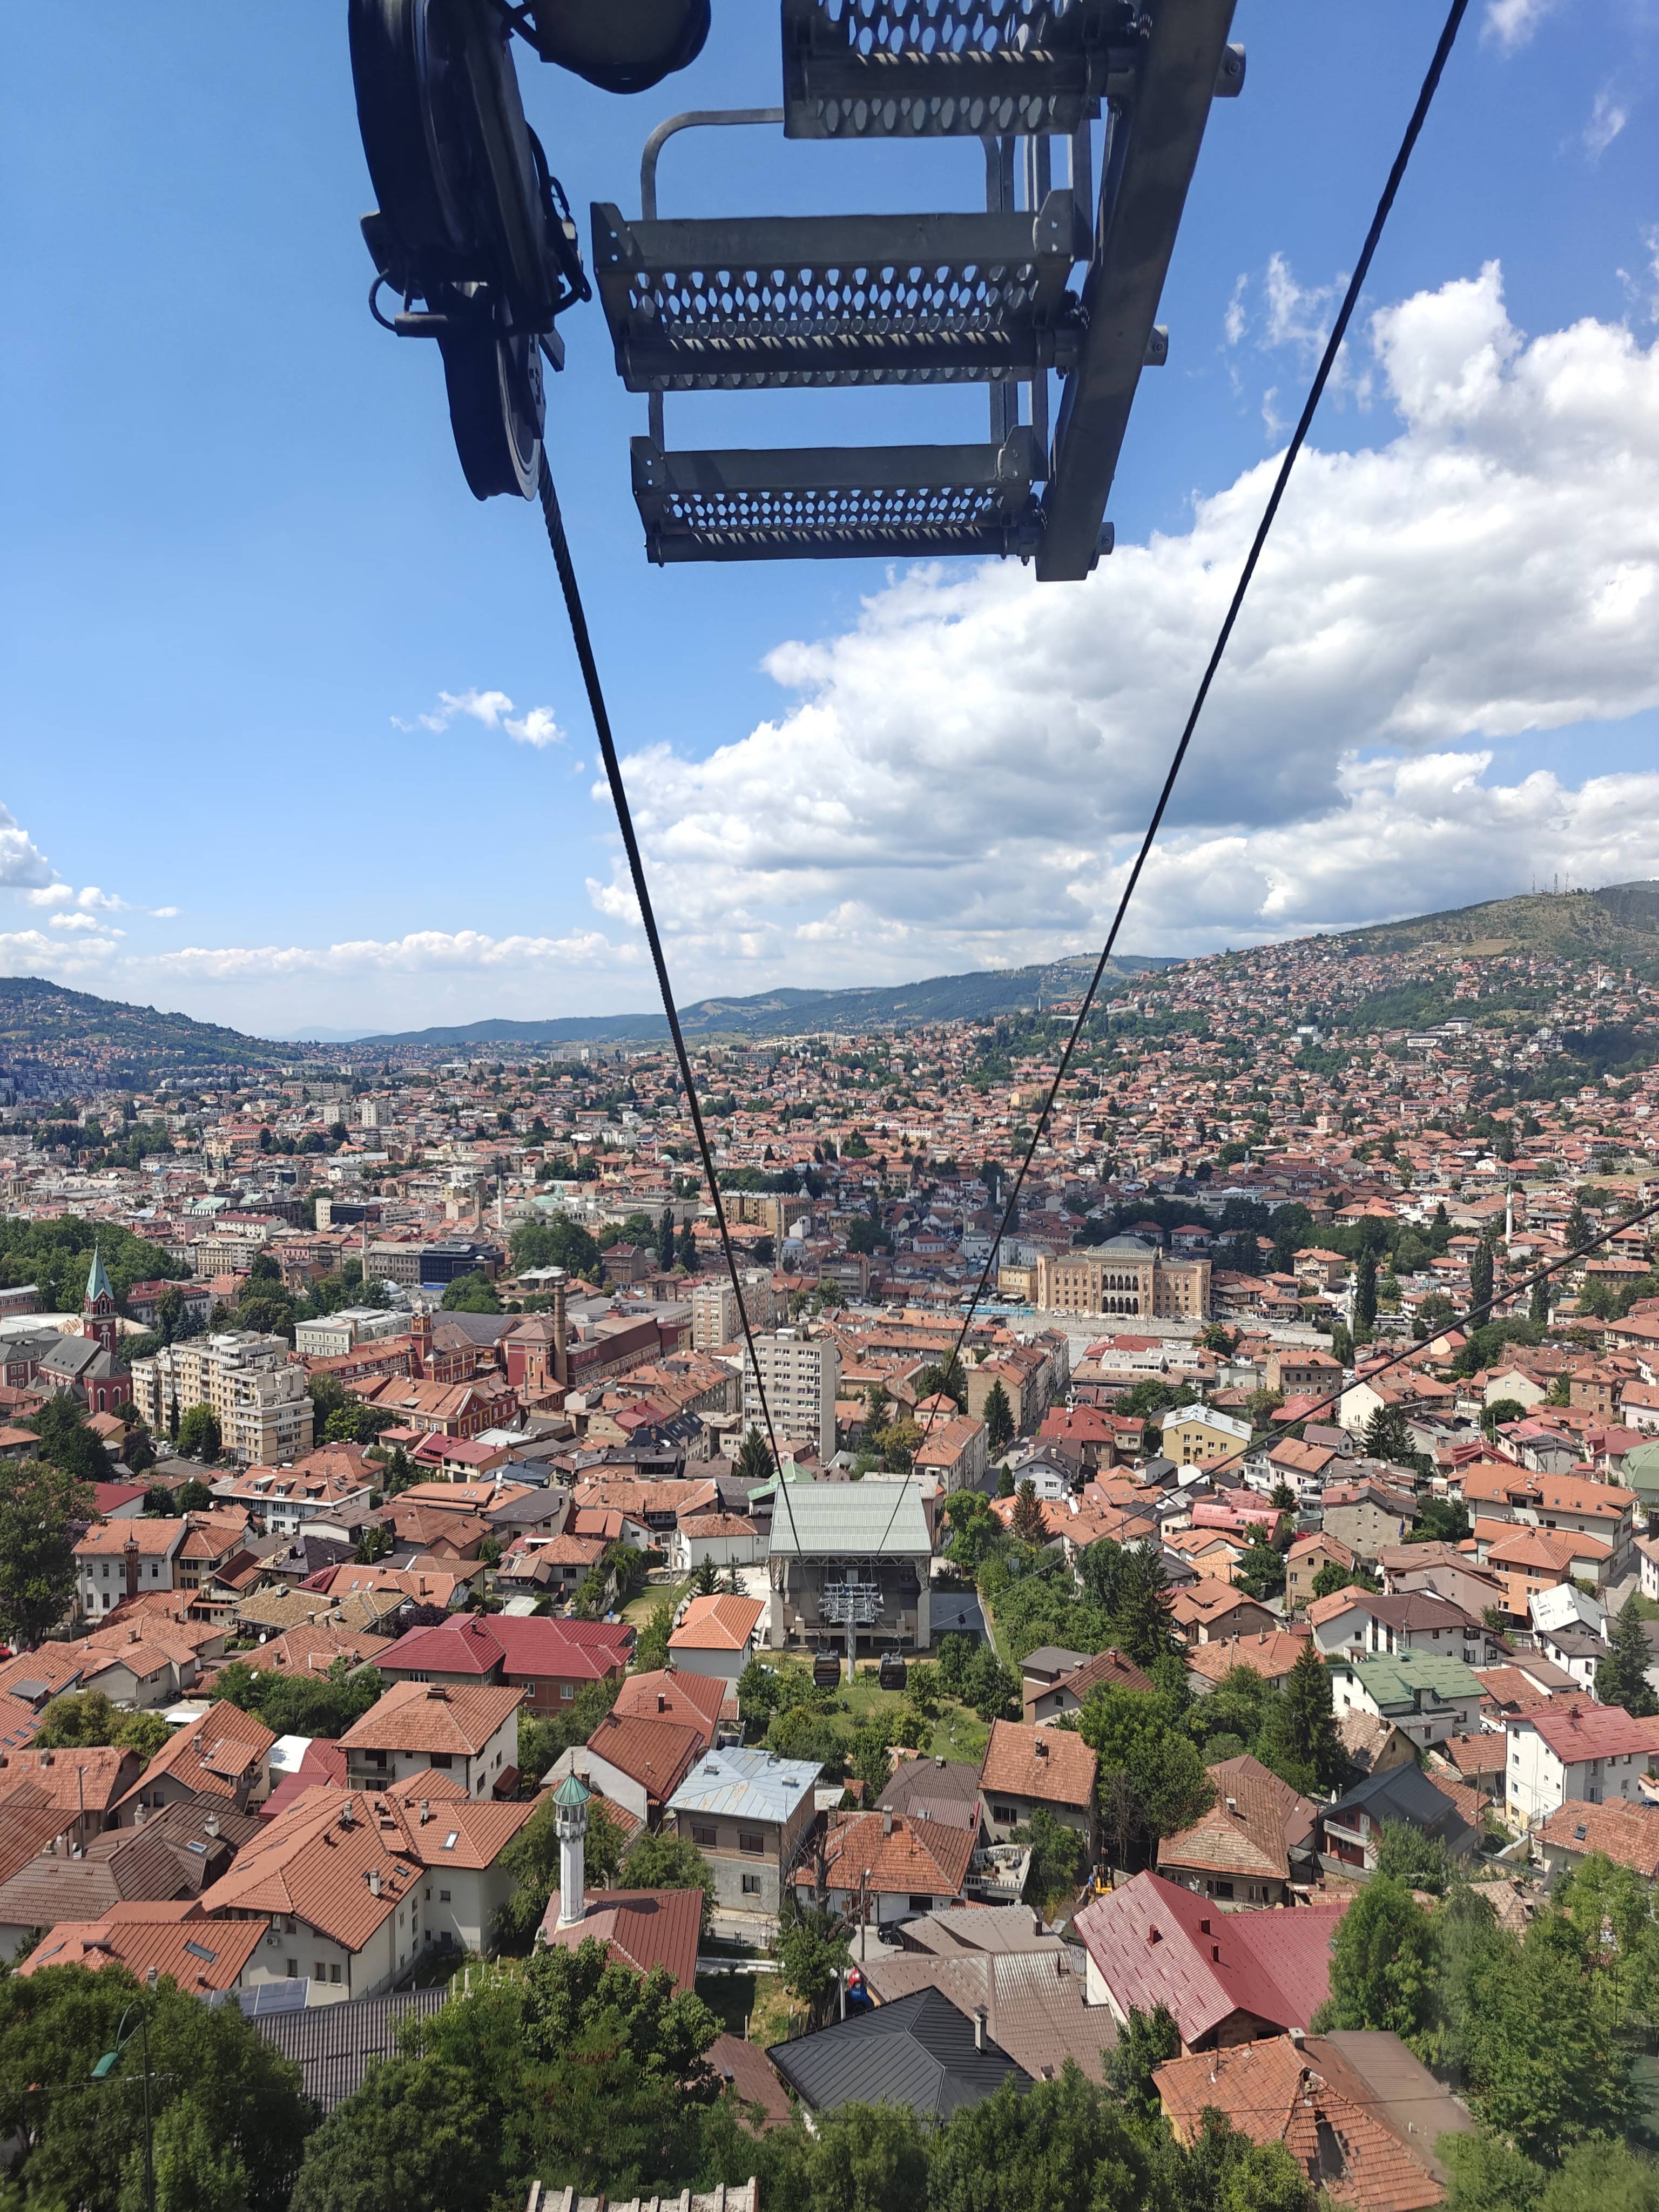
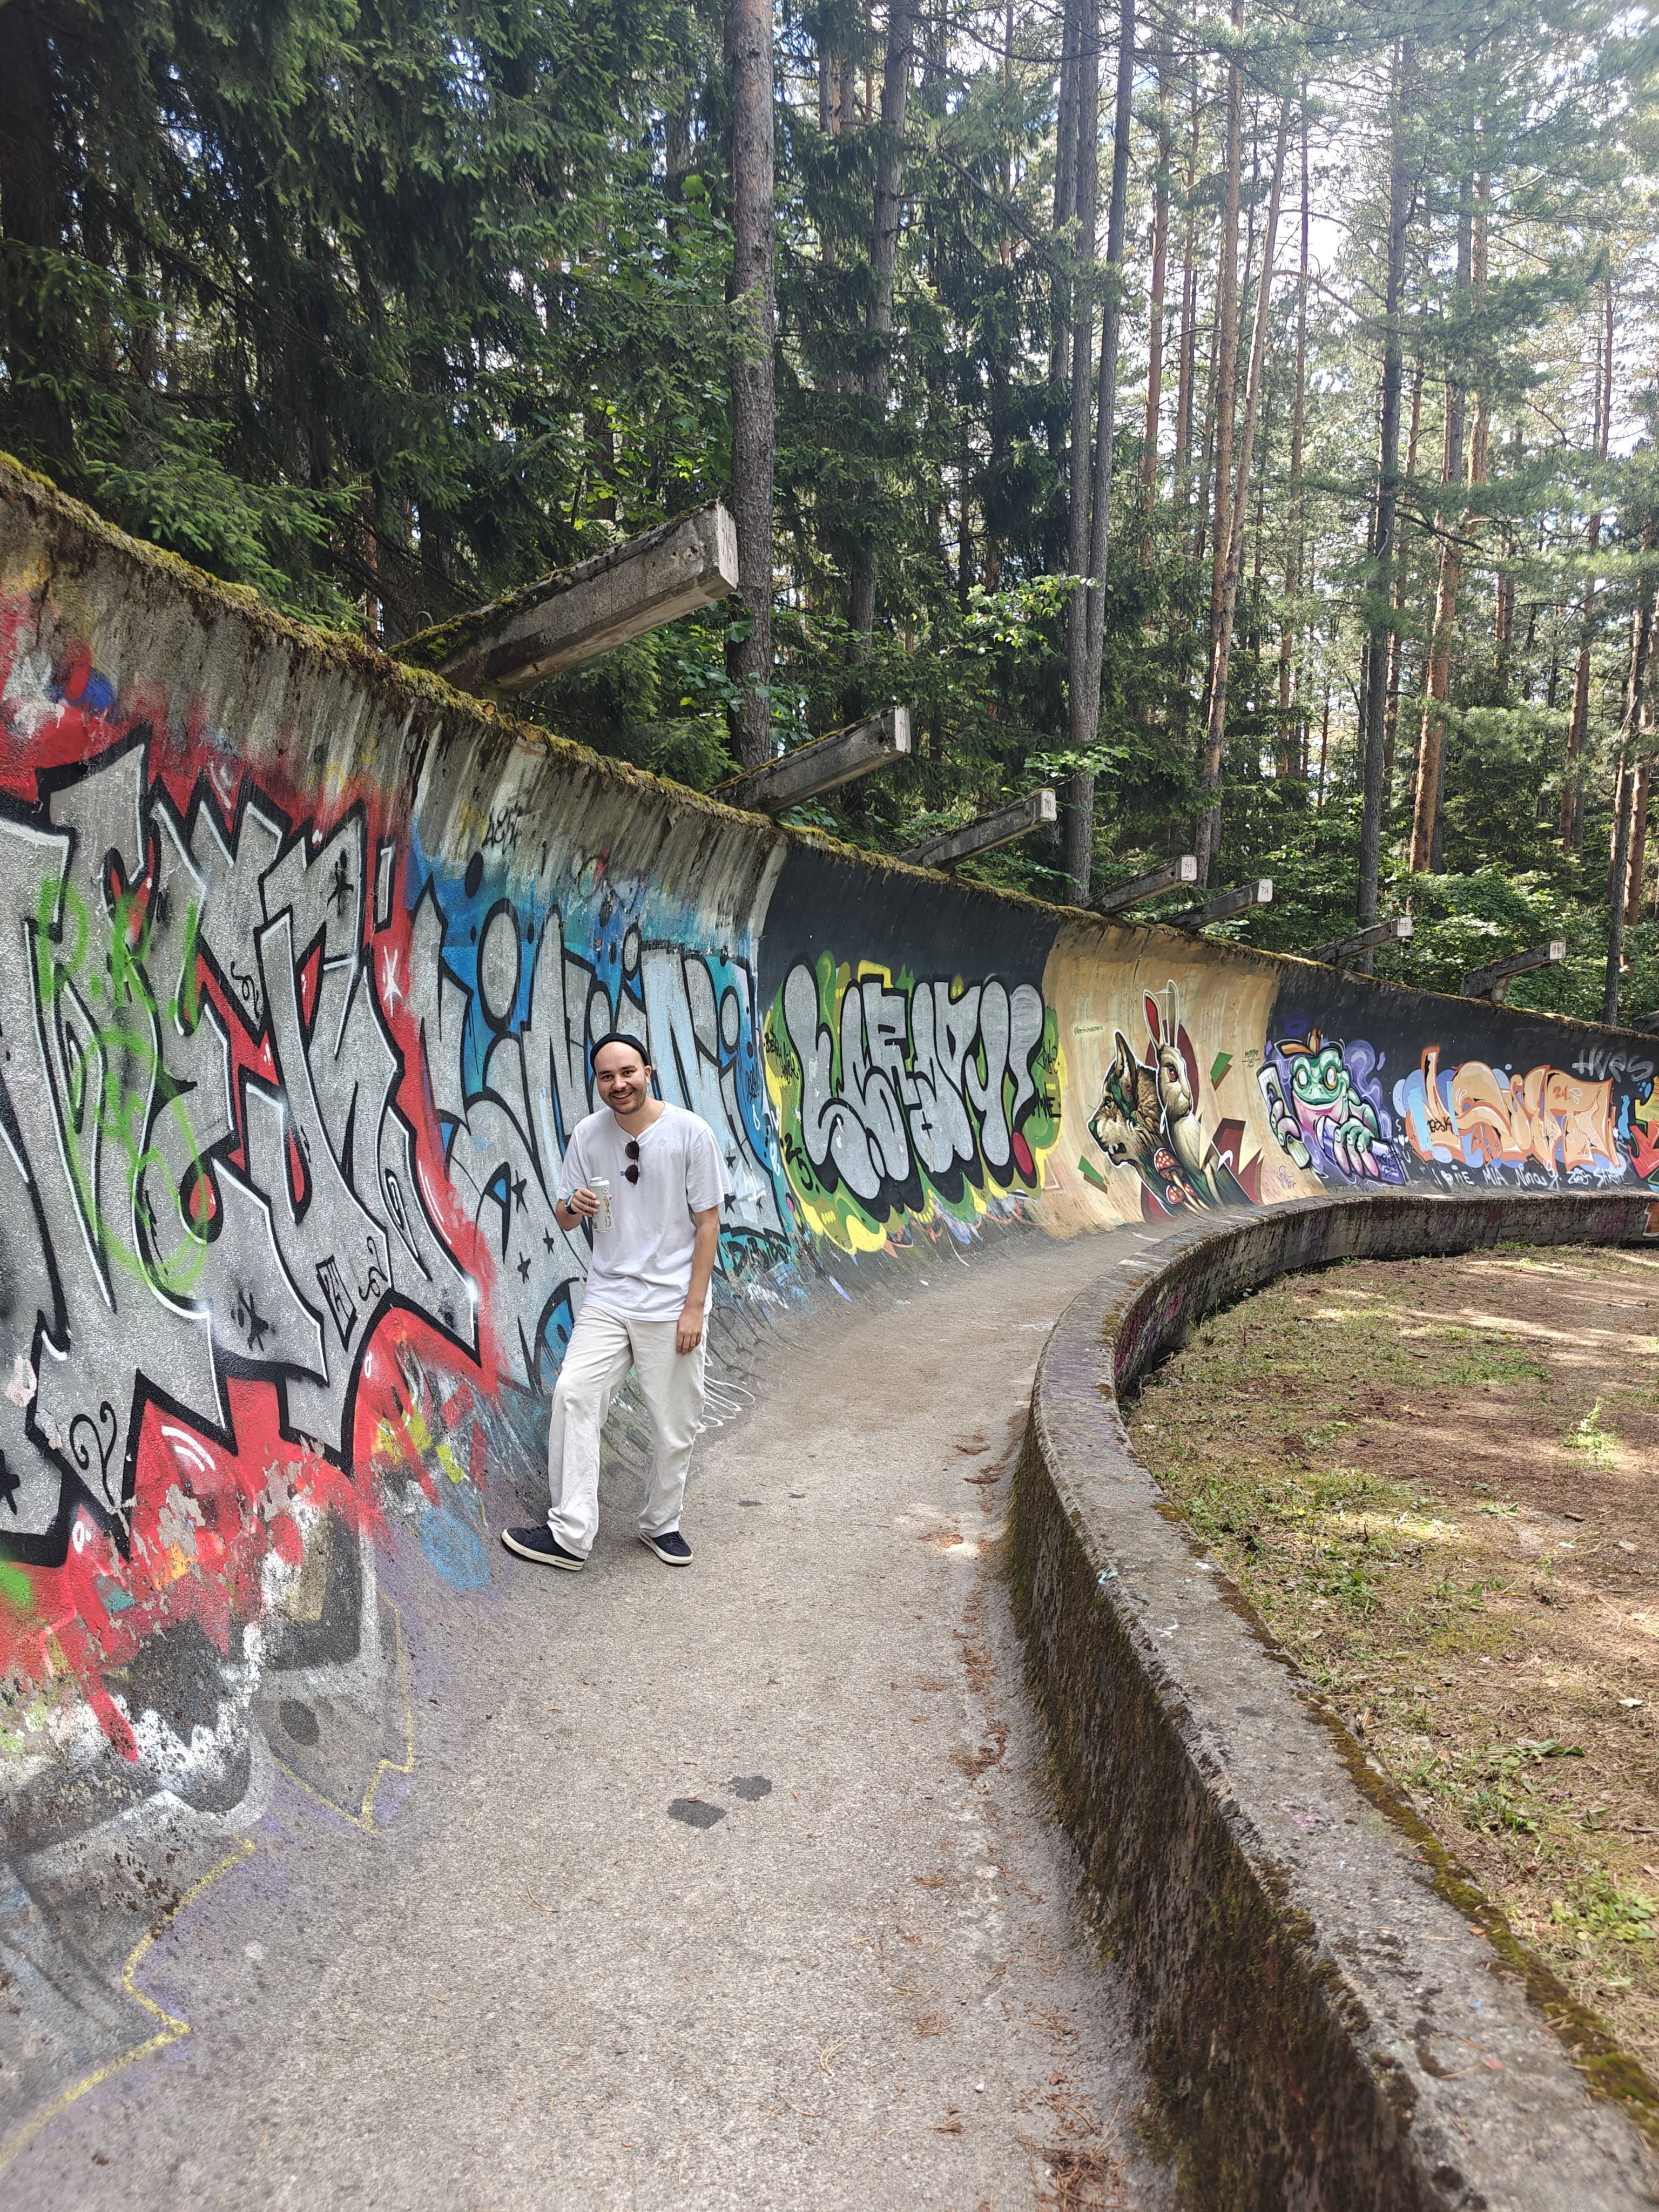
Sarajevo itself was beautiful, and I took the cable car up into the mountains
to visit the old Winter Olympics park. I even ended up appearing on the
city’s television YouTube channel
as a sort of side quest, along with three Australians.
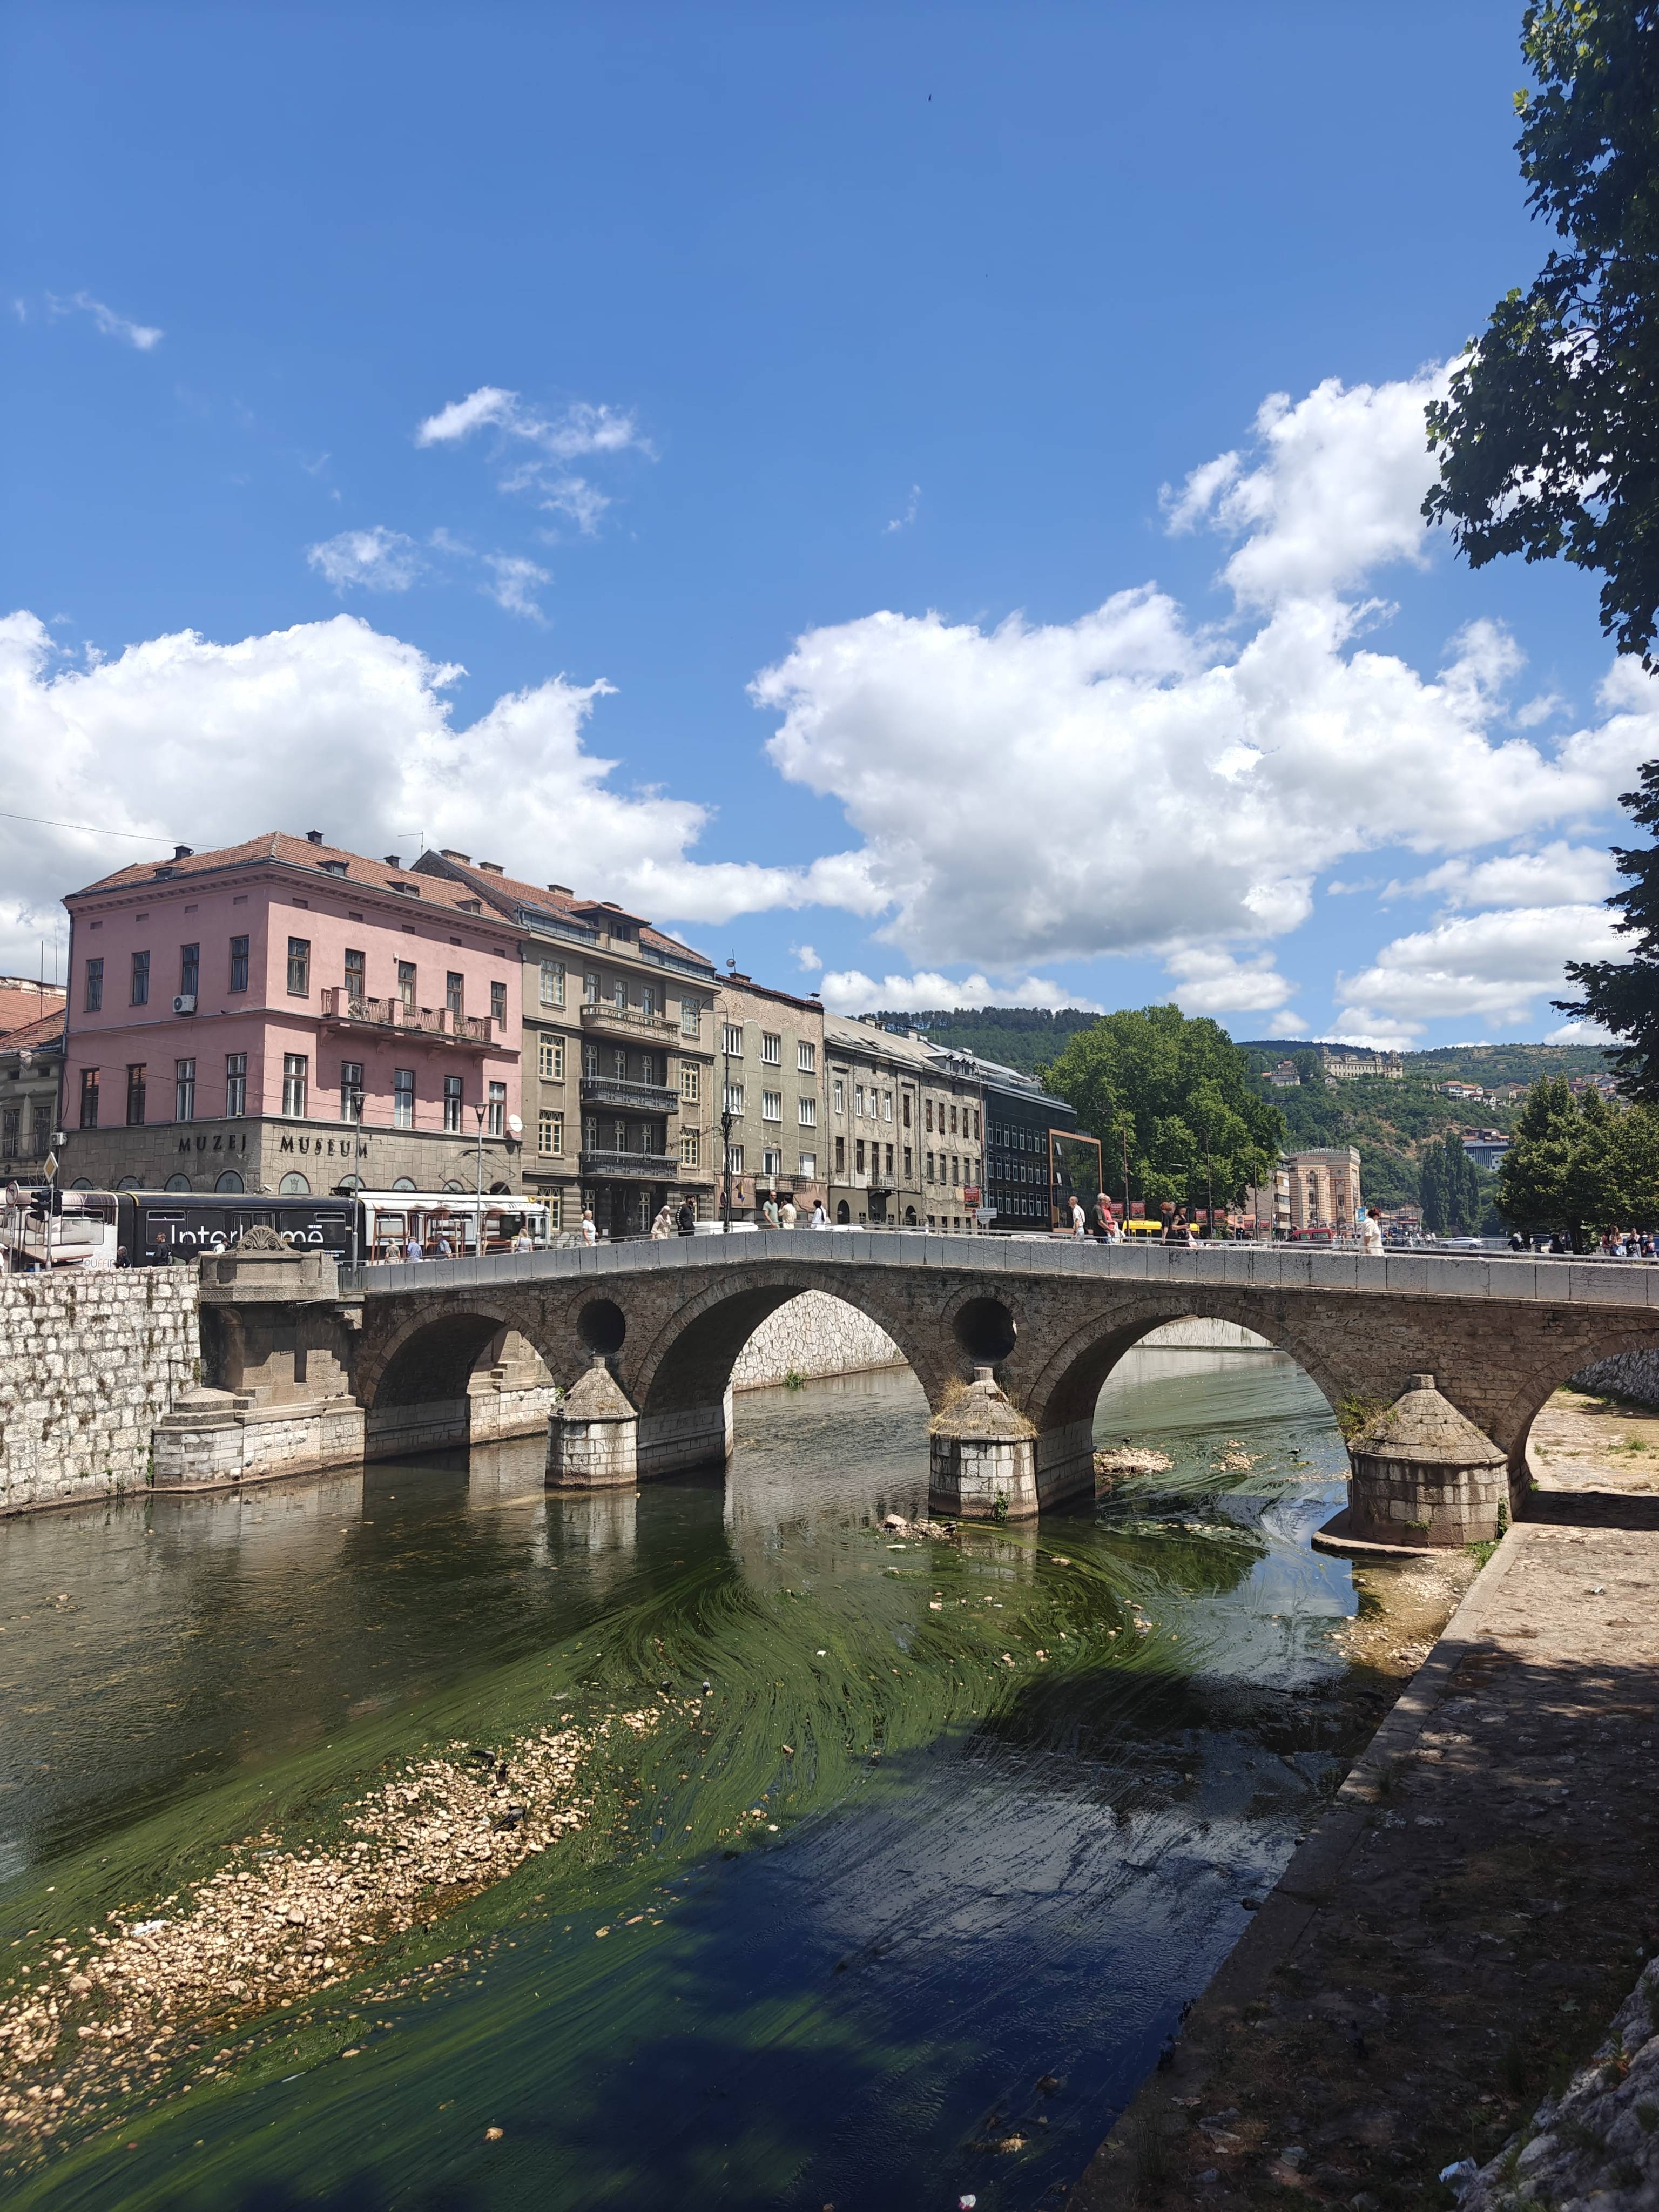
River in Sarajevo
Taking the cable car
Old Bobsleigh
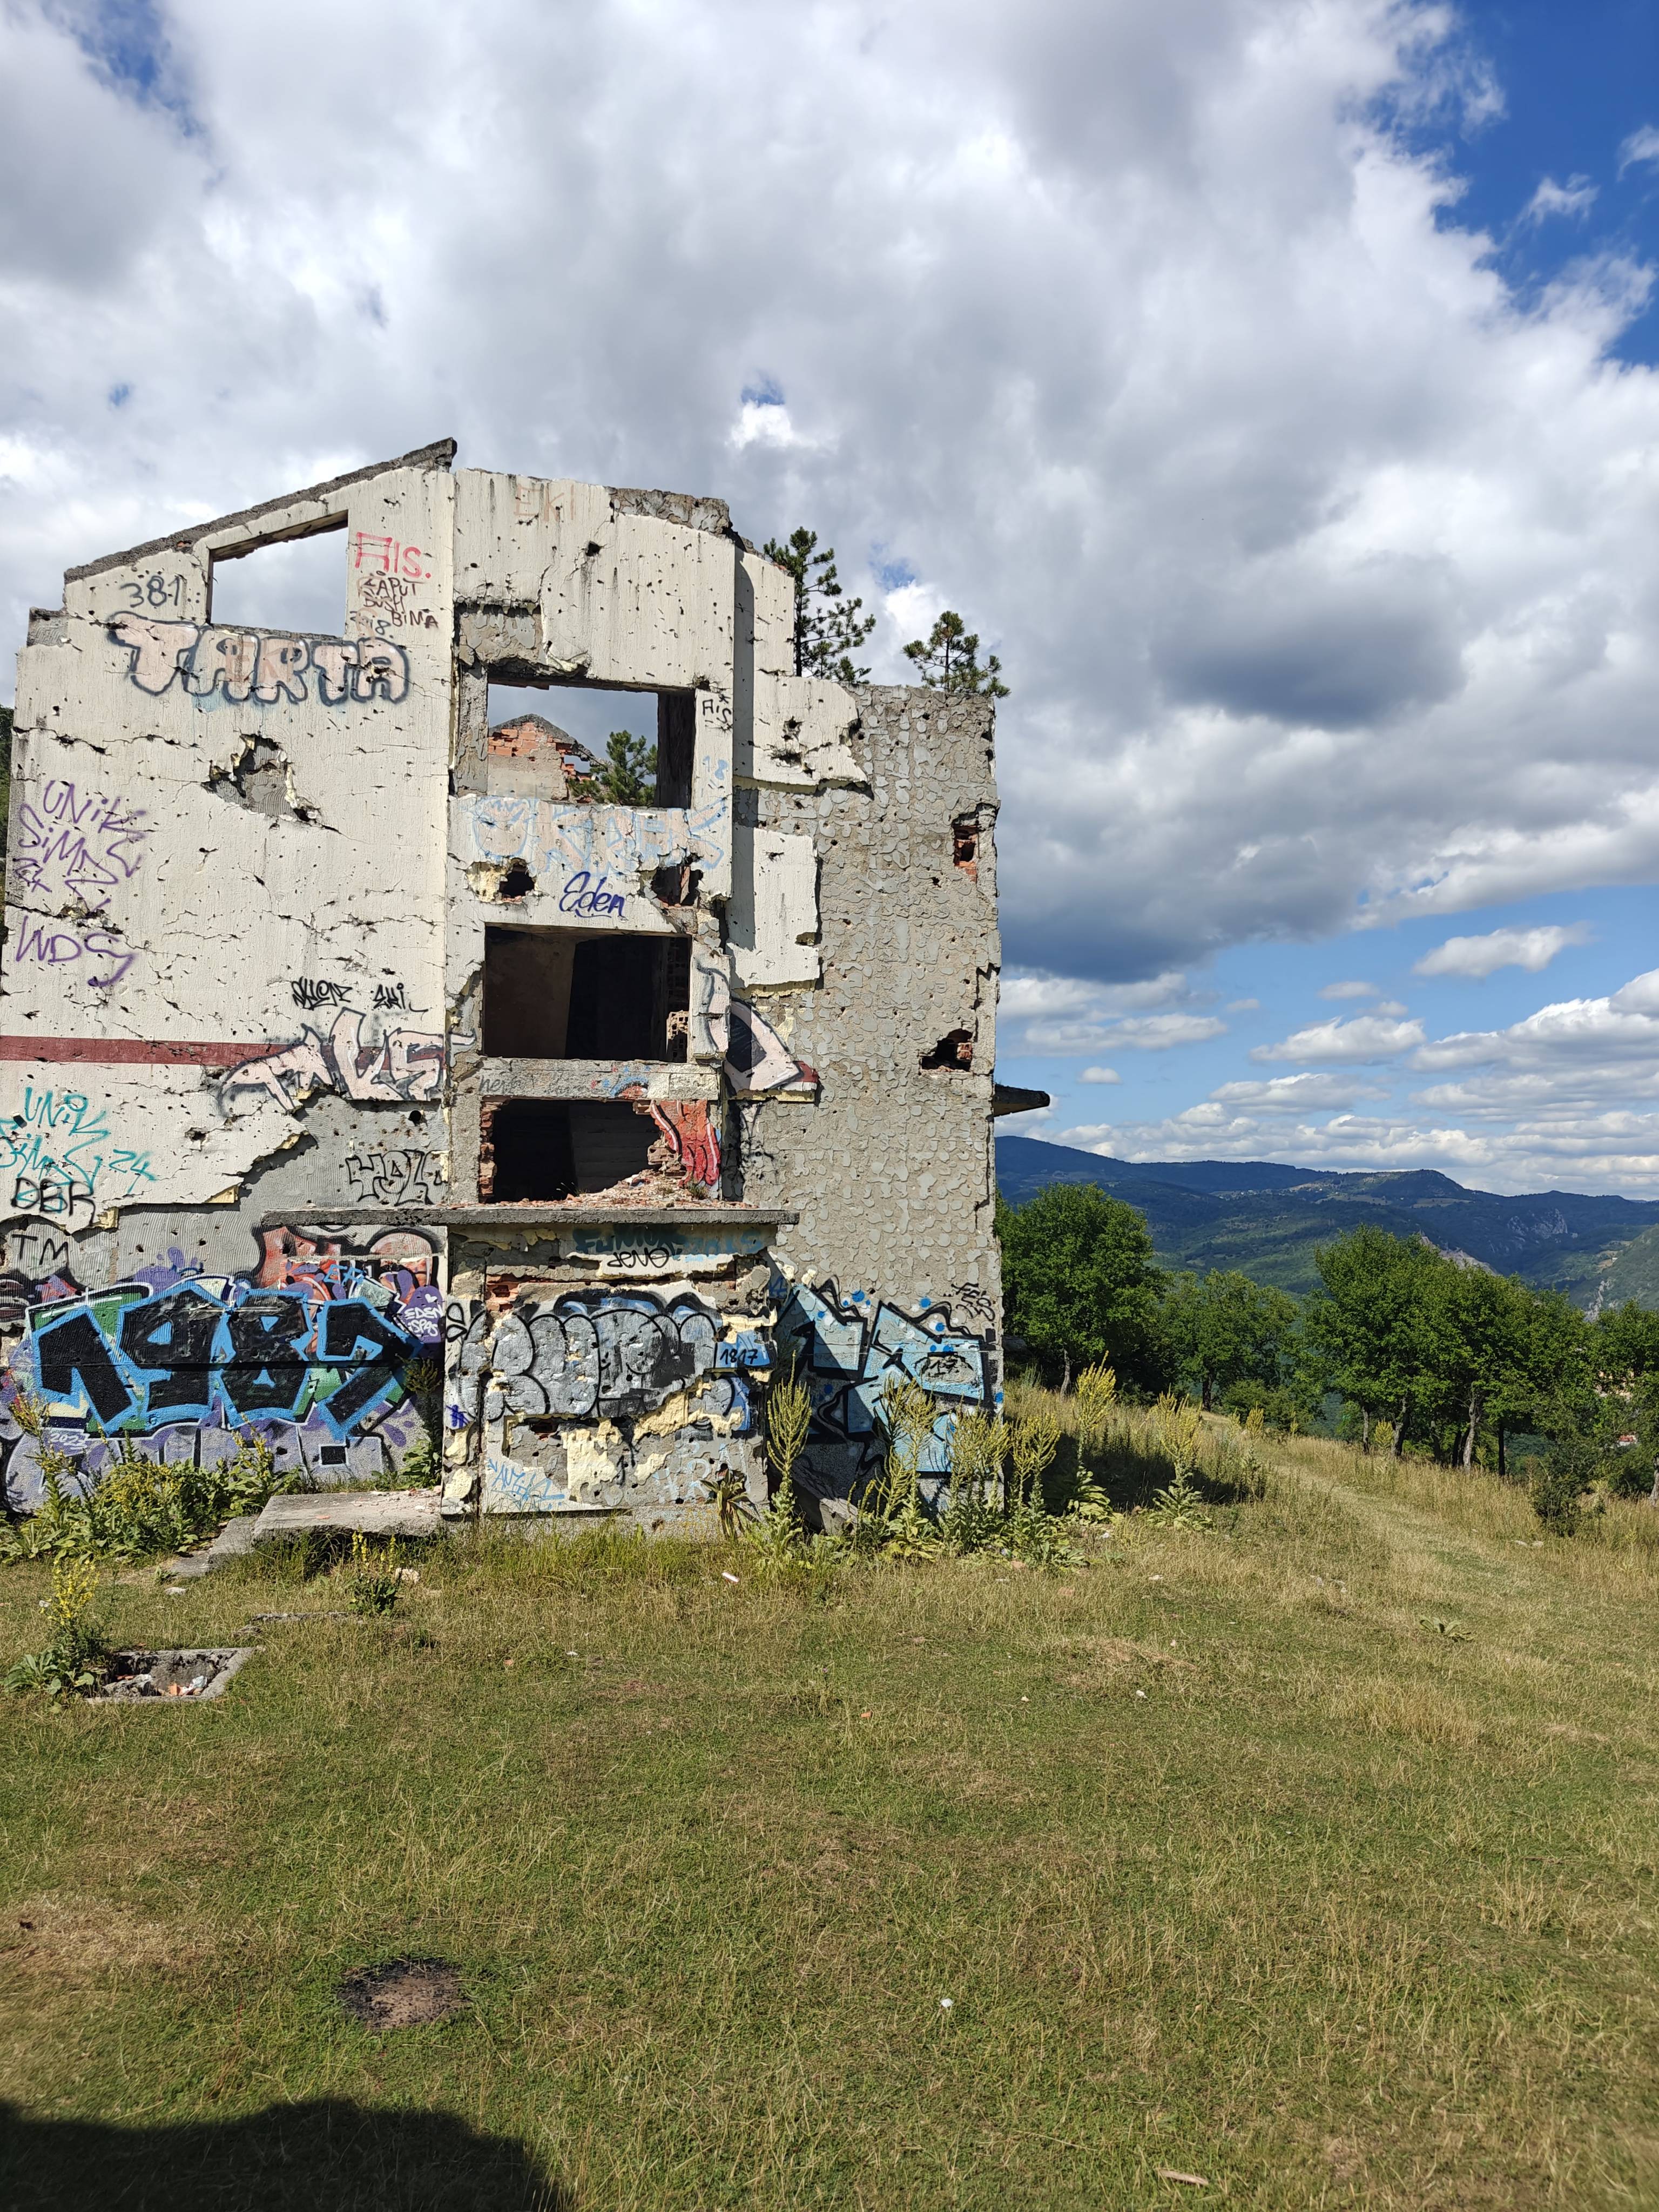
Old destroyed building by the war
View from the old destroyed building
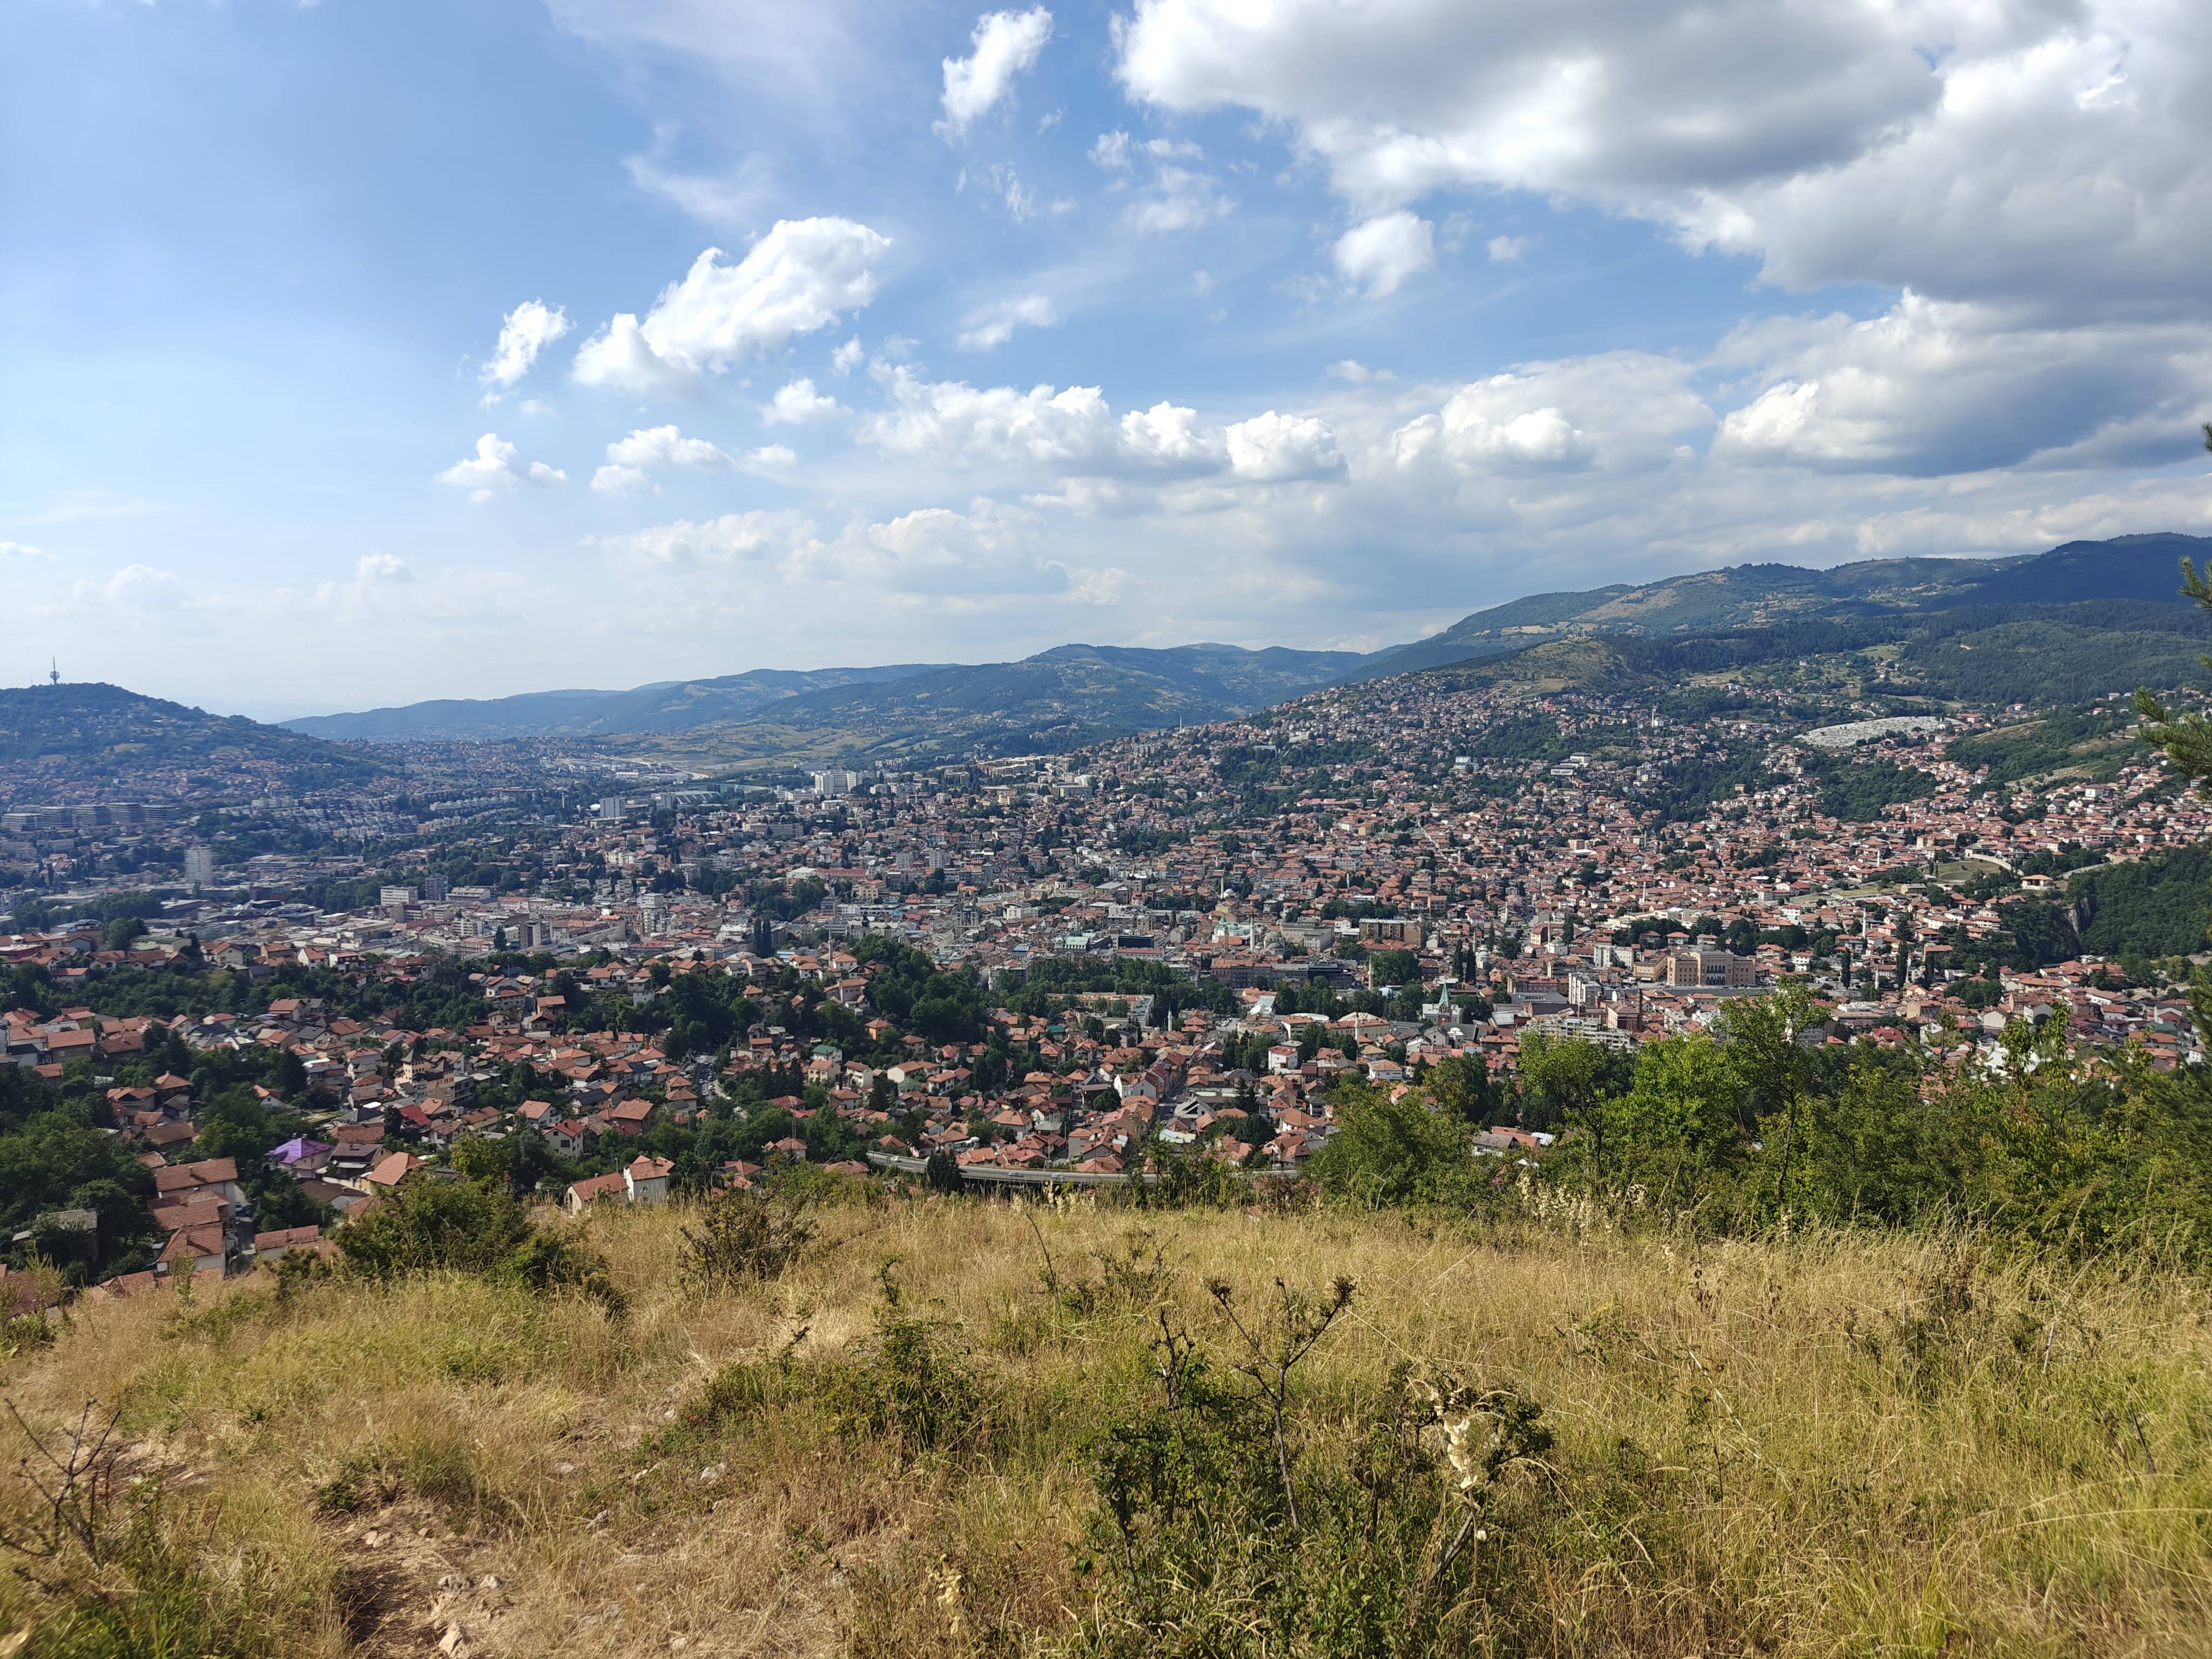
View of Sarajevo
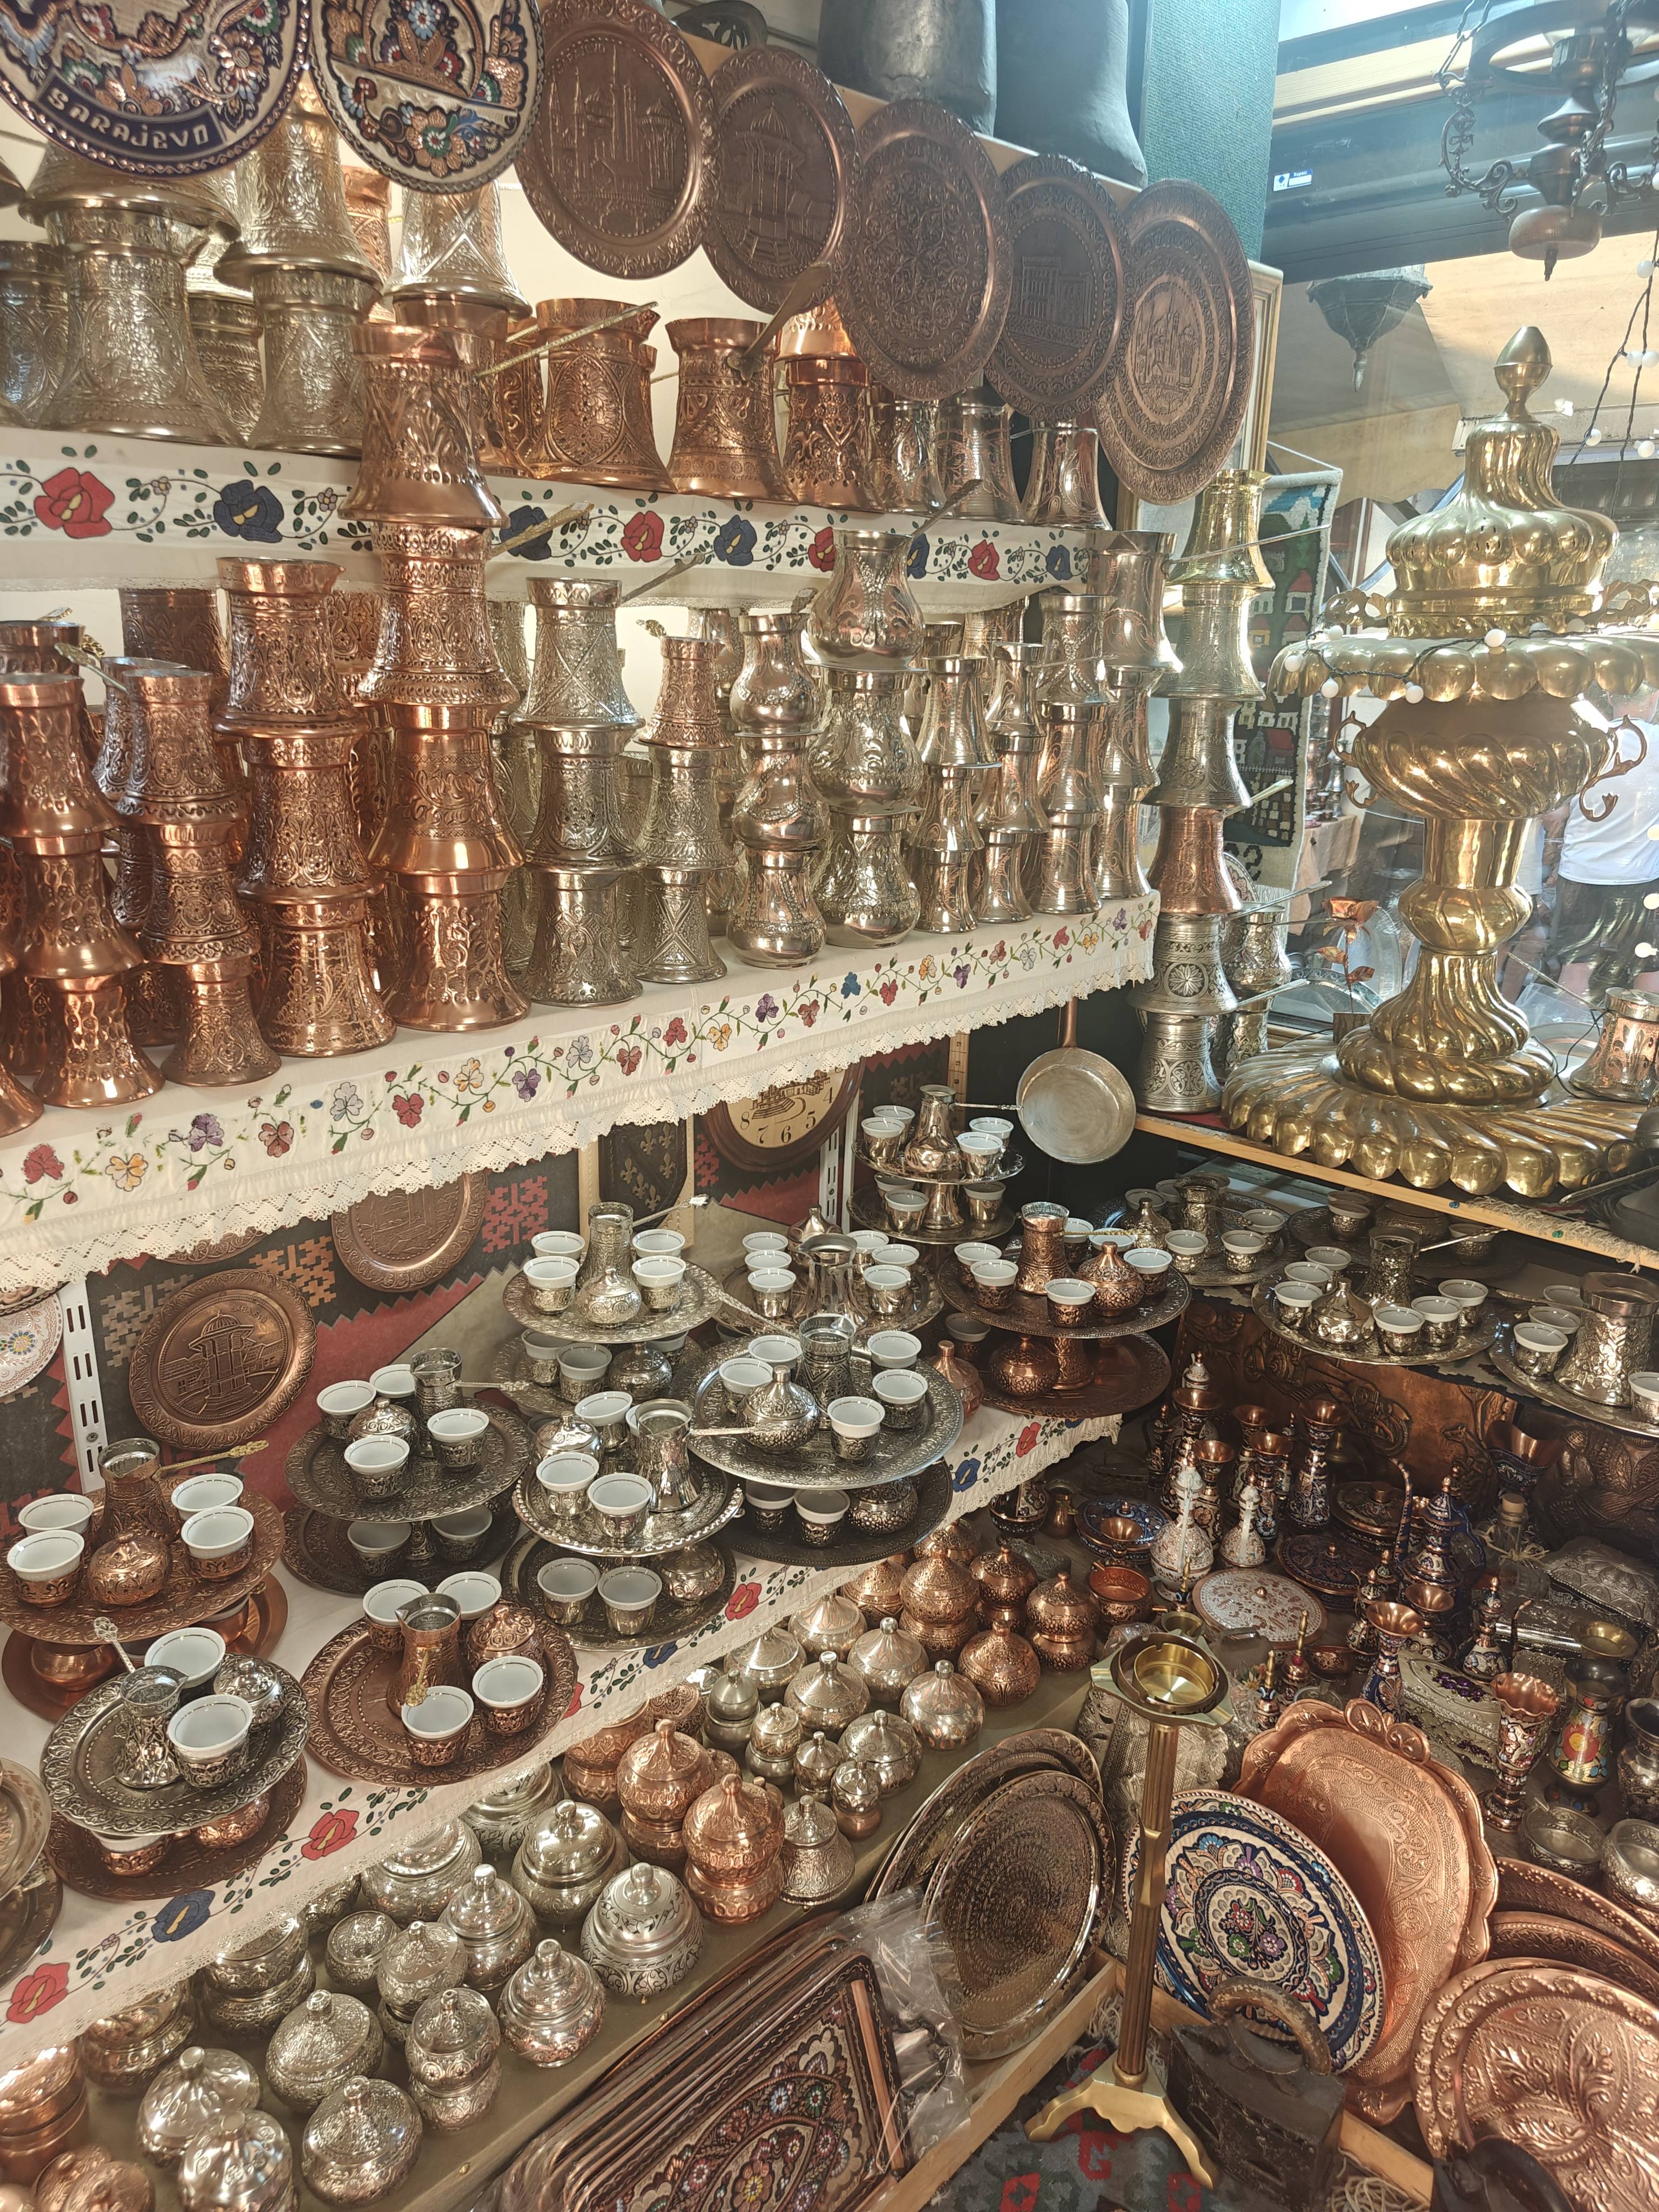
A copper shop (there was a lot of them in Bosnia)
Belgrade
Afterward, I went to Serbia — more precisely, to the capital, Belgrade. I took
a night bus, which turned out to be a bit stressful. I almost missed it because
I didn’t have one euro in cash to pay a surprising platform fee to enter the bus
station. Then, at the border around 2 a.m., I was the only one who had to go
through a full luggage check.
In Belgrade itself, I didn’t do much. I spent a lot of time at the hostel
talking with other travelers and petting the hostel cat. I was a bit shocked by
the amount of military propaganda I saw everywhere in the city.
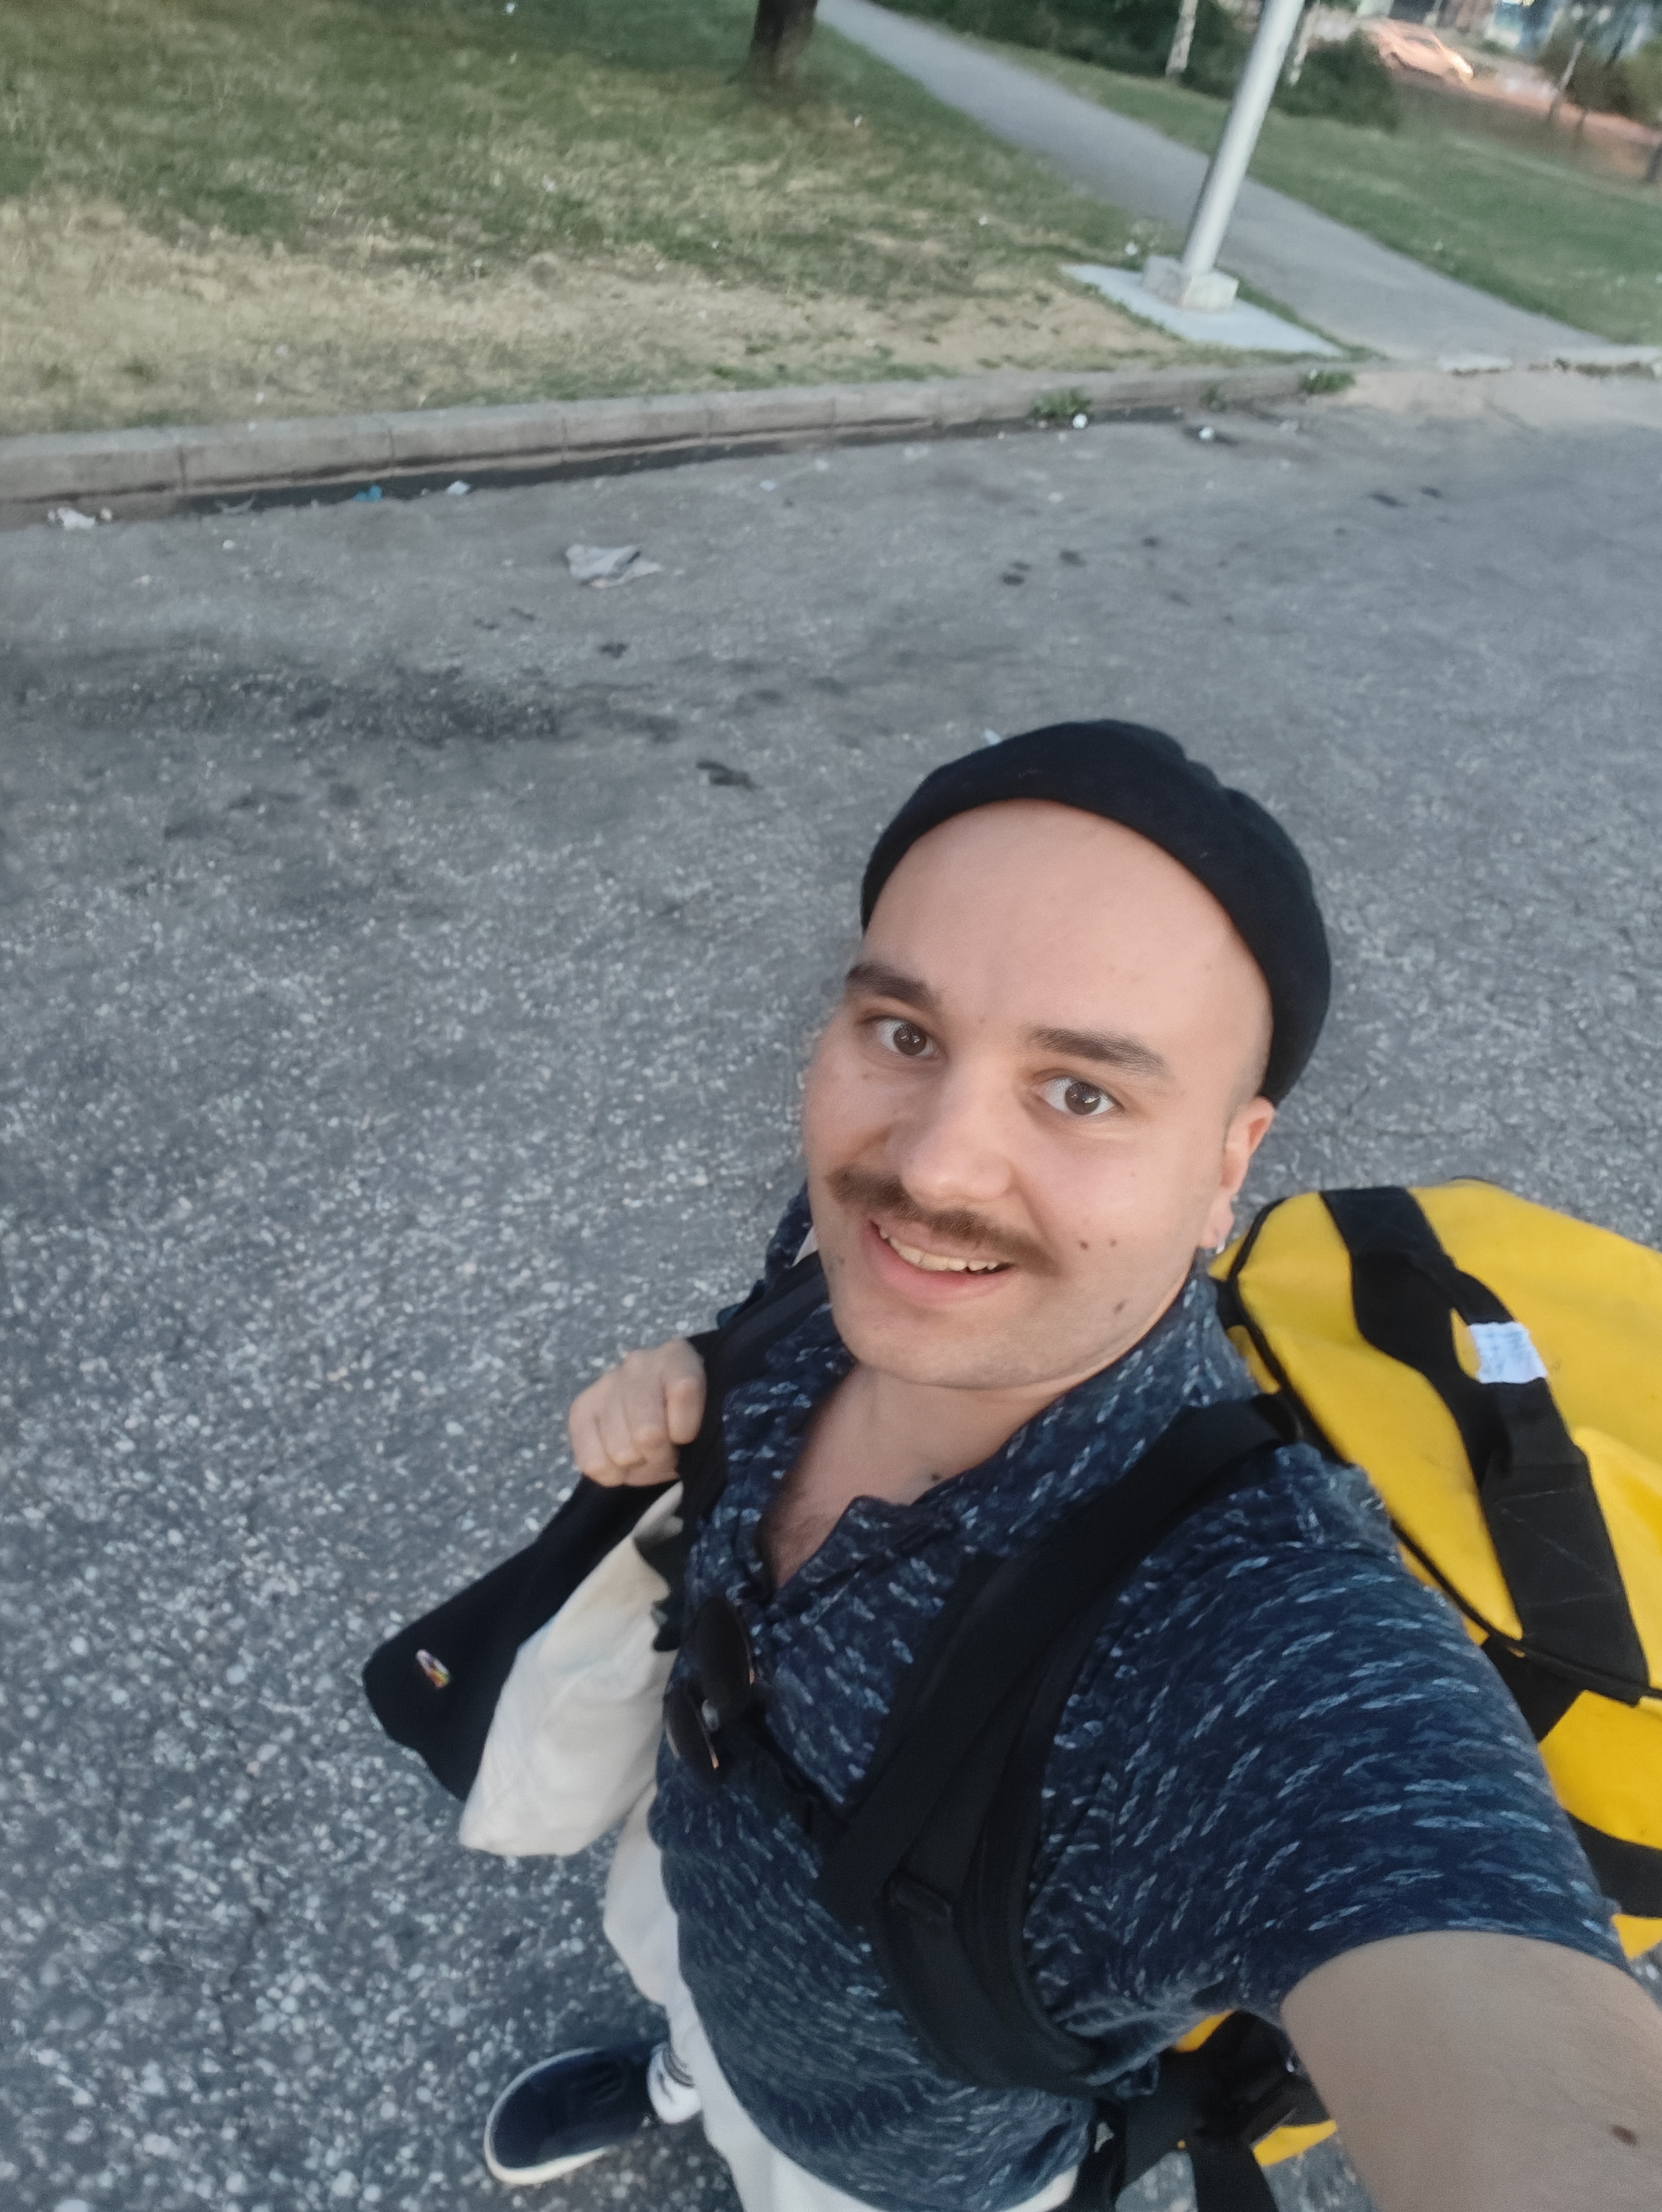
Me before taking the bus
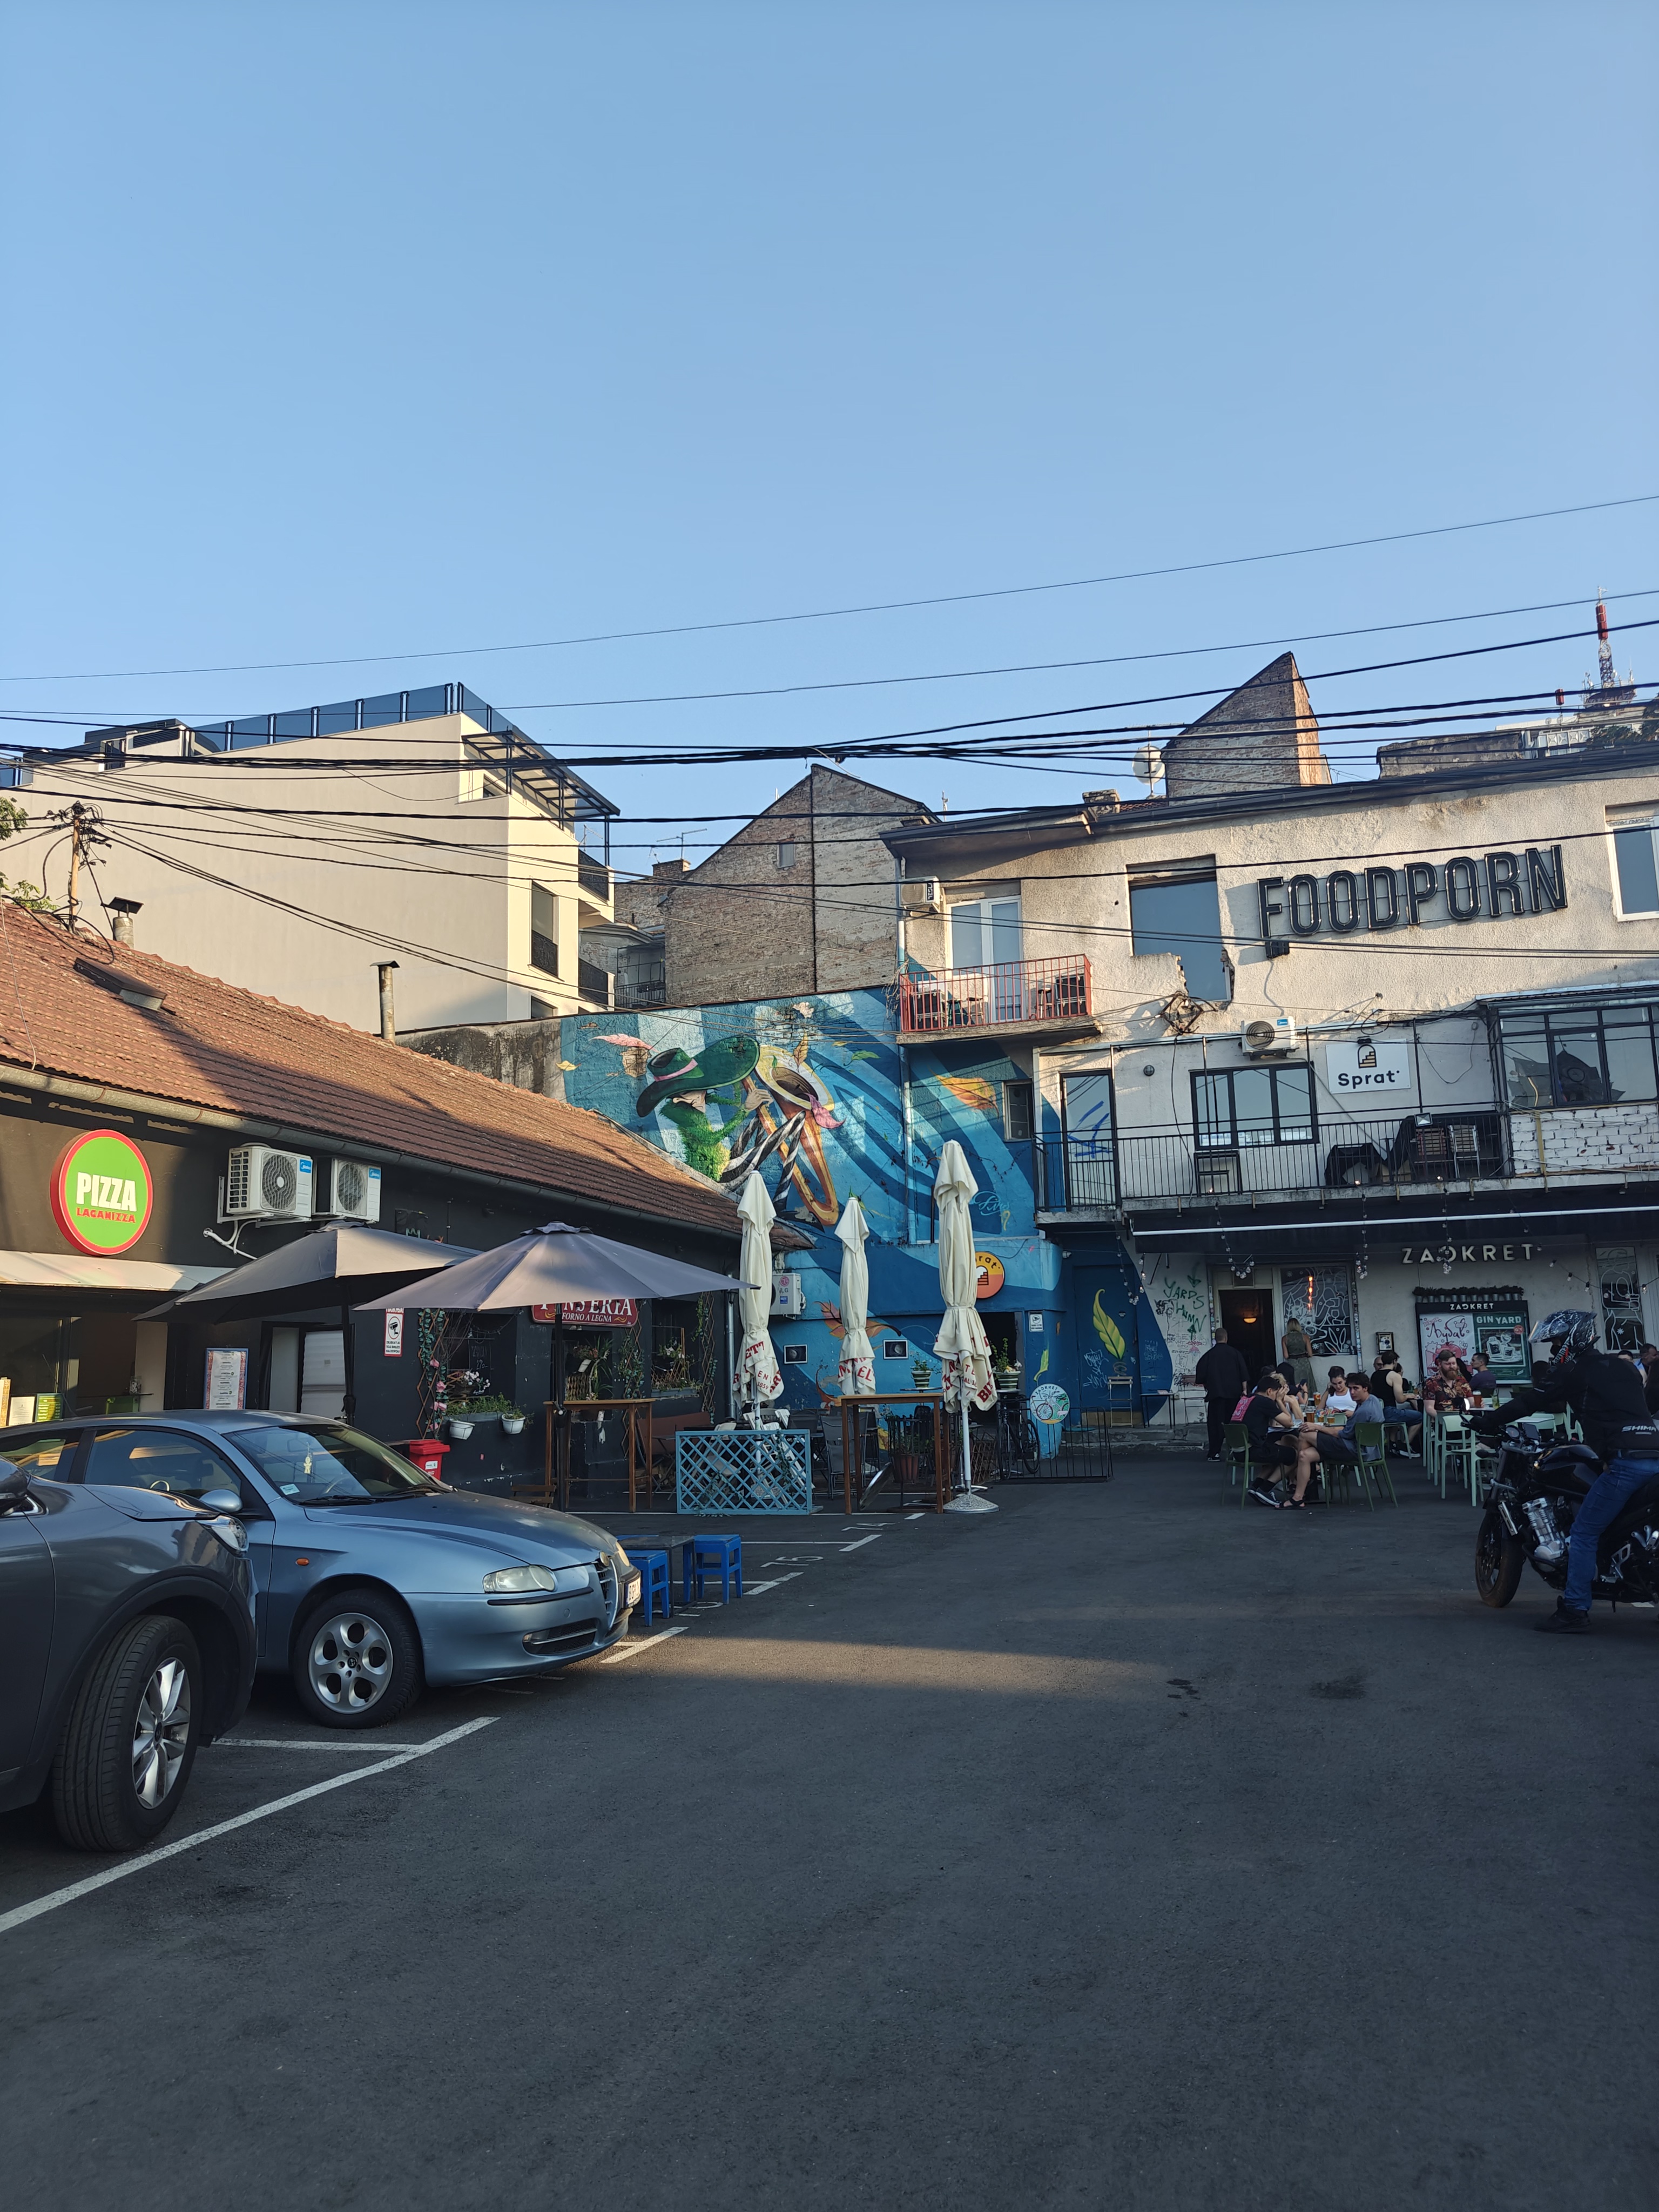
Cool place in Belgrade full of bars
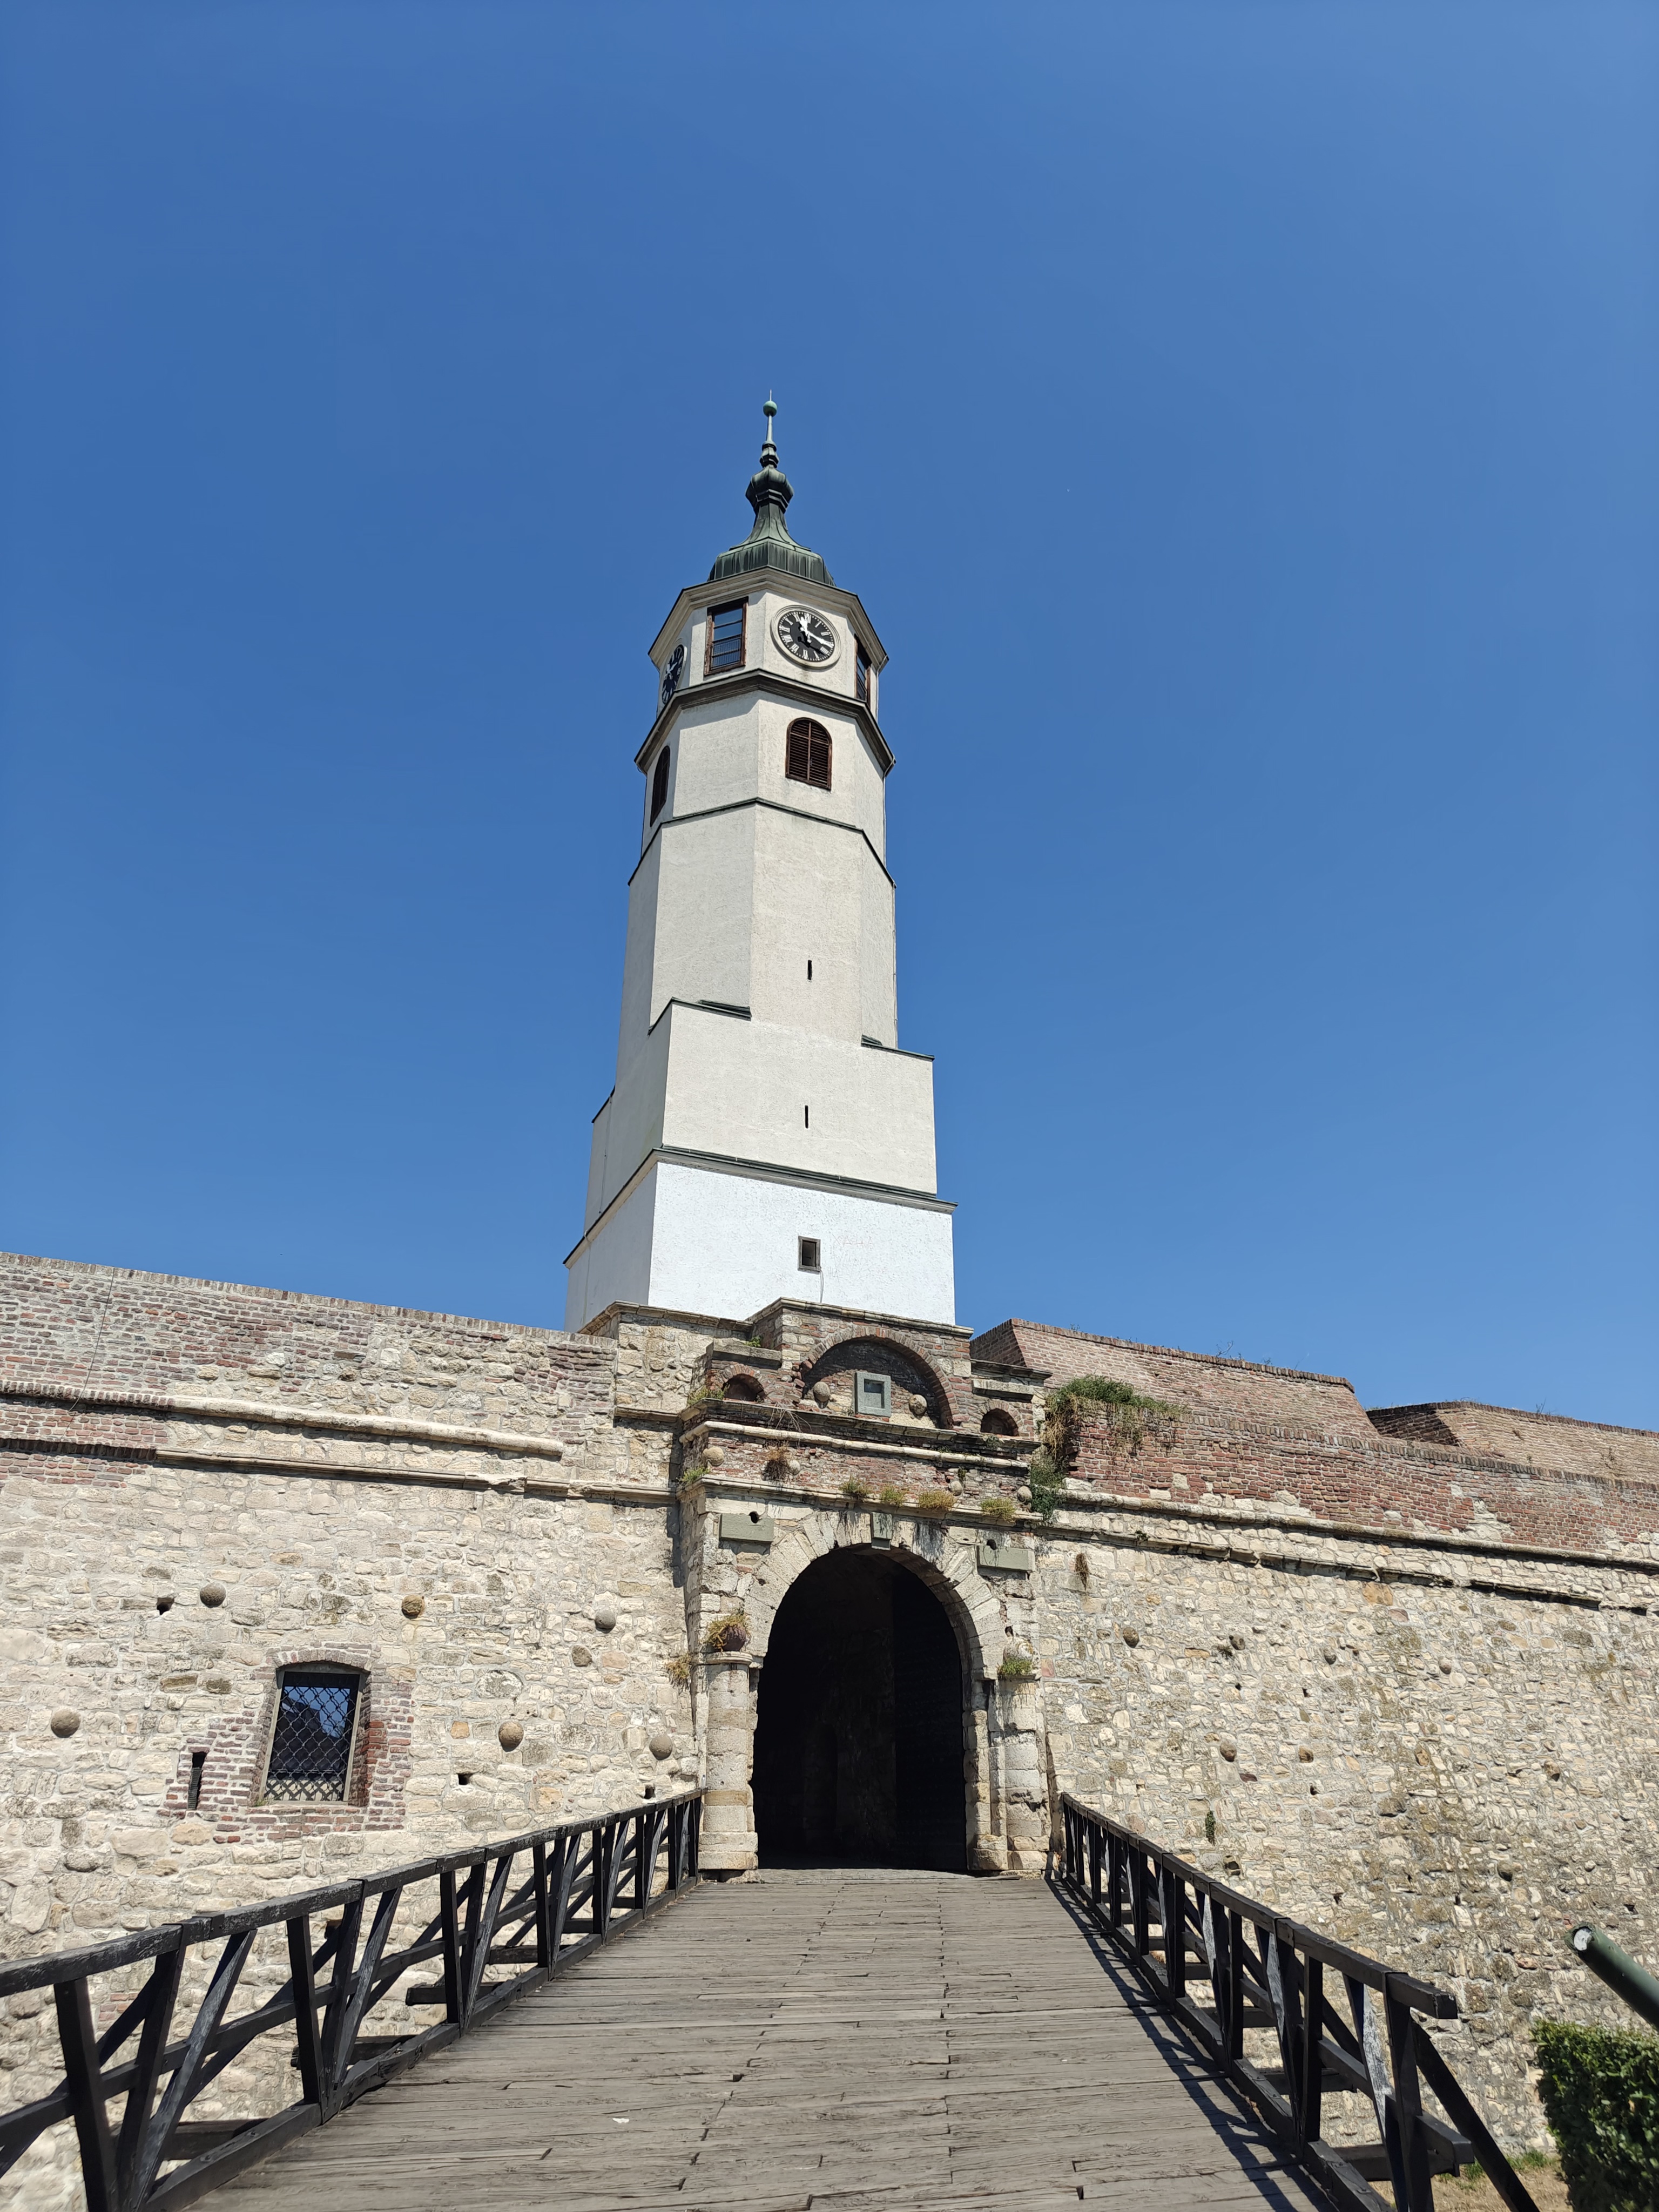
The citadel. There was a massive amount of old war machines next to it.
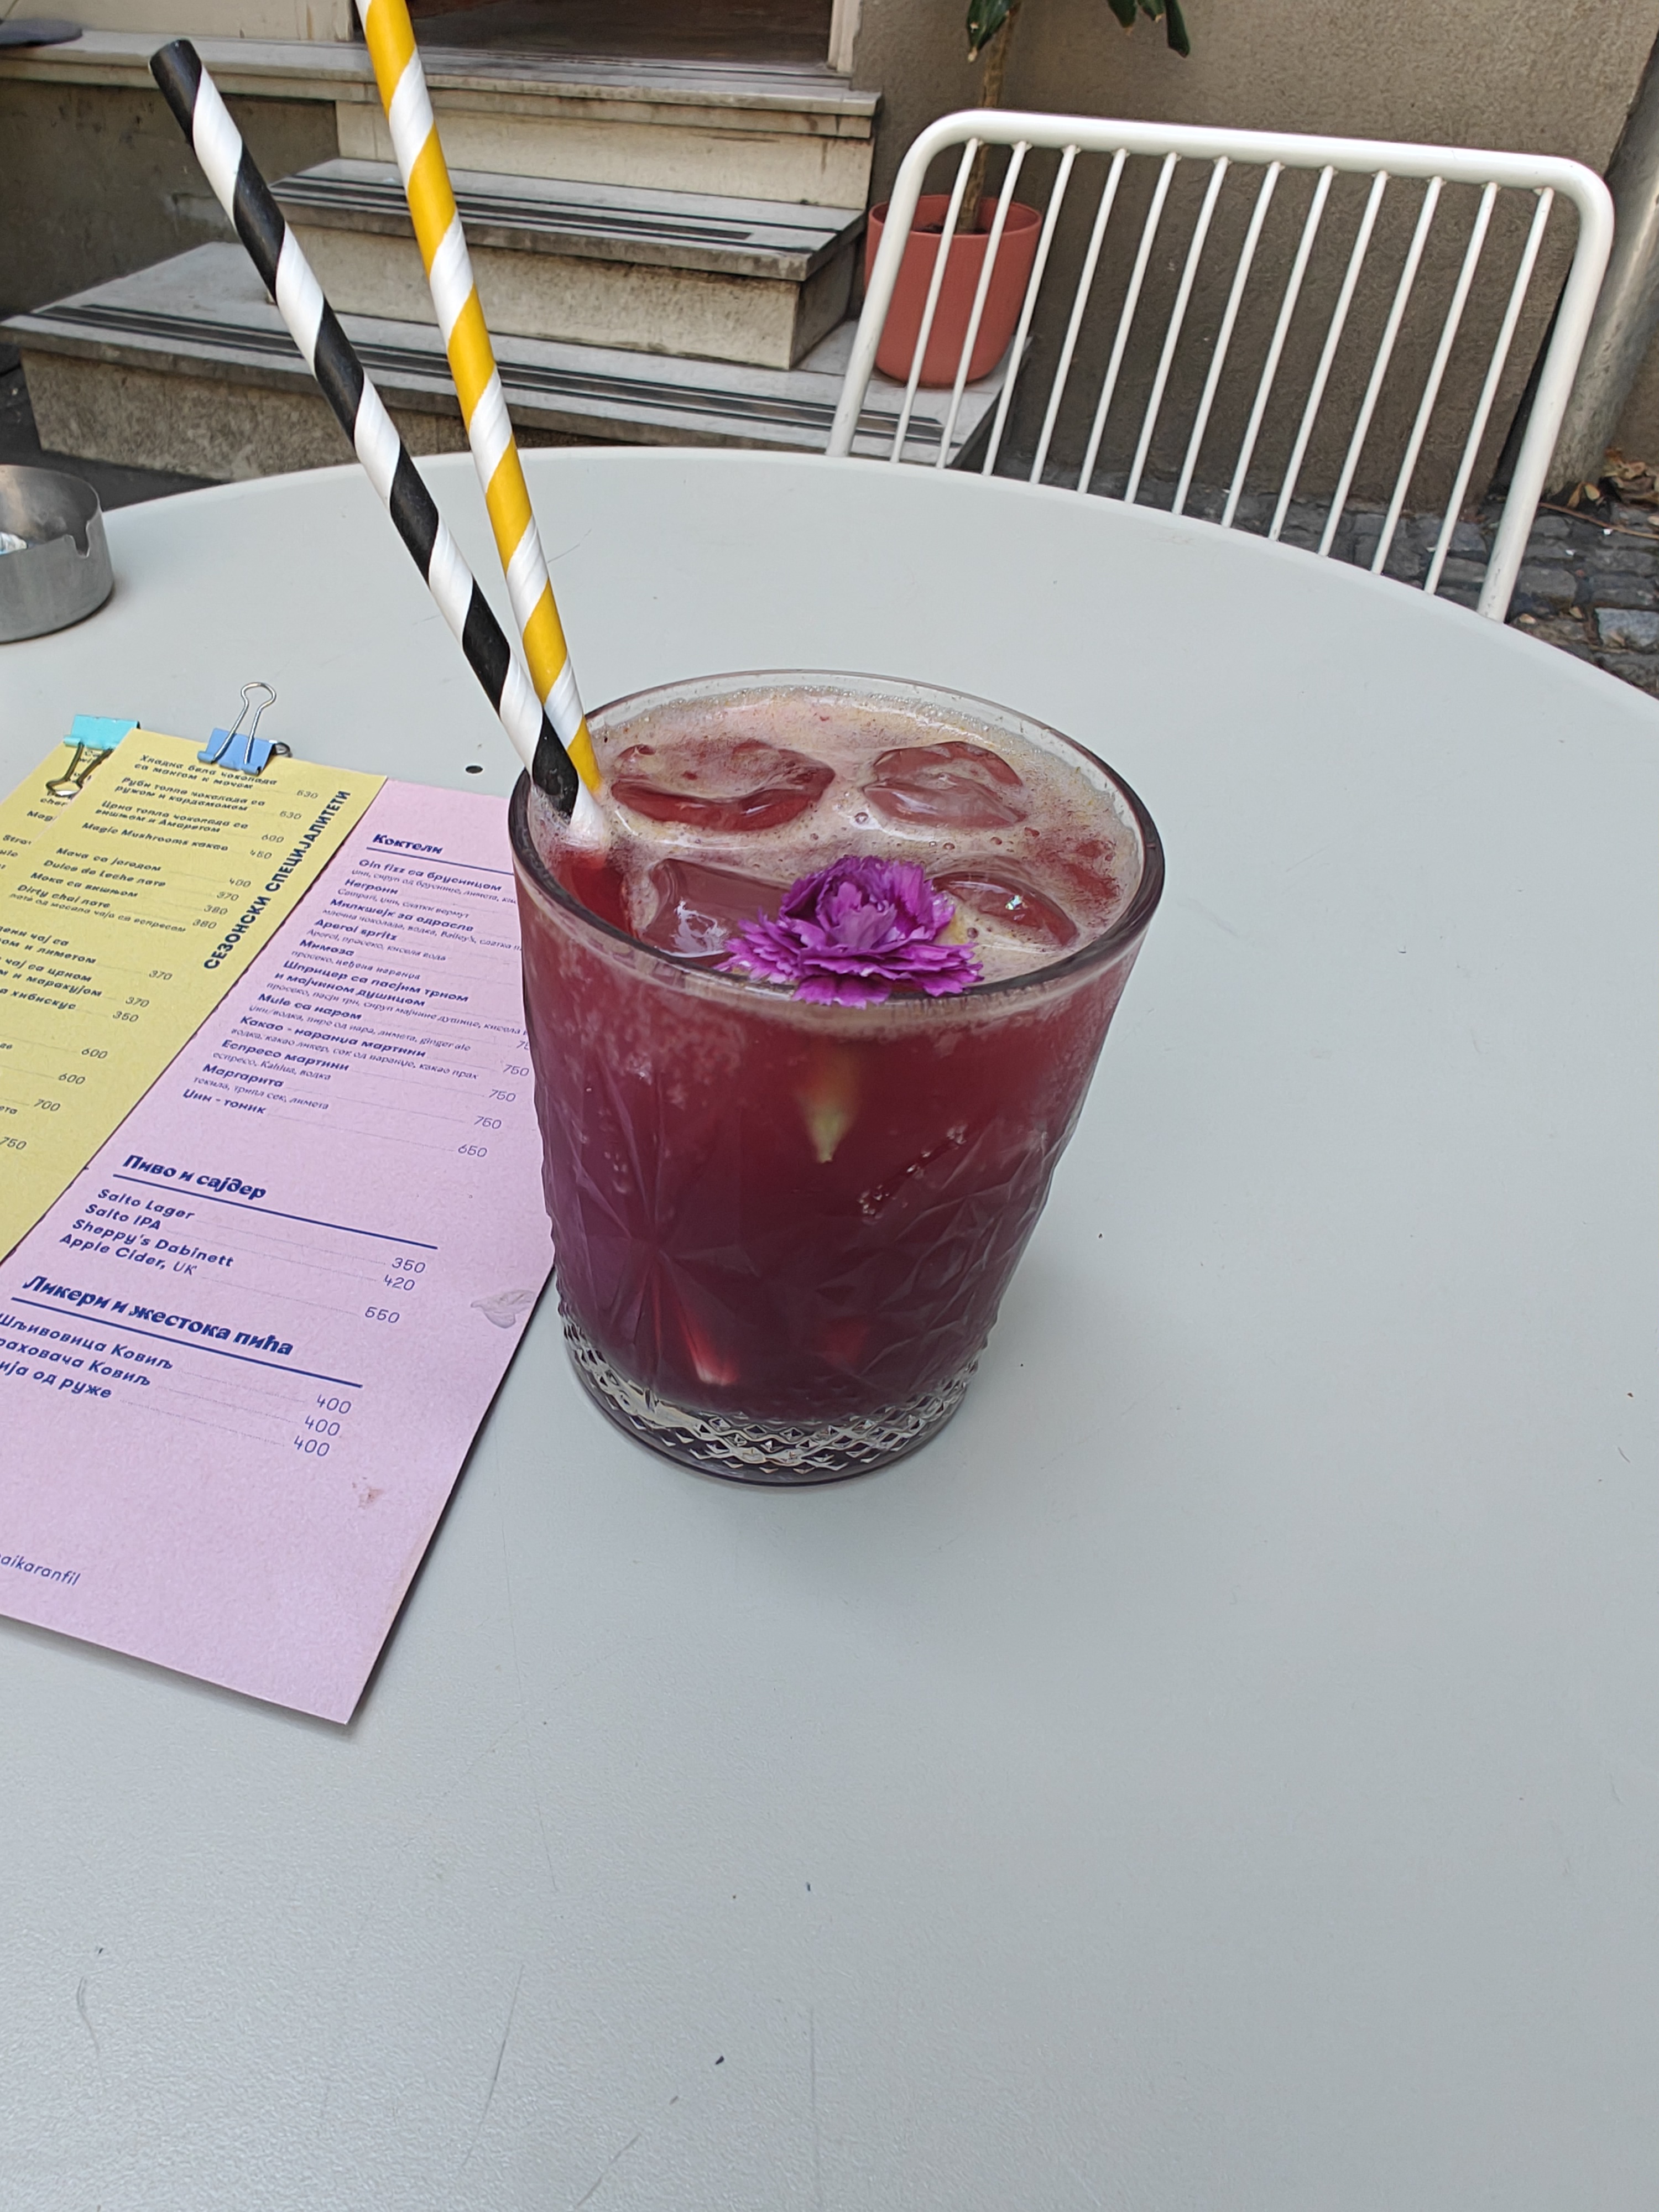
Ice tea
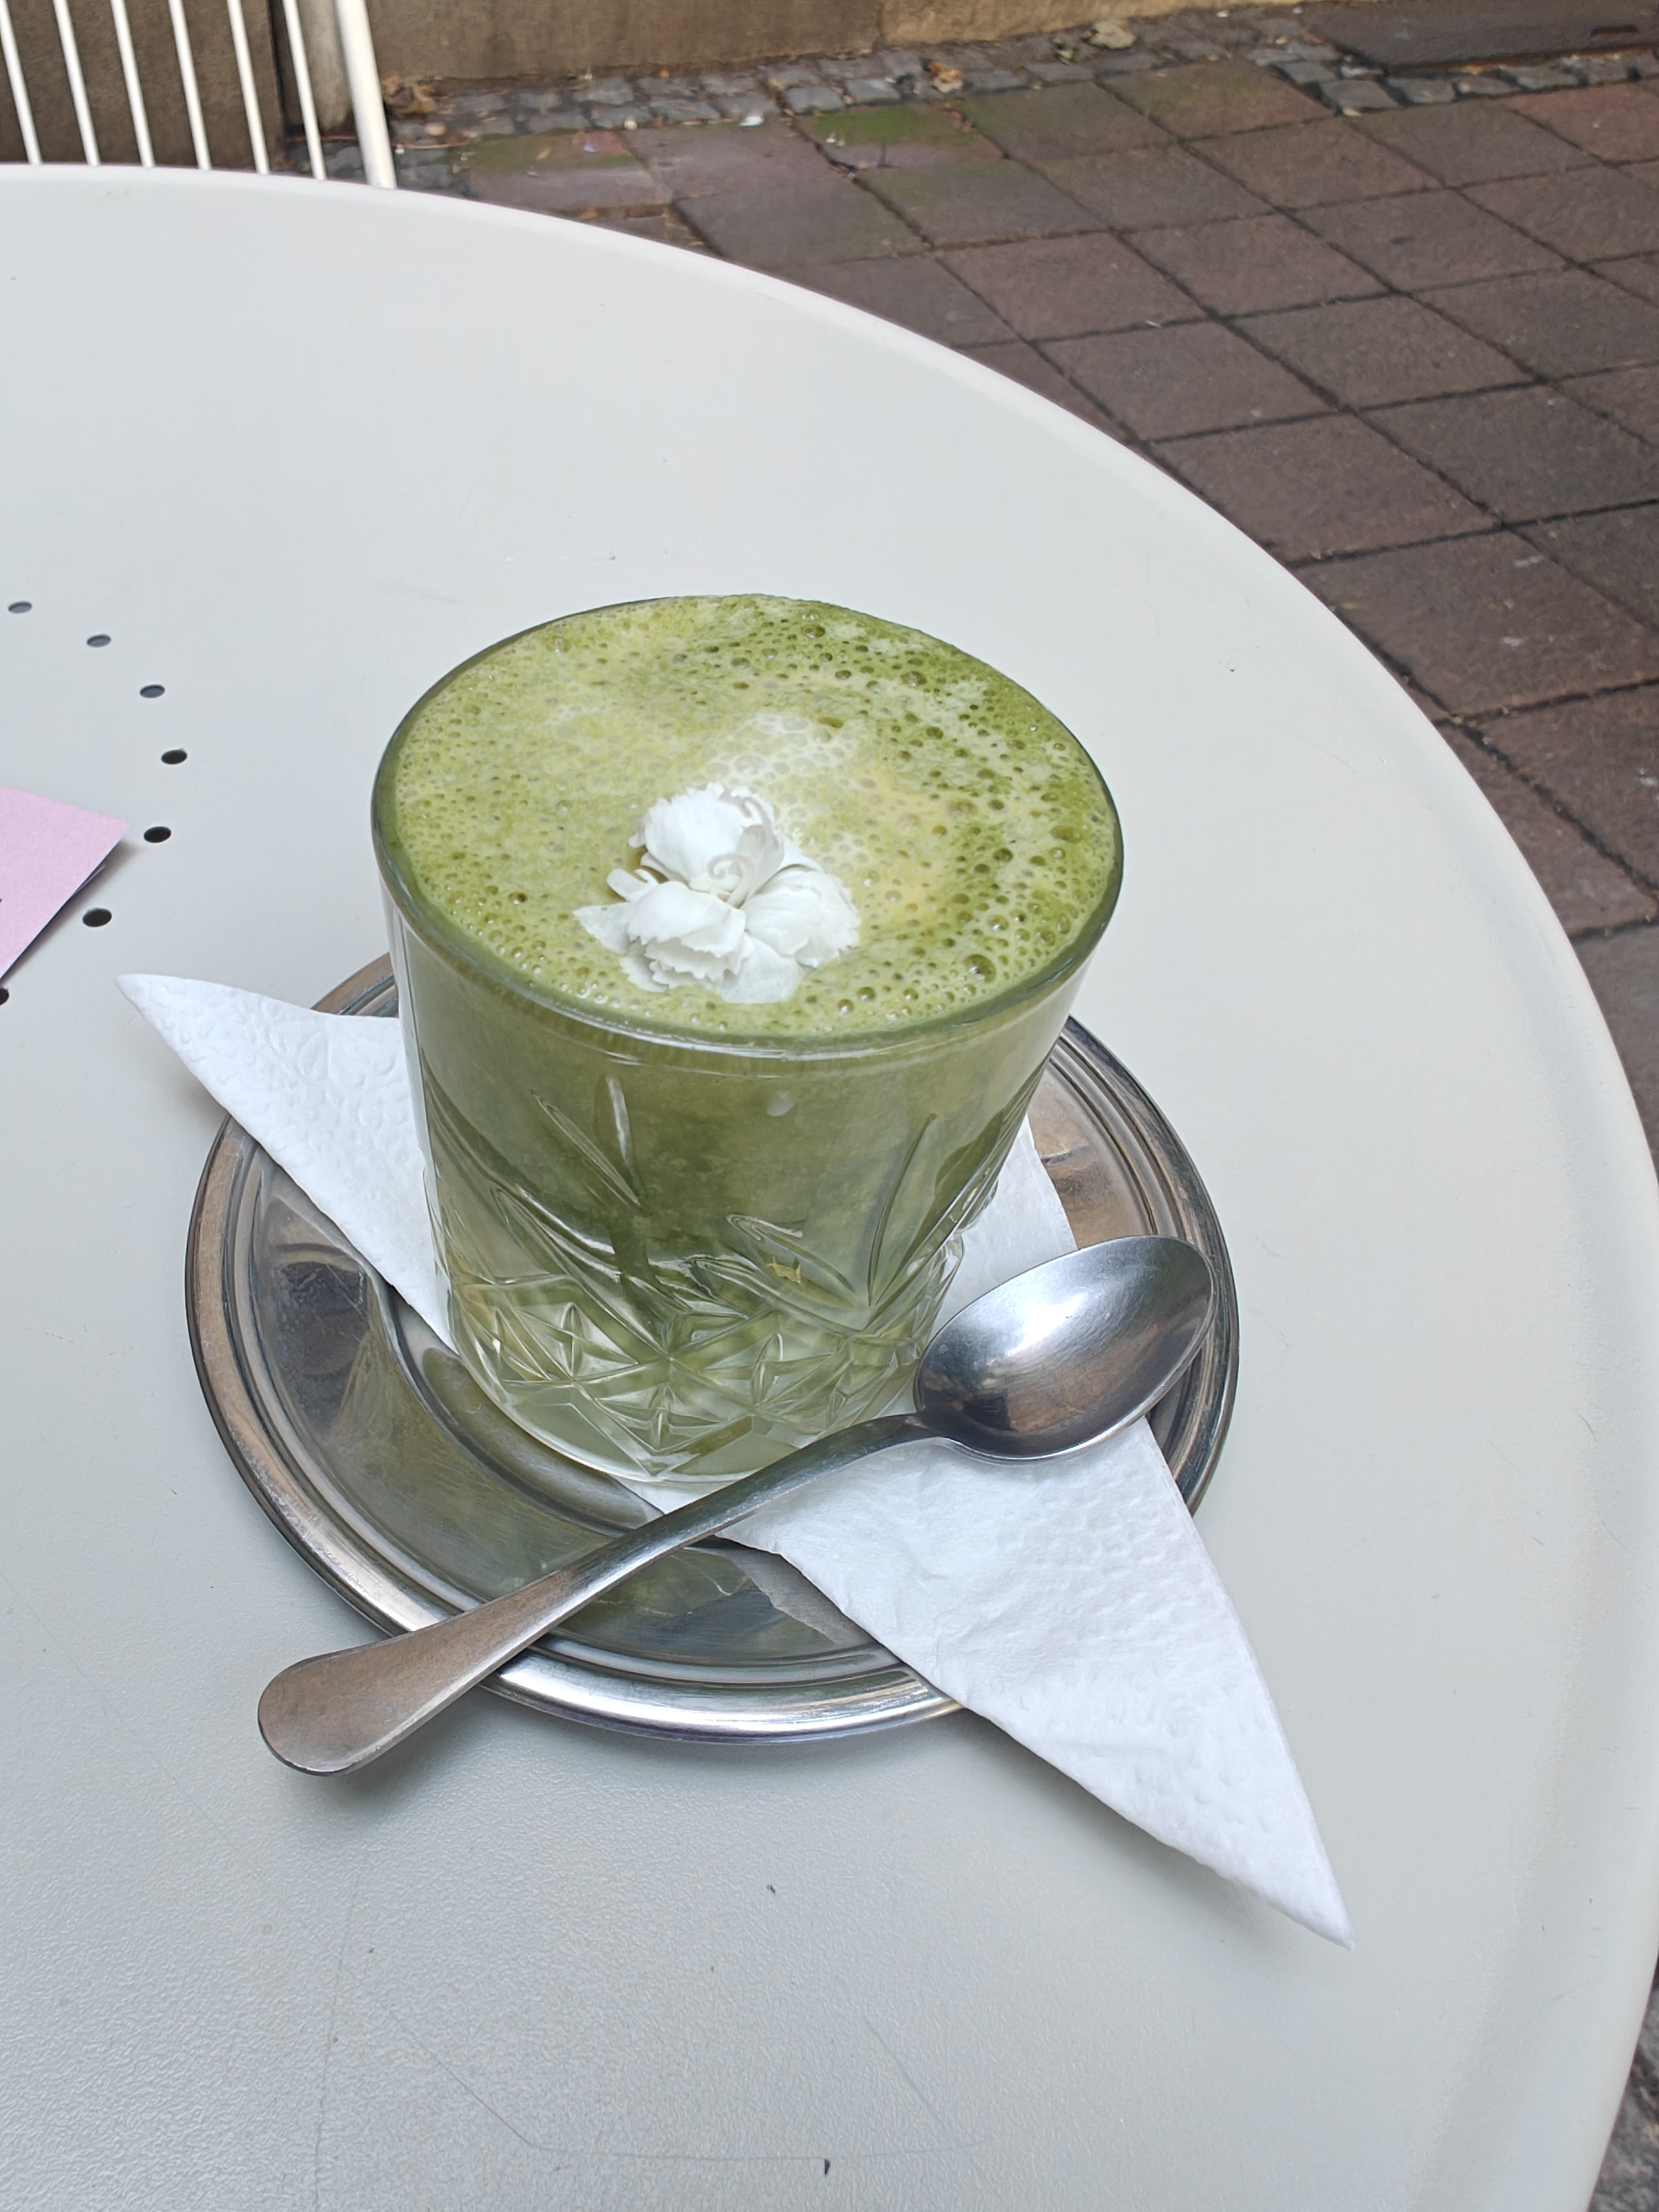
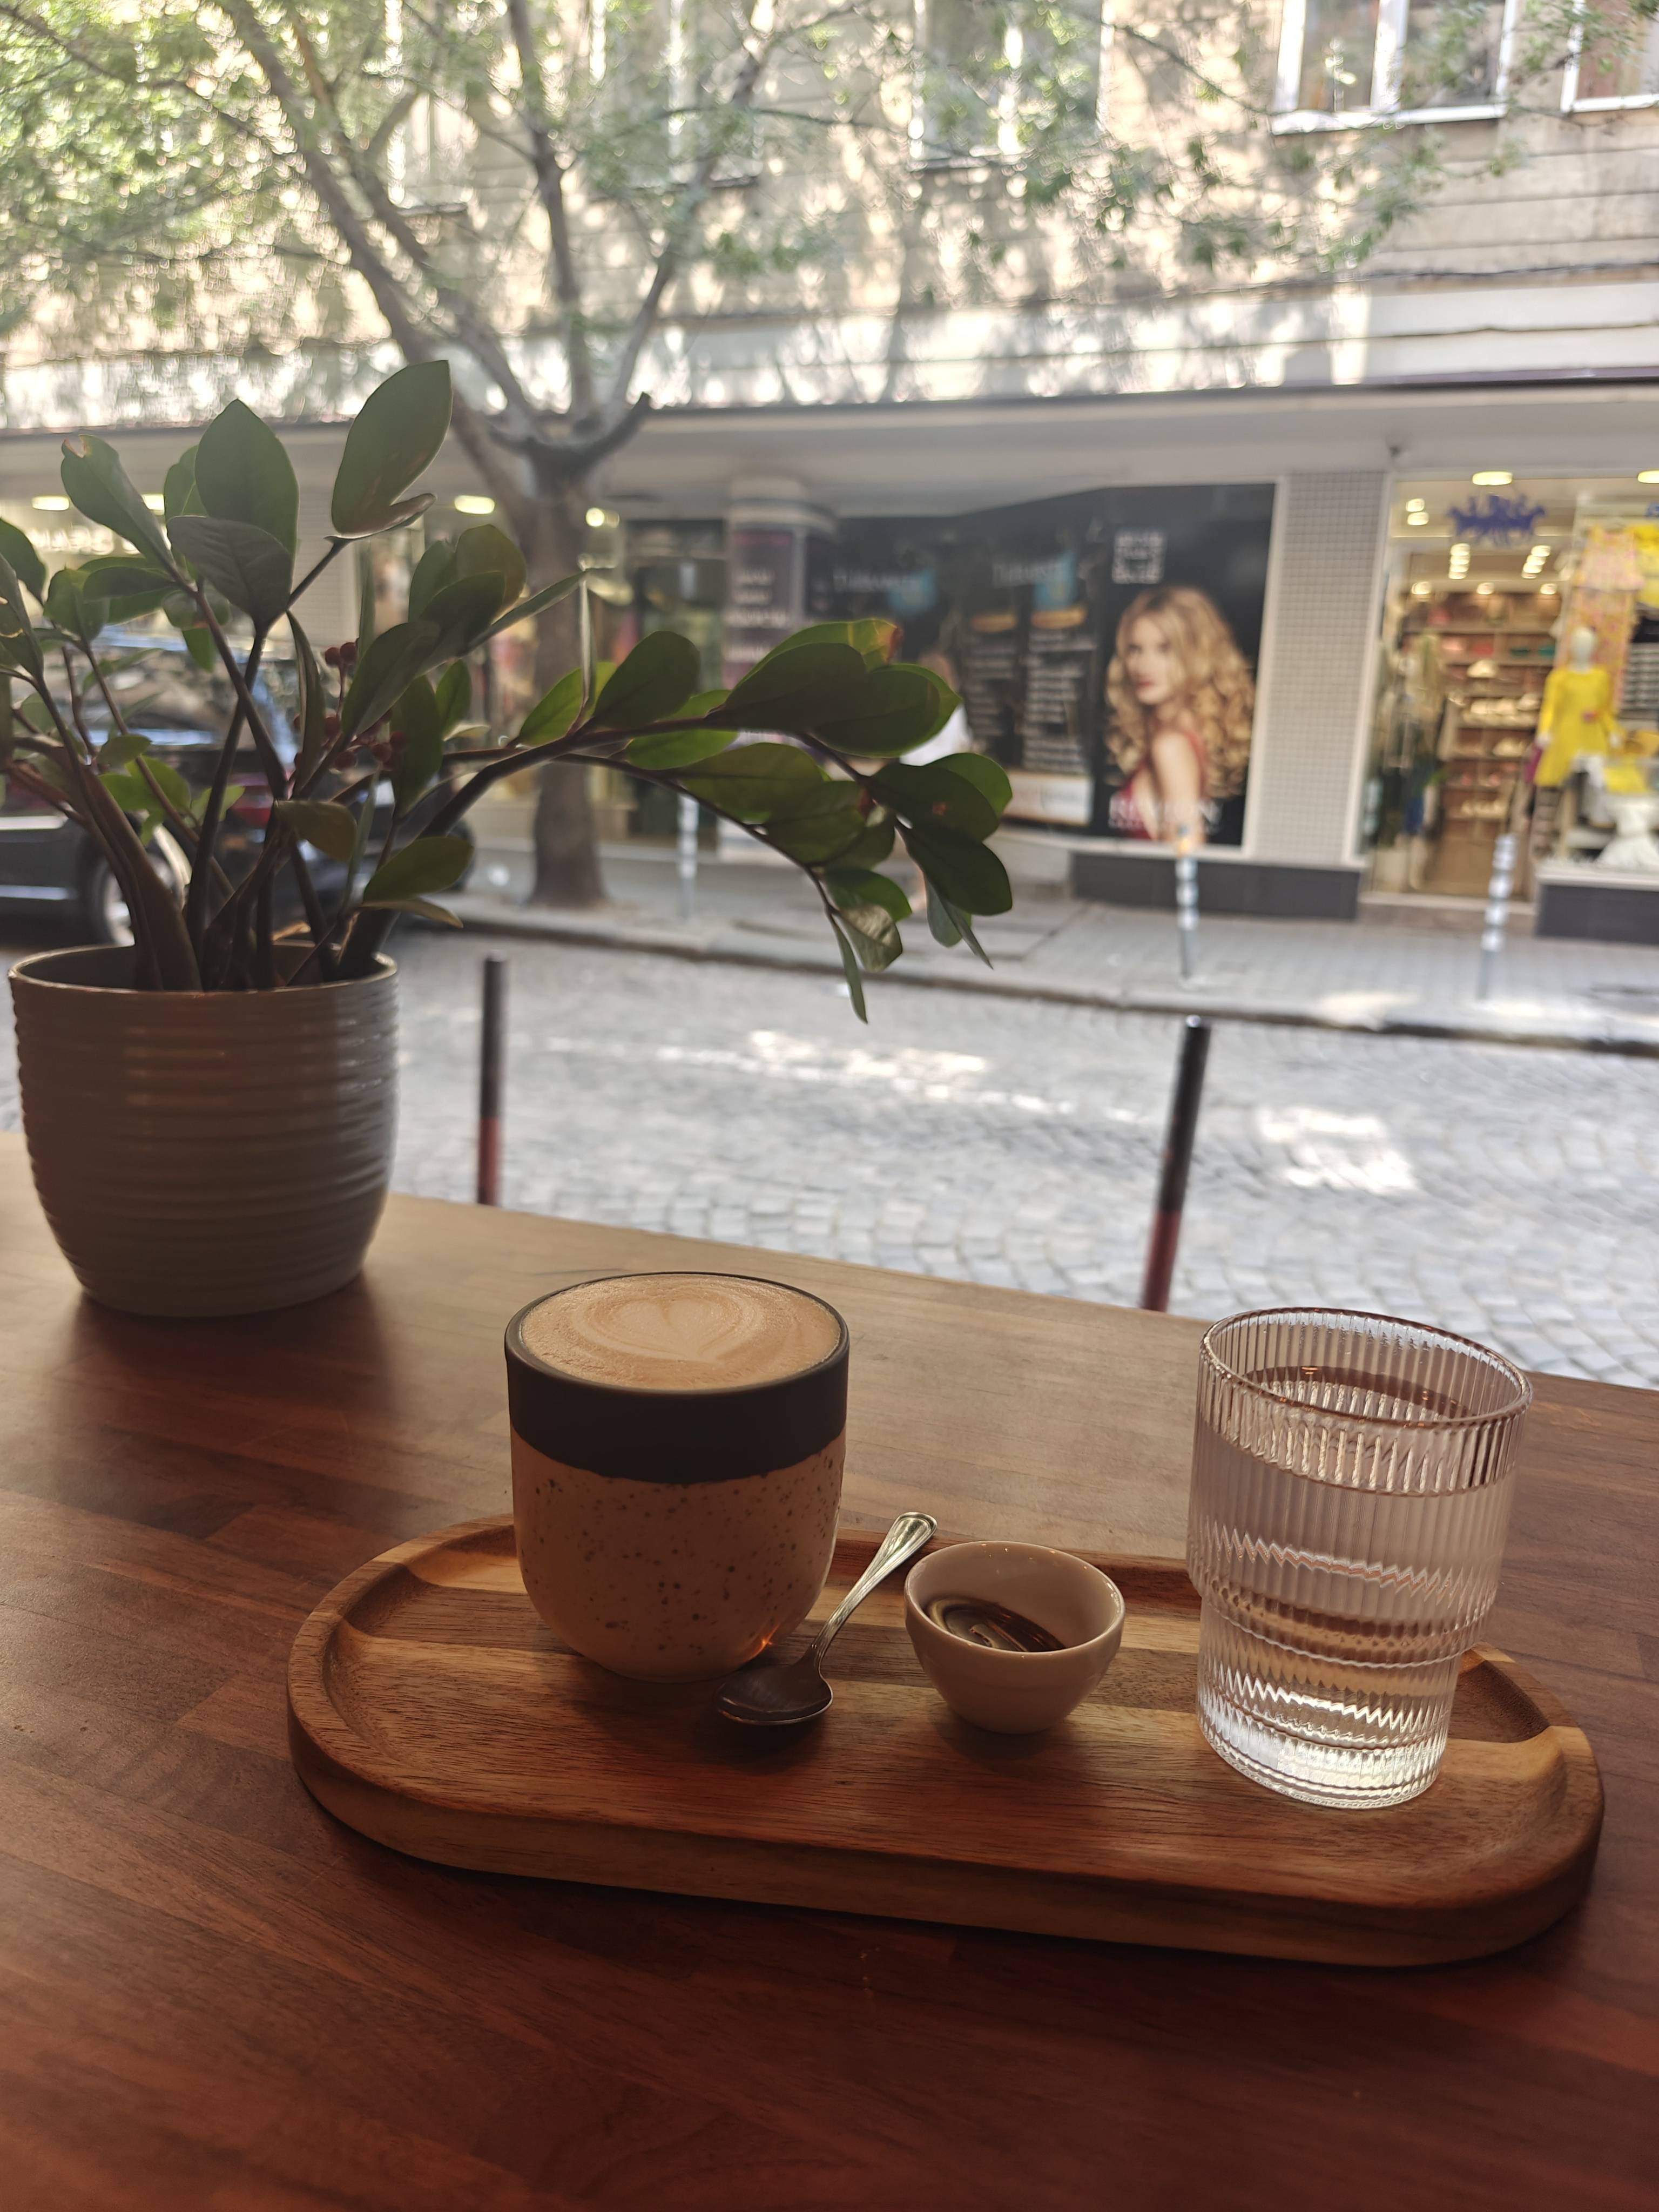
Matcha <3
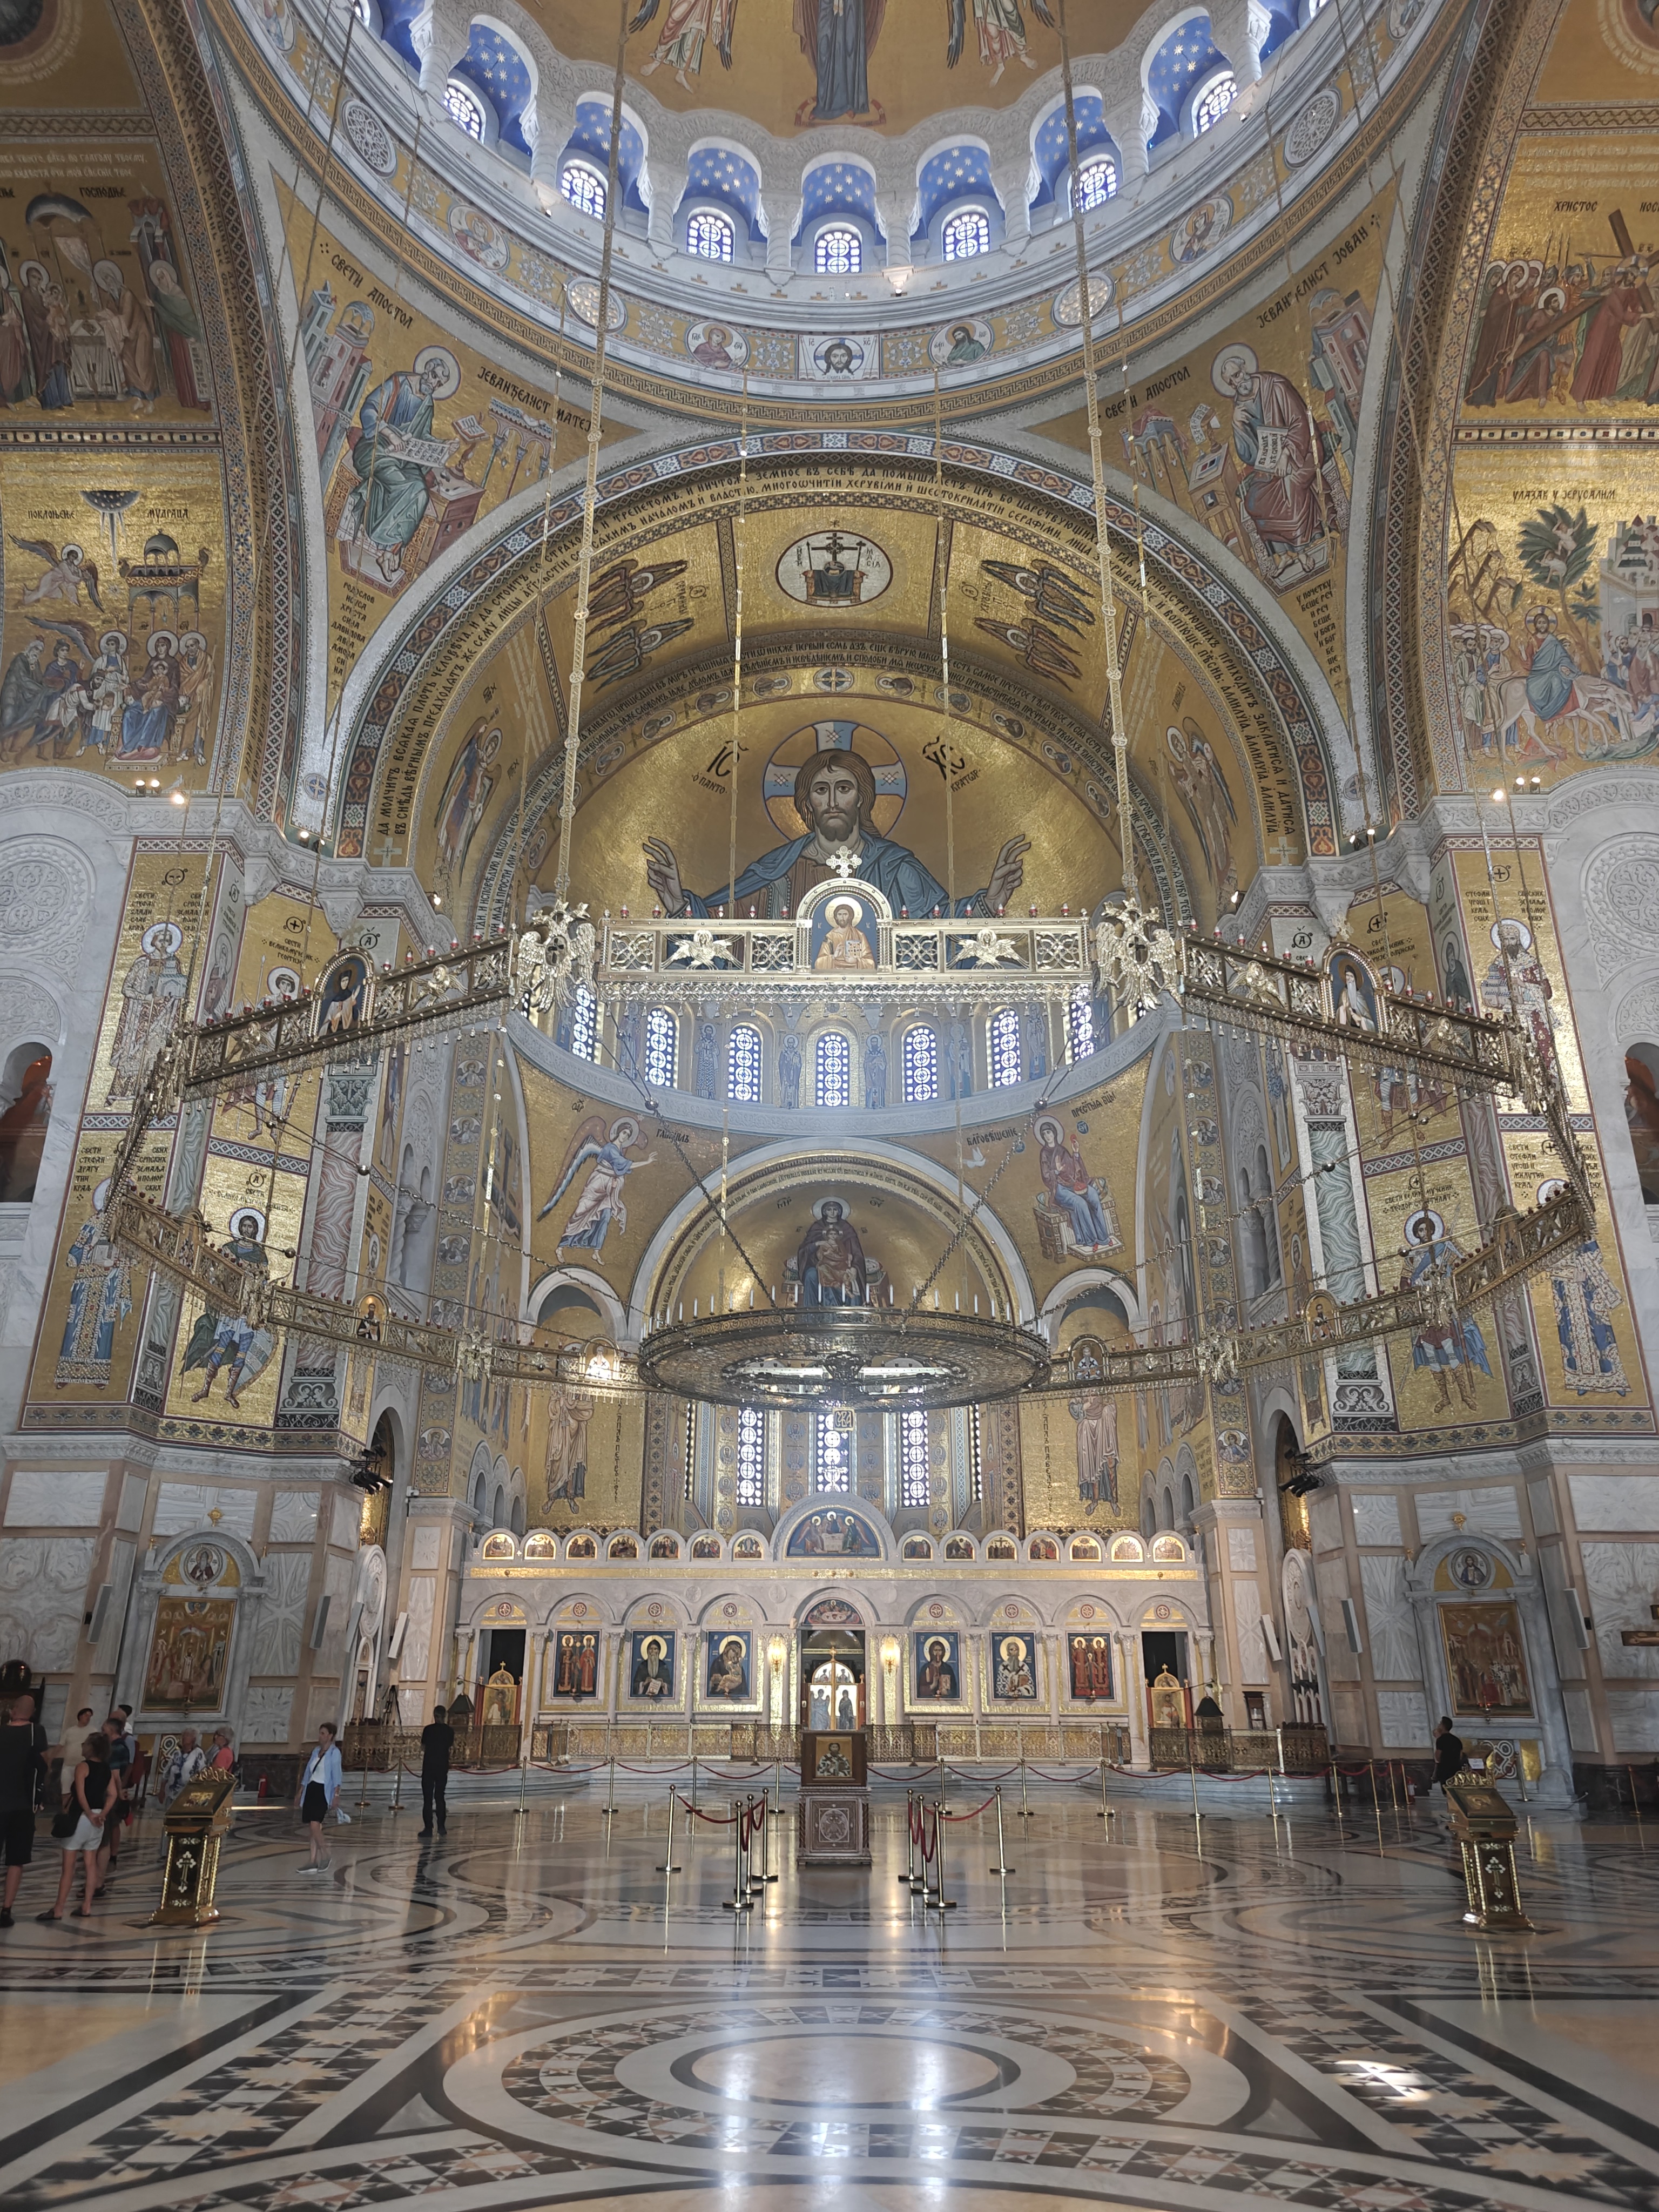
A orthodox church
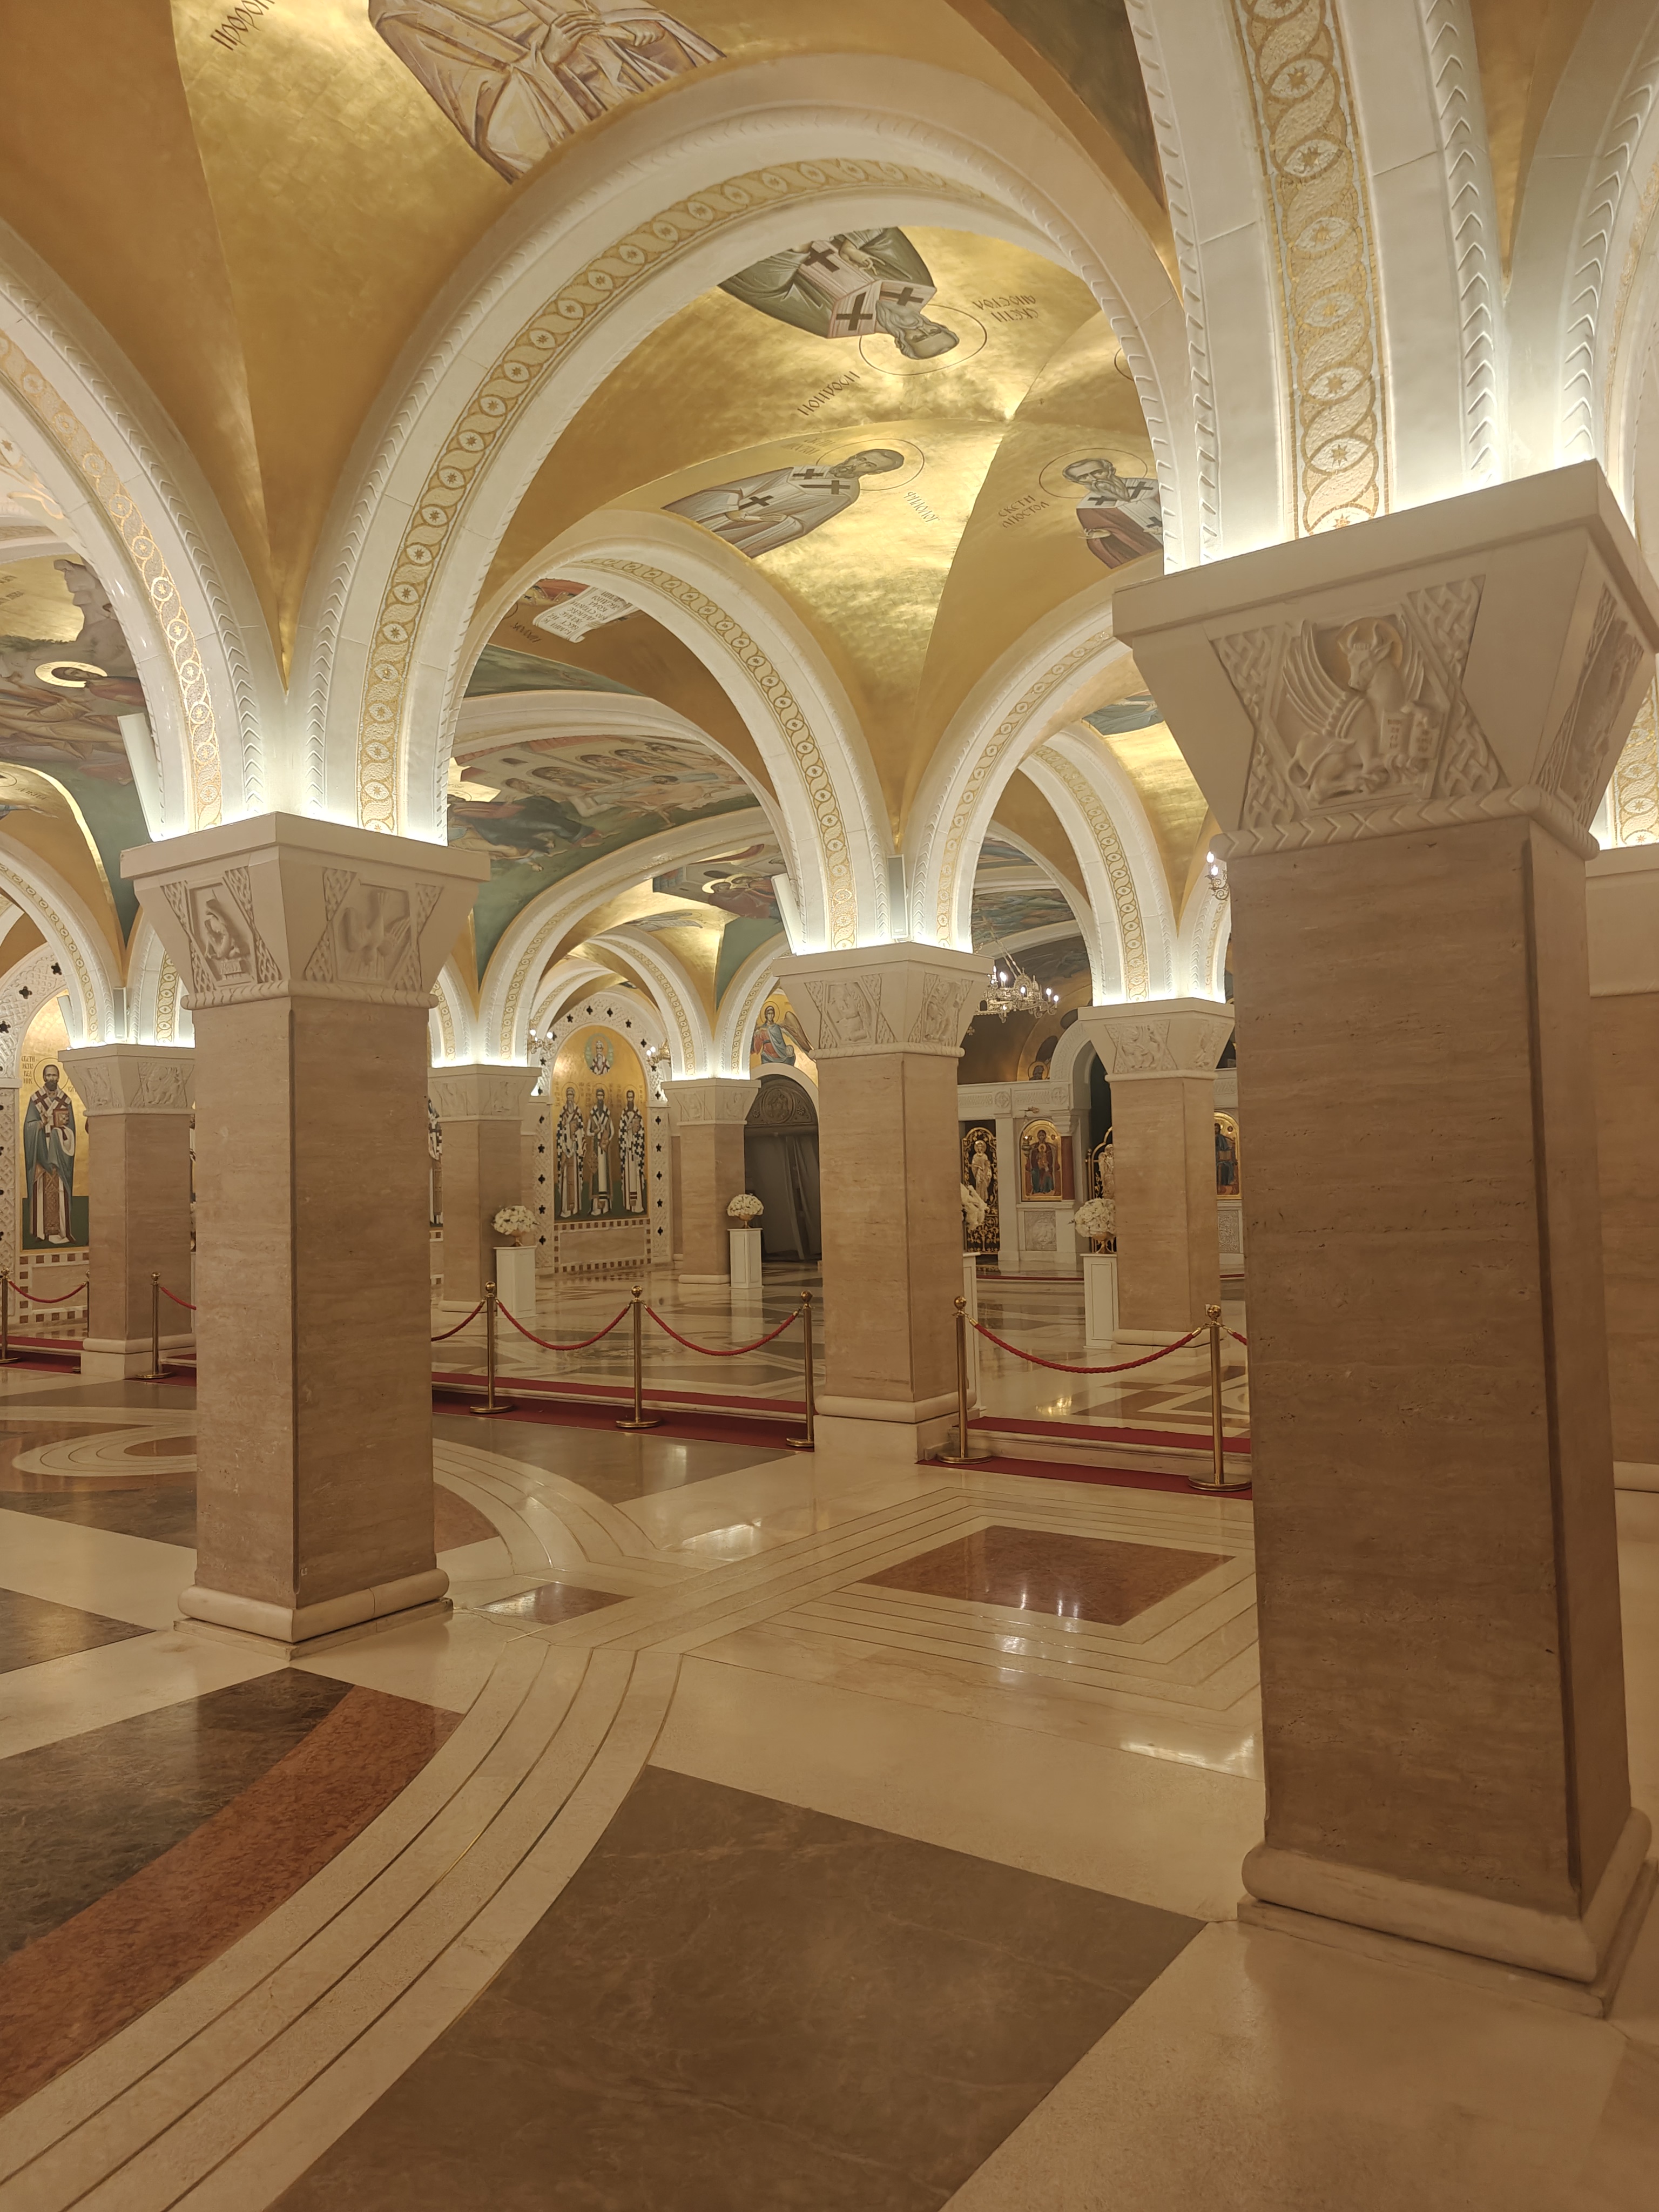
The crypt of orthodox church
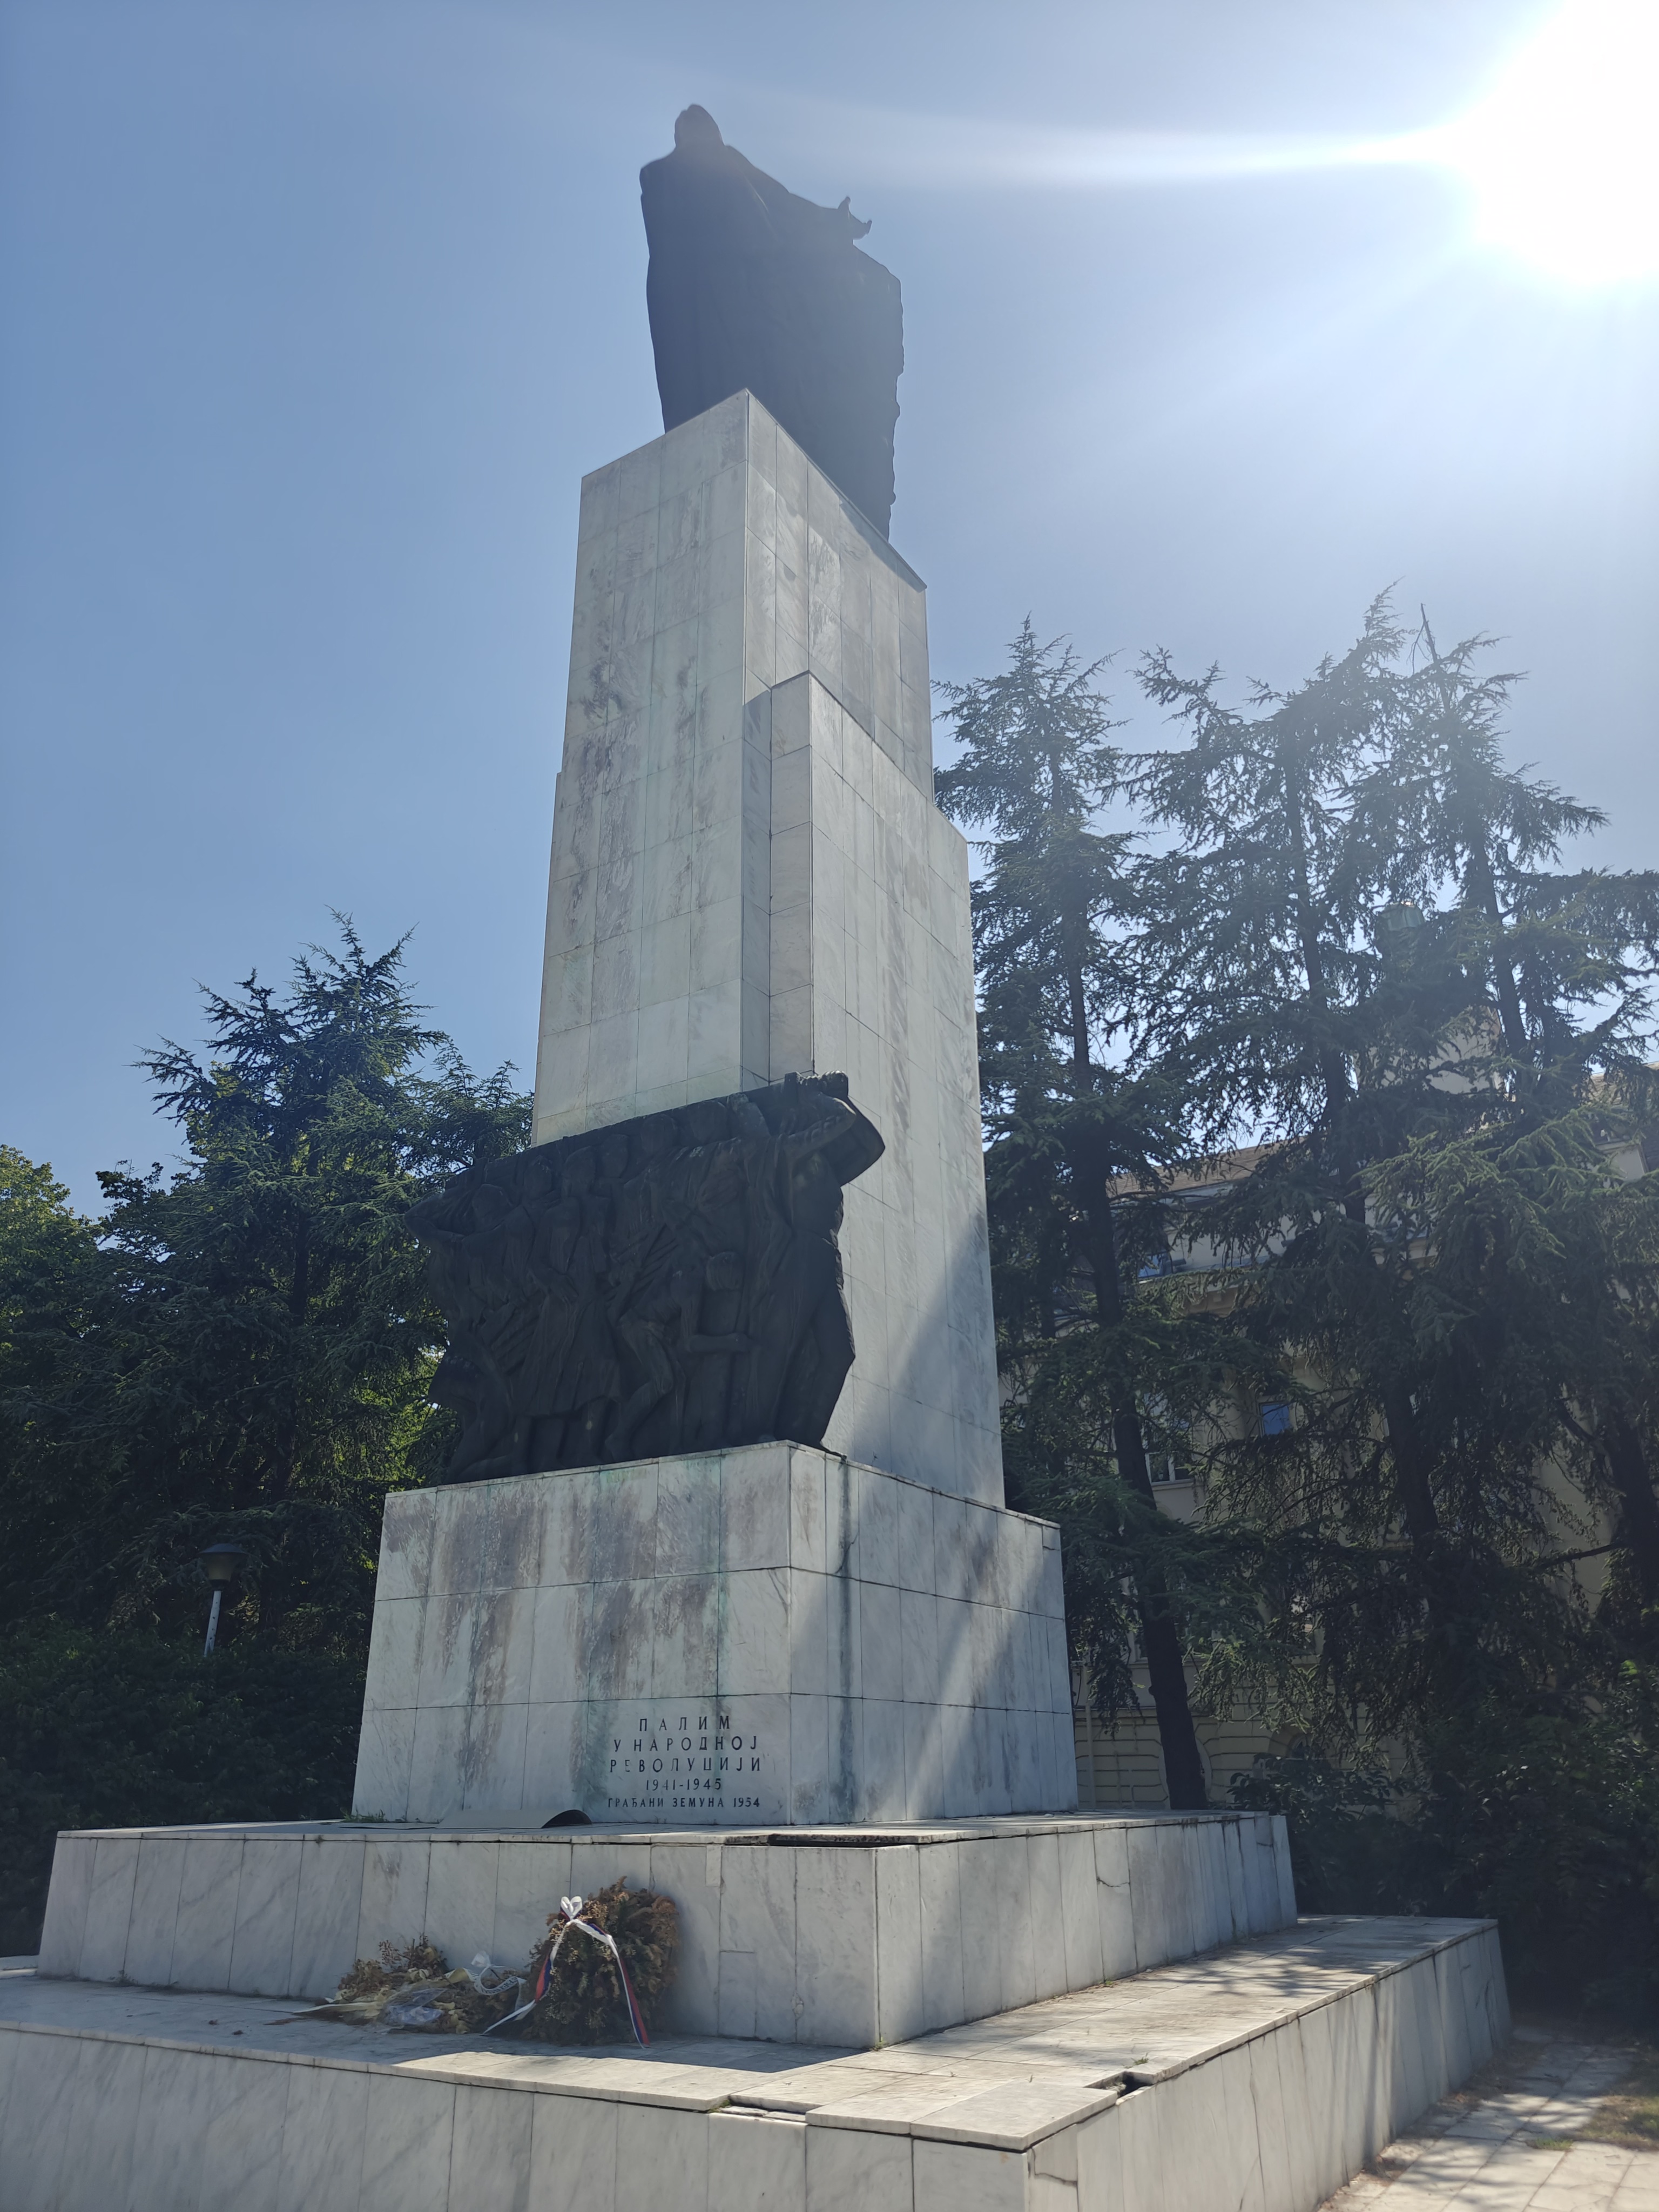
Soviet style monument about the second world war
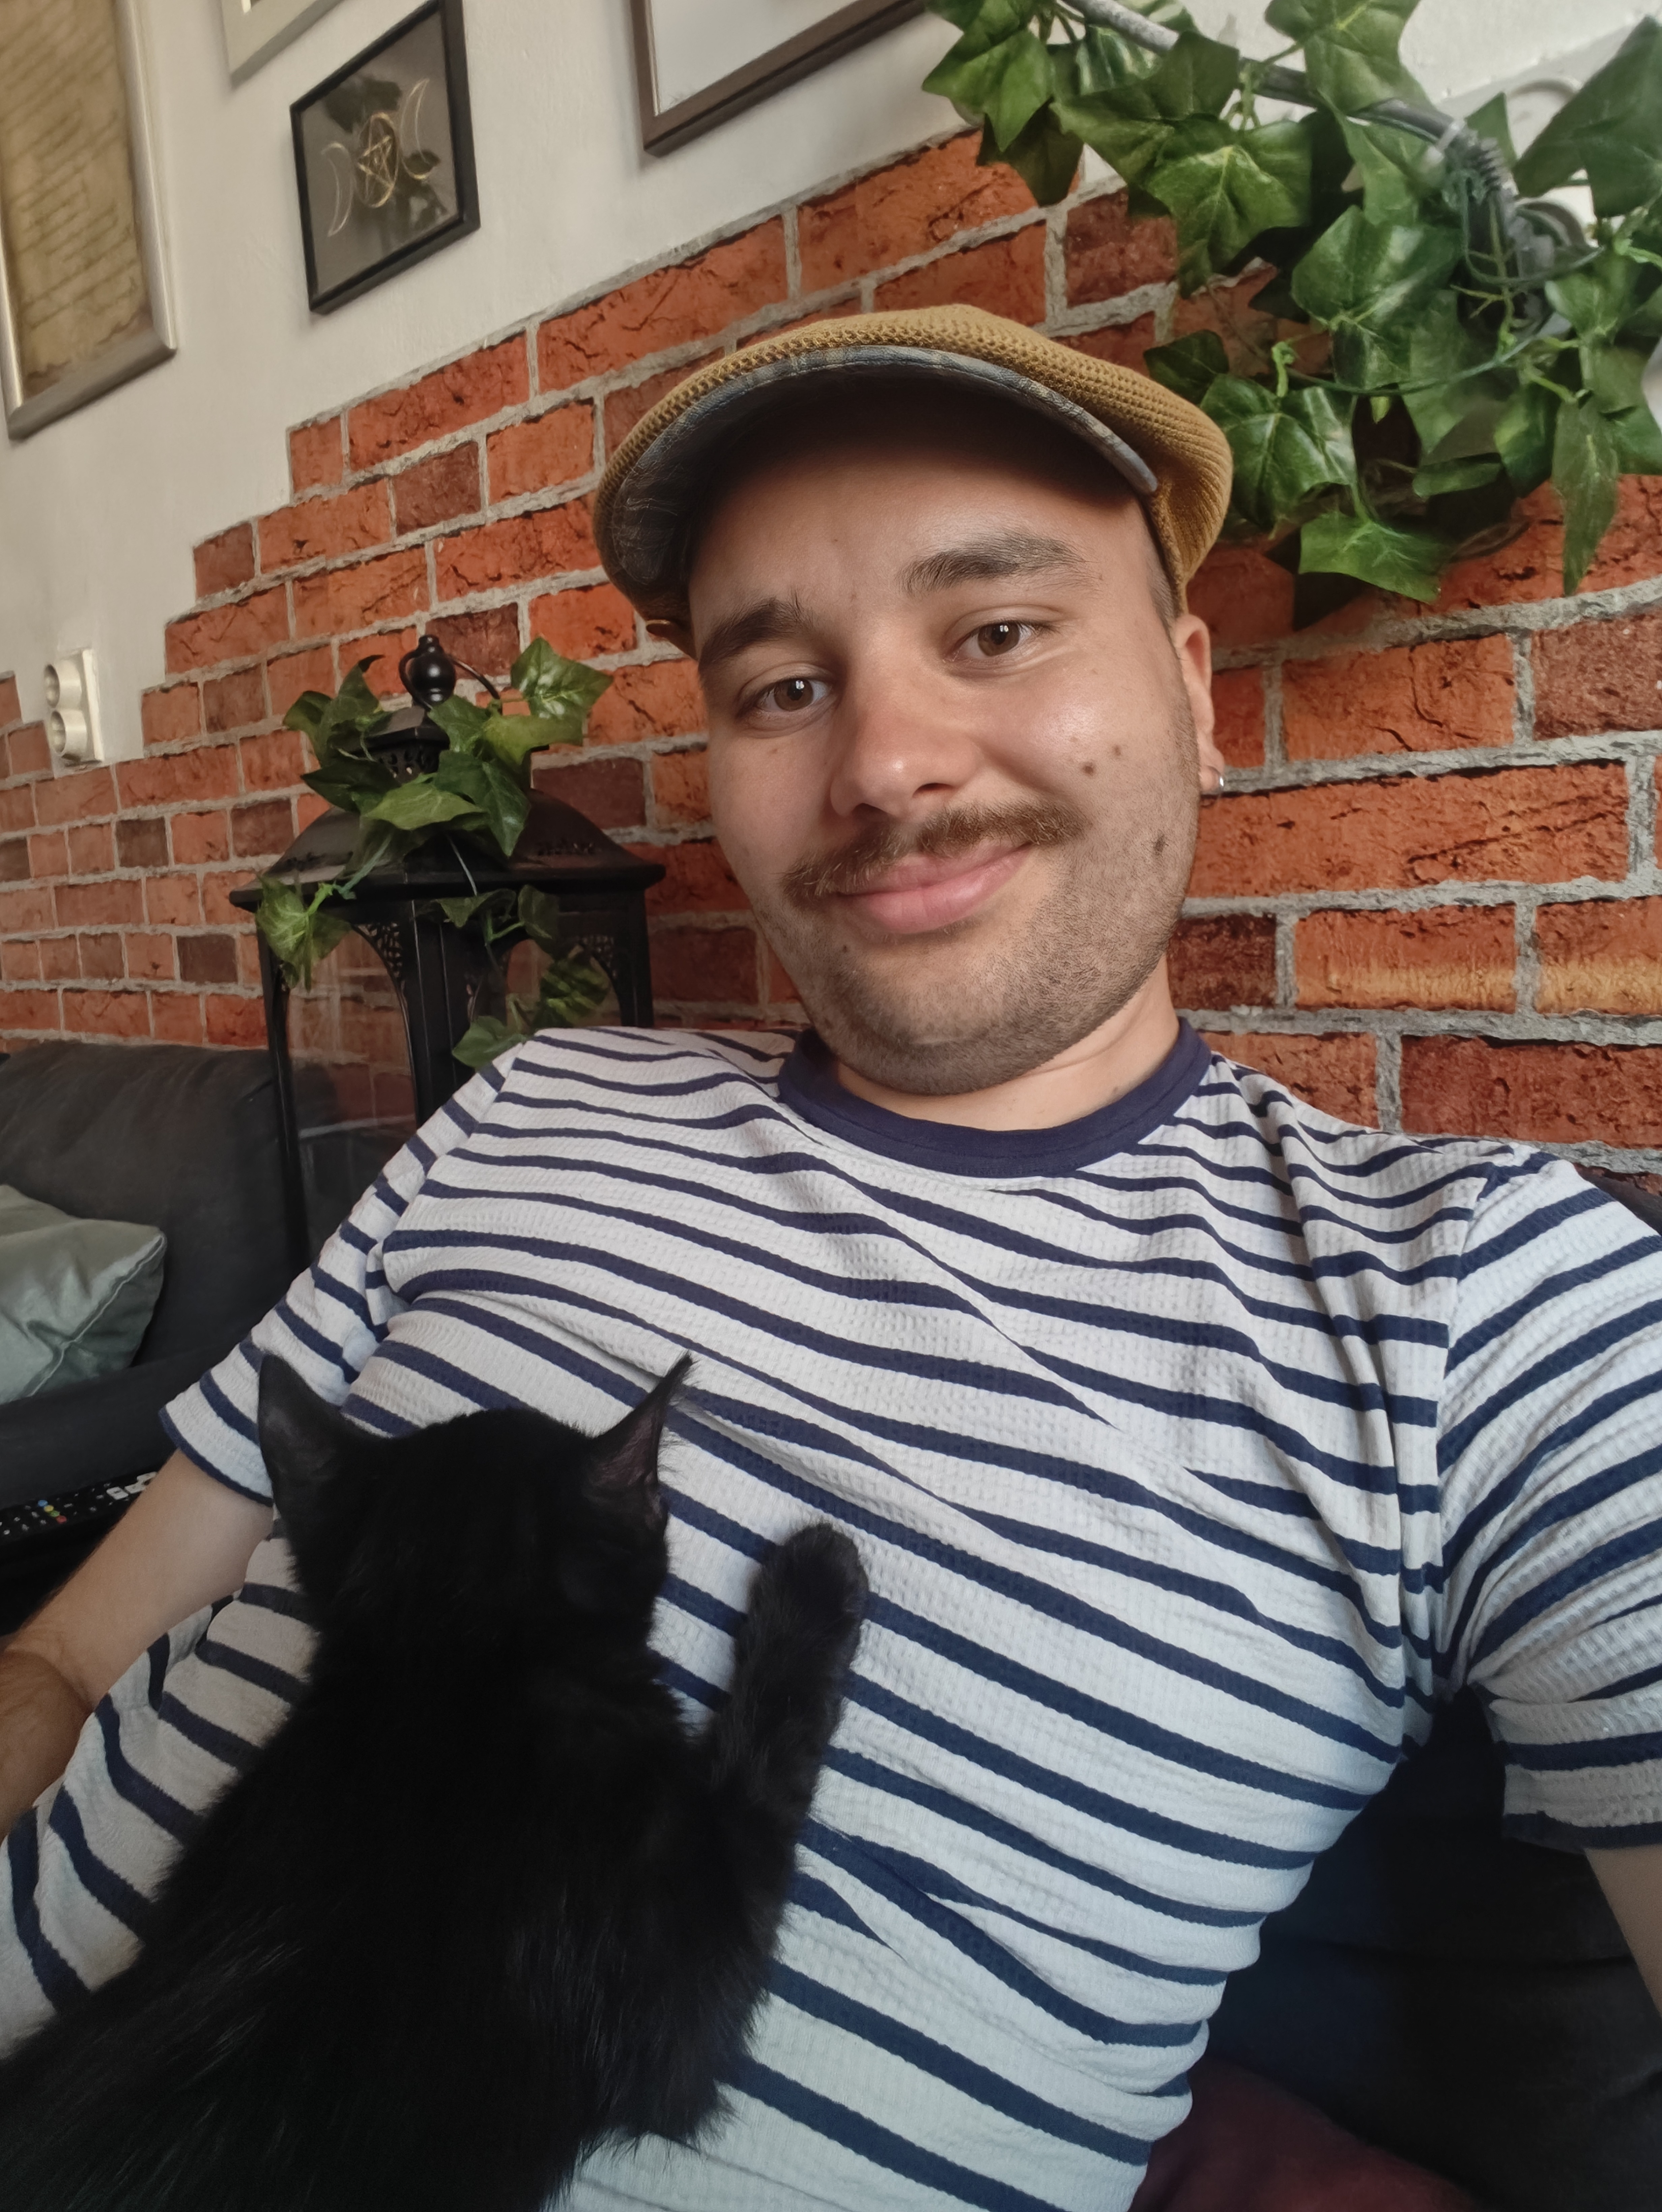
The cutest cat ever <3
Niš
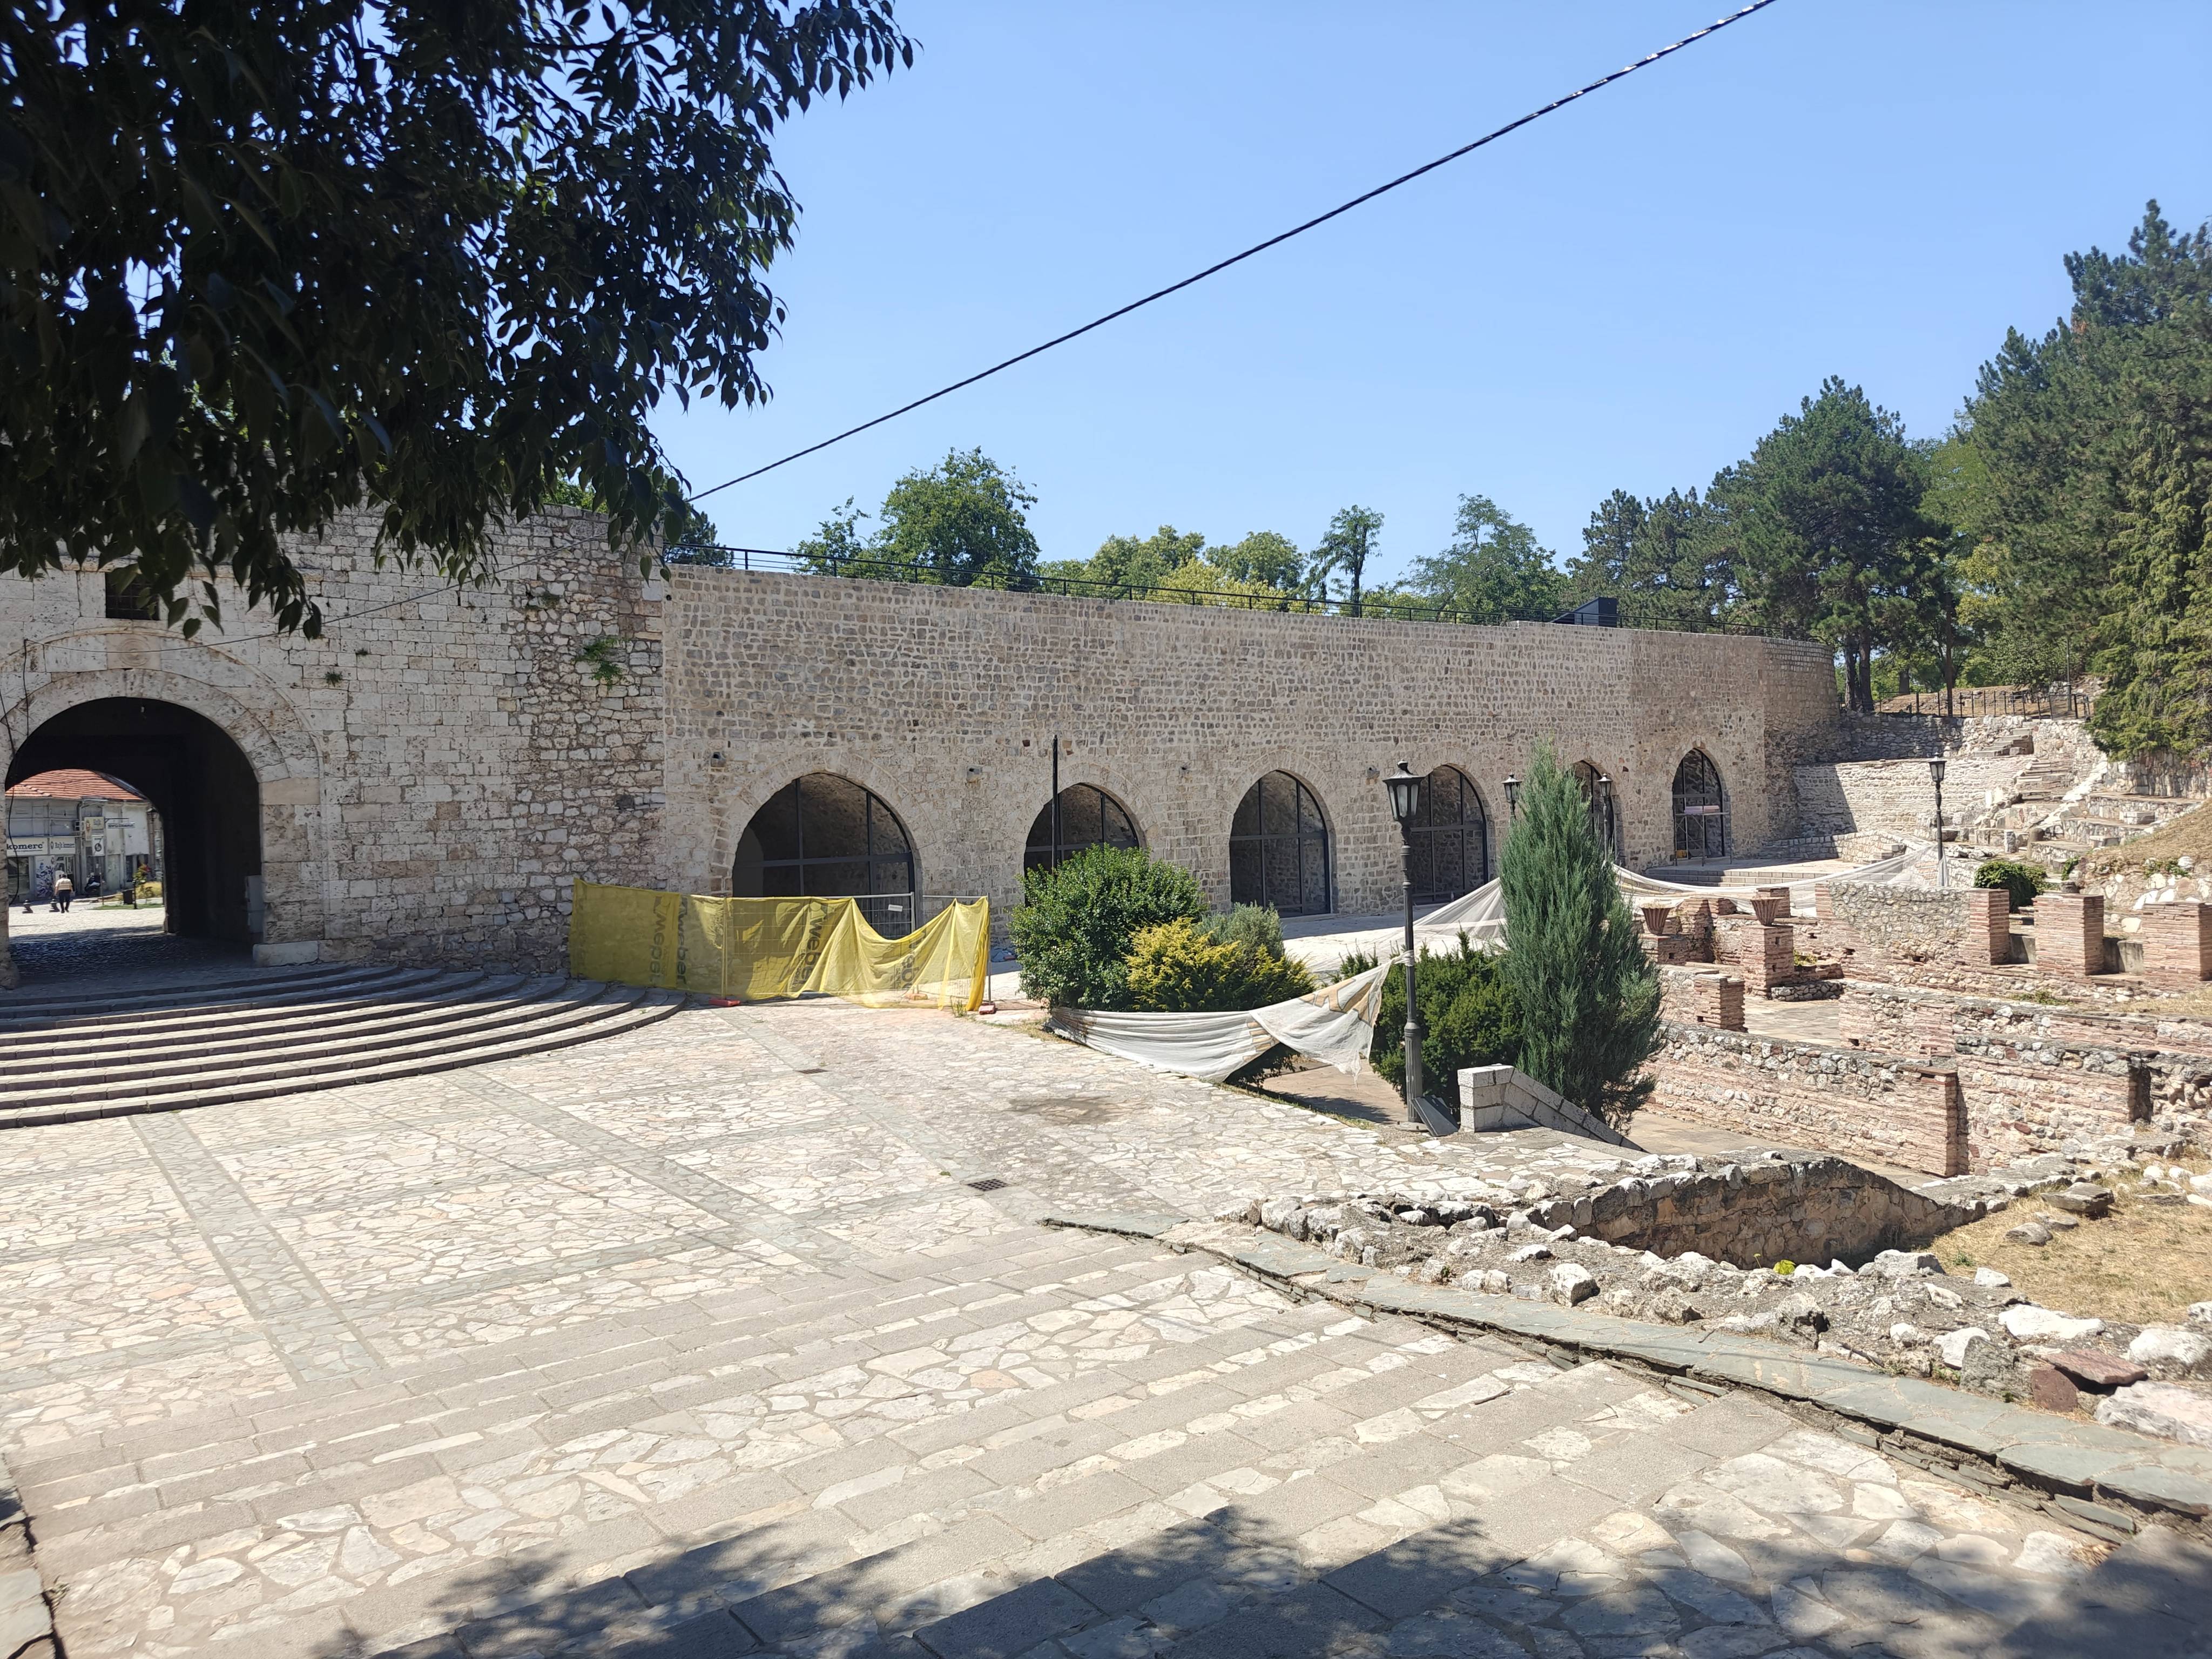
On my way to Bulgaria, I made a short stop in Niš, in southern Serbia. It’s one
of the largest cities in the country and has a strong Turkish influence.
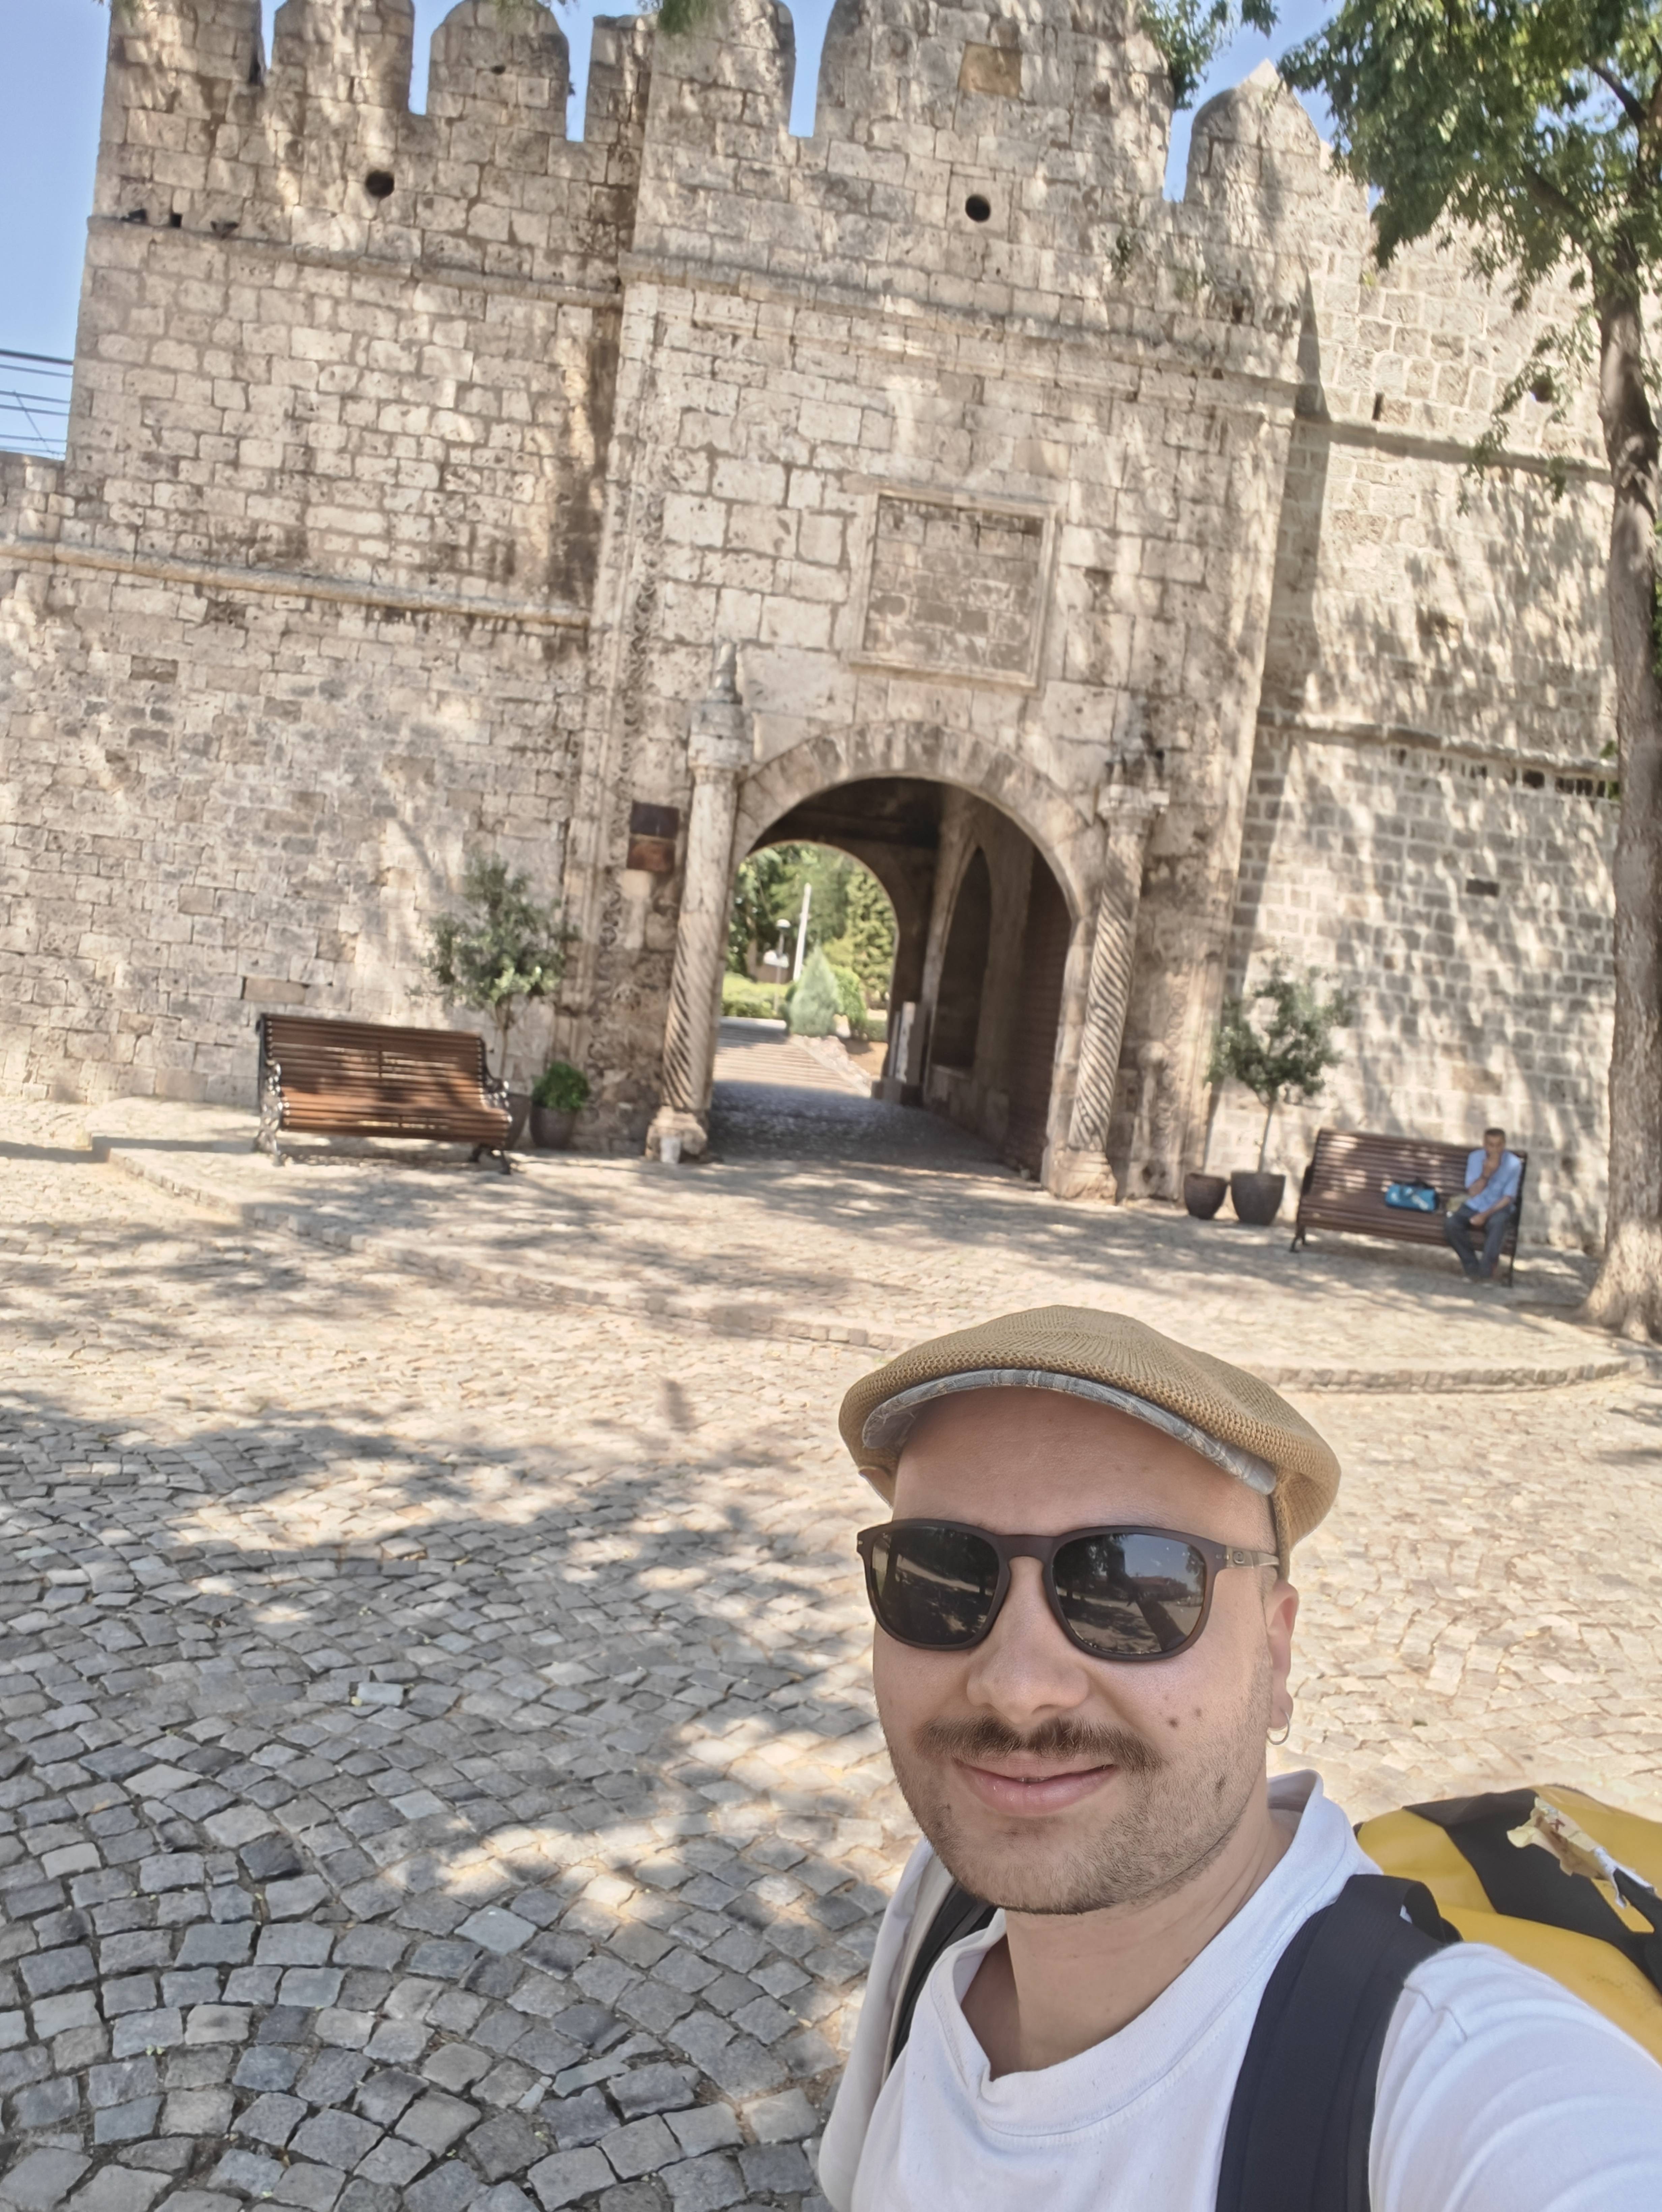
Entrance of the old Turkish fortrest in Nis
The other side of the entrance of this fortrest
Selfie of me :)
Sofia
My next stop was Sofia, the capital of Bulgaria. Since there are no longer any
passenger trains running between Niš and Sofia, I took an old bus from Niš
across the Serbian and Bulgarian countryside, but the ride was confortable.
I only stayed one day in Sofia and scrolled the city with some people I
meet in my hostel.
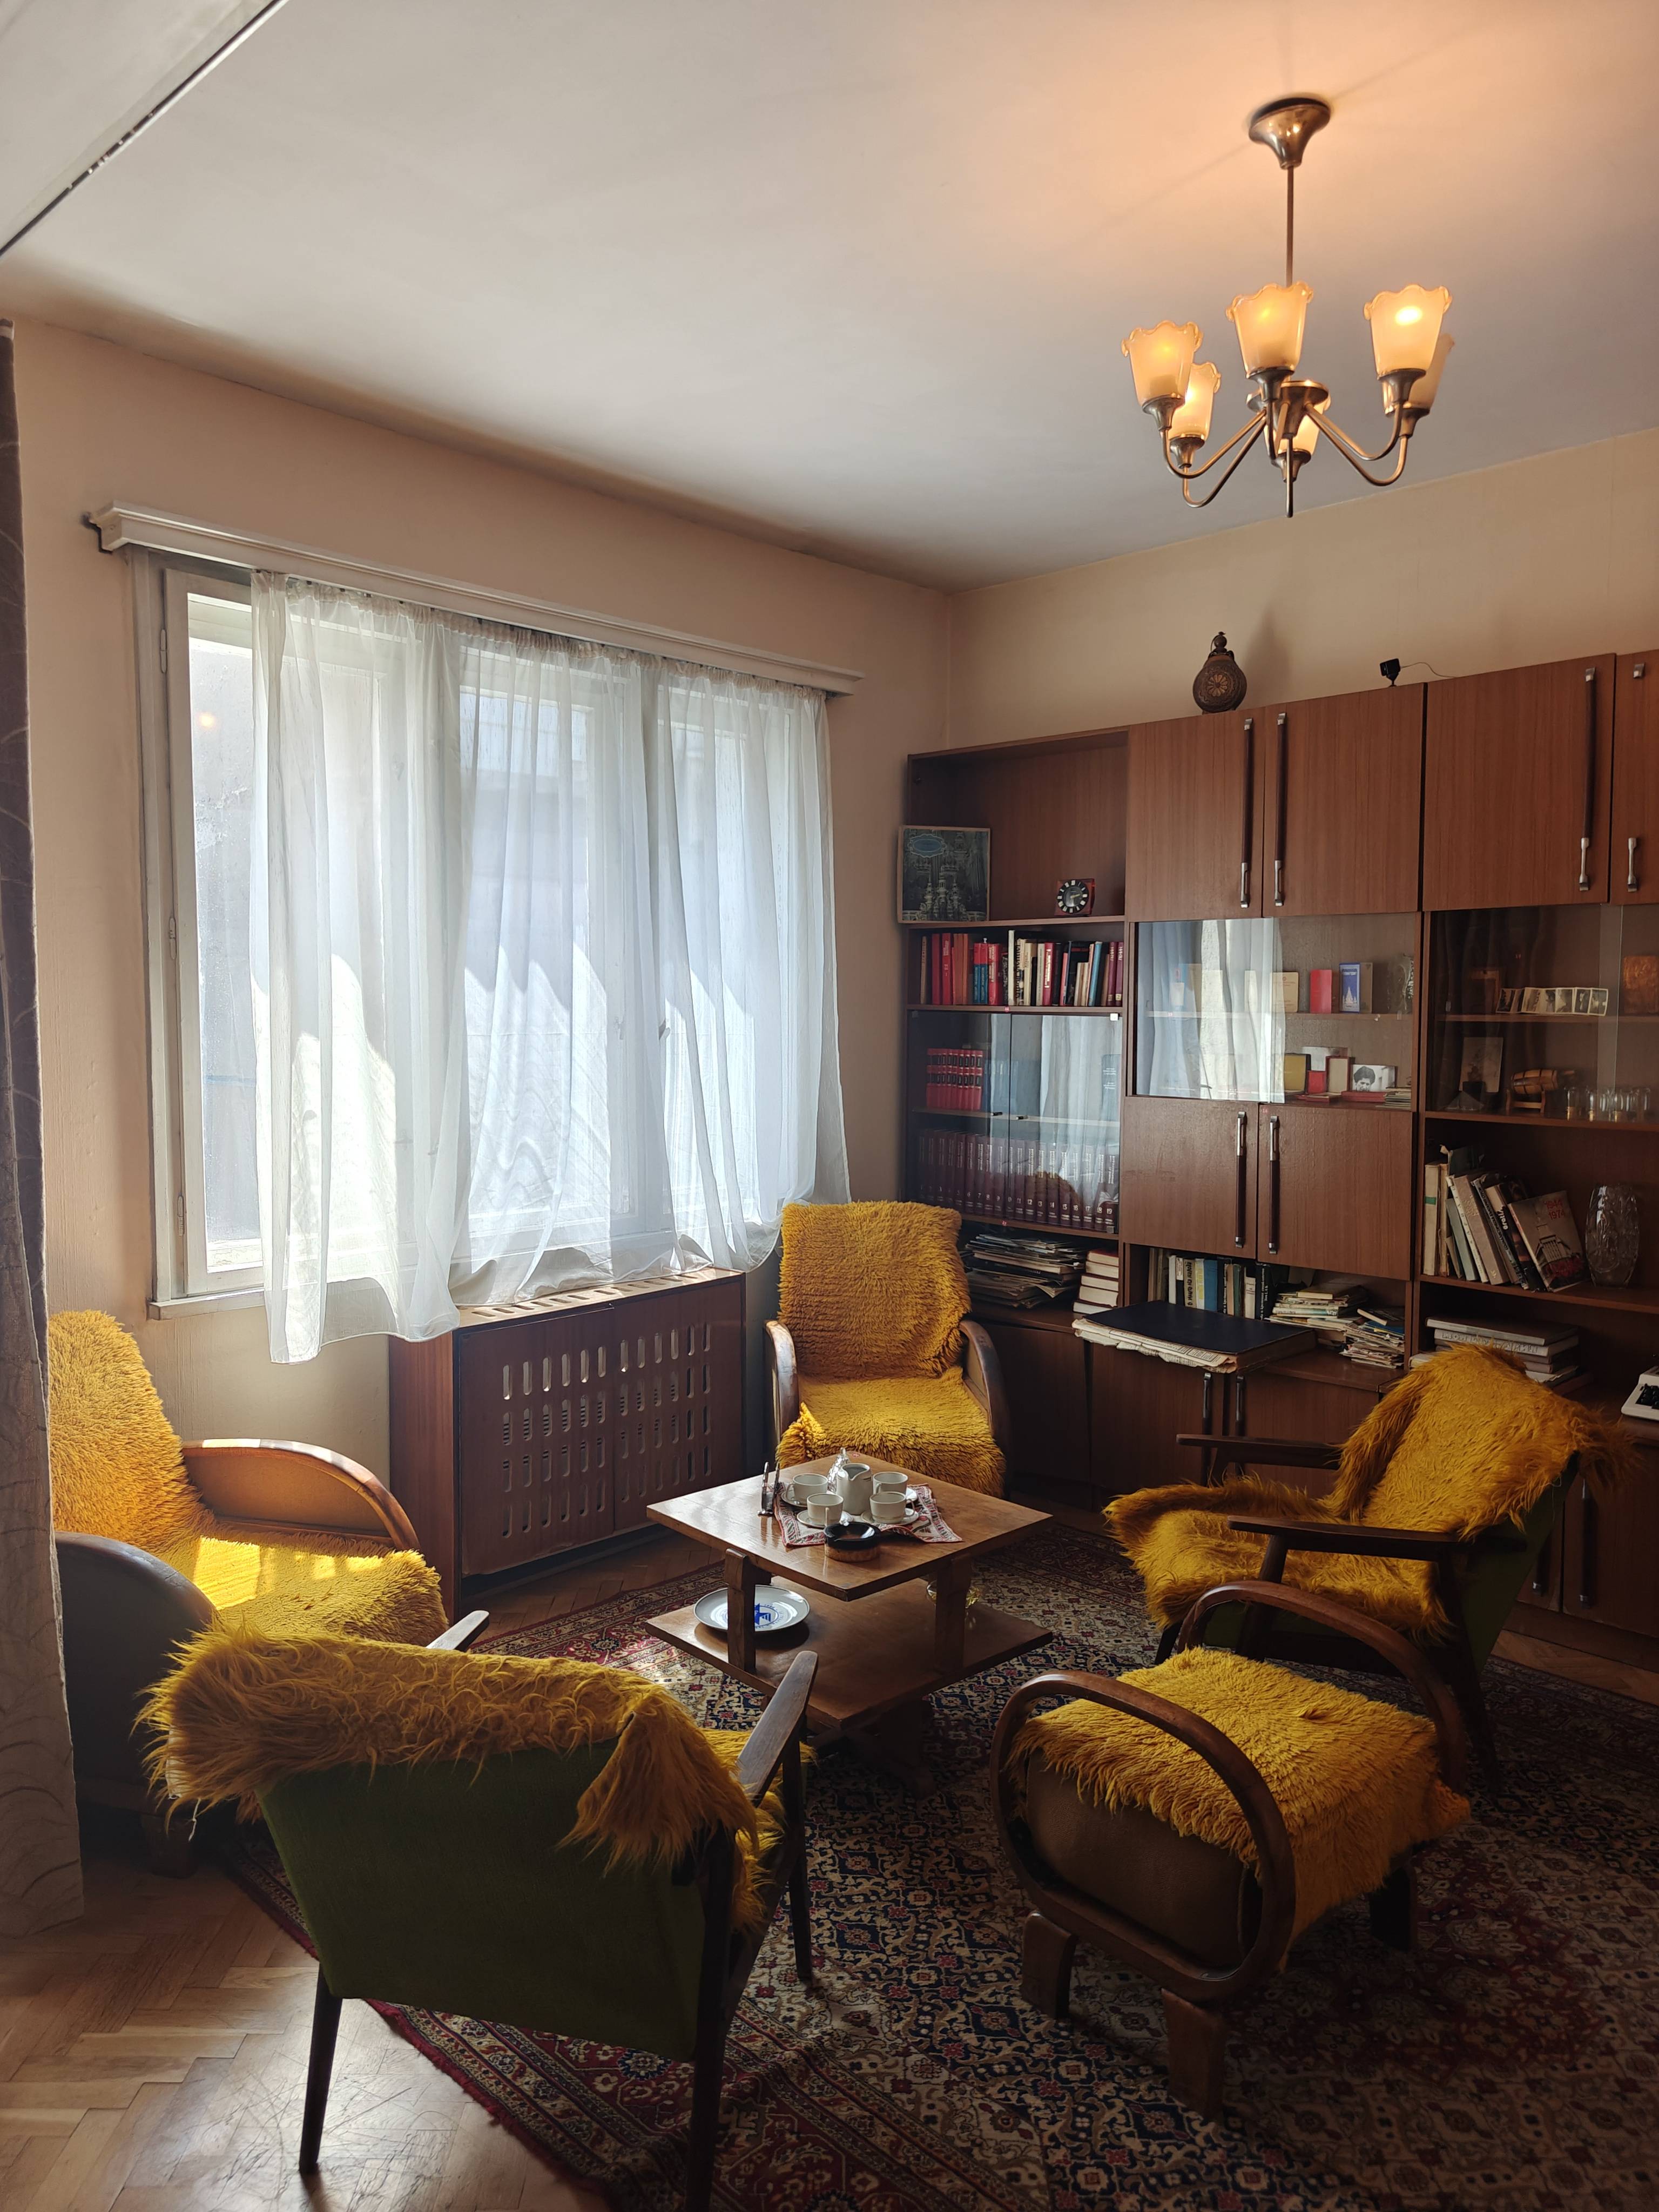
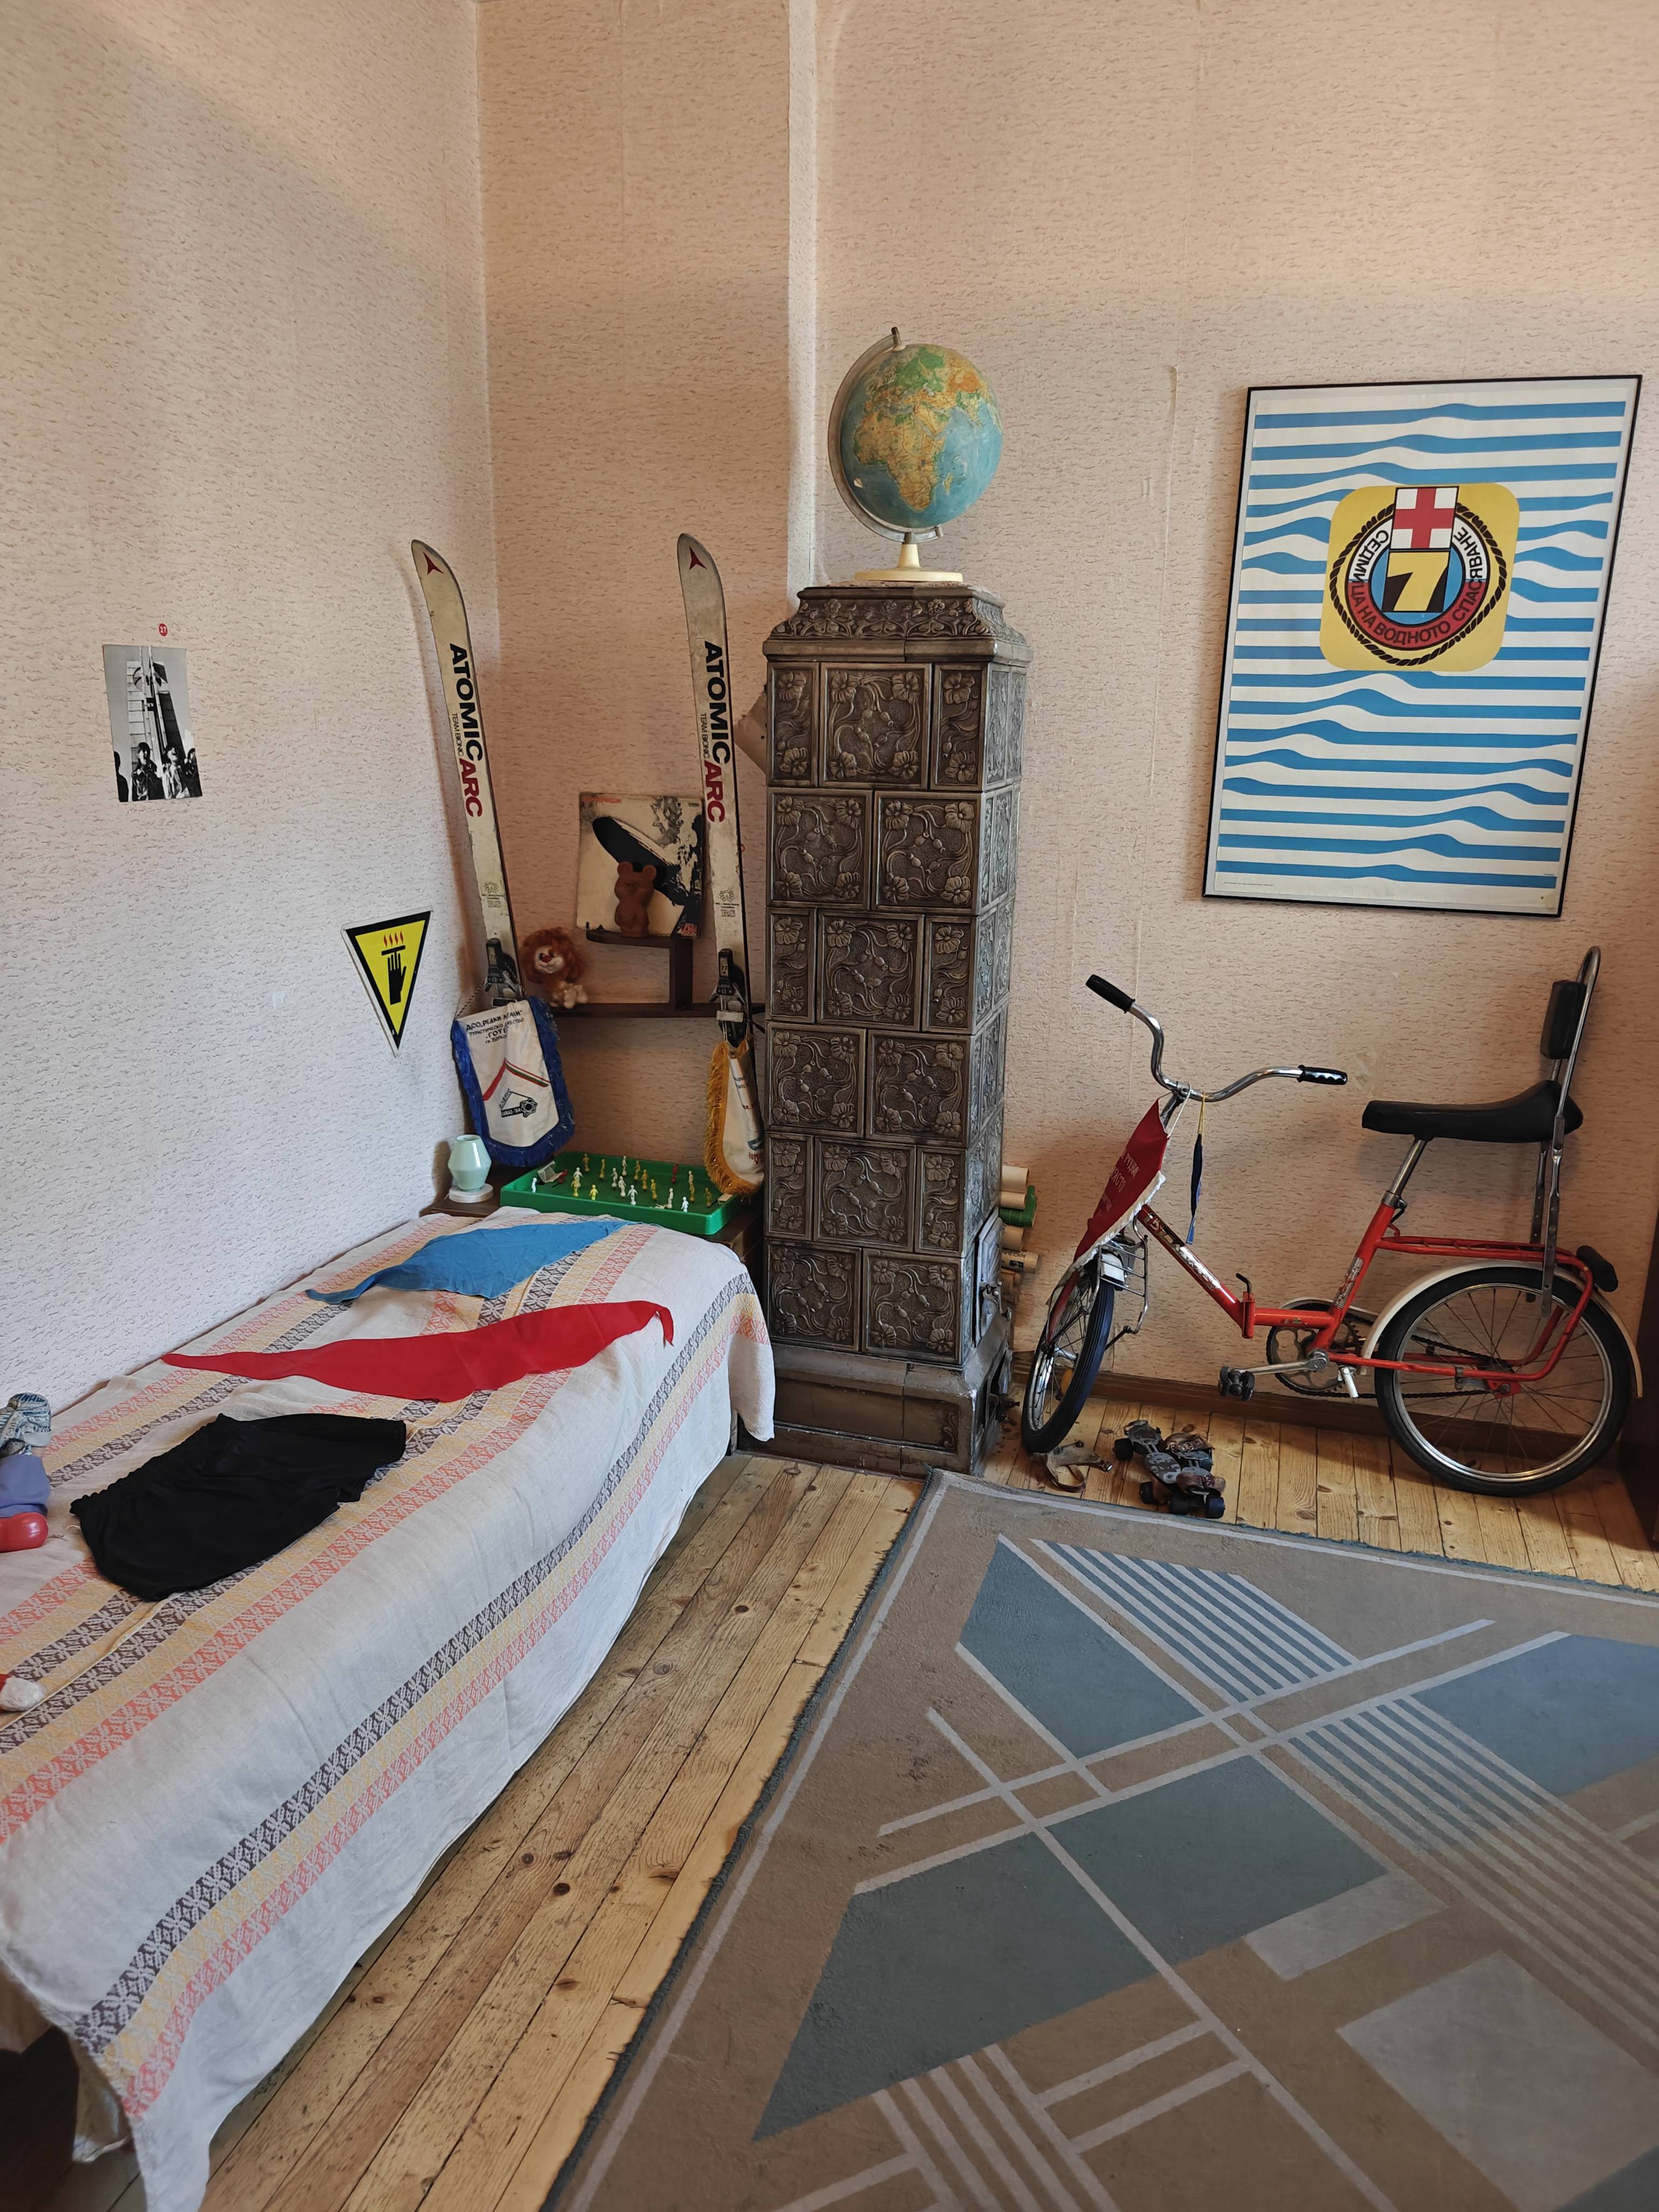
I visited the ‘Red Flat’, which was a time capsule of how
a flat looked during the end of the comunism time. This was quite a retro experience.
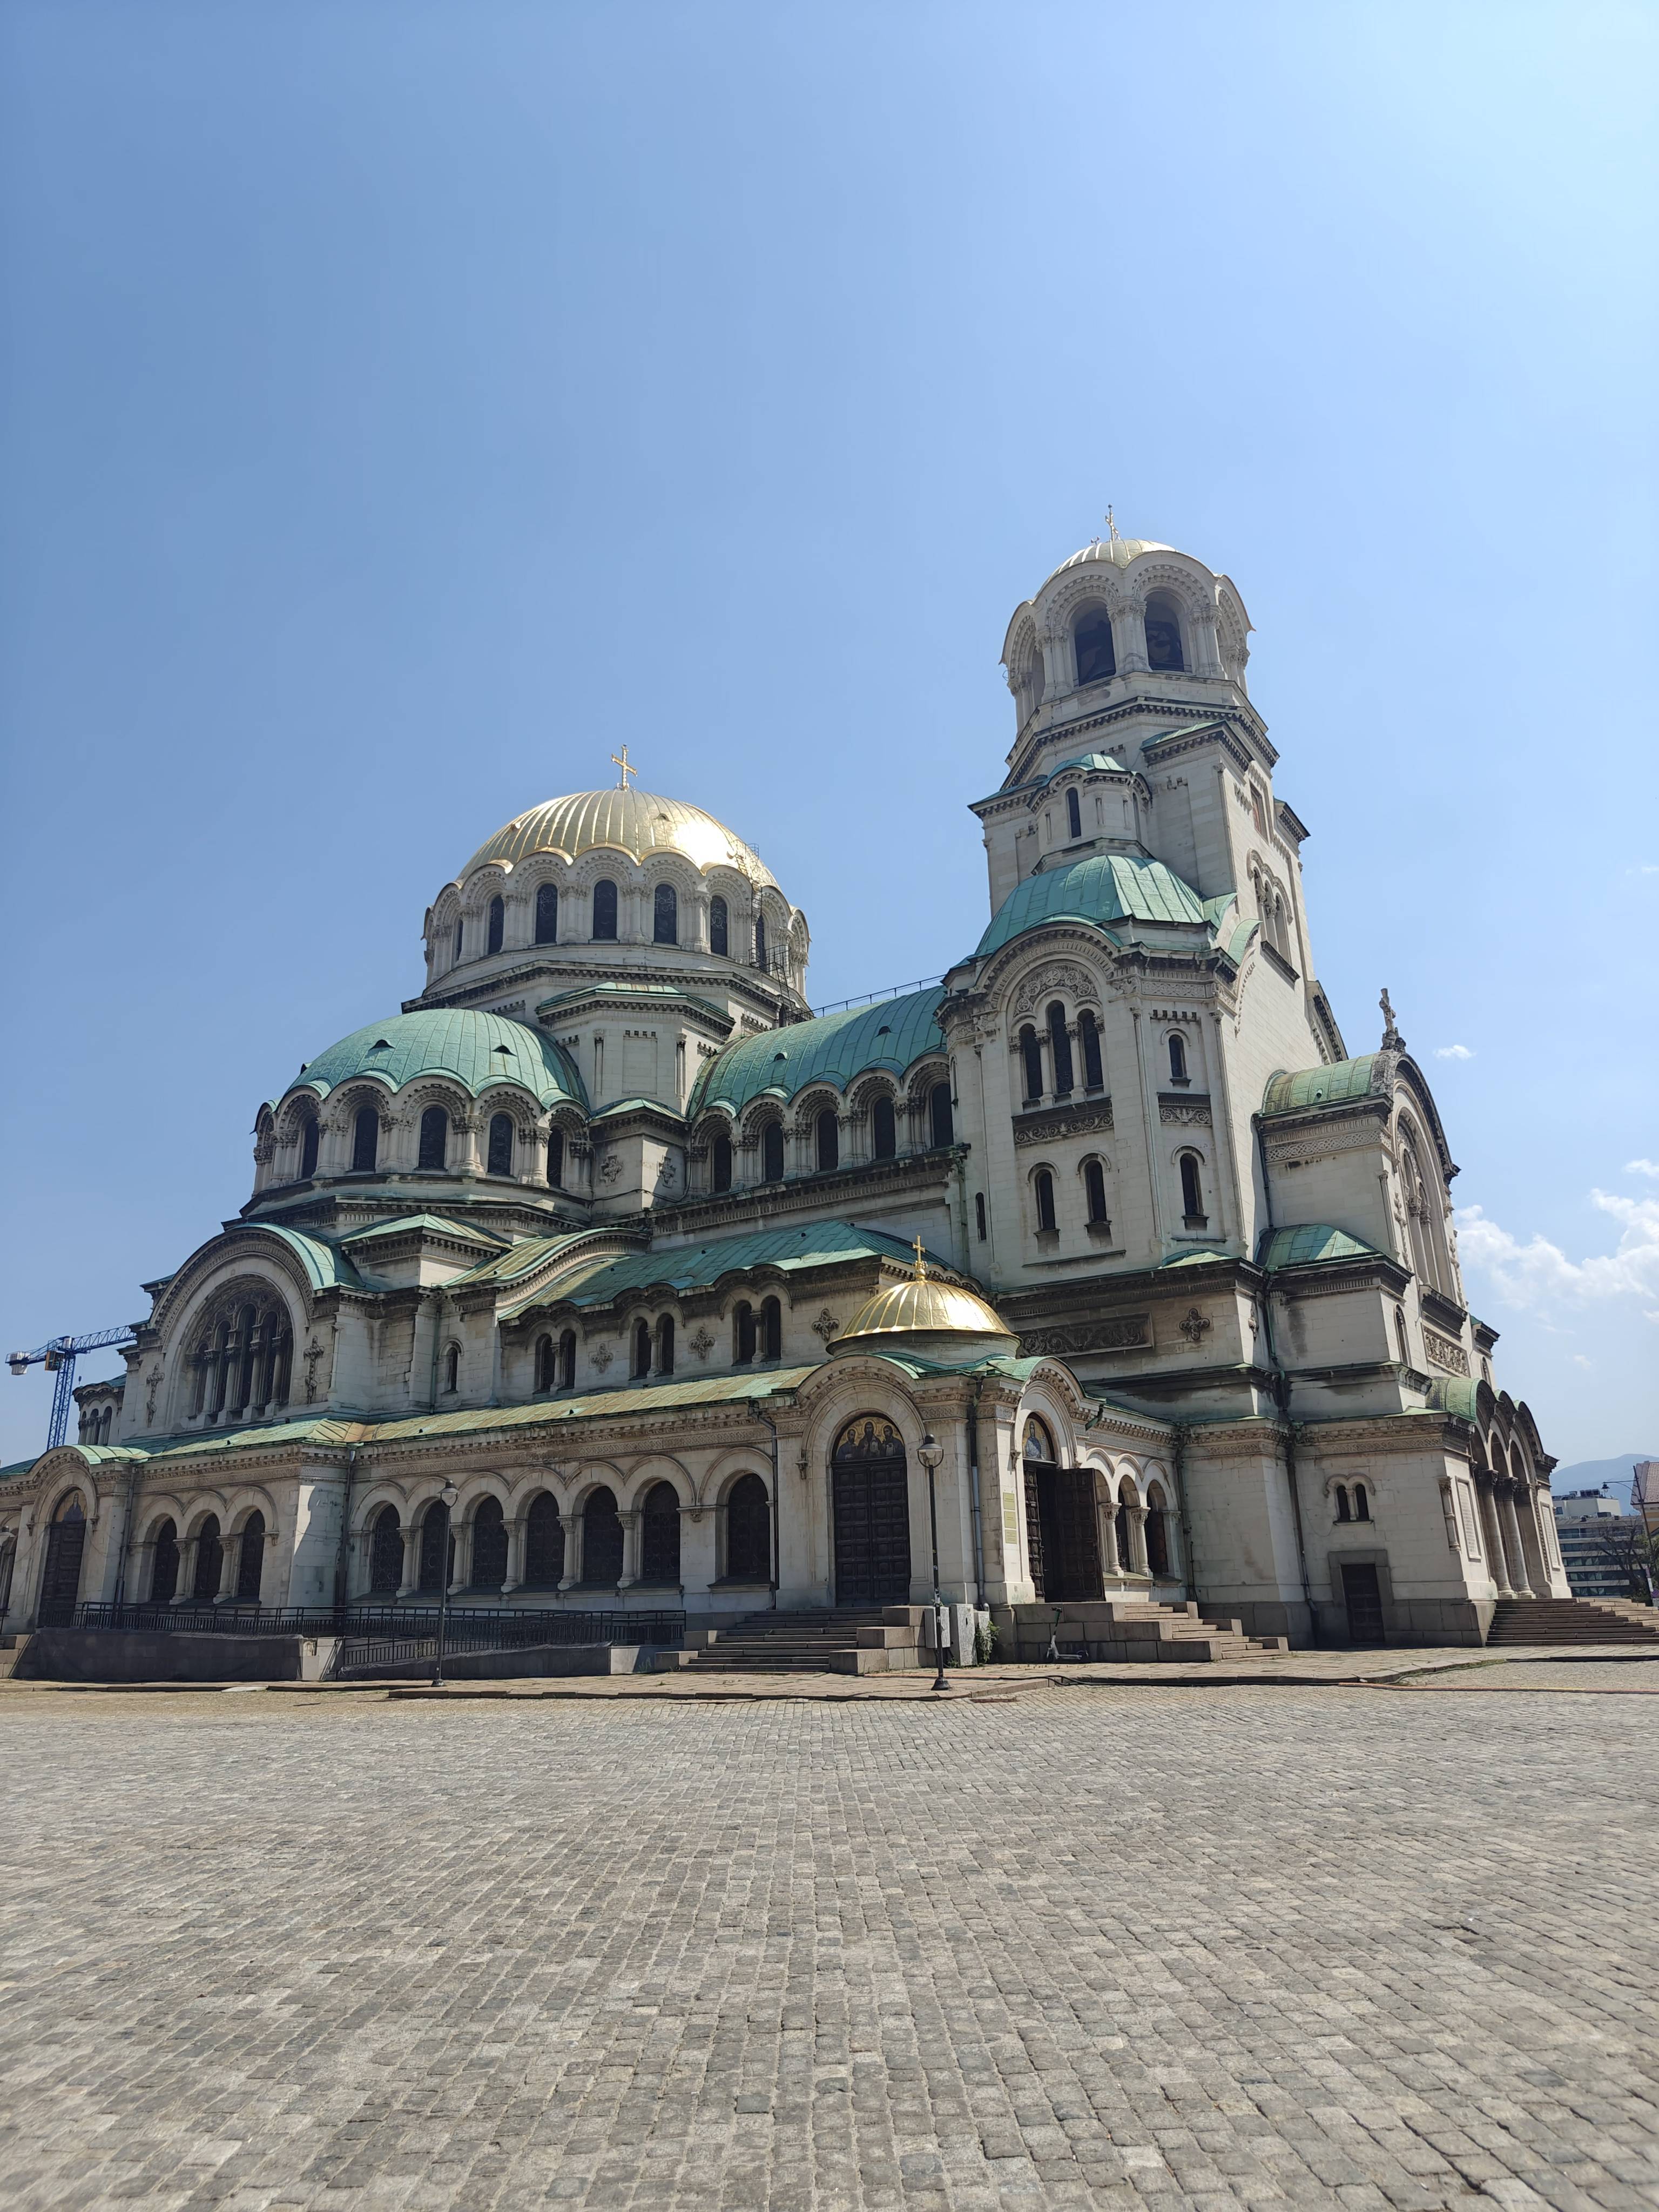
I also ended up visiting more orthodox churches.
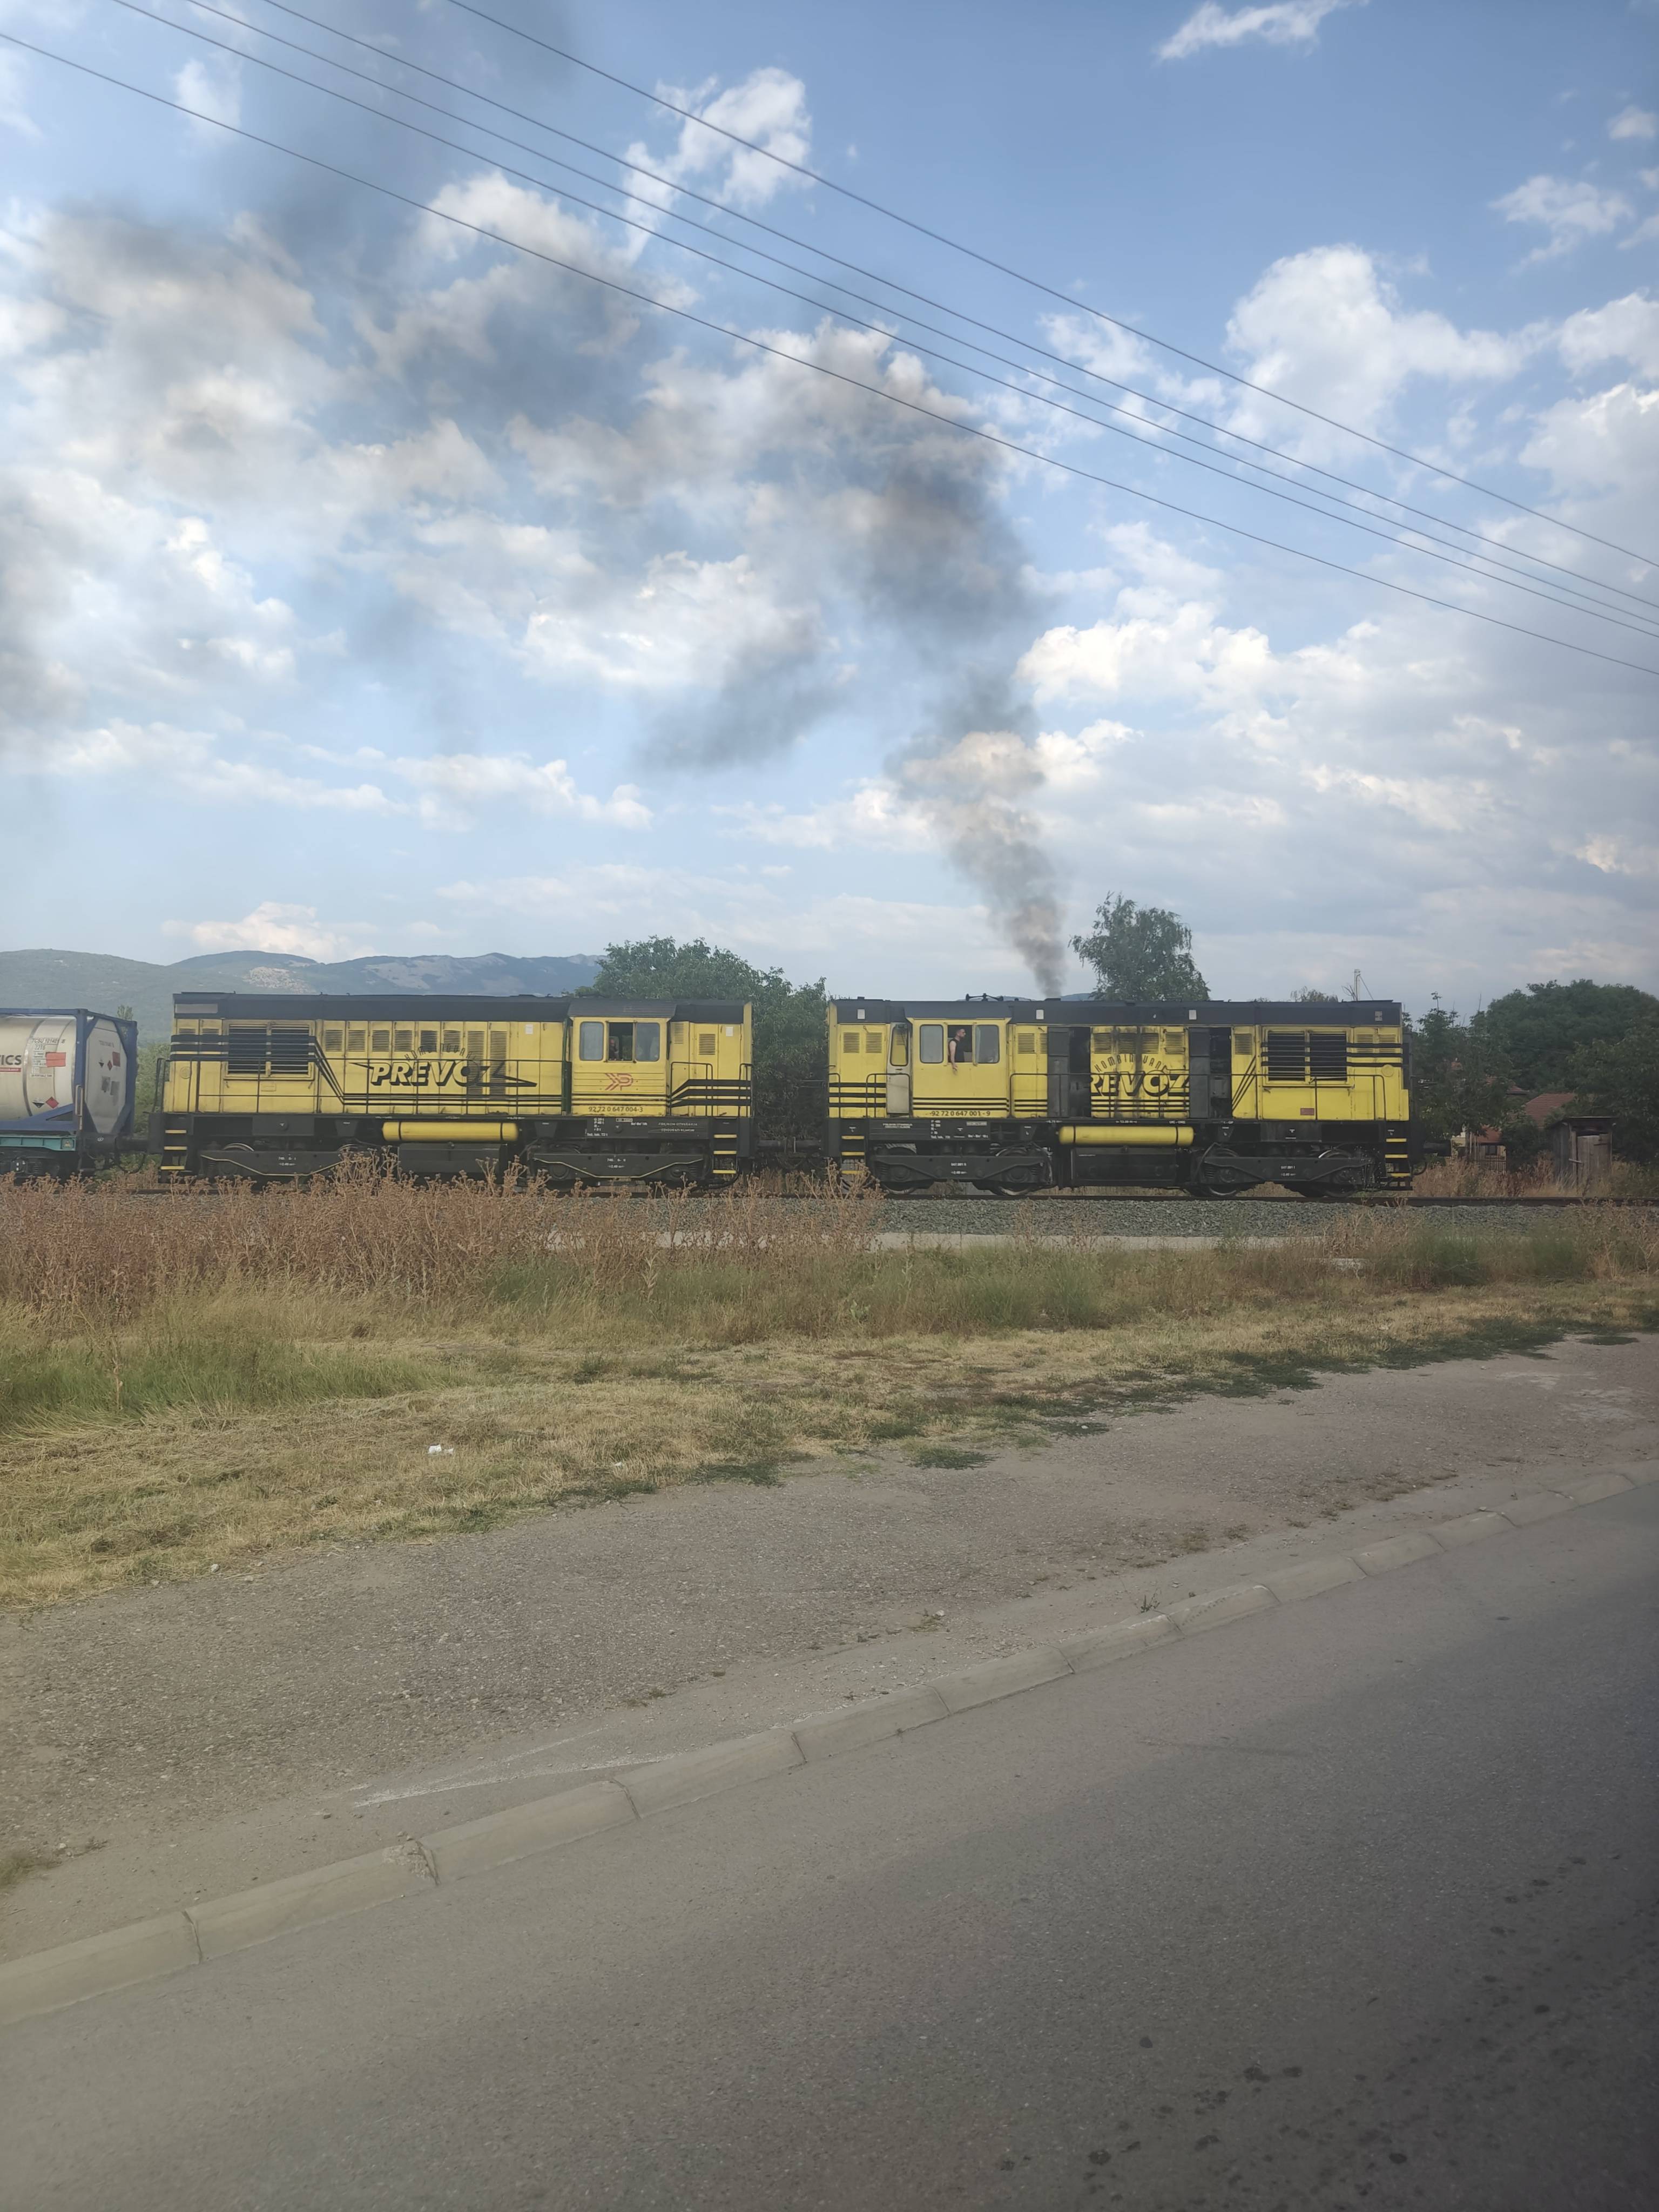
A train
Morning Matcha <3
The living room of the 'Red Flat'
The bedroom room of the 'Red Flat'
Another gigantic orthodox church
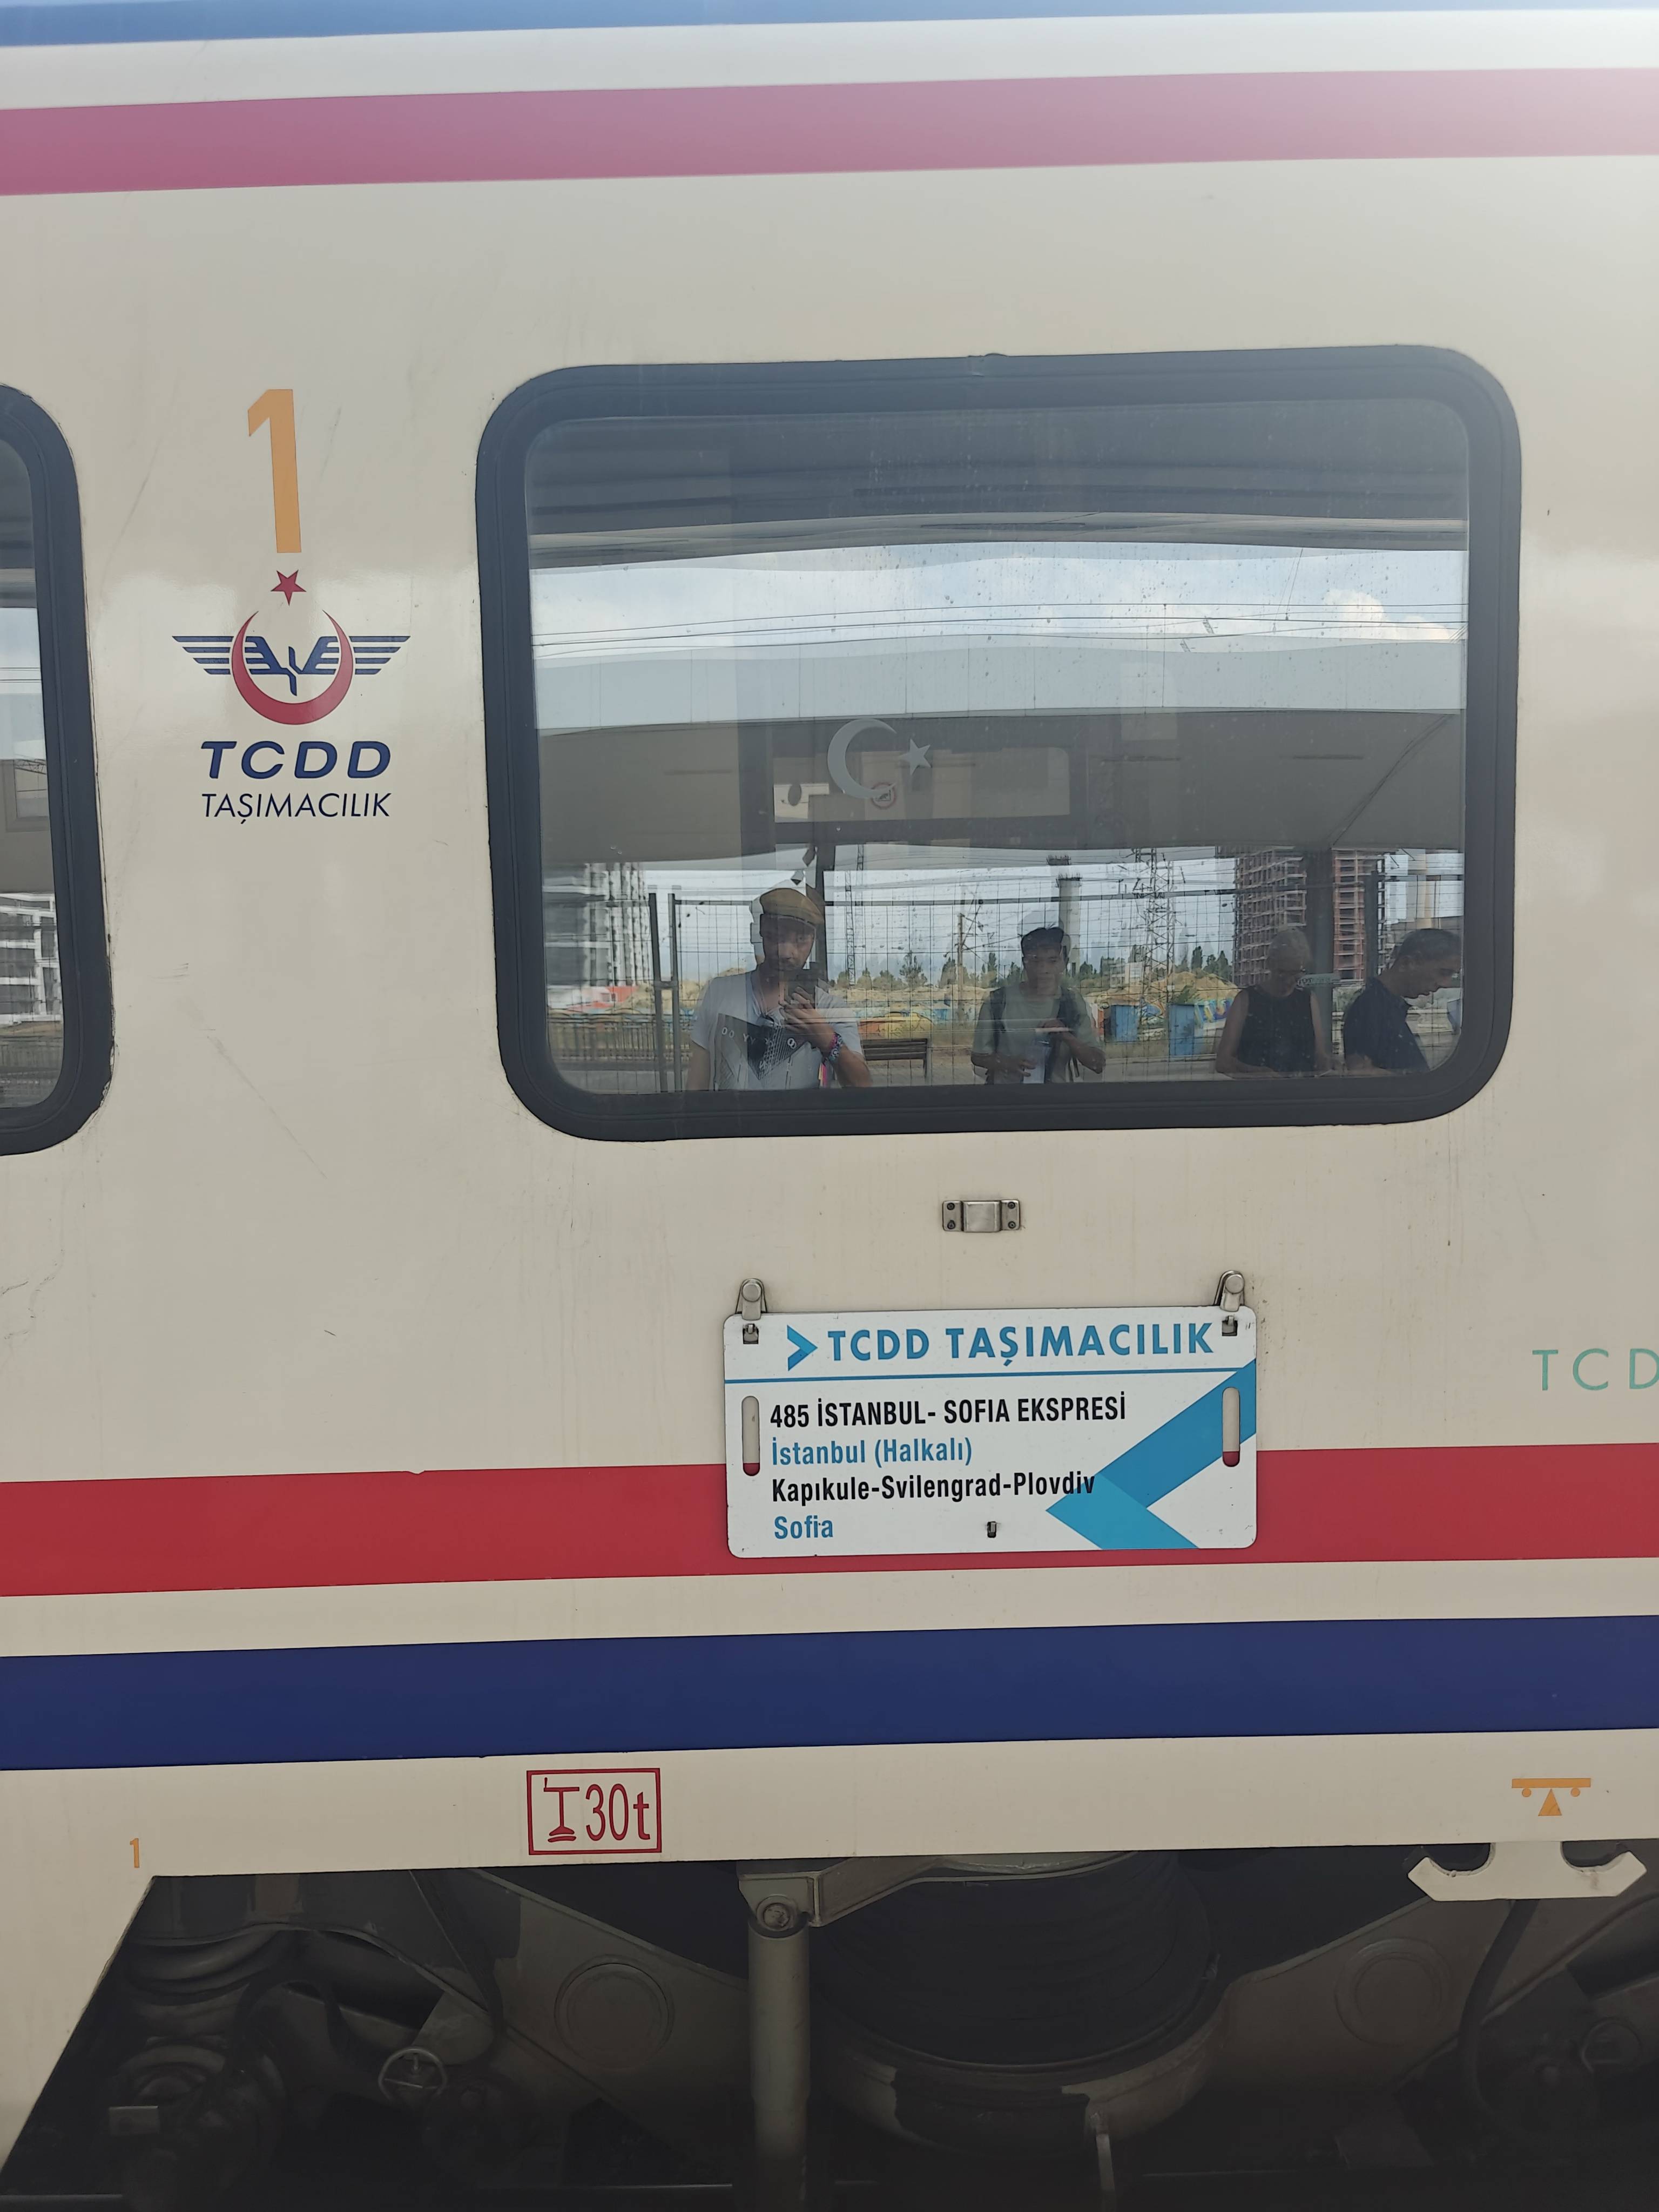
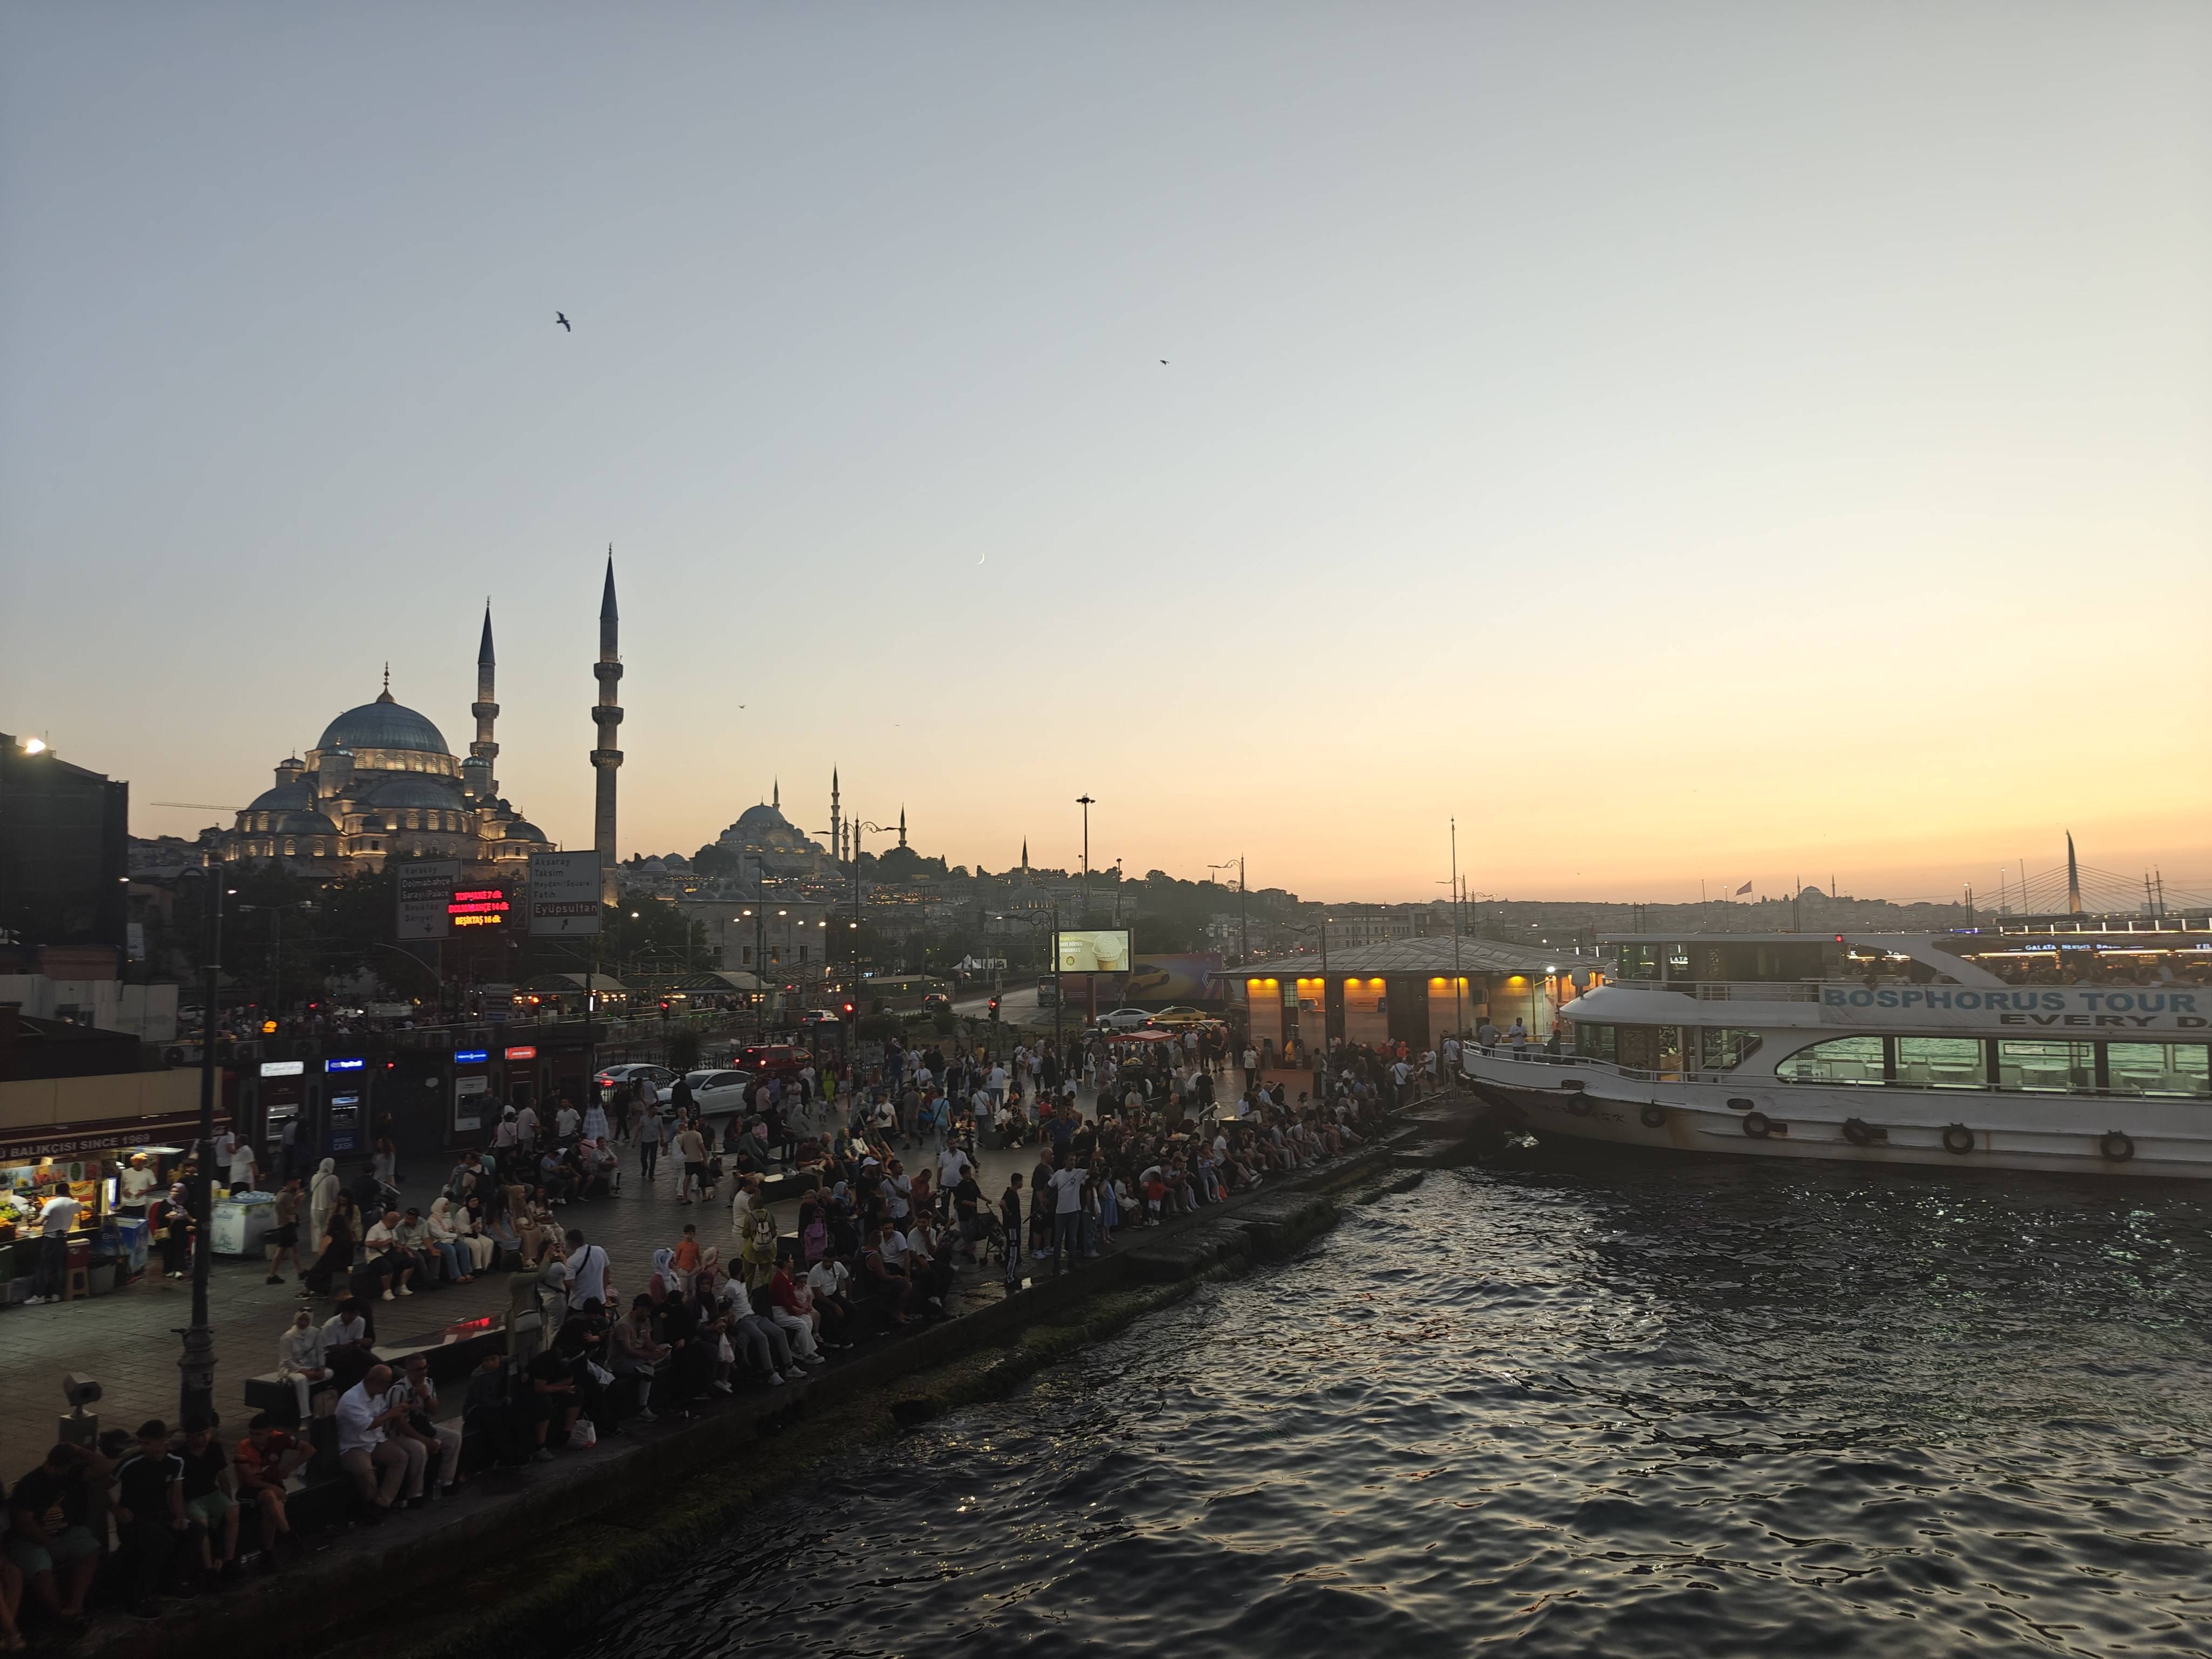
Istanbul
The last stop on my trip was Istanbul. I took the night train there, which
turned out to be a bad experience — we ended up waiting four hours at the
border, and the whole process was quite inefficient.
Istanbul itself was amazing. I had originally planned to stay only three days
before heading back to Bucharest, but I found a cheap flight (€50 with luggage)
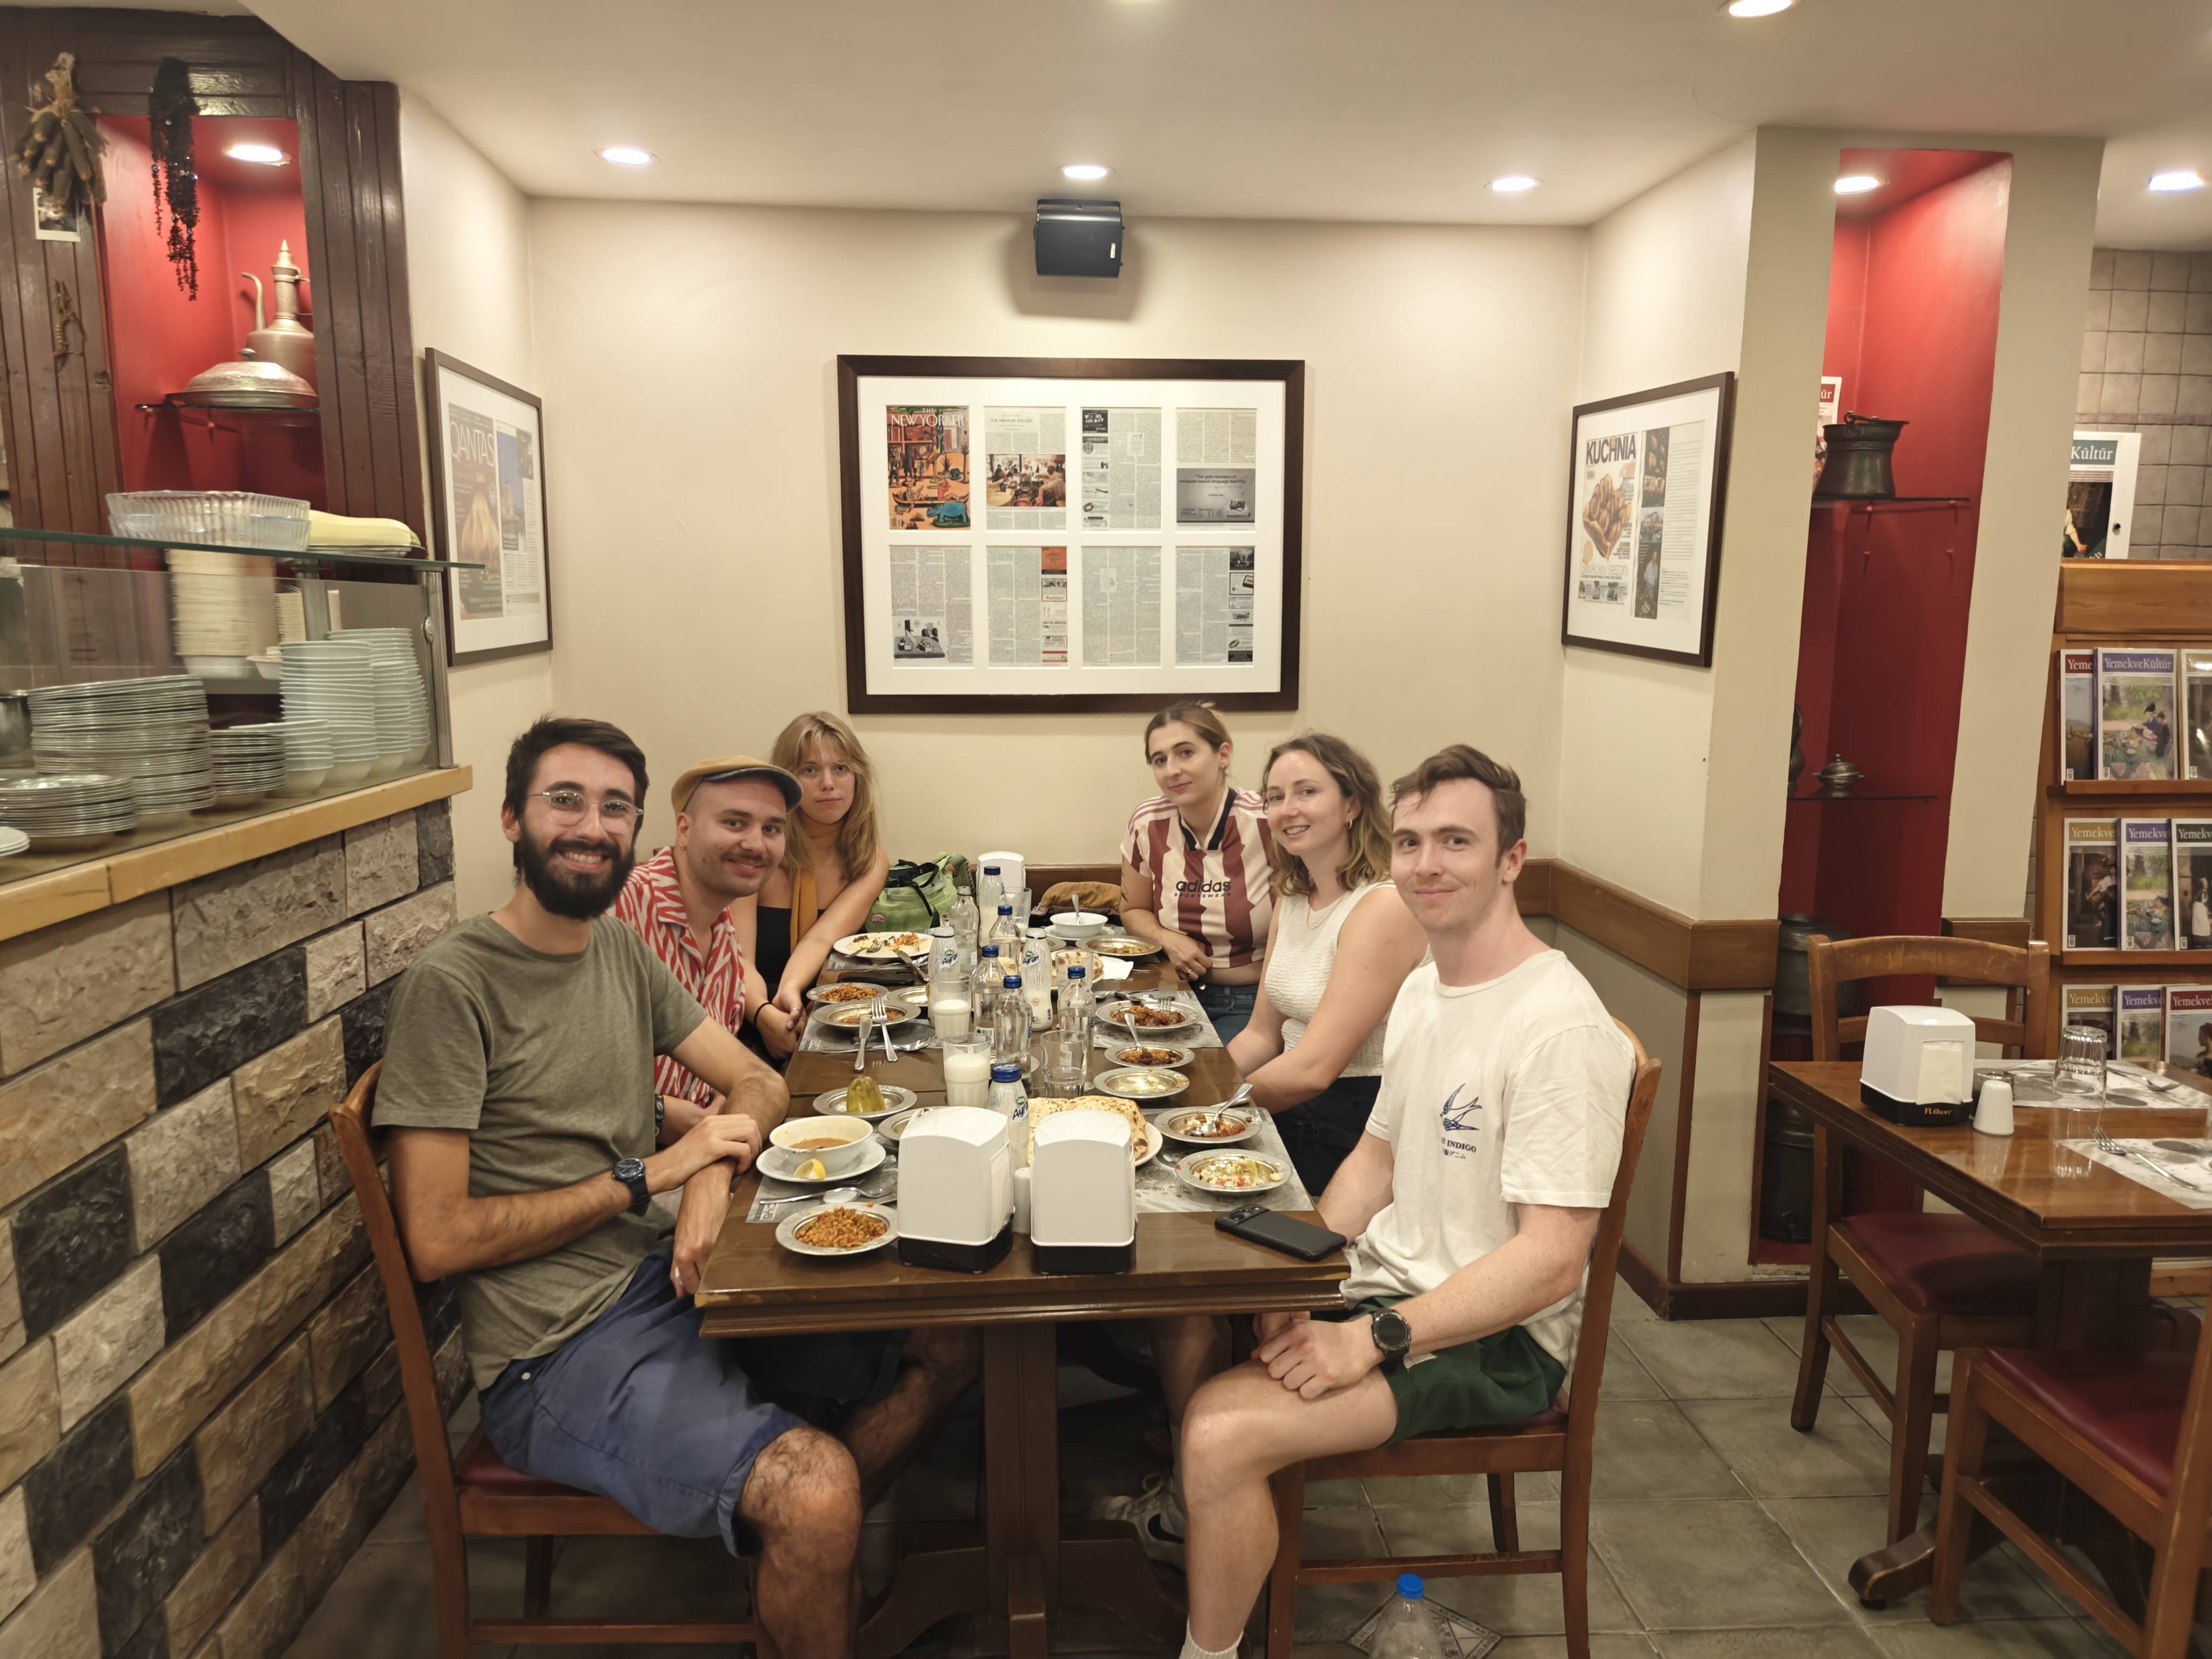
back to Berlin, so I ended up staying a total of six days. I stayed at a hostel
called Second Home Hostel, which turned out to be a
really fun place. The staff were extremely friendly, I met a lot of amazing
people there, and we went out partying almost every night.
I also meet Jon Worth who was working on his
#CrossBorderRail project and was at the same time in Istanbul.
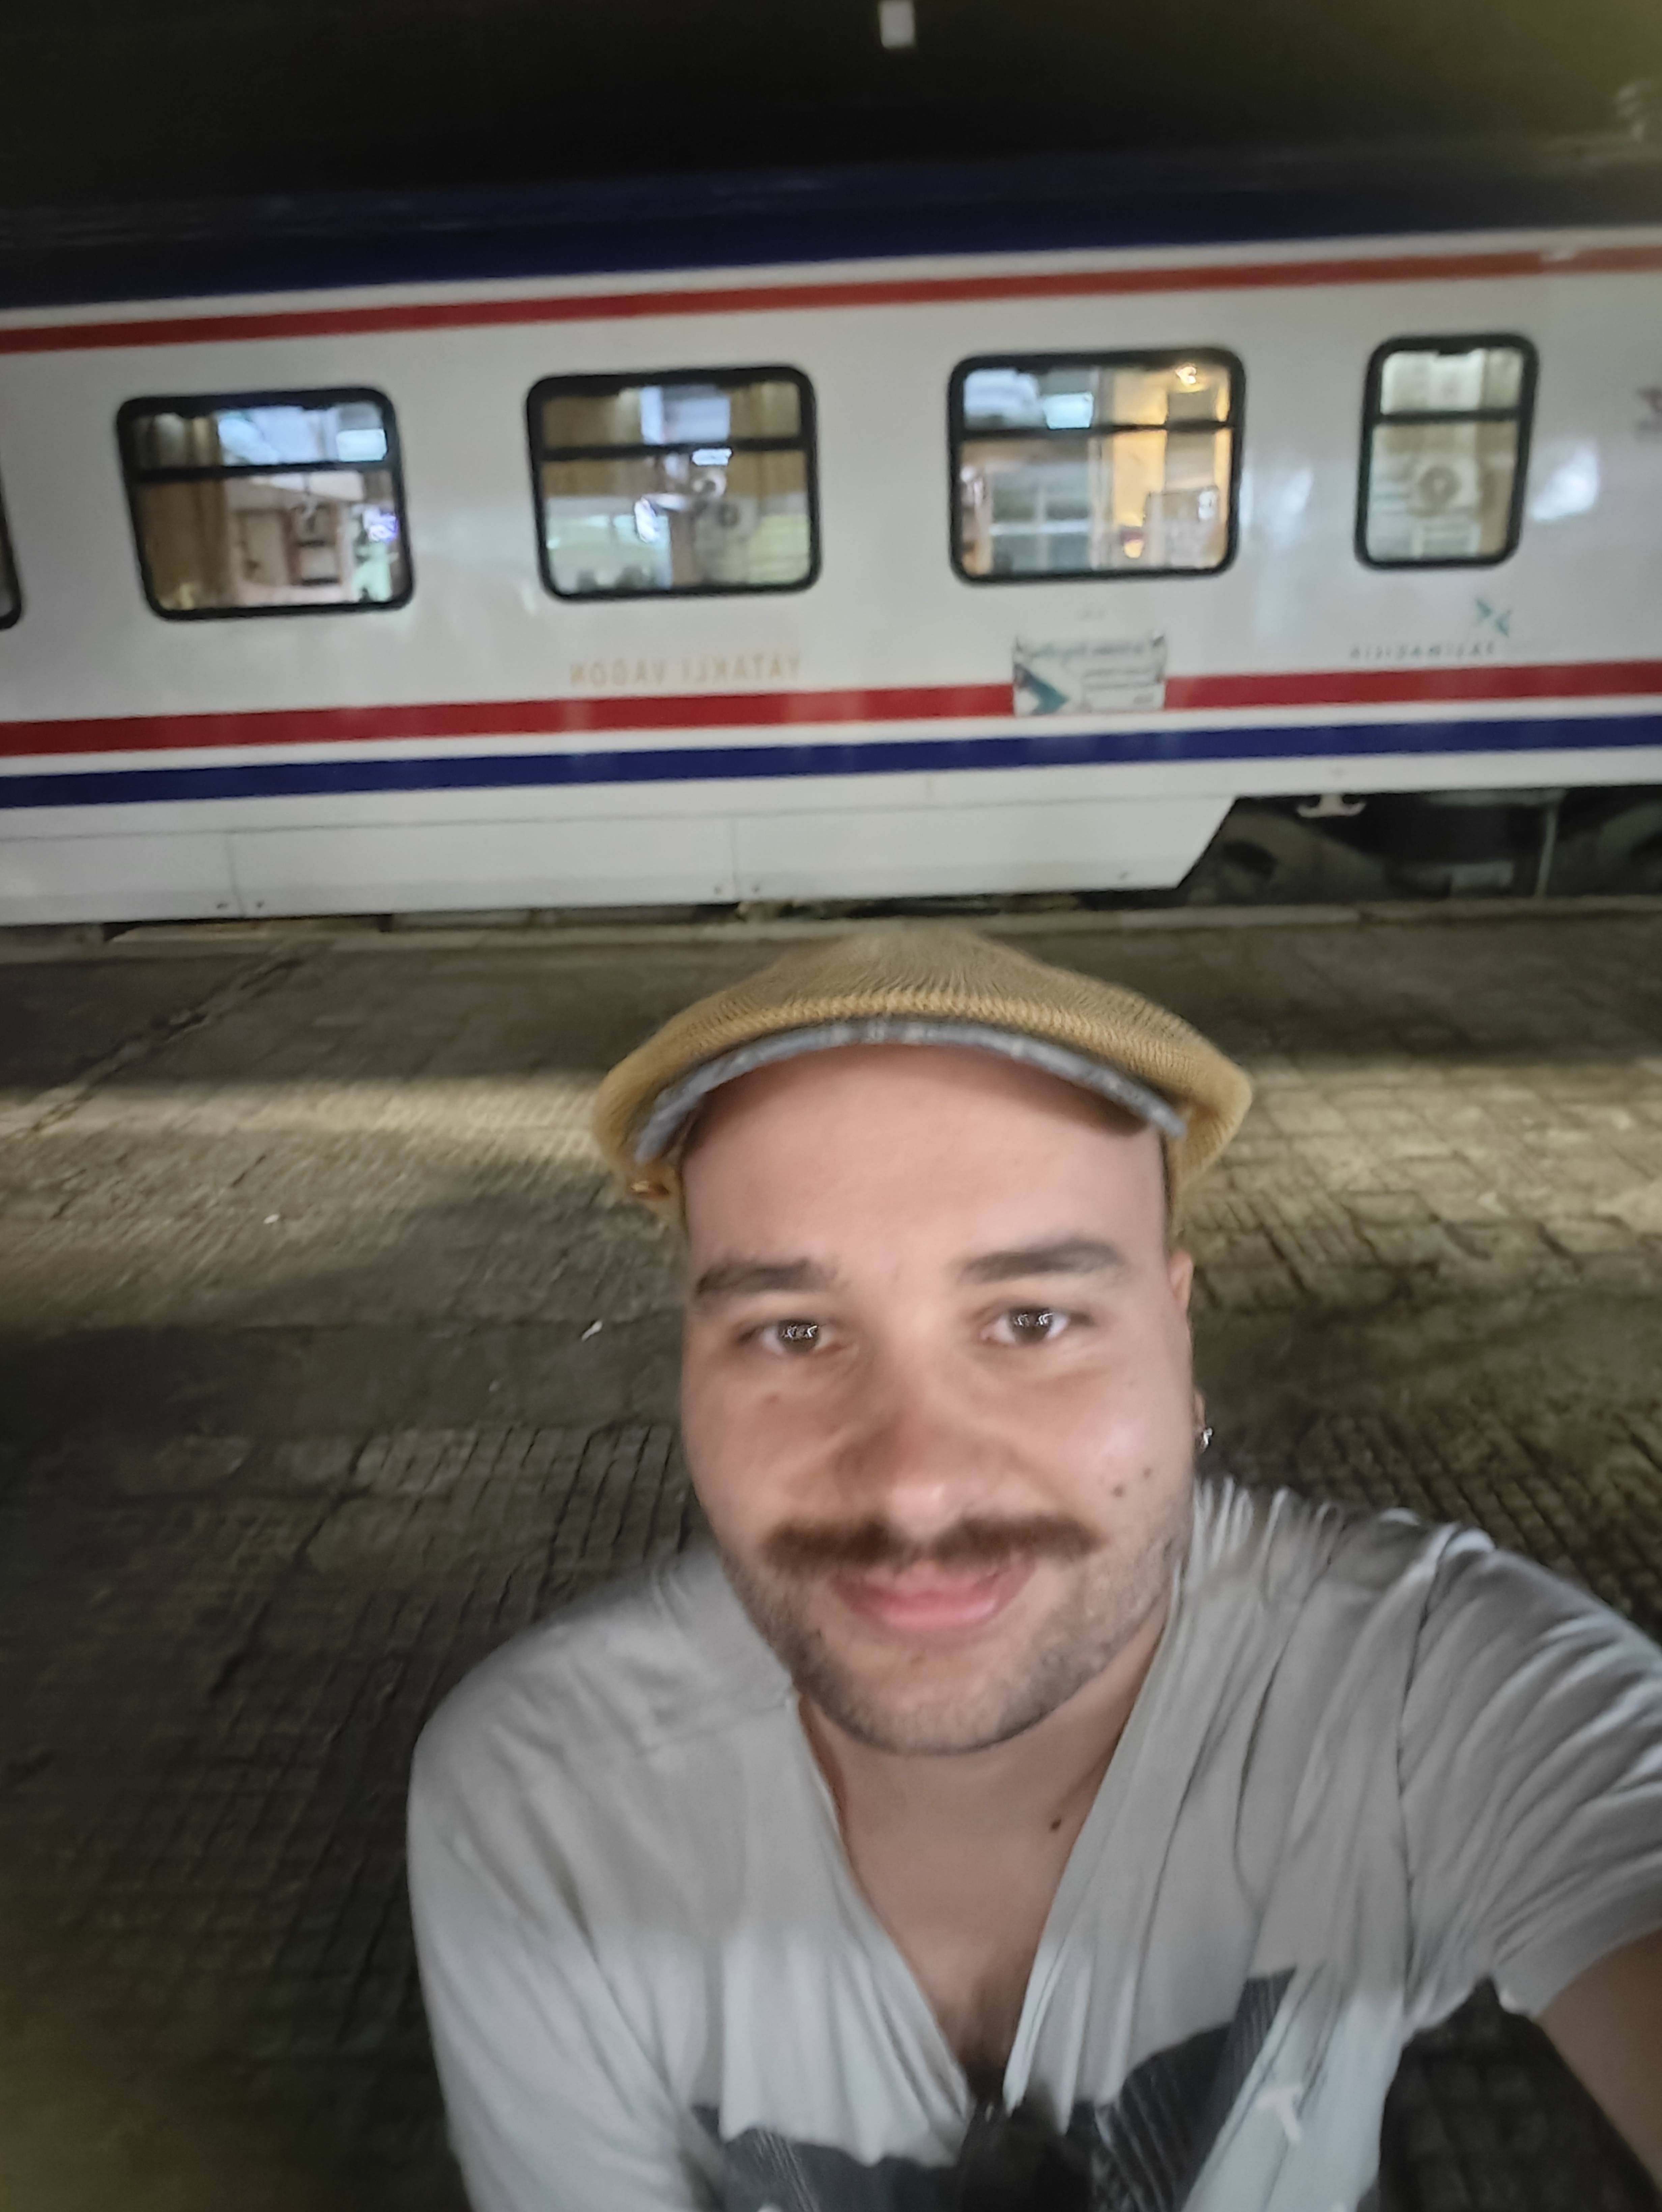
The night train I took
Me at 2 in the morning waiting for border check
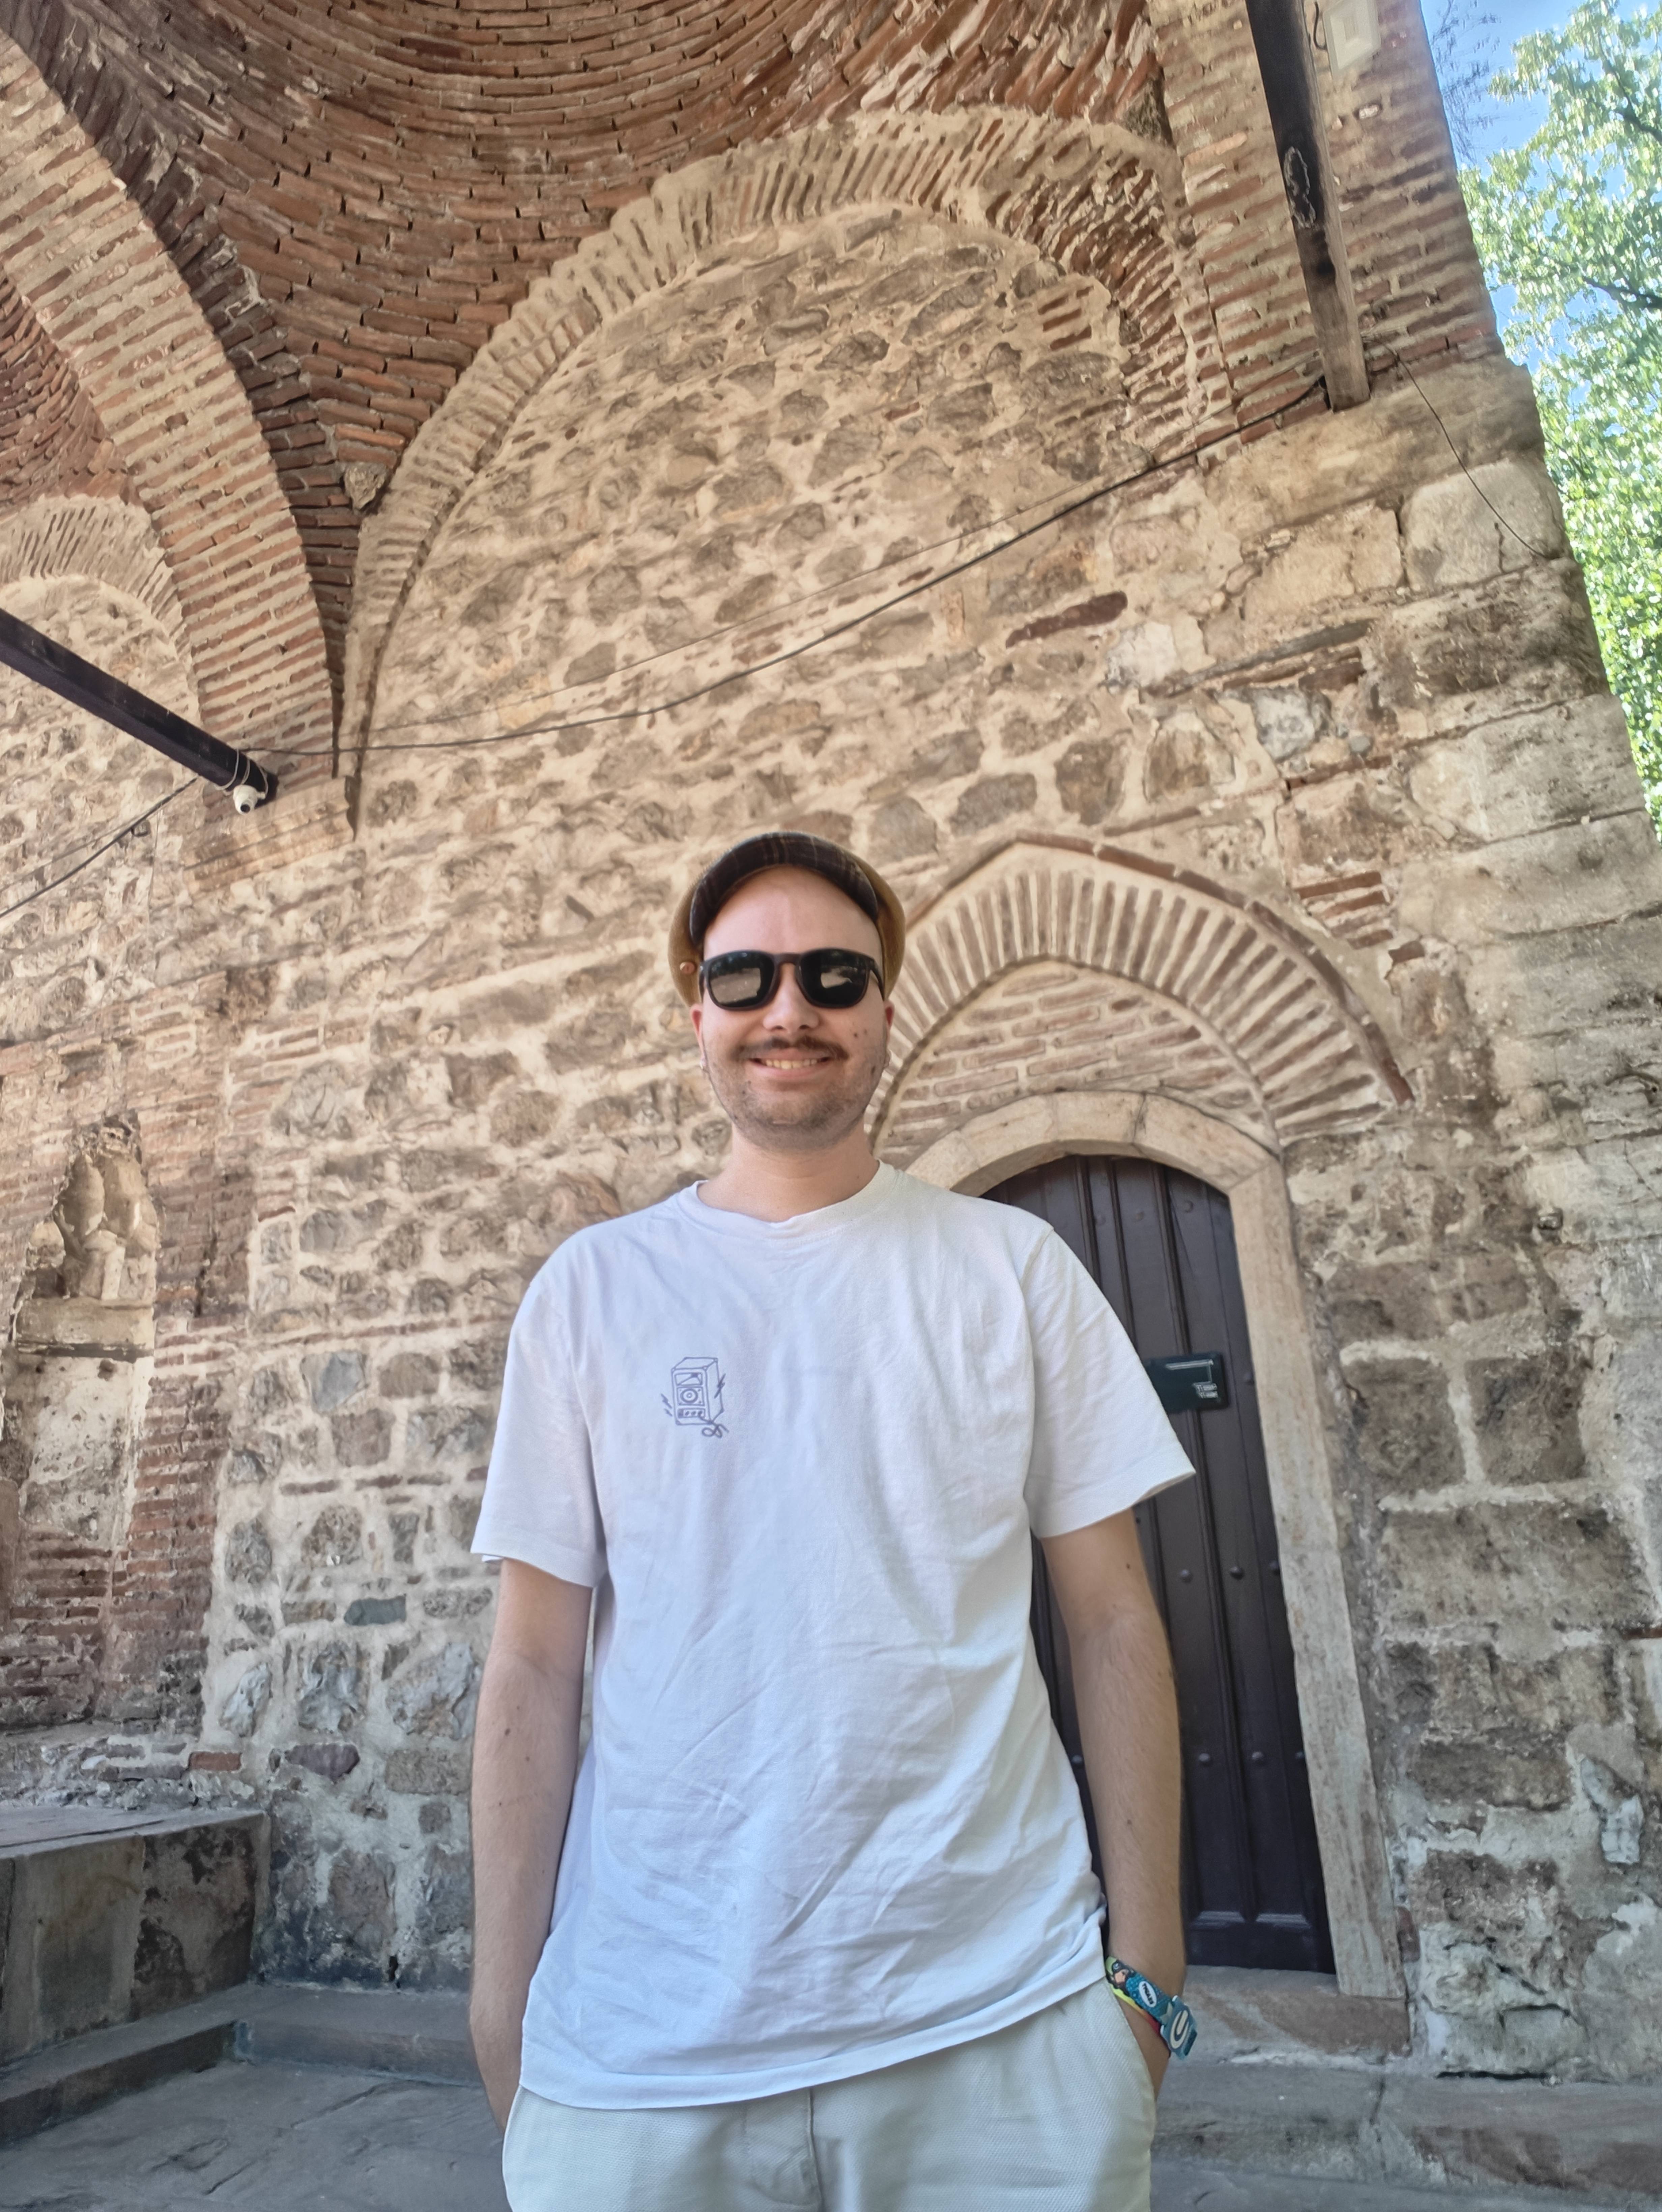
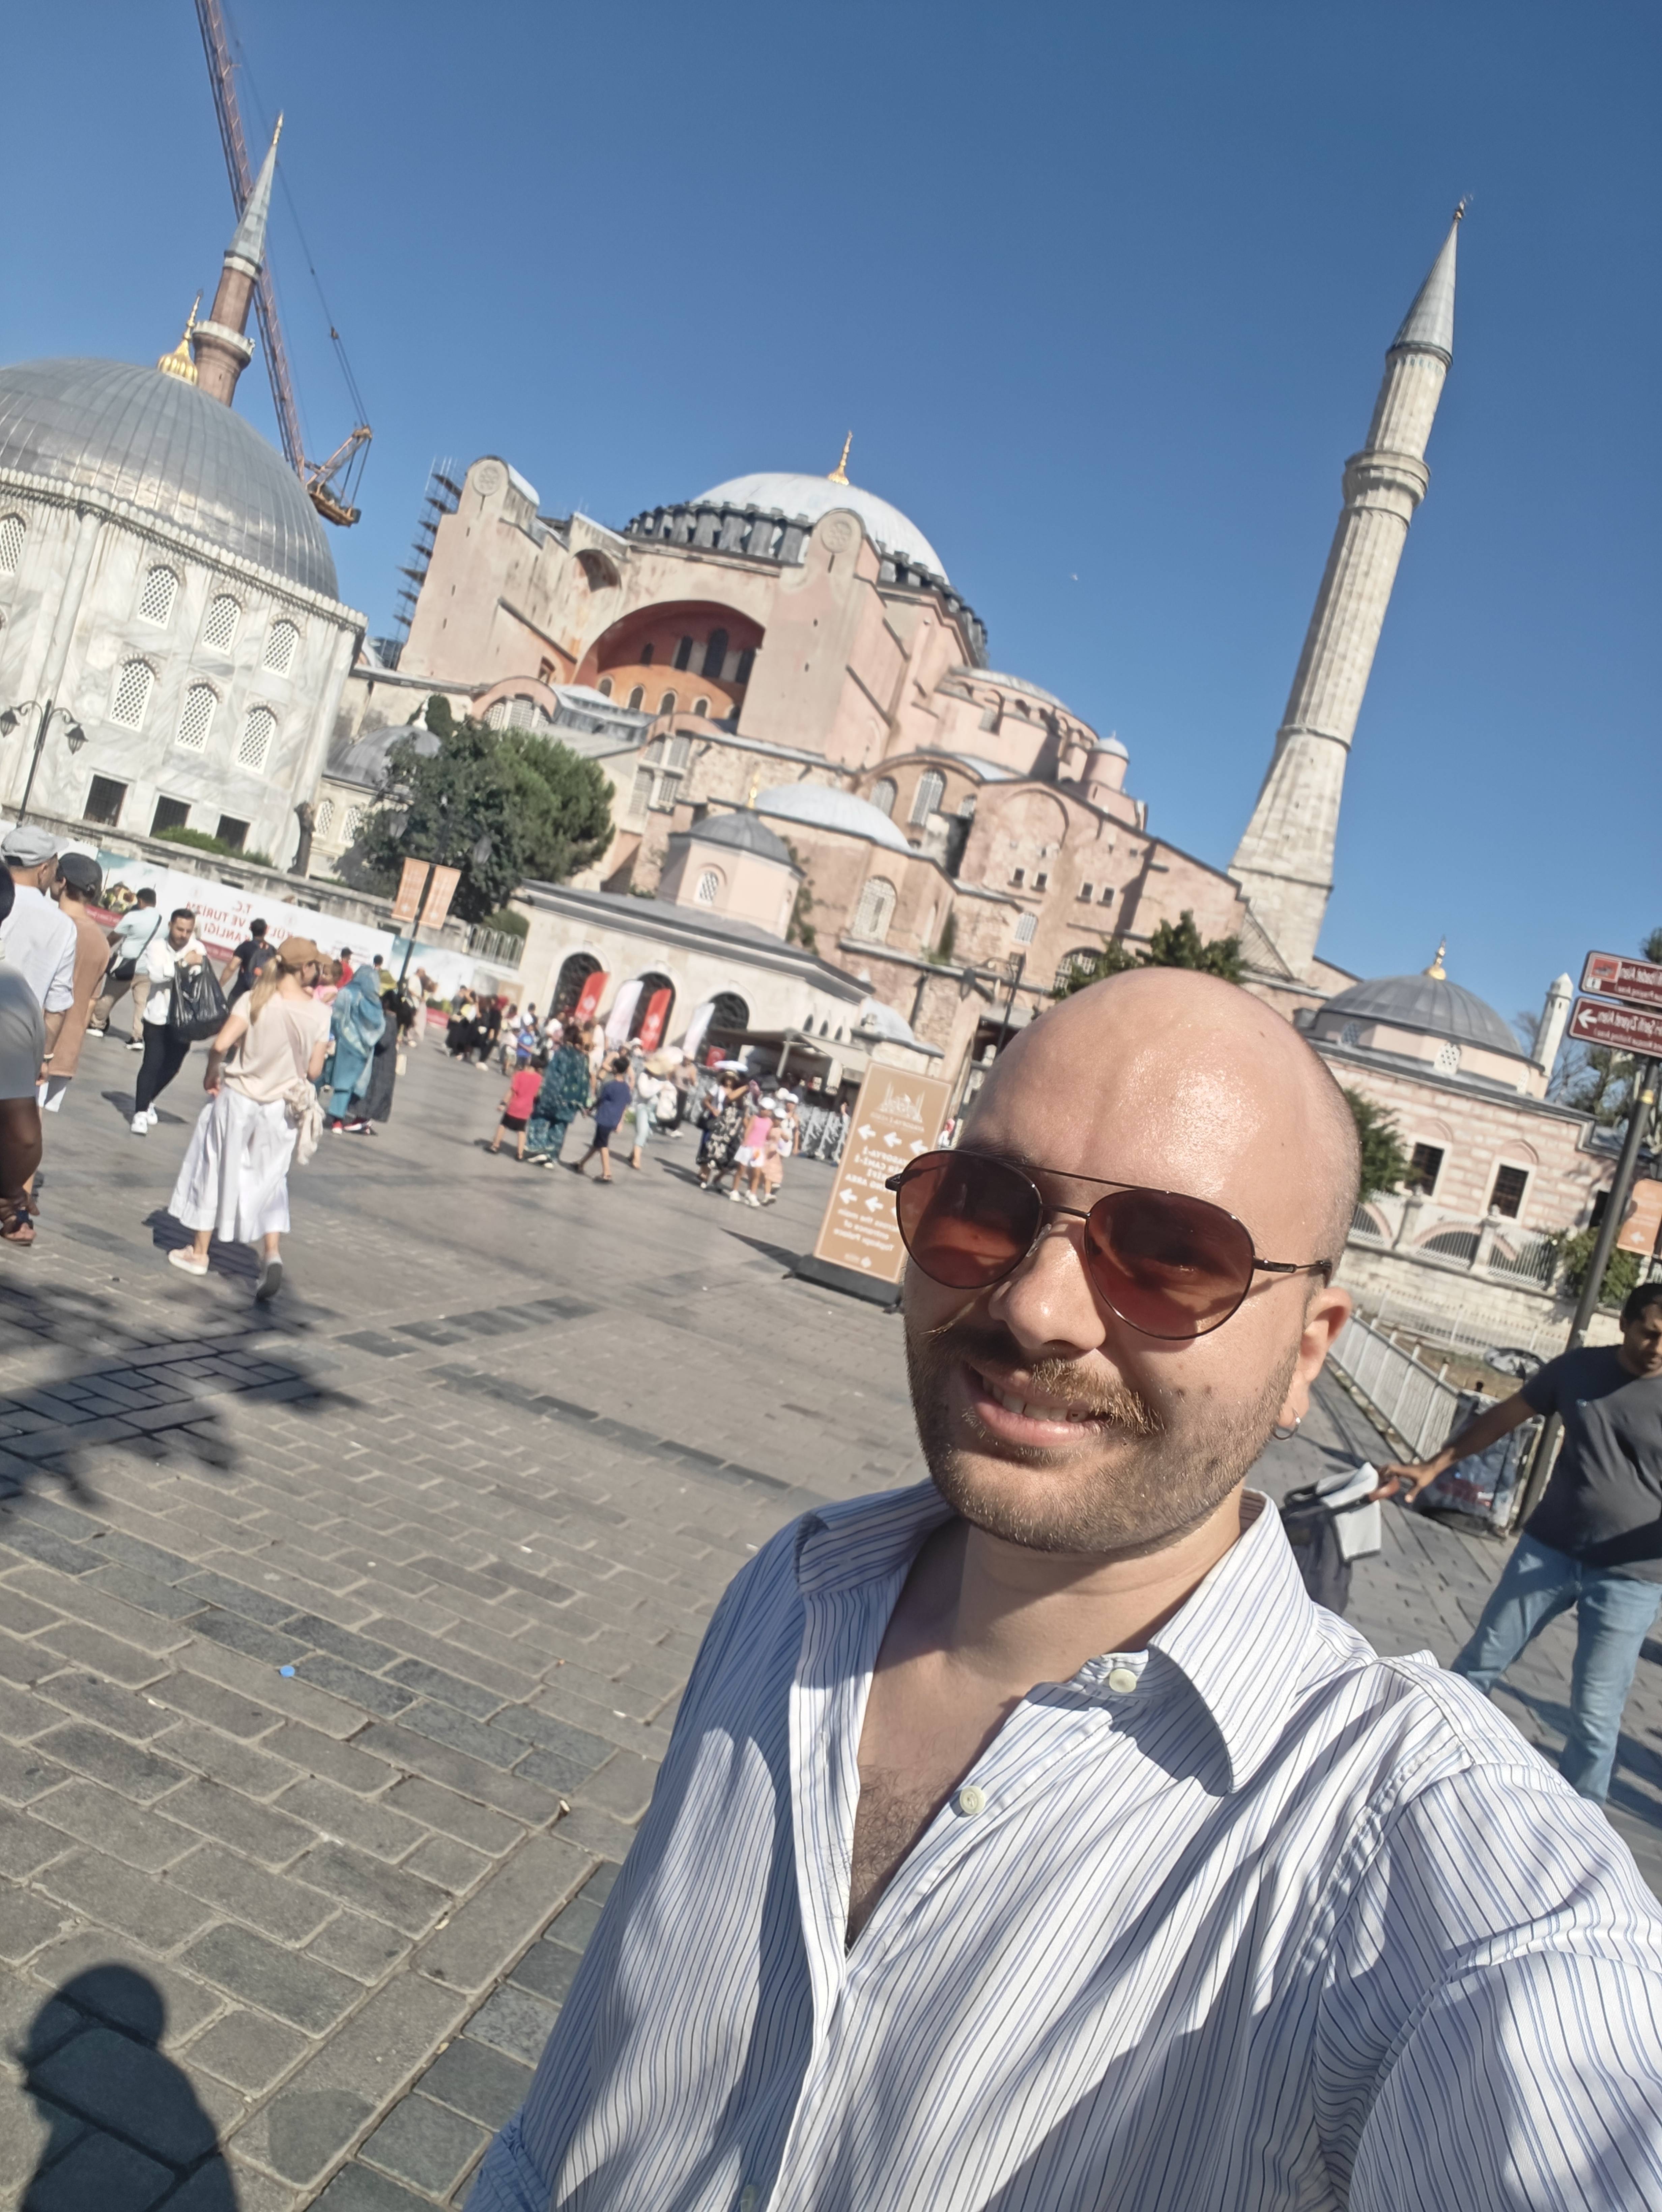
Me in front the Hagia Sophia
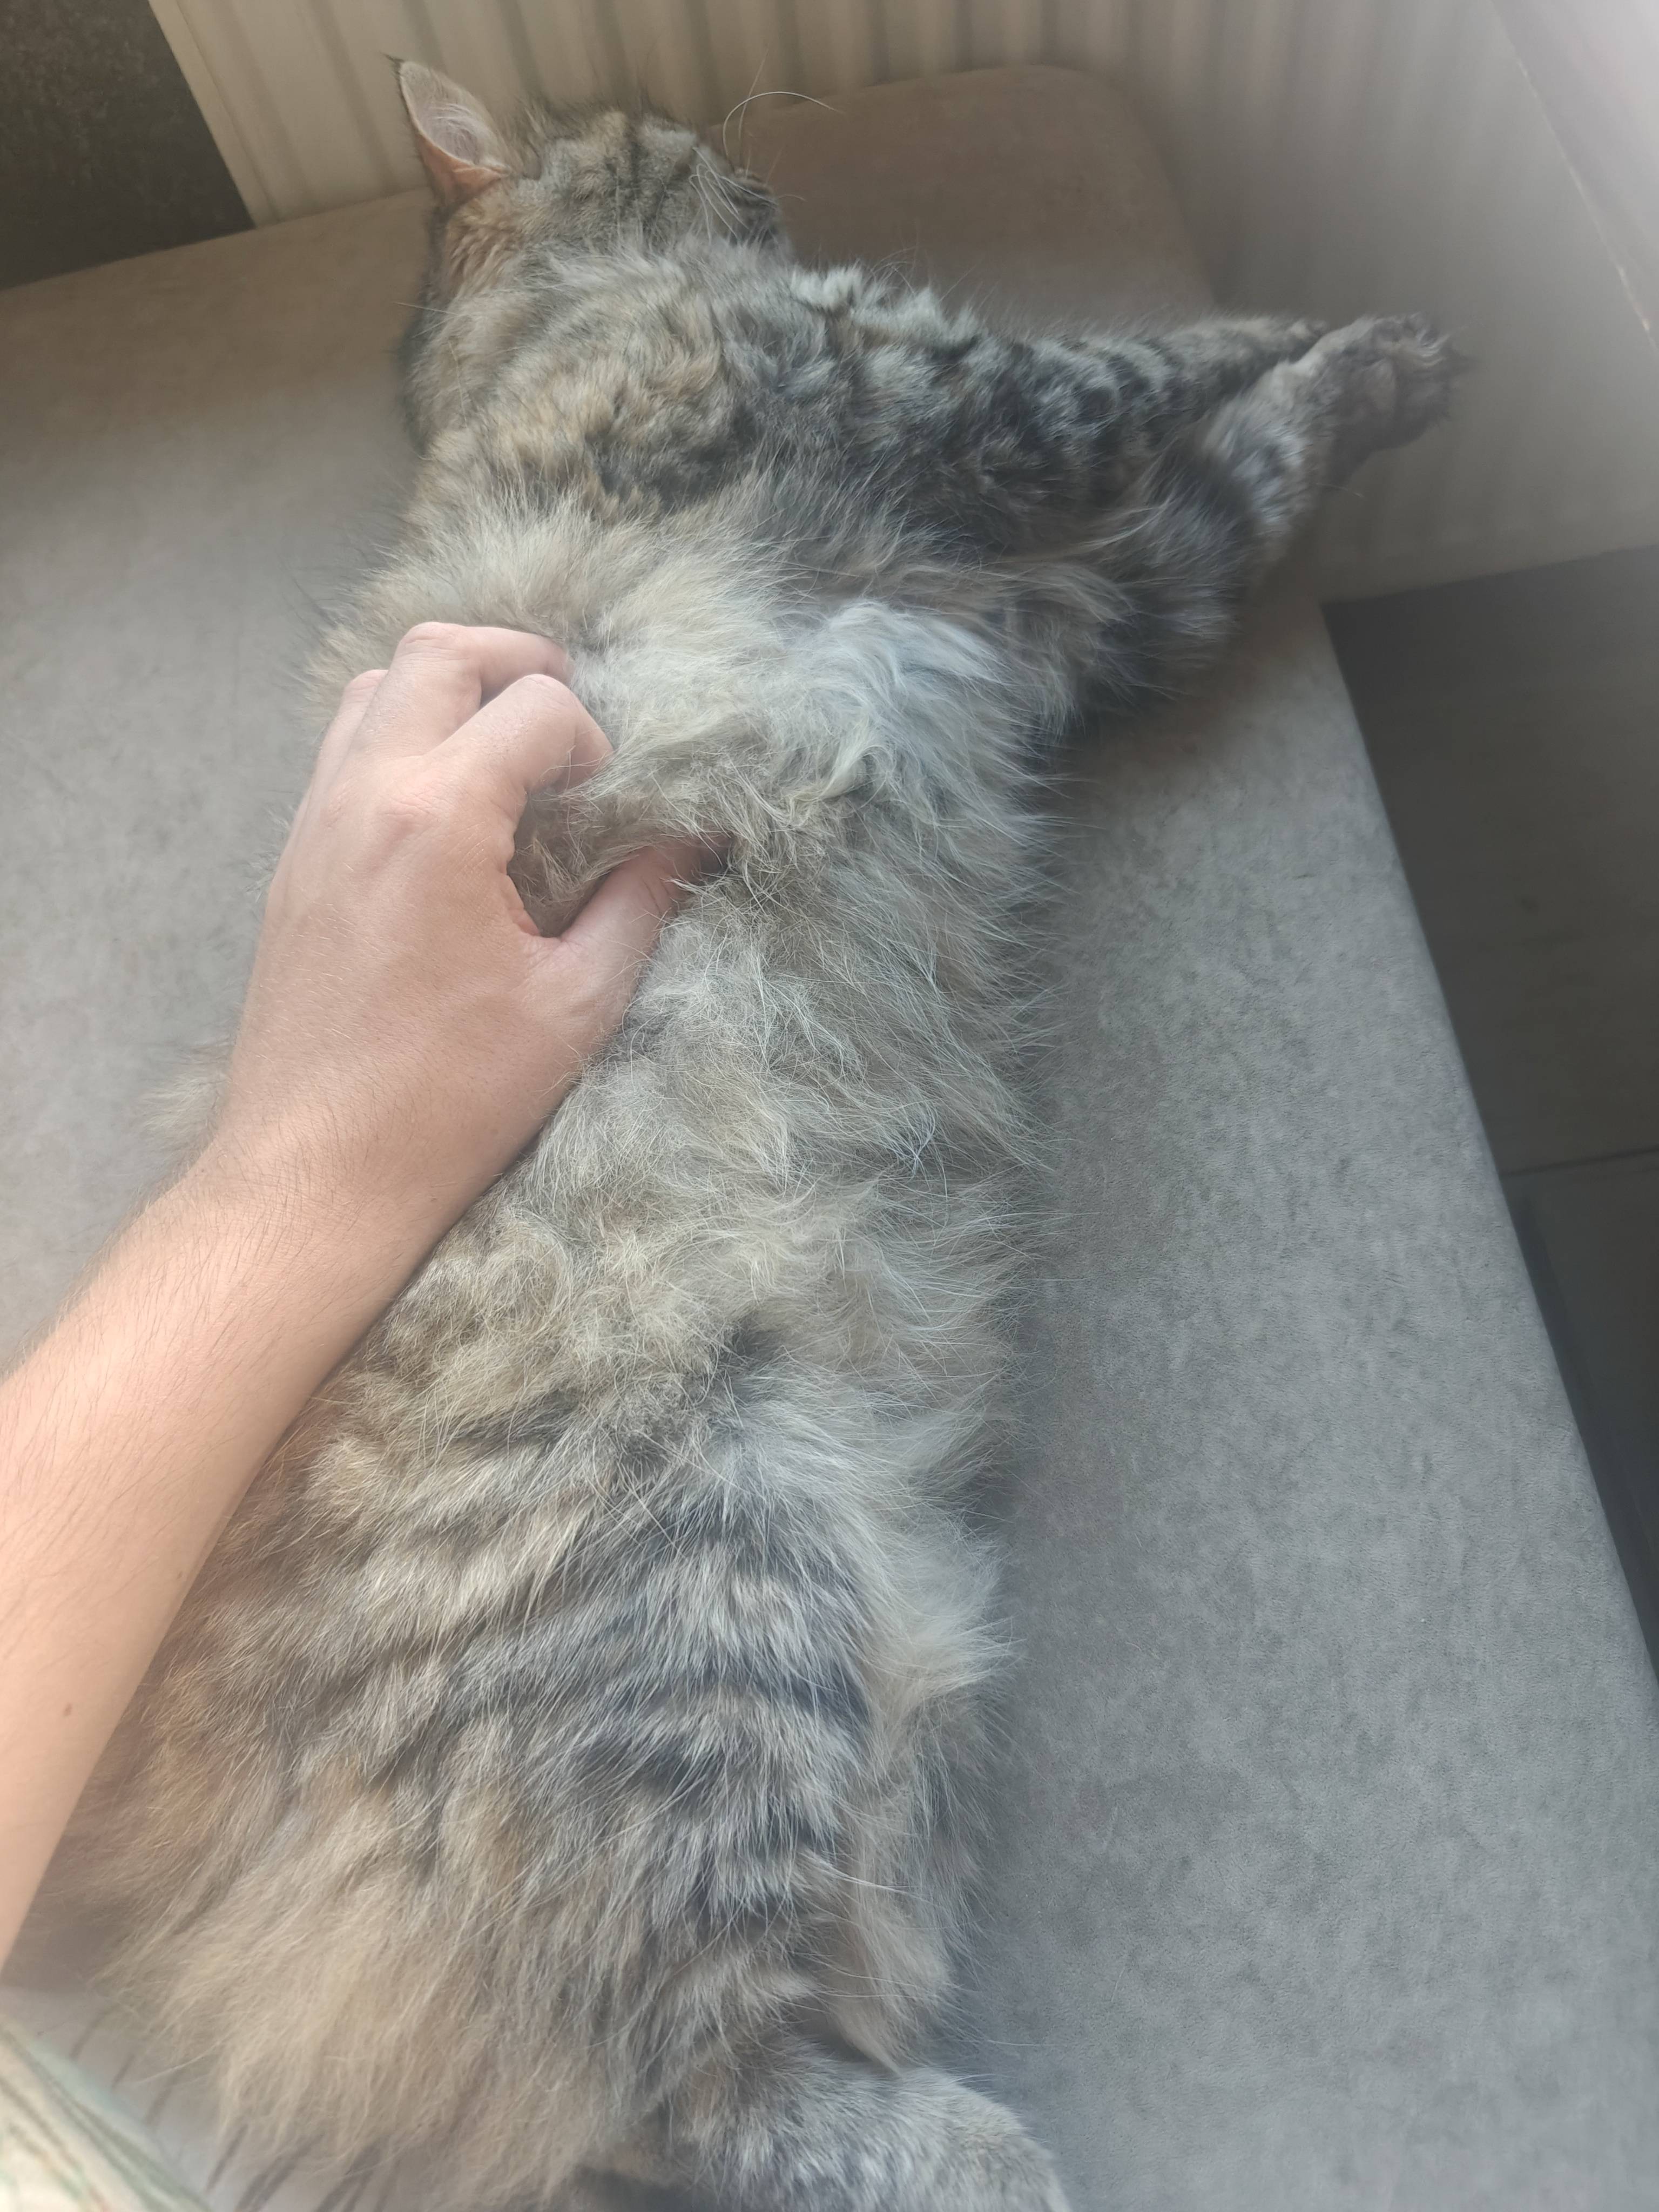
One more hostel cat :)
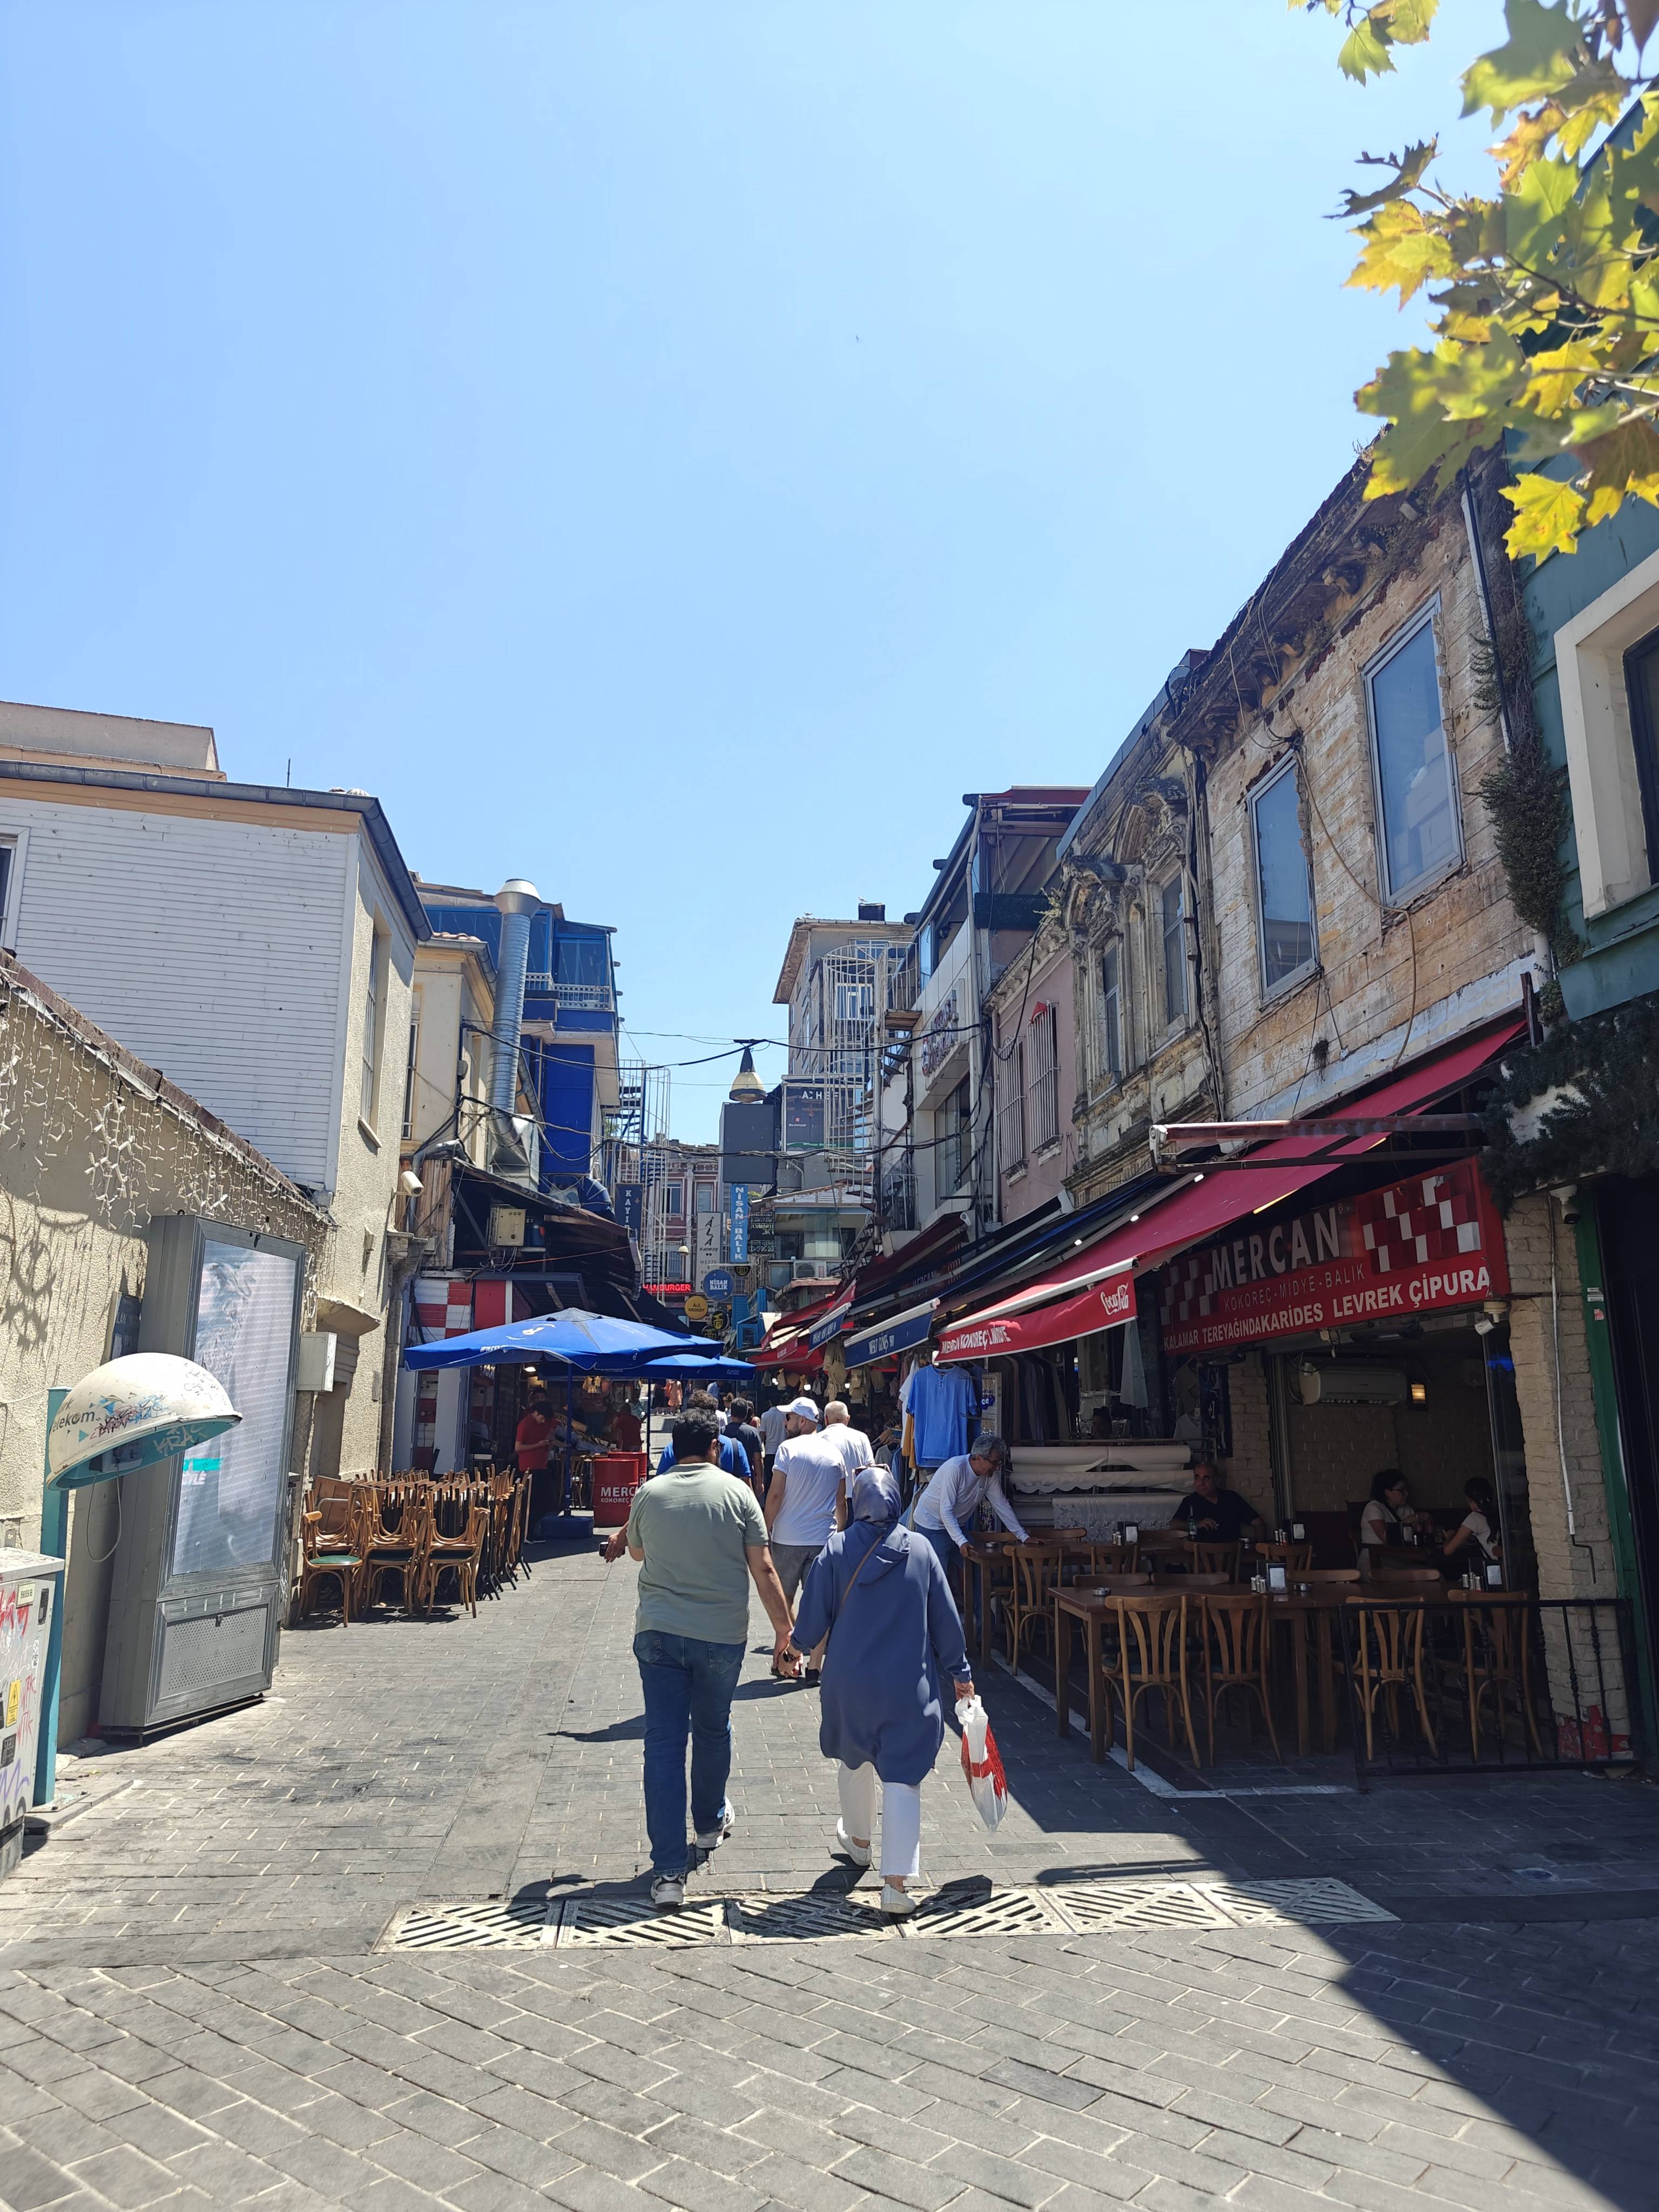
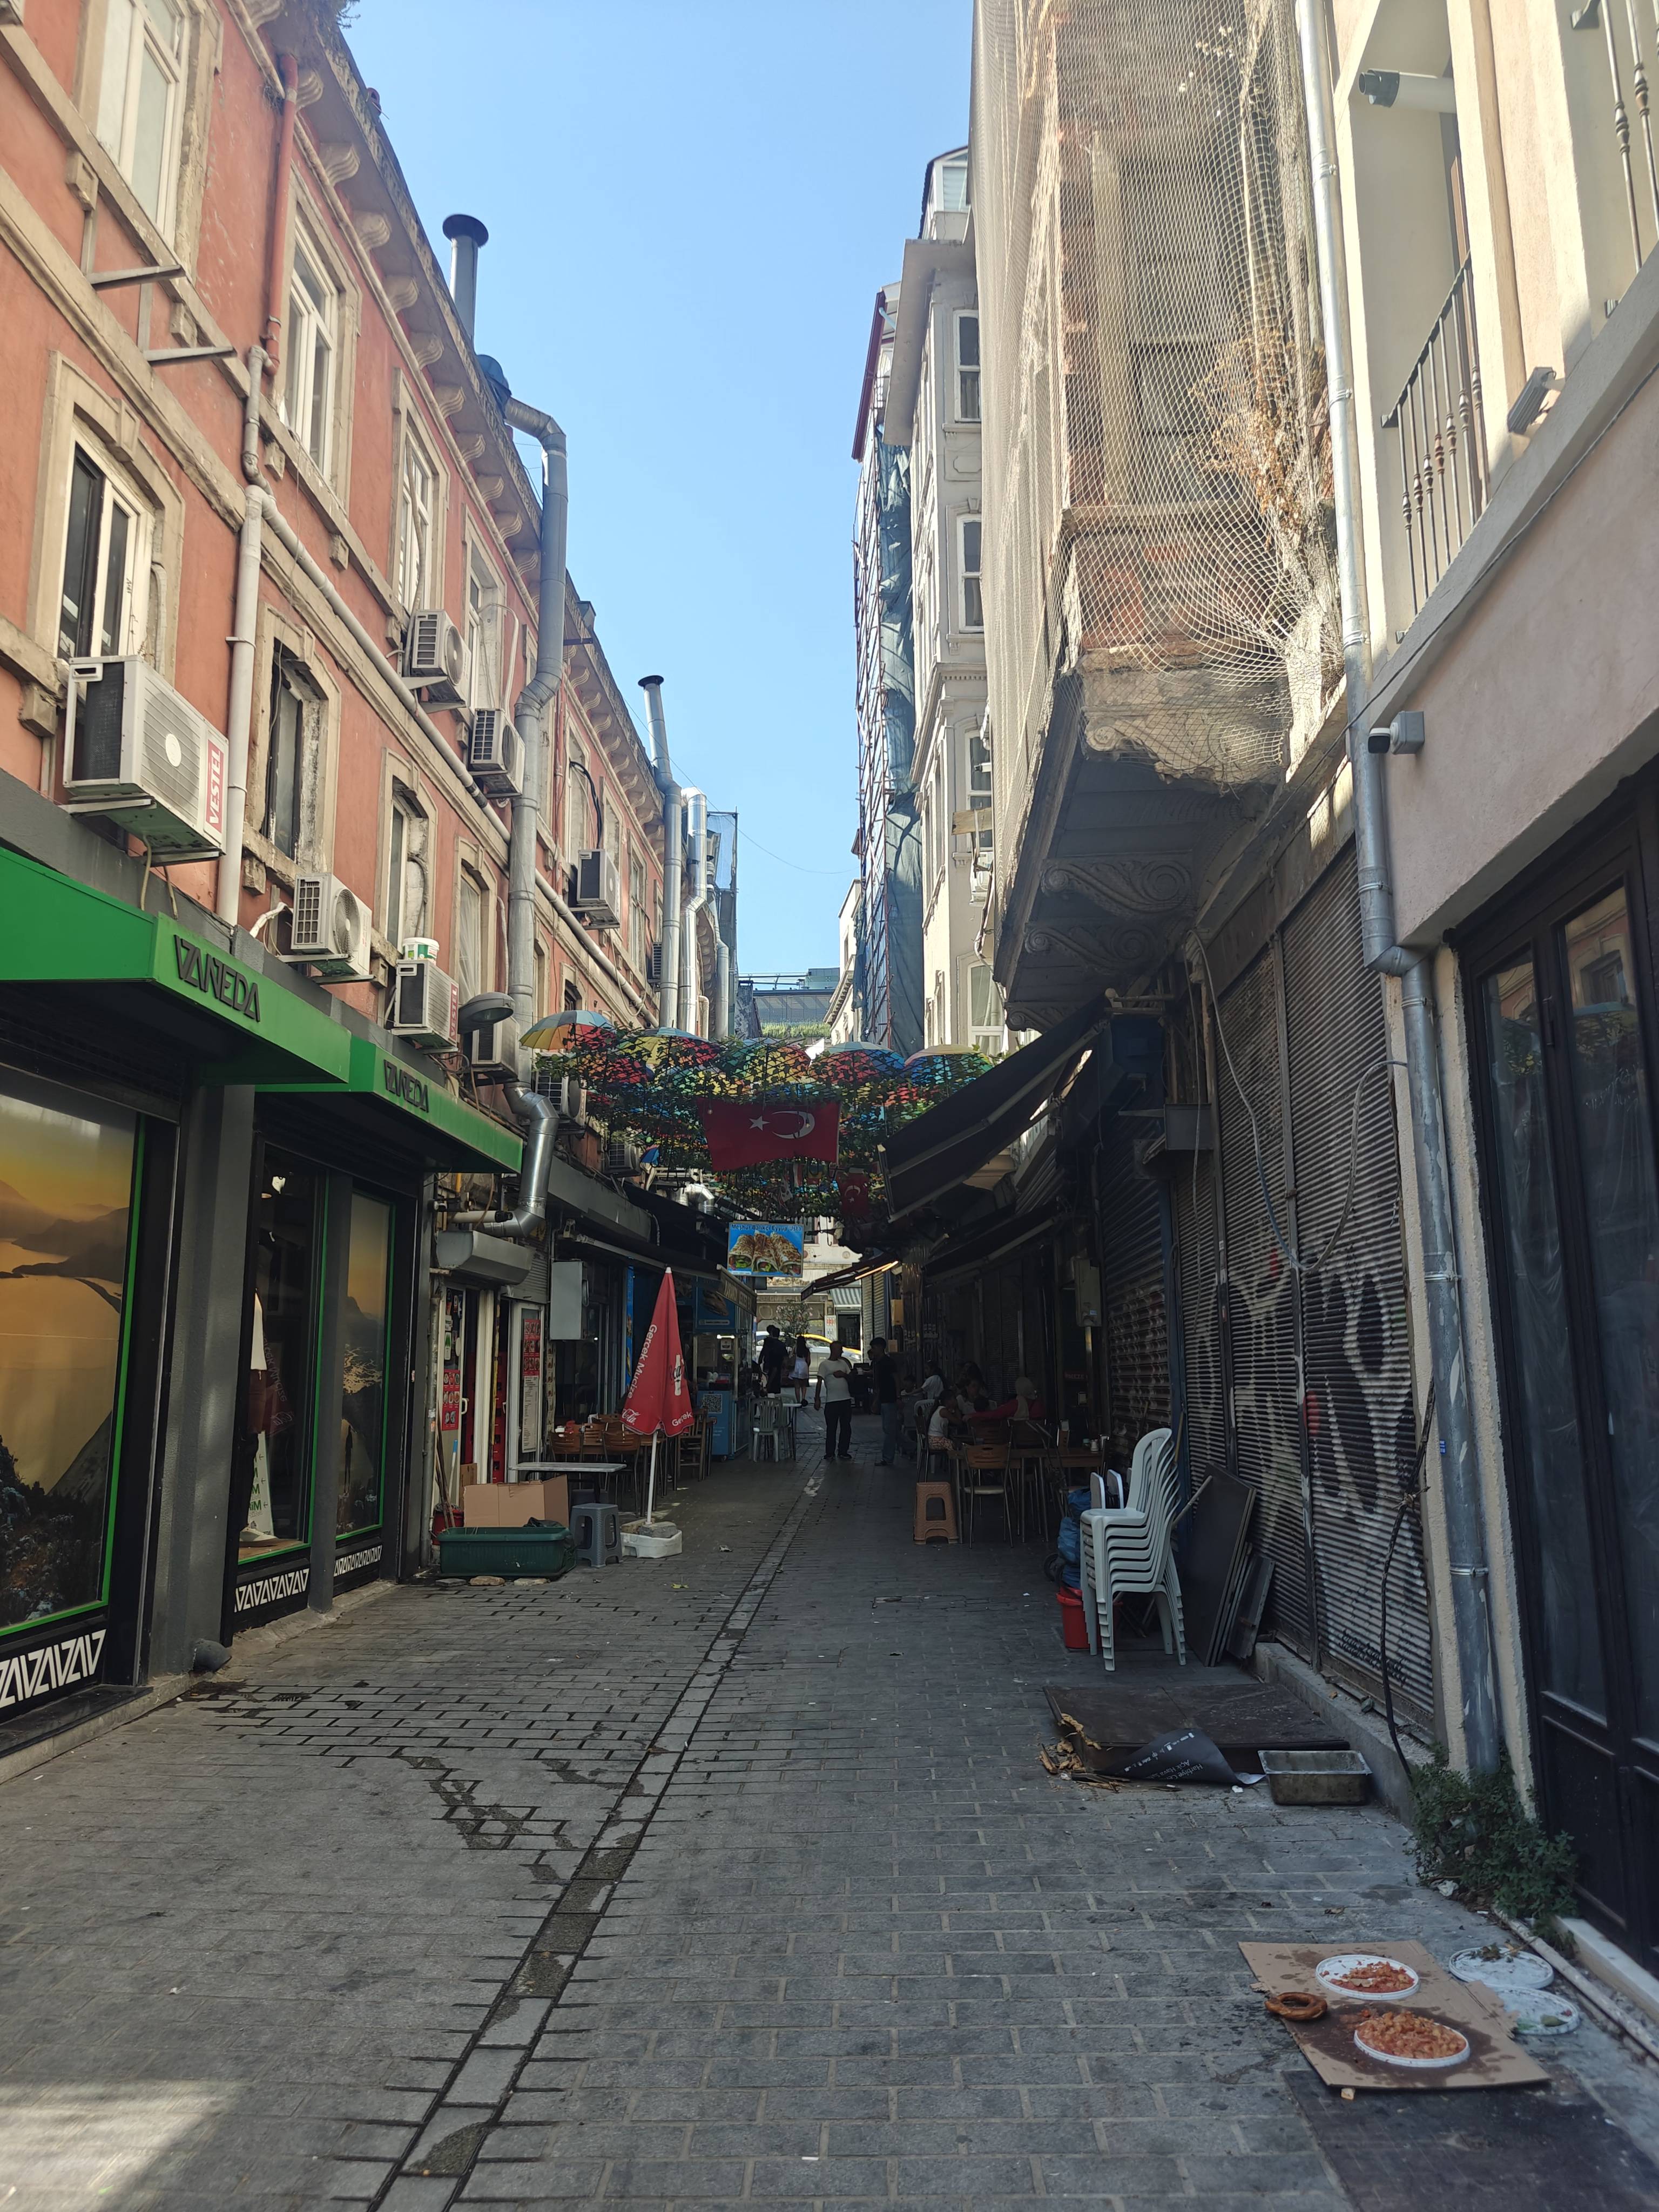
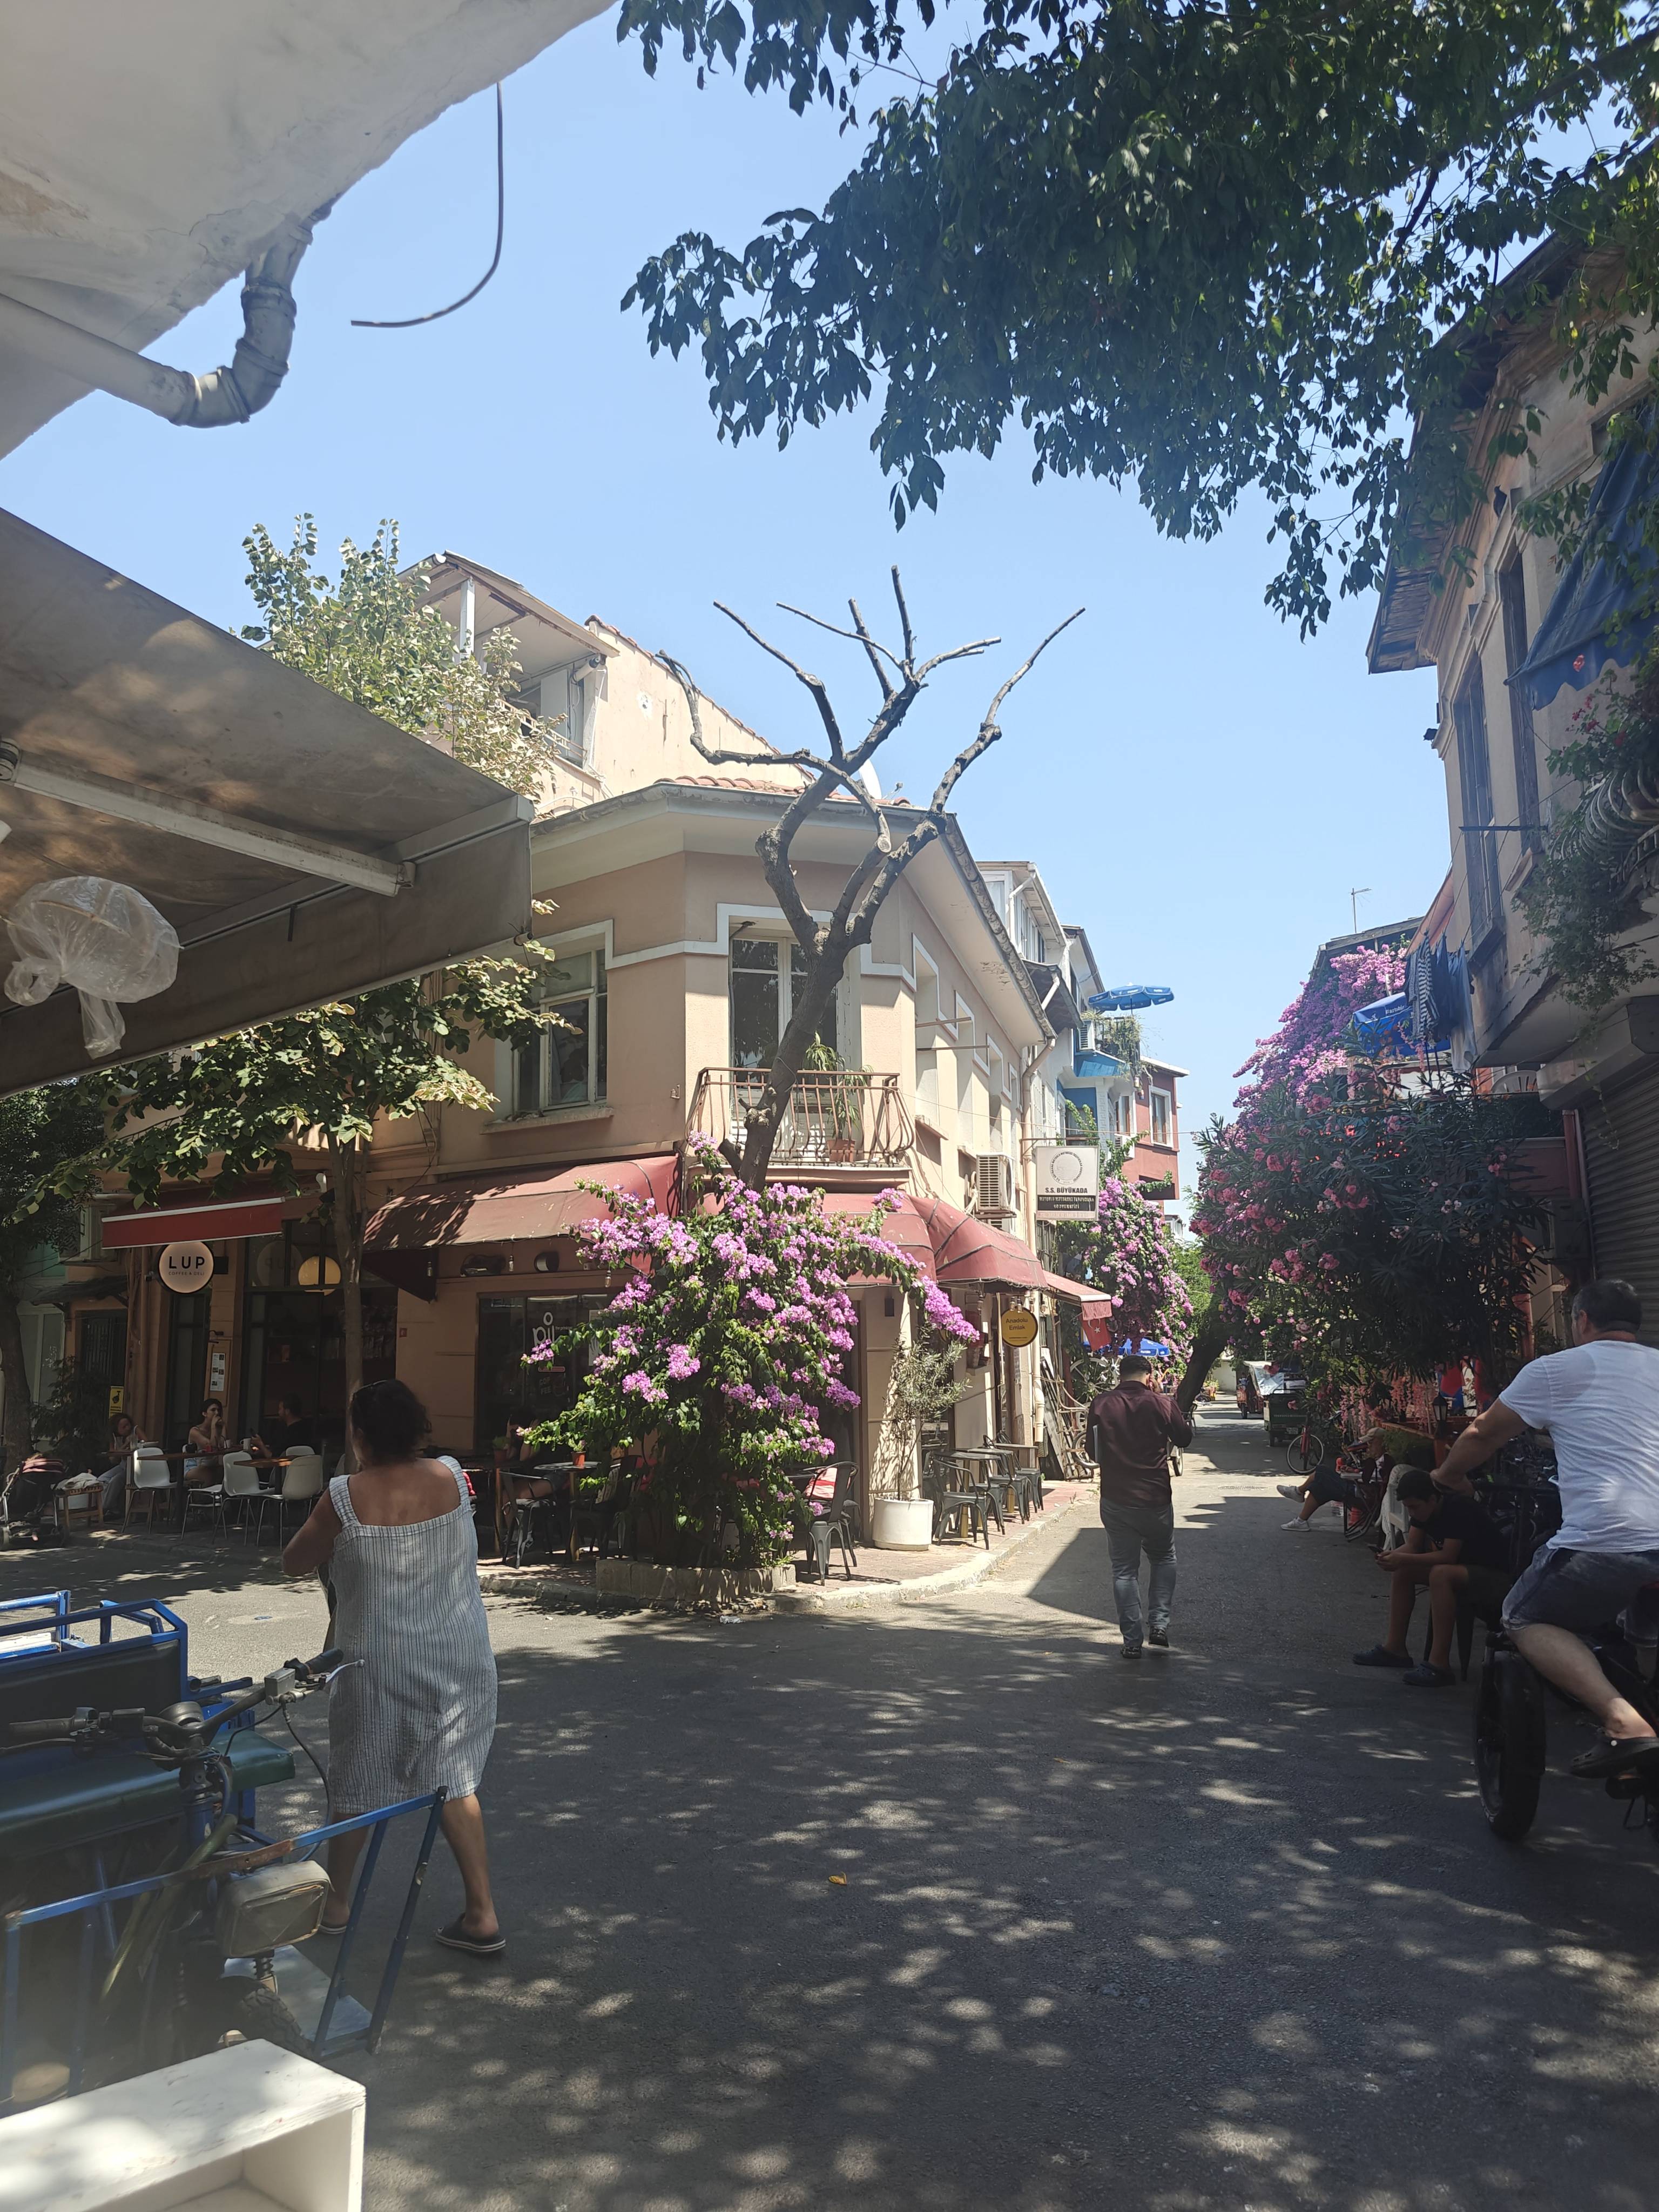
Small cute street
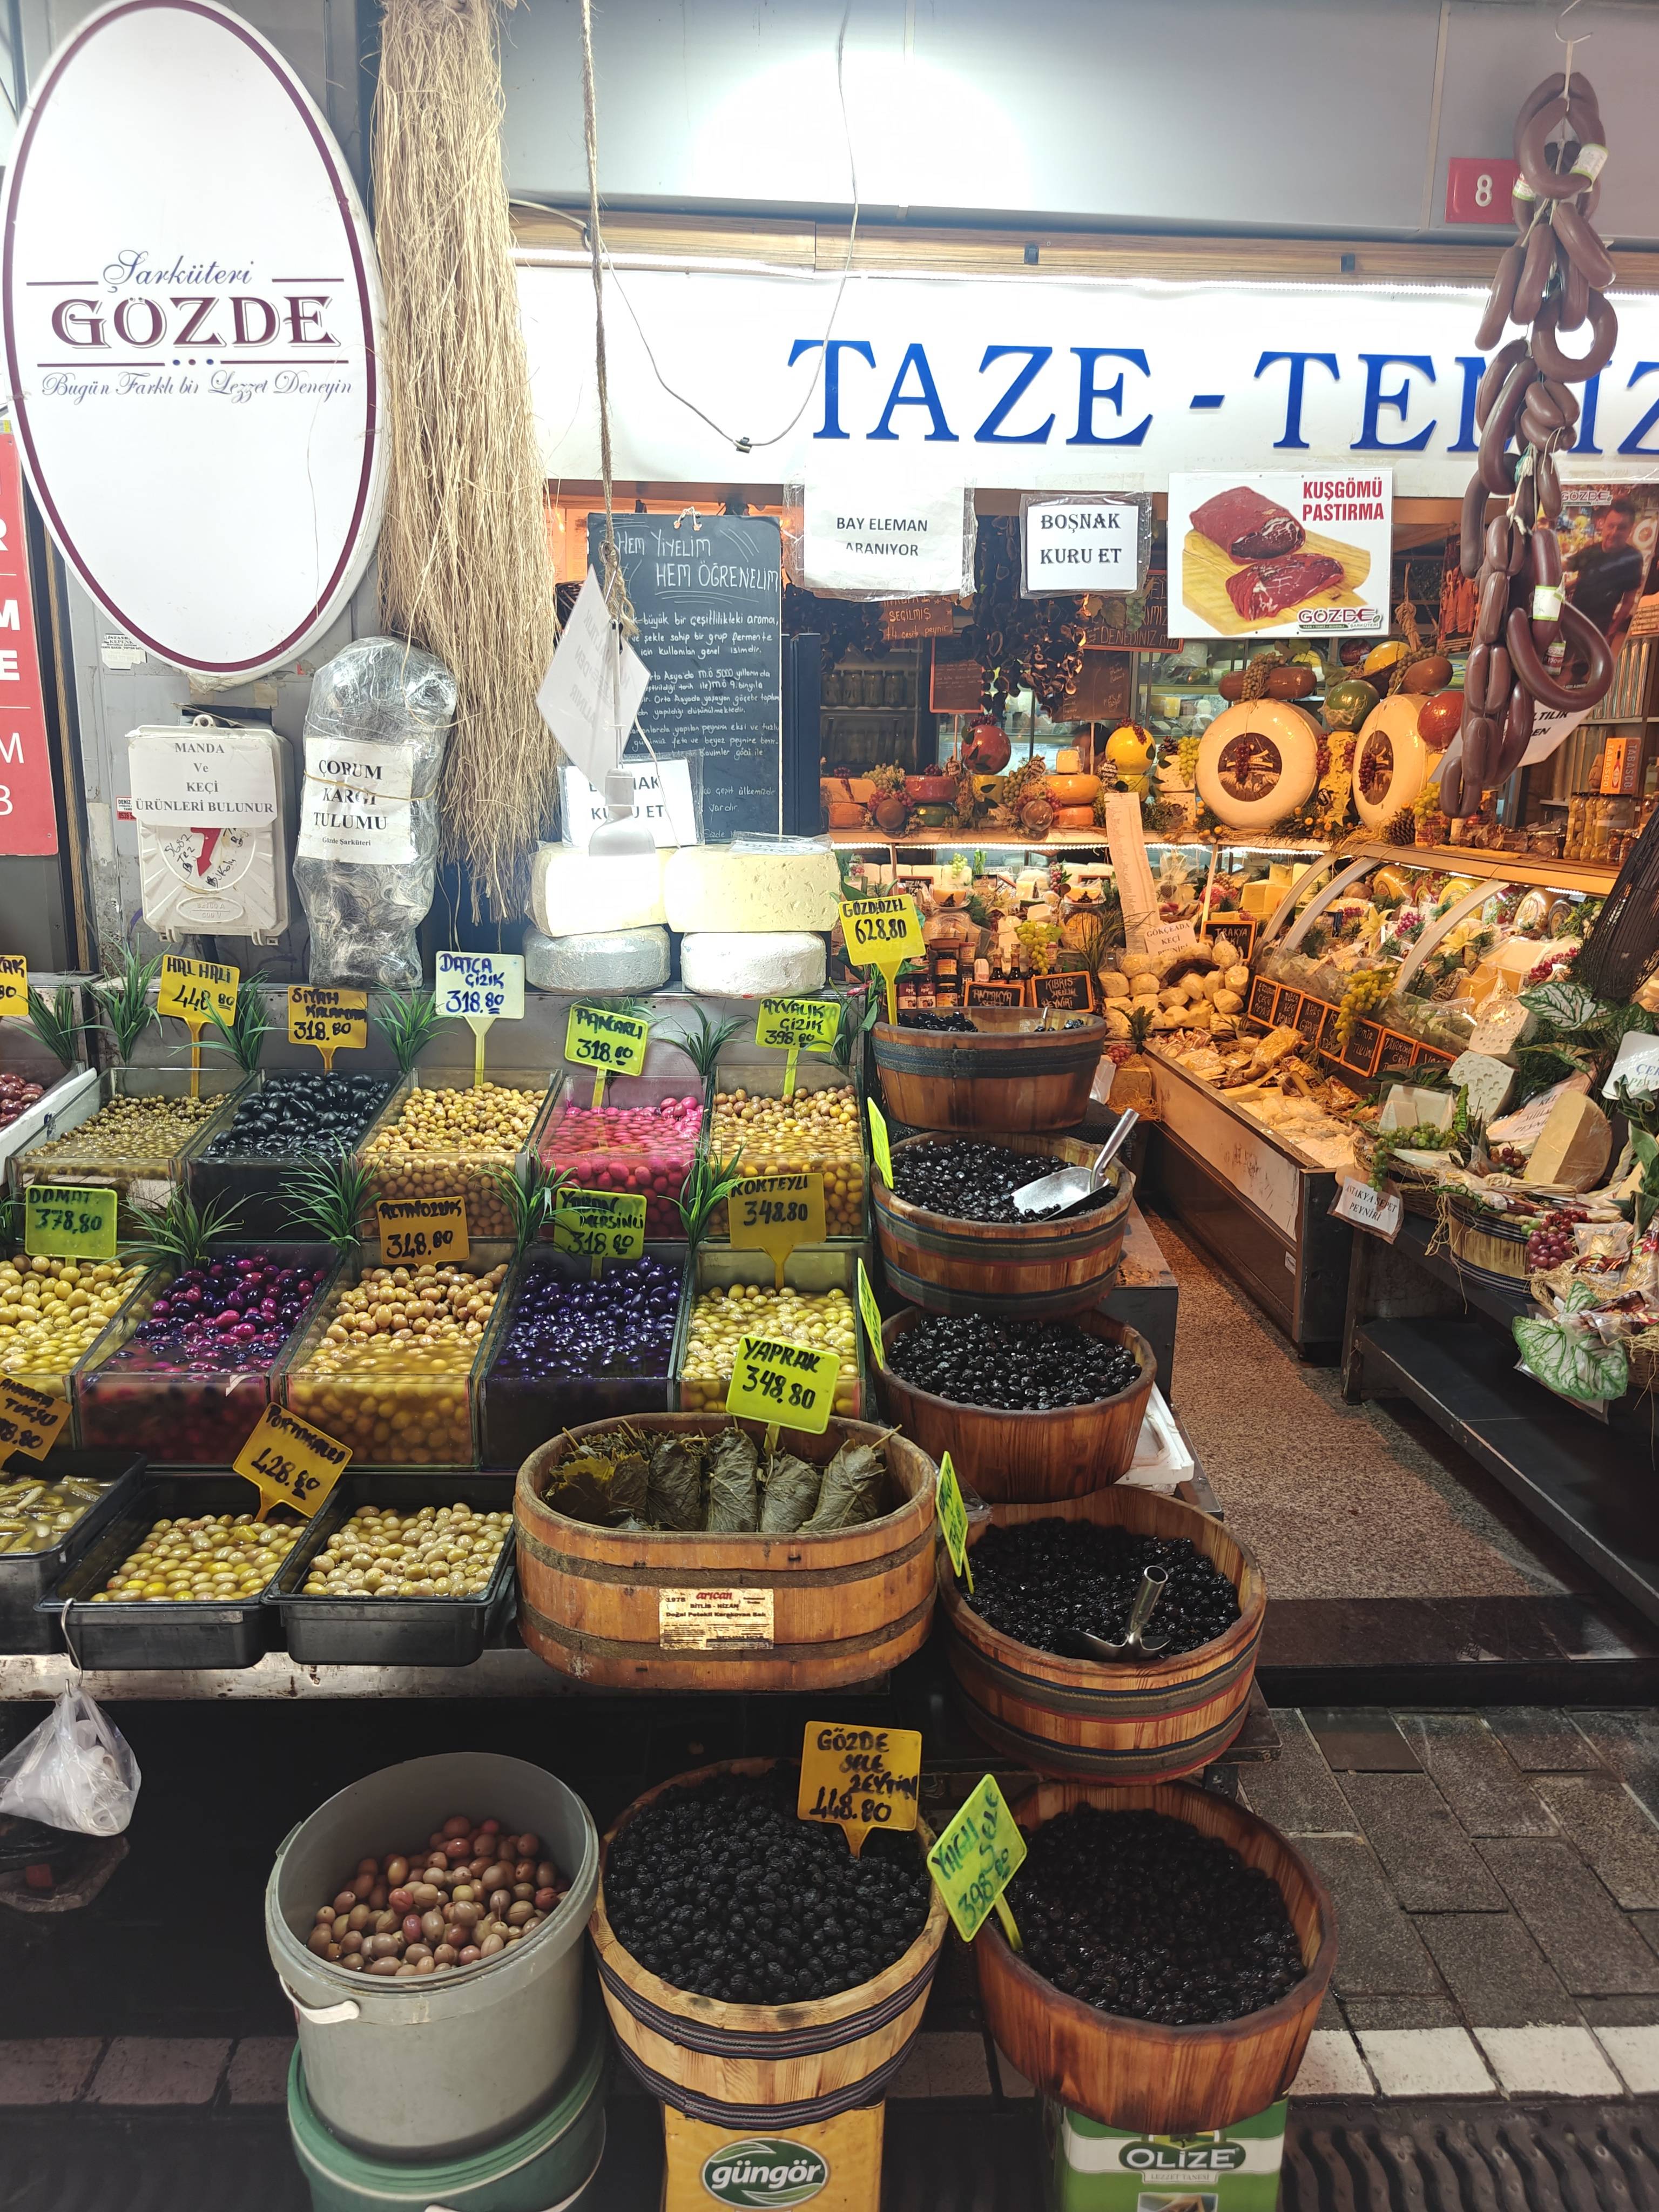
Lot of olives
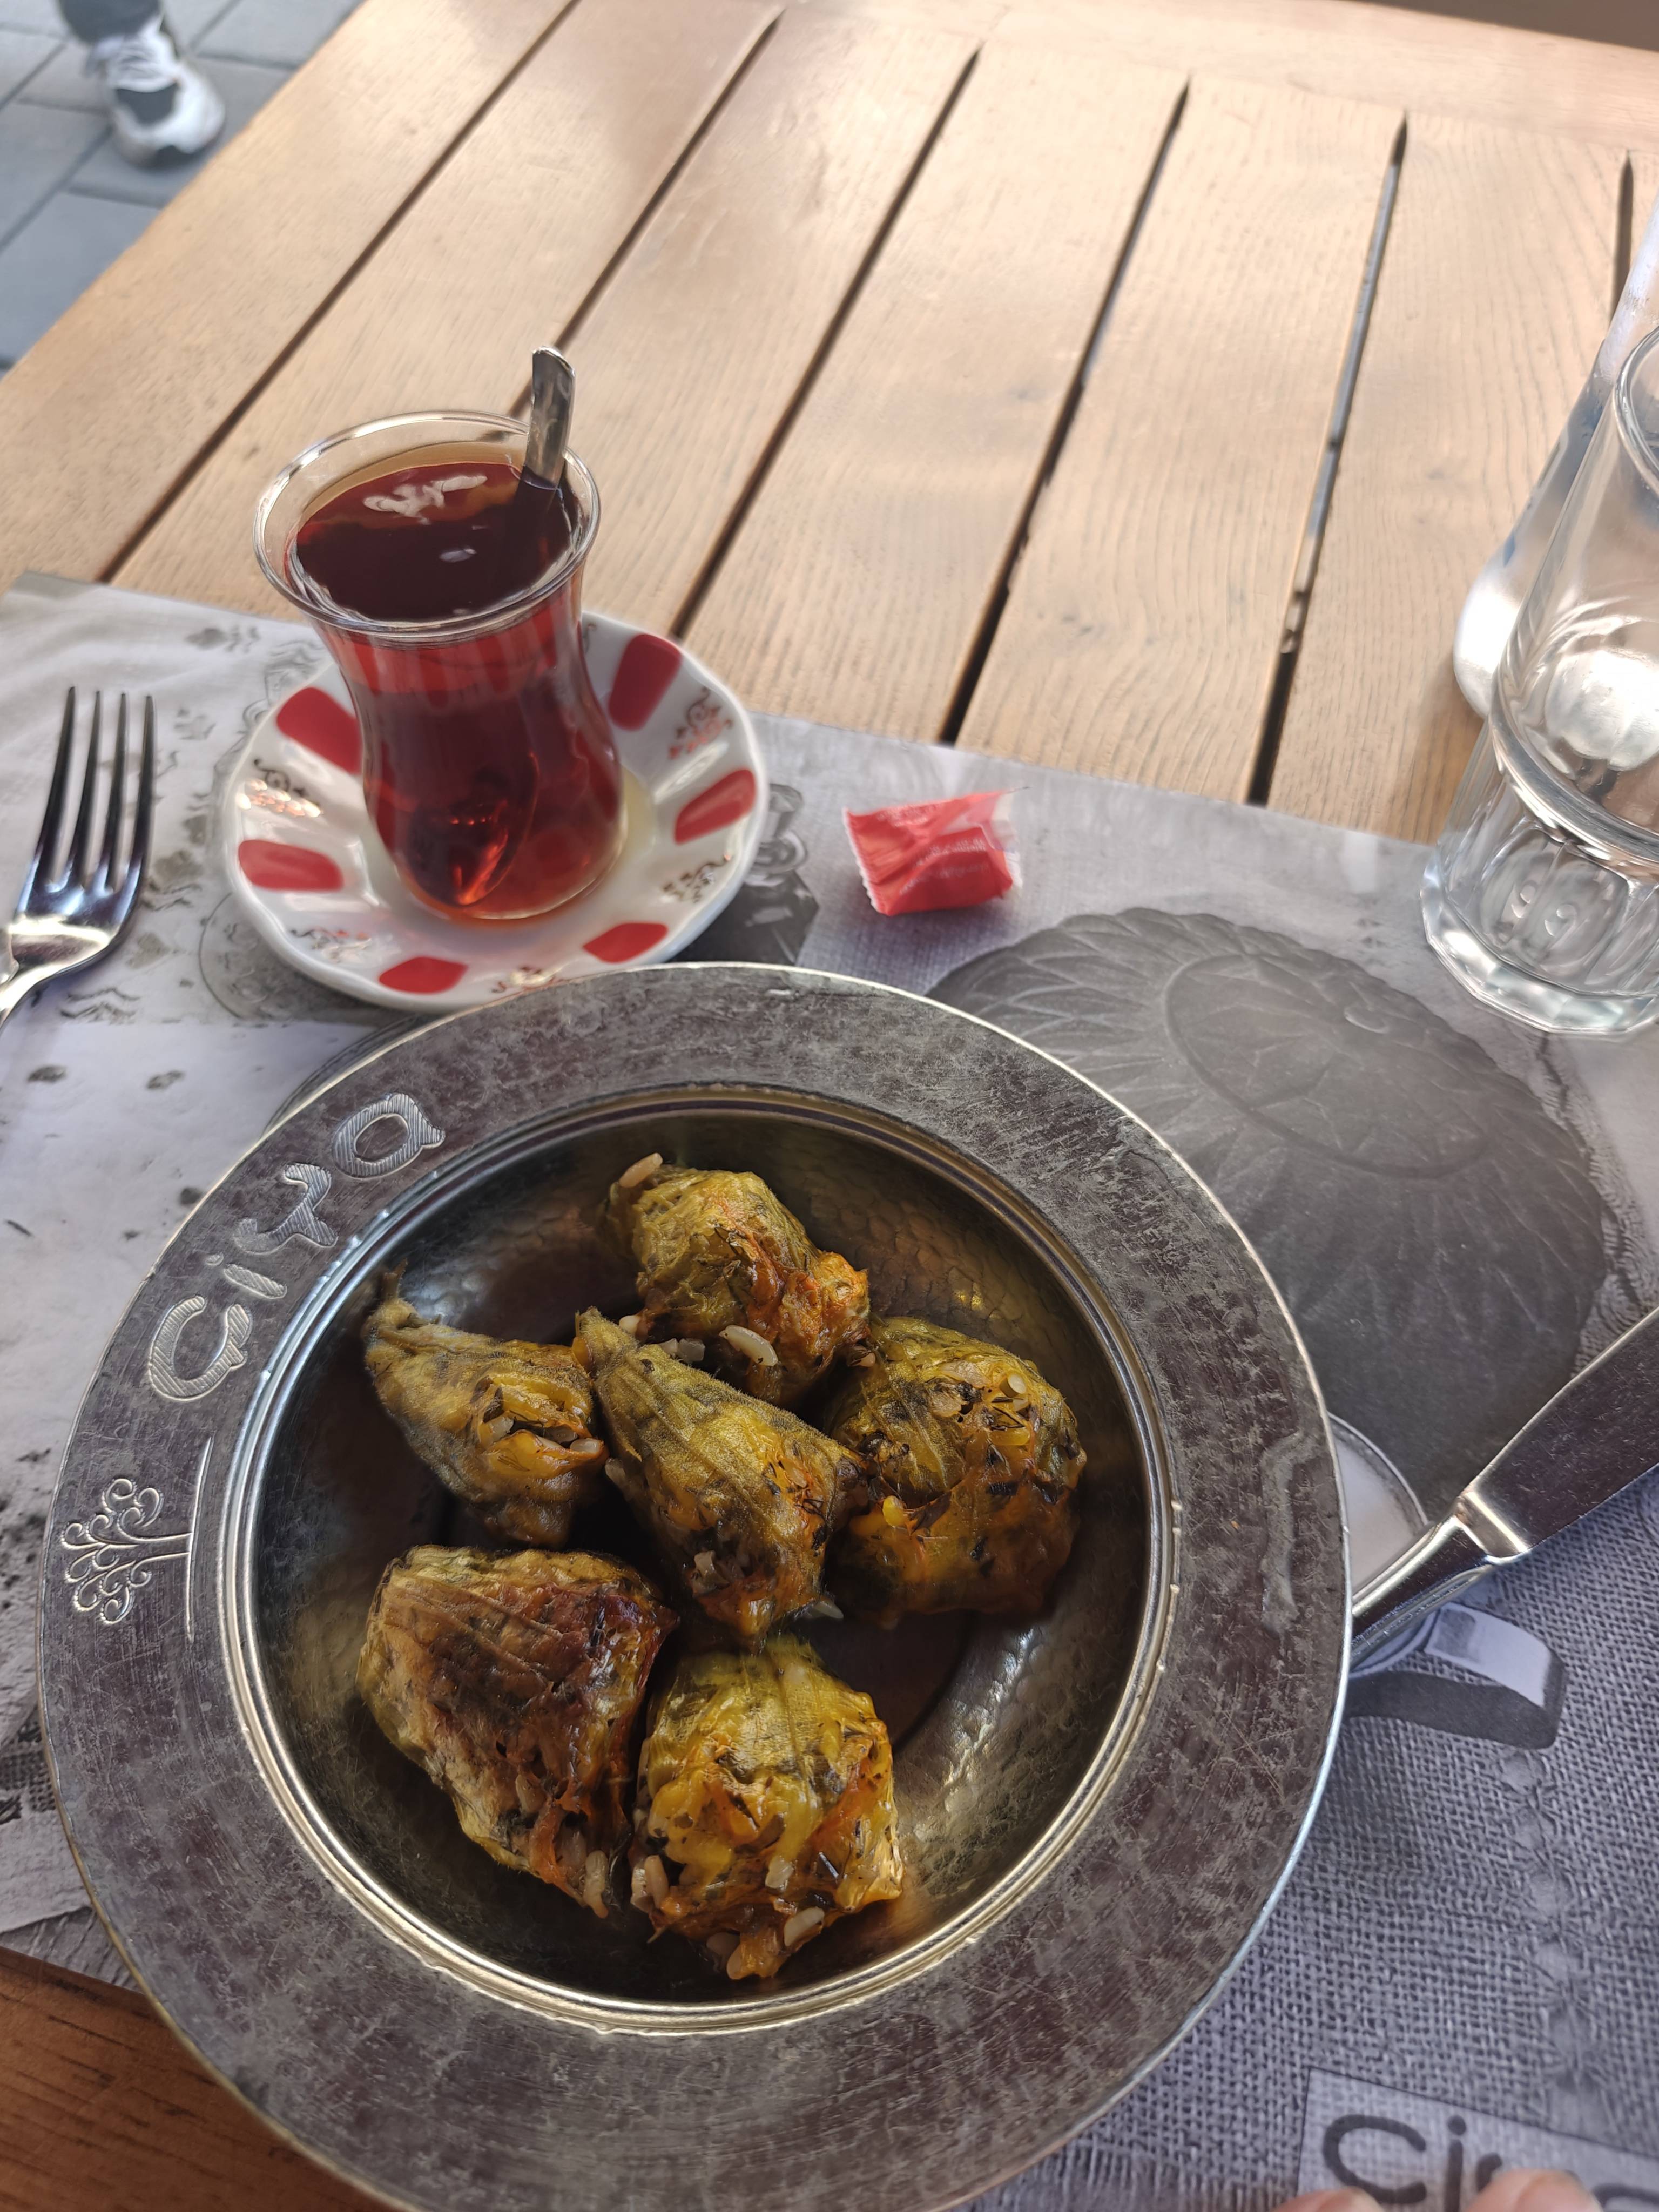
Nice food but I can't remember what was inside, just that it was vegetarian and with some rice
More cute street
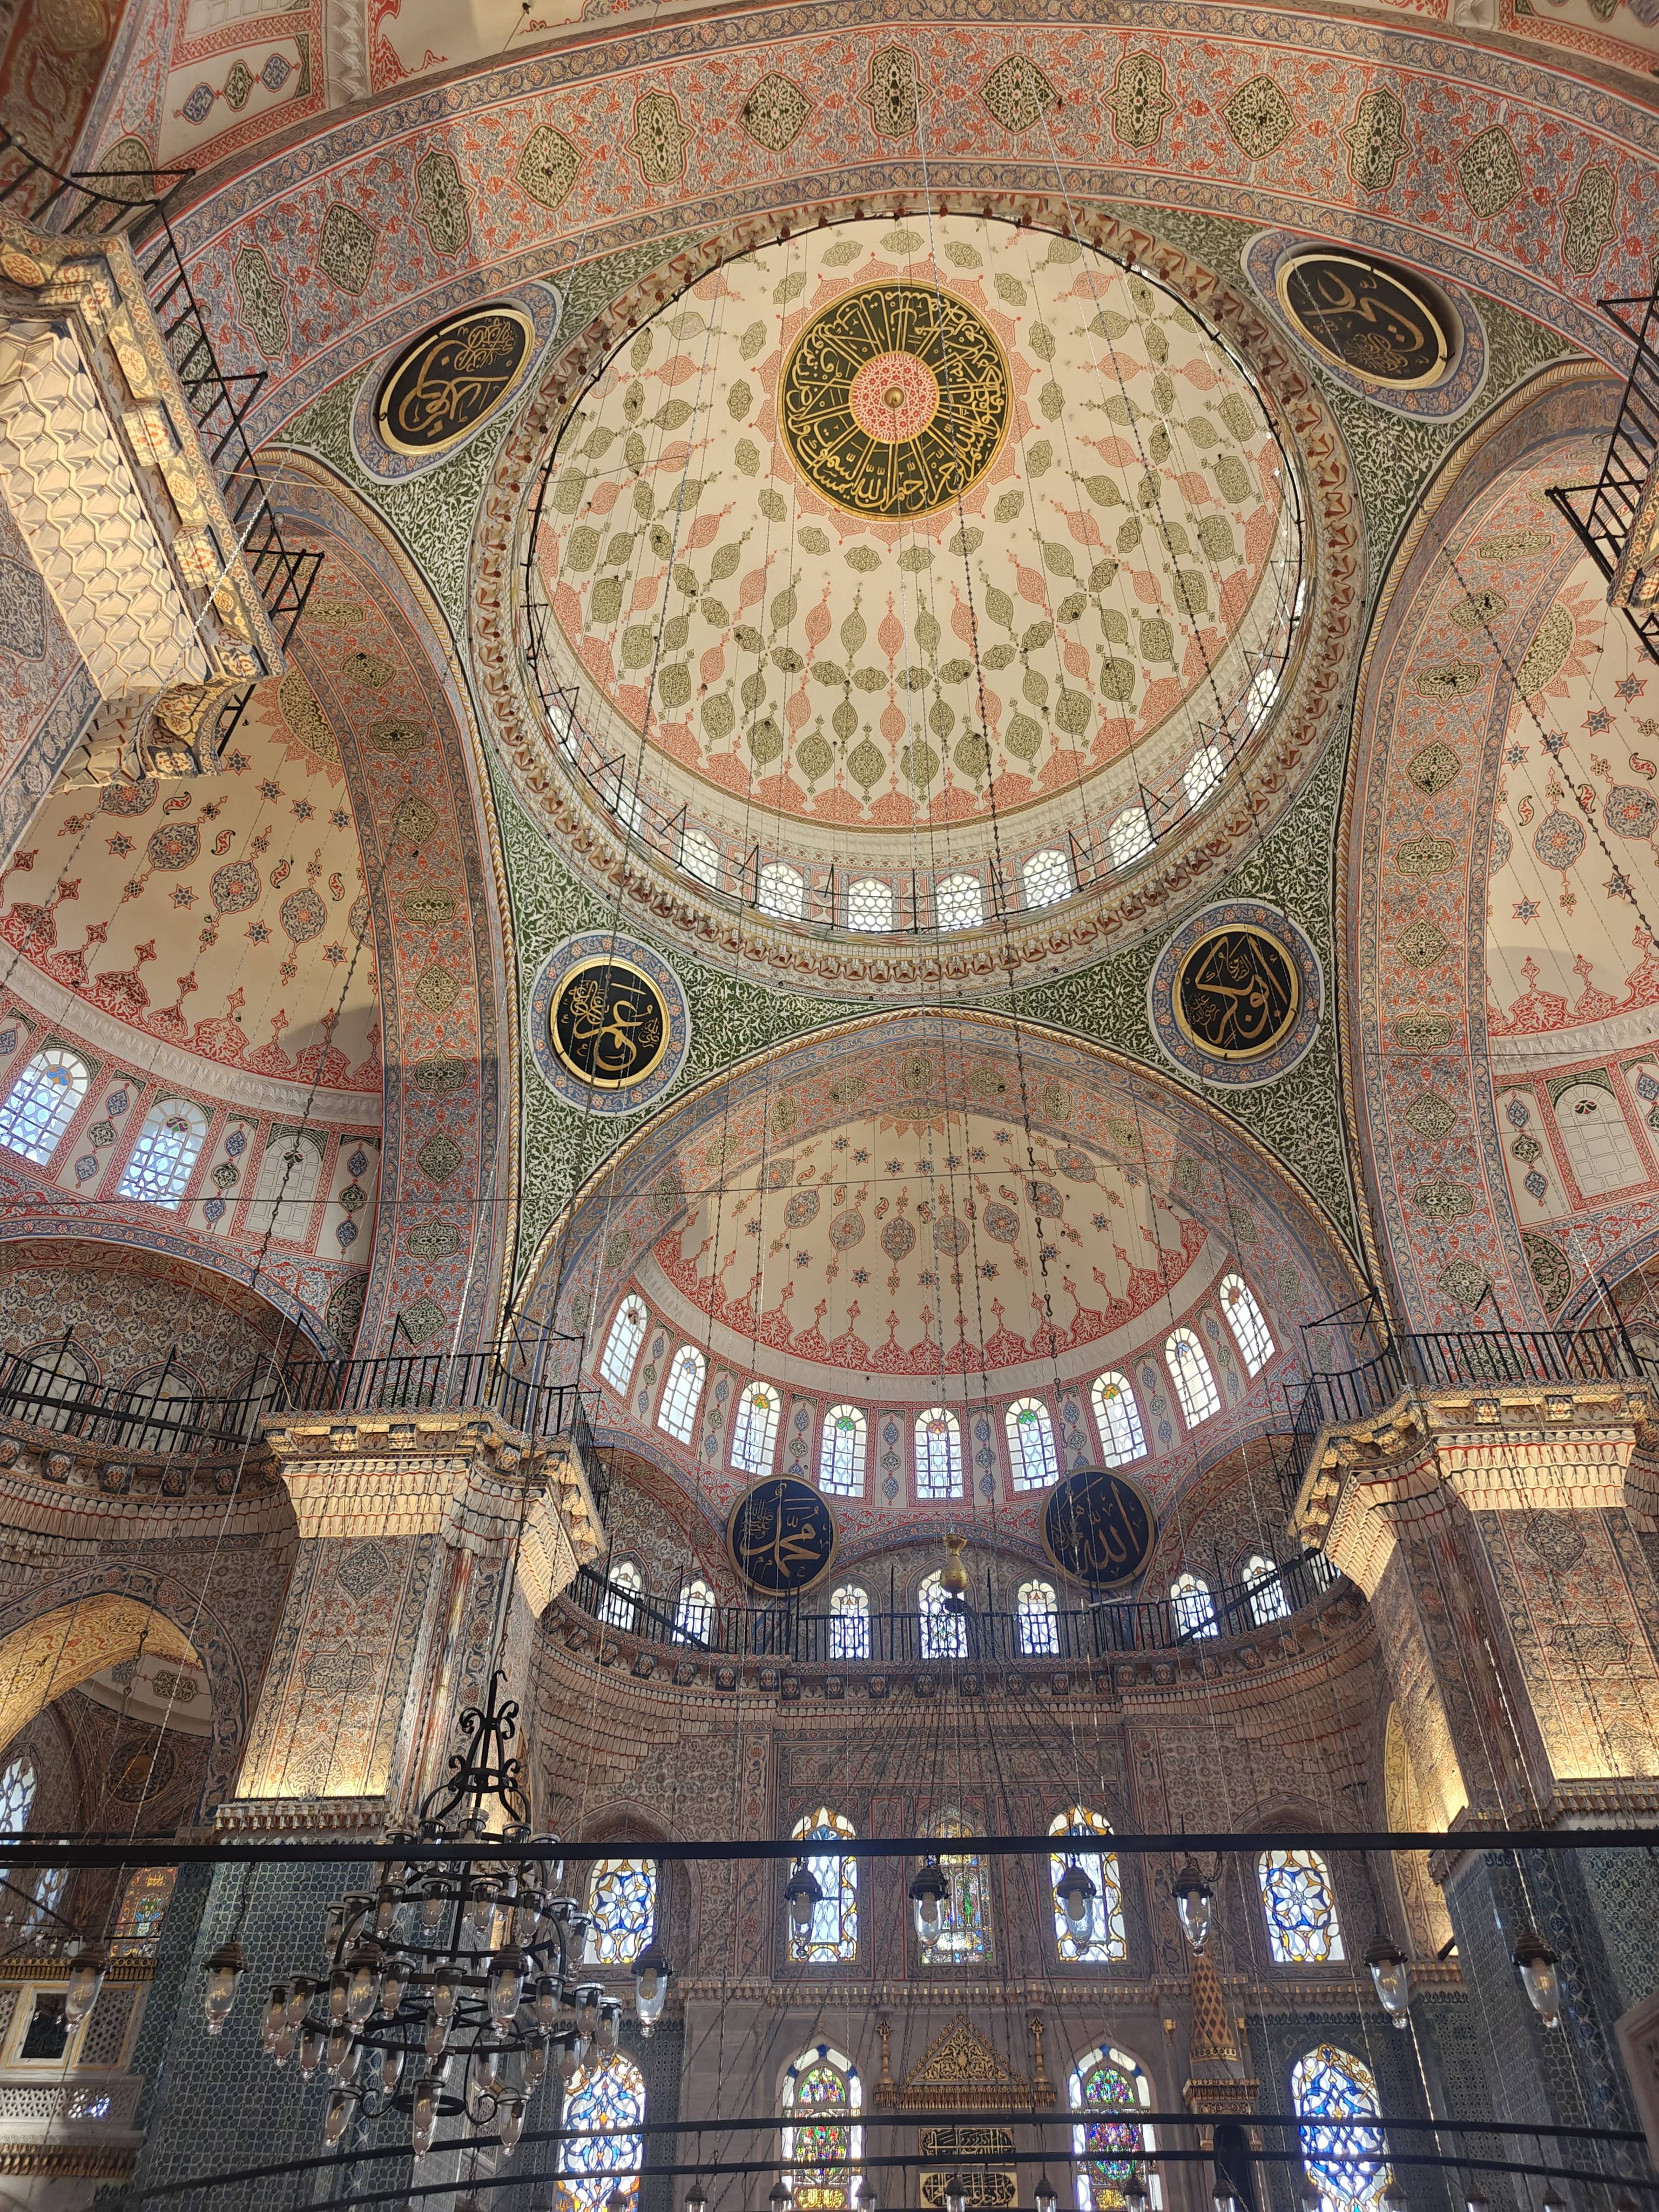
Interior of a mosque
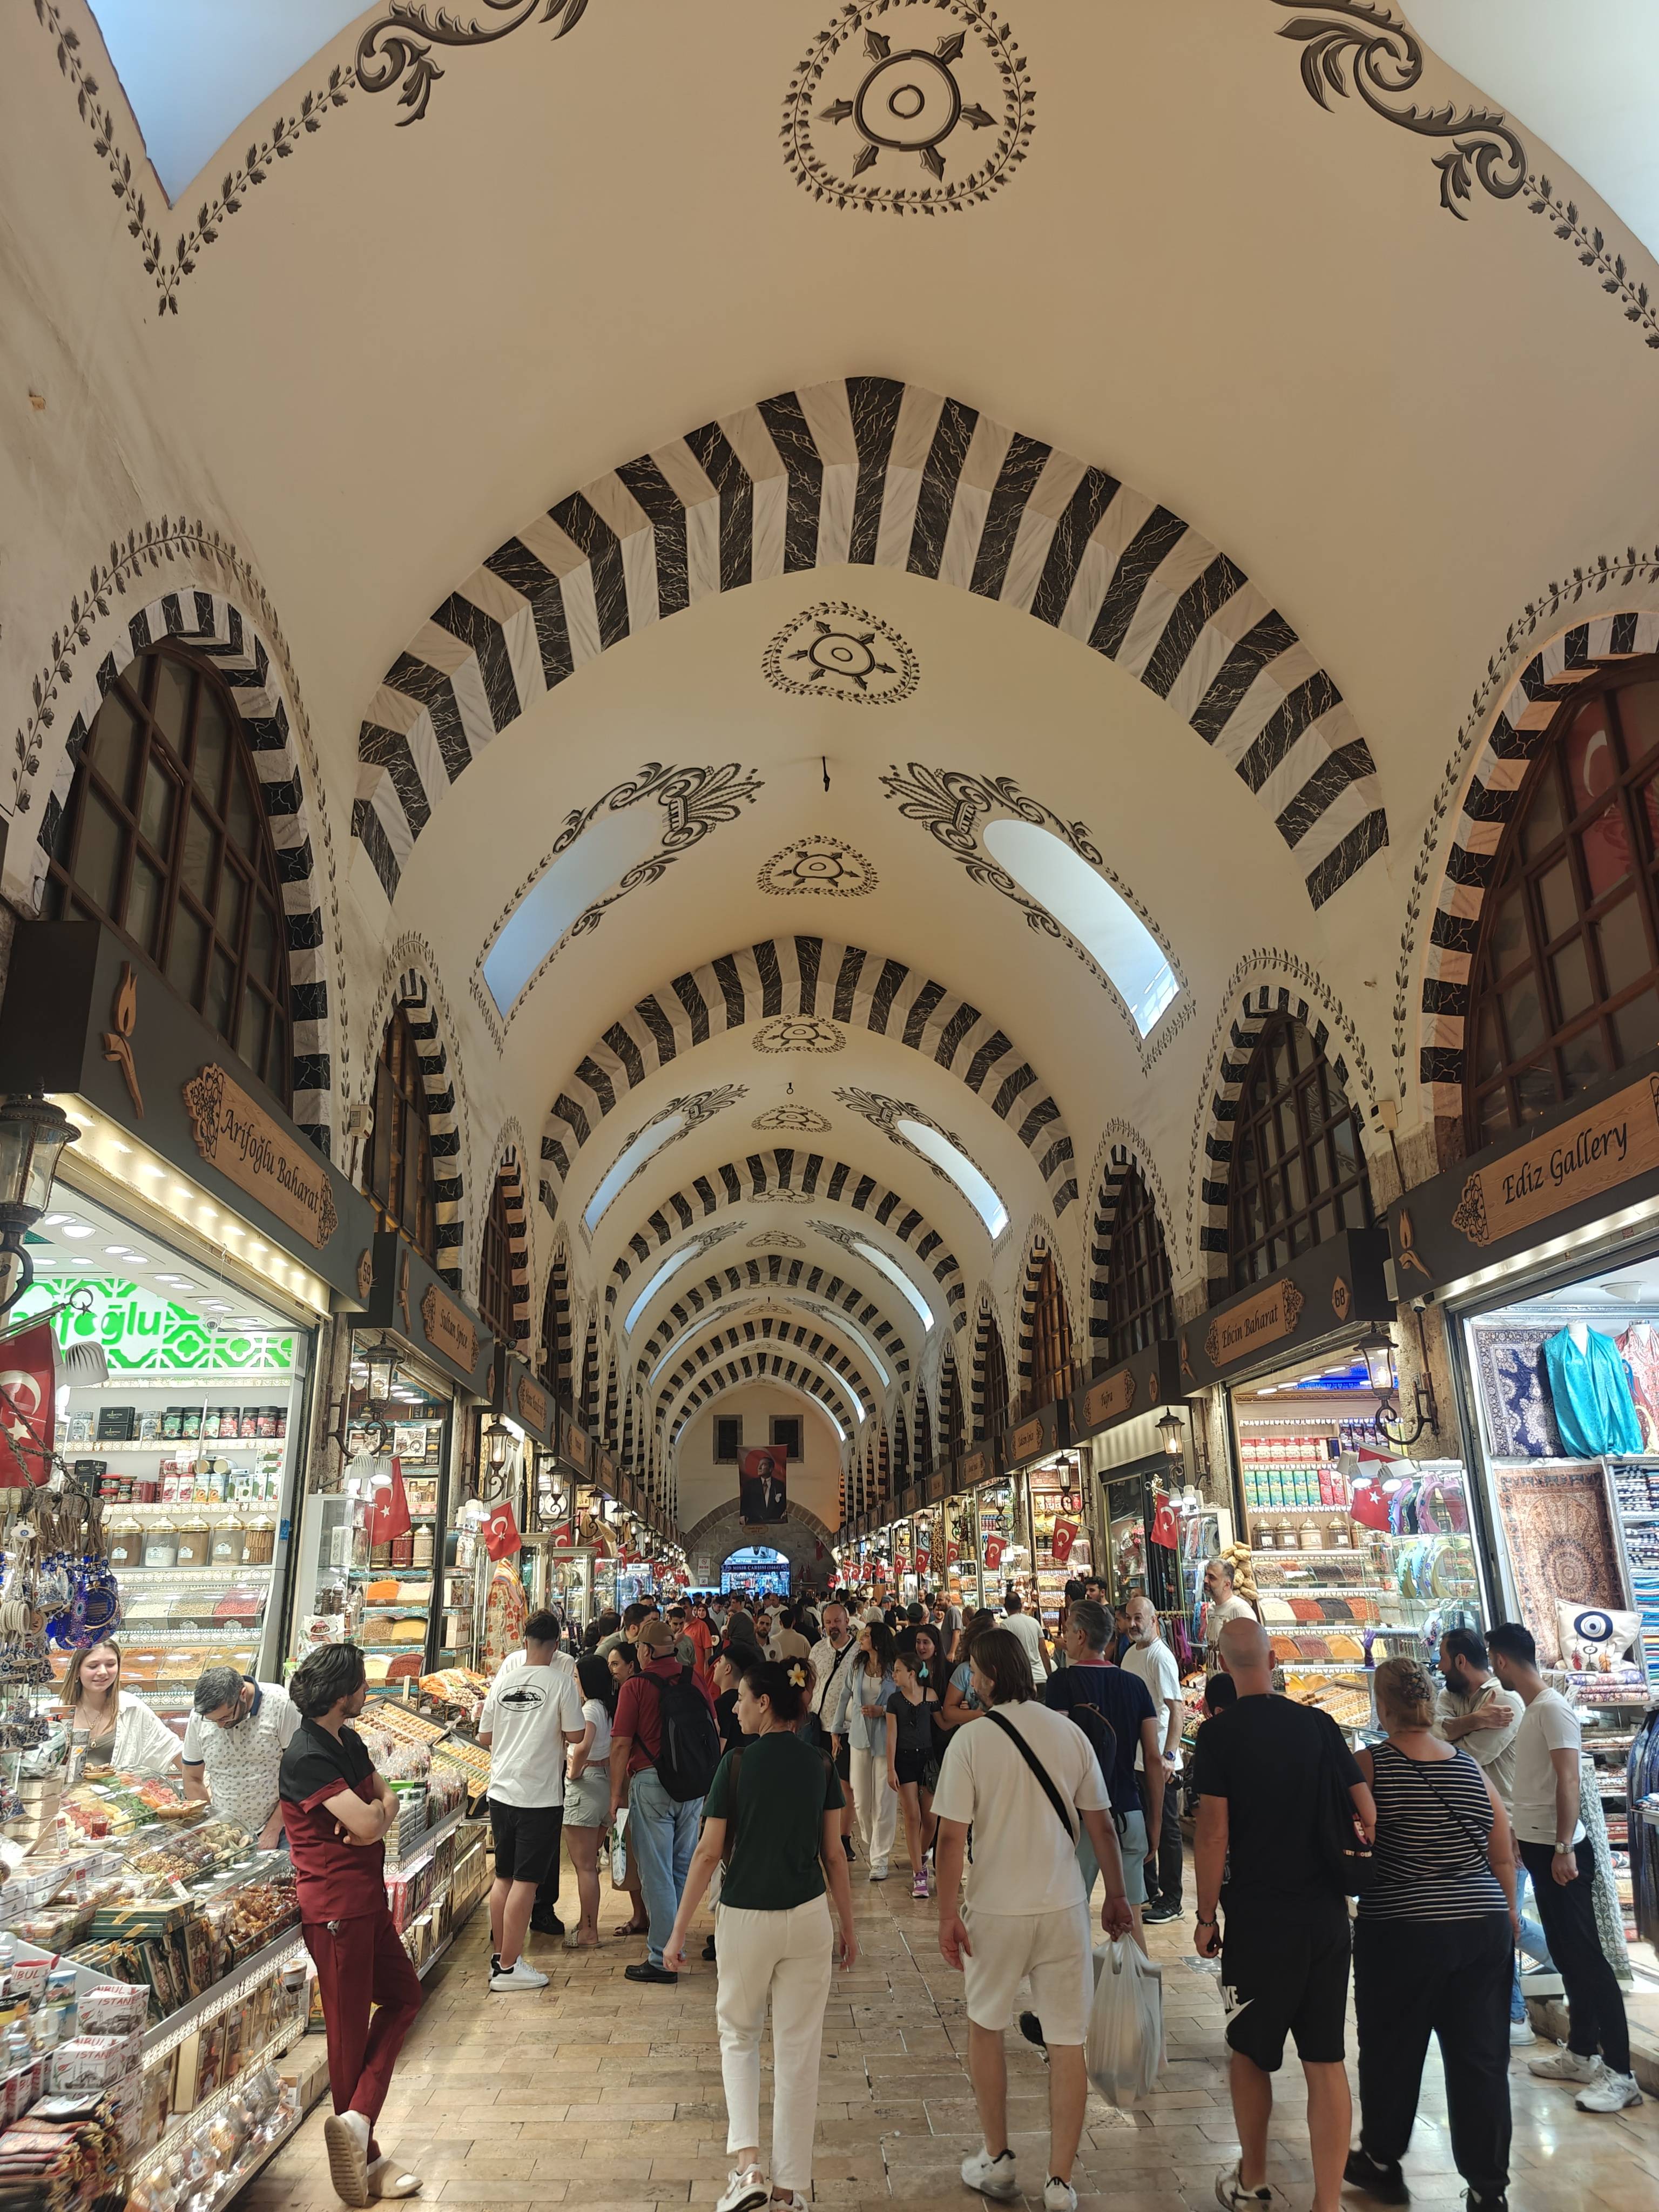
The spice market
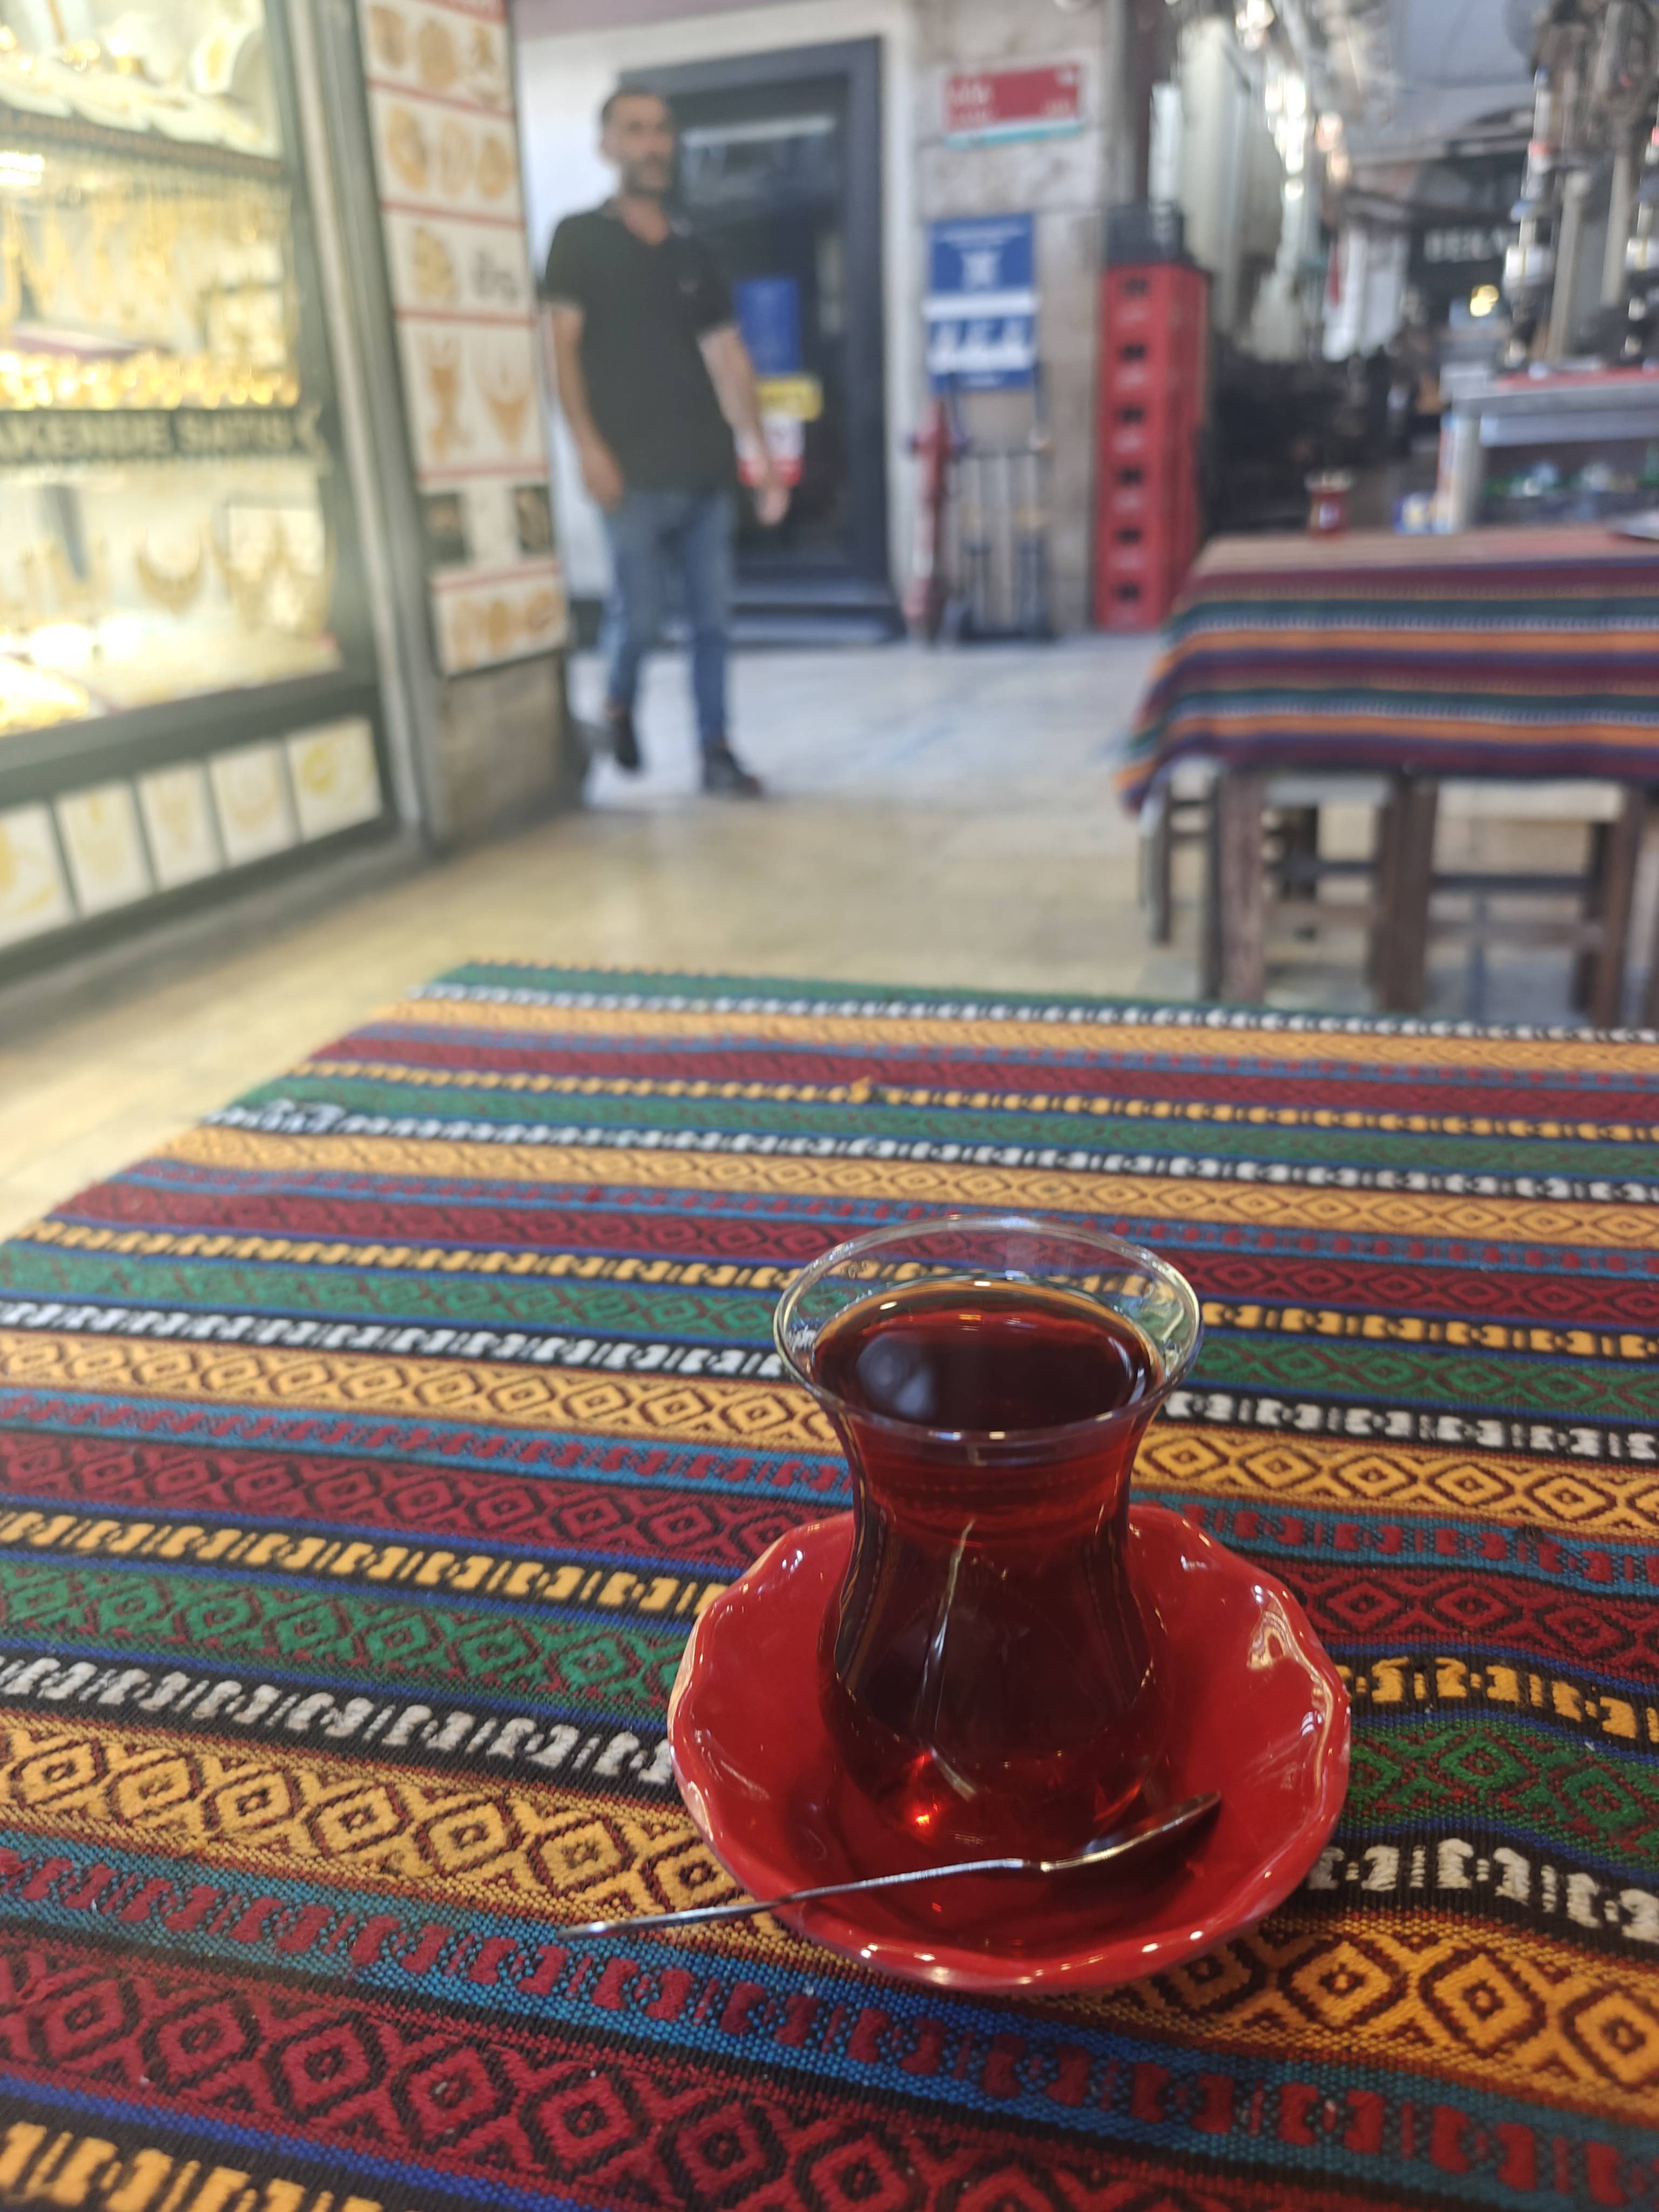
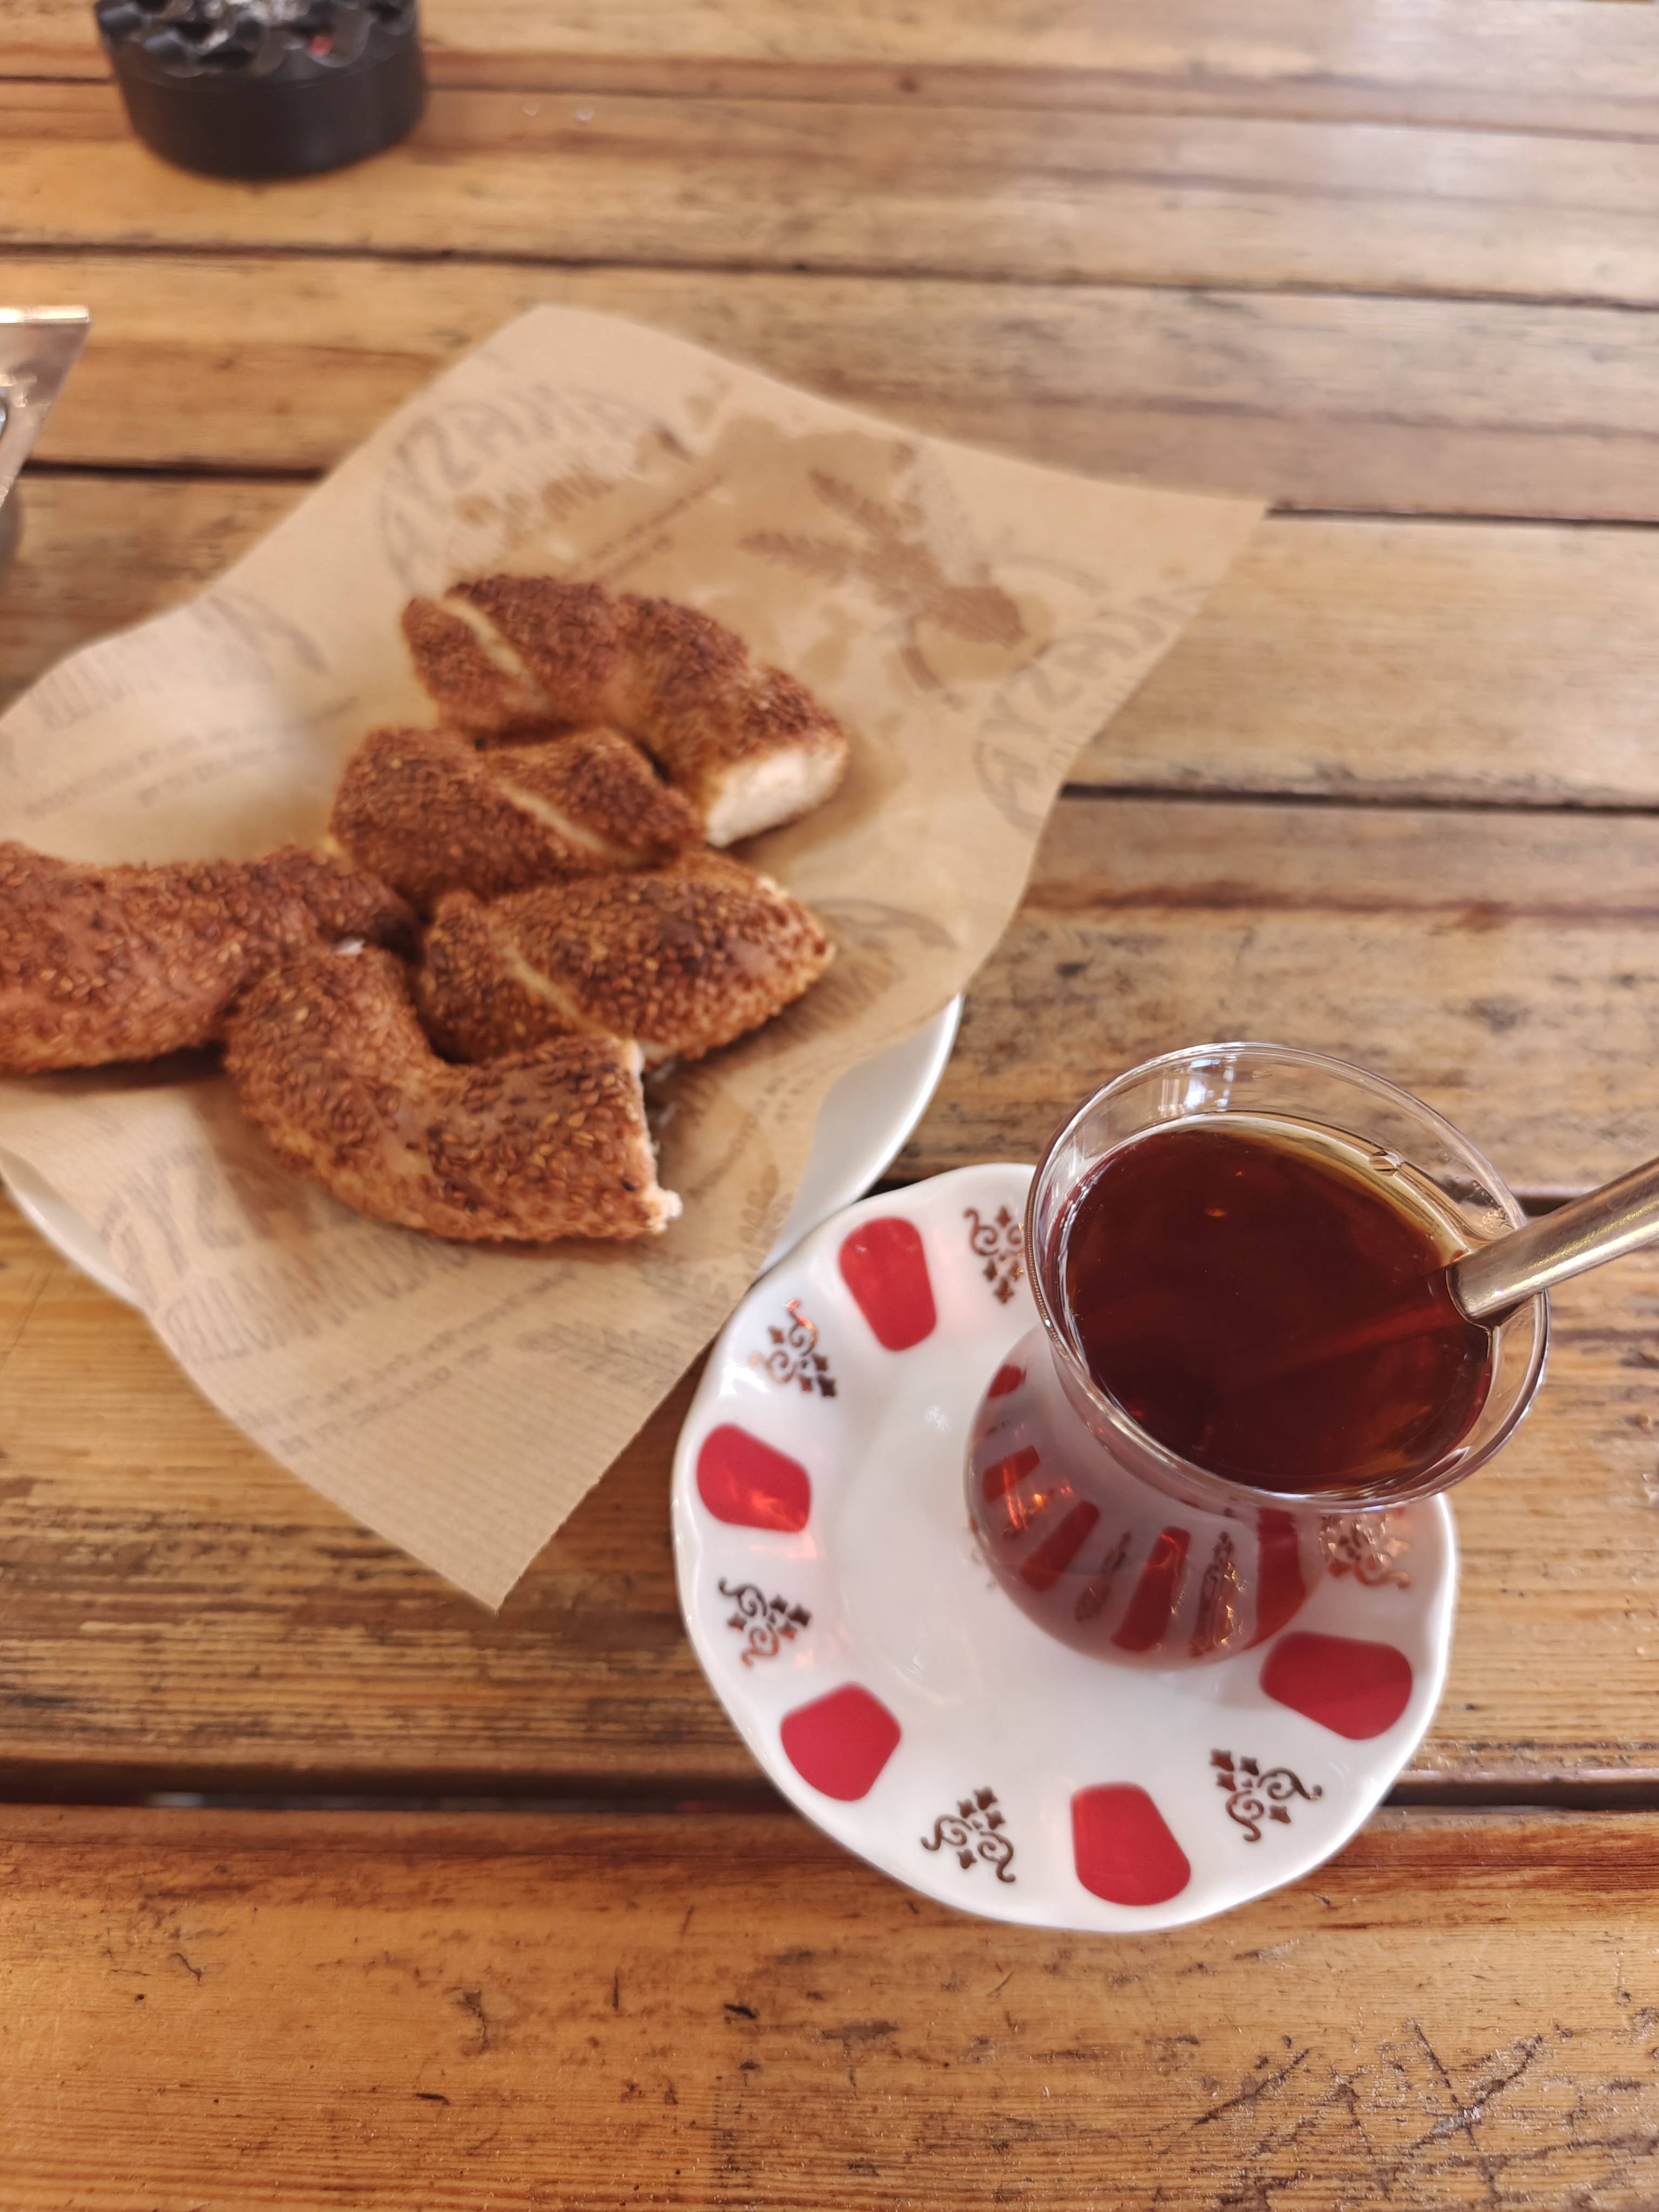
I drank some chai so many times a day
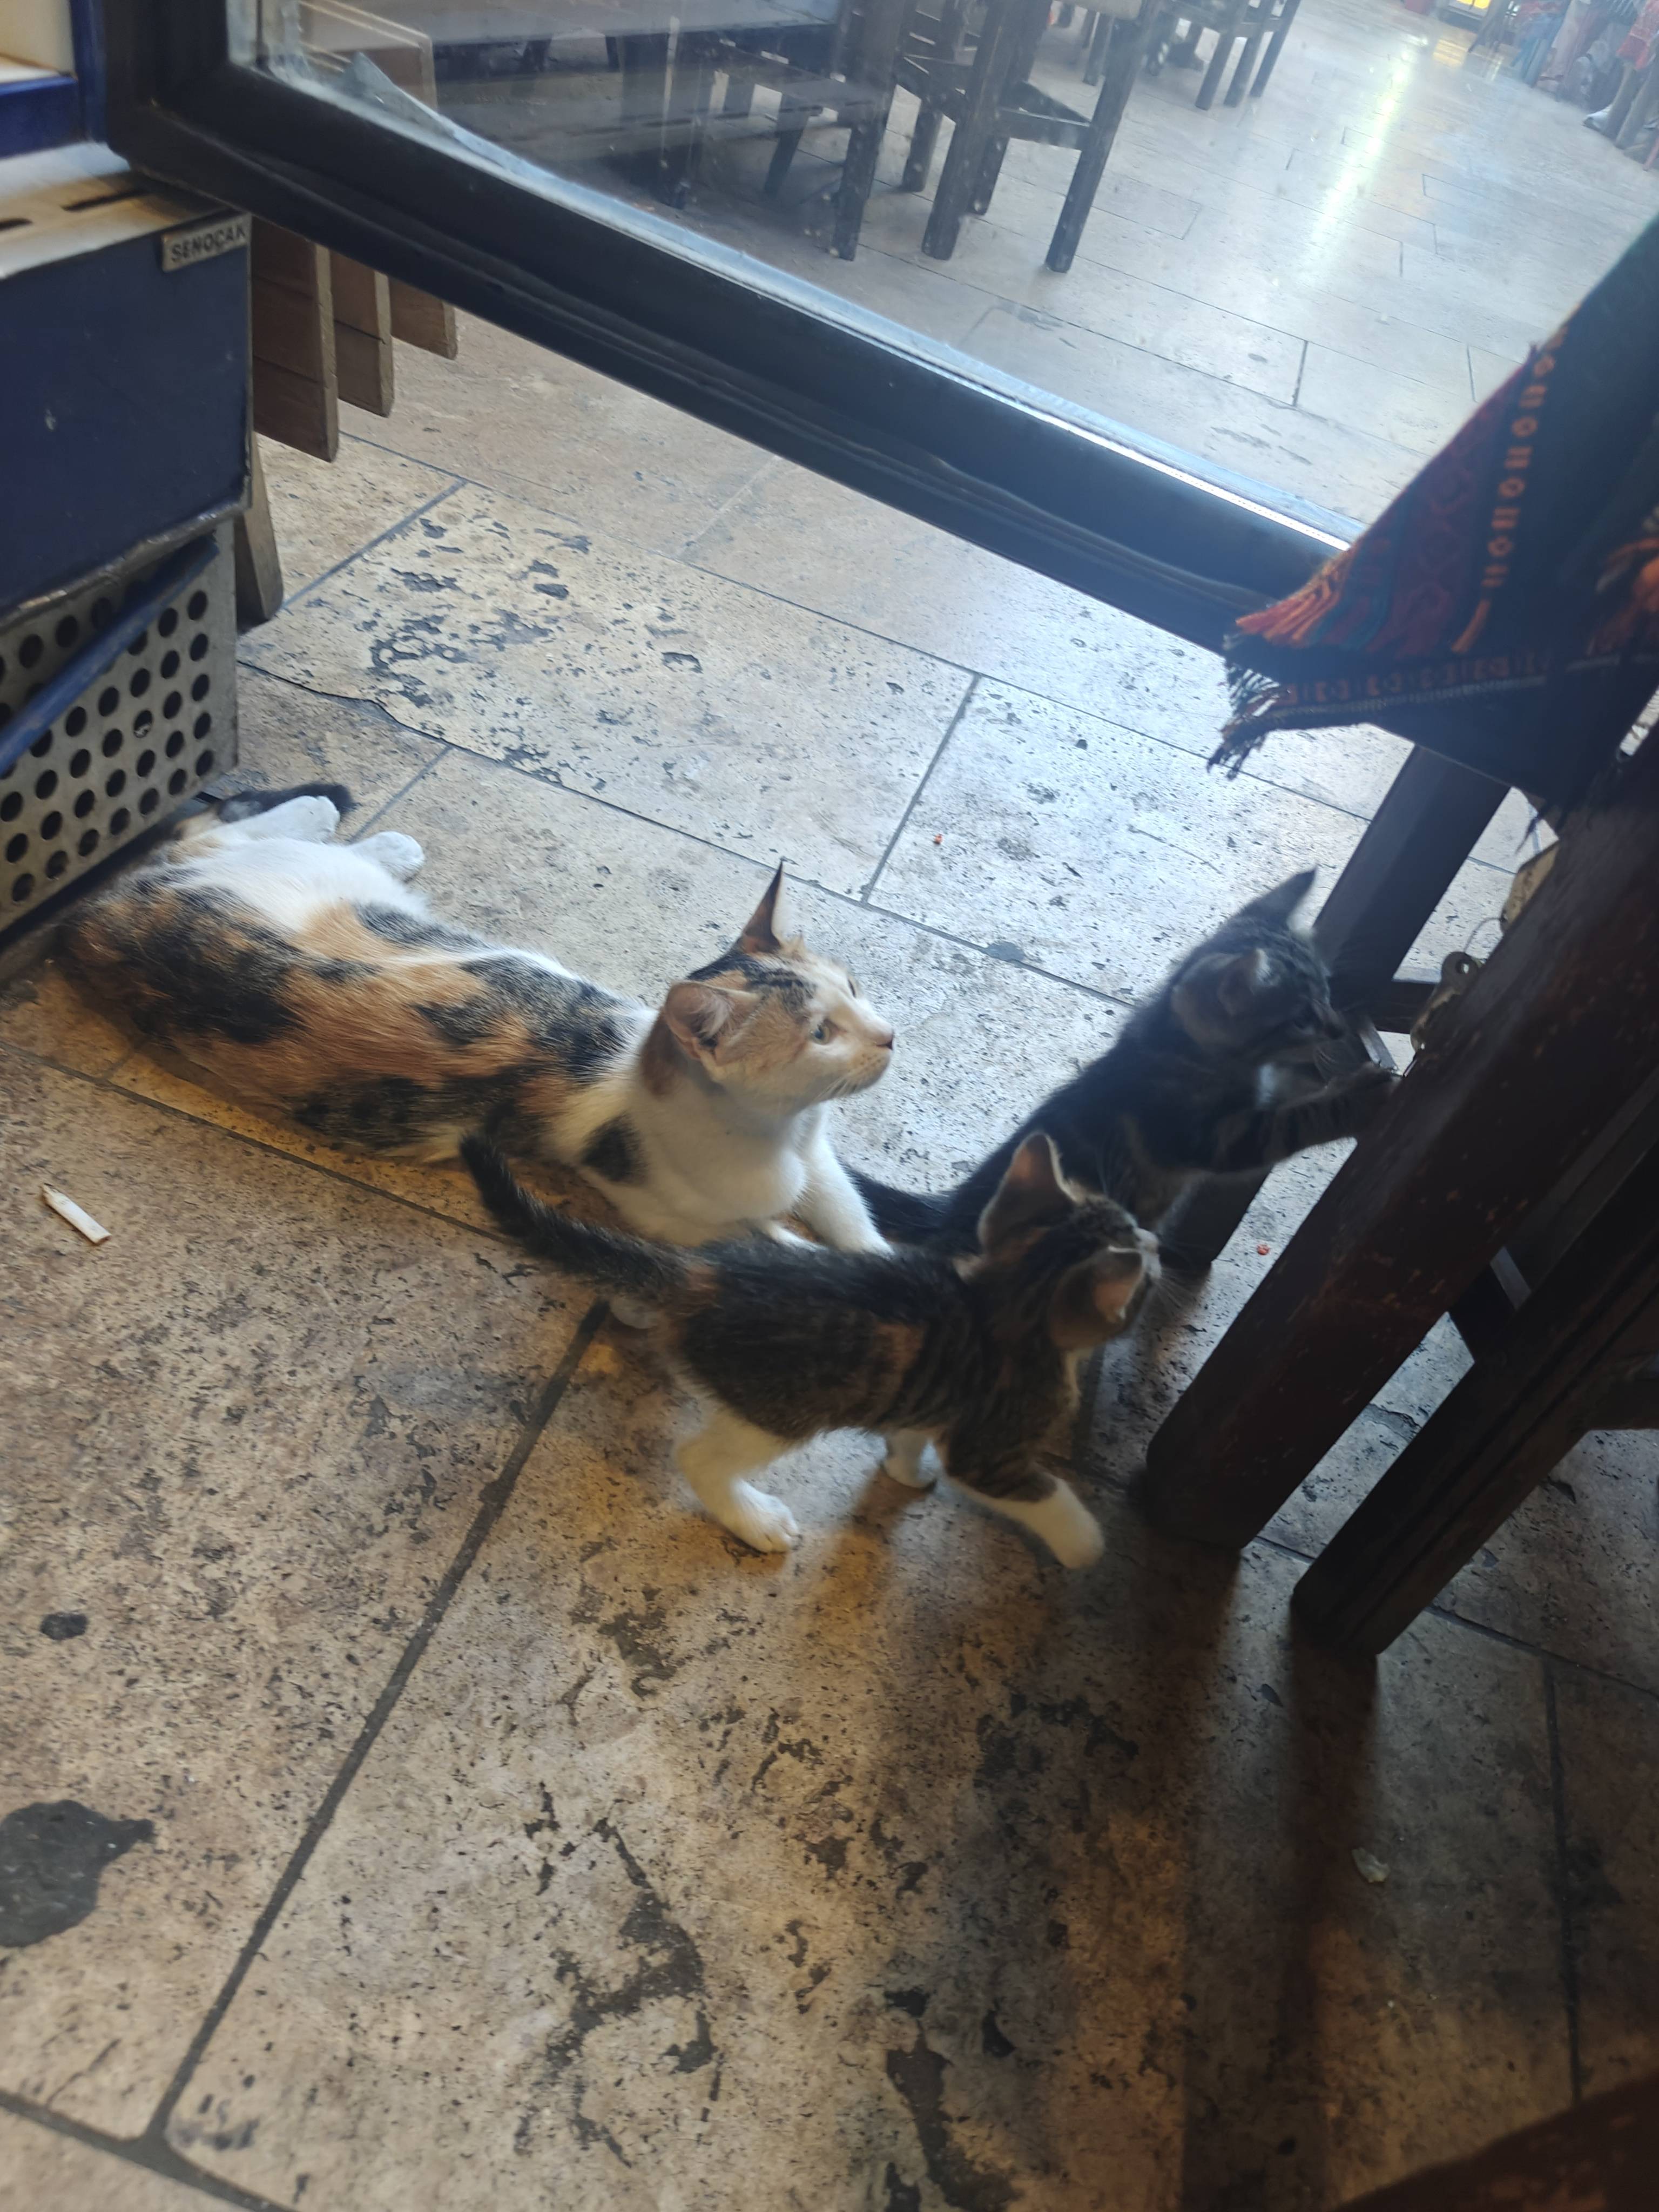
And there was cats everywhere
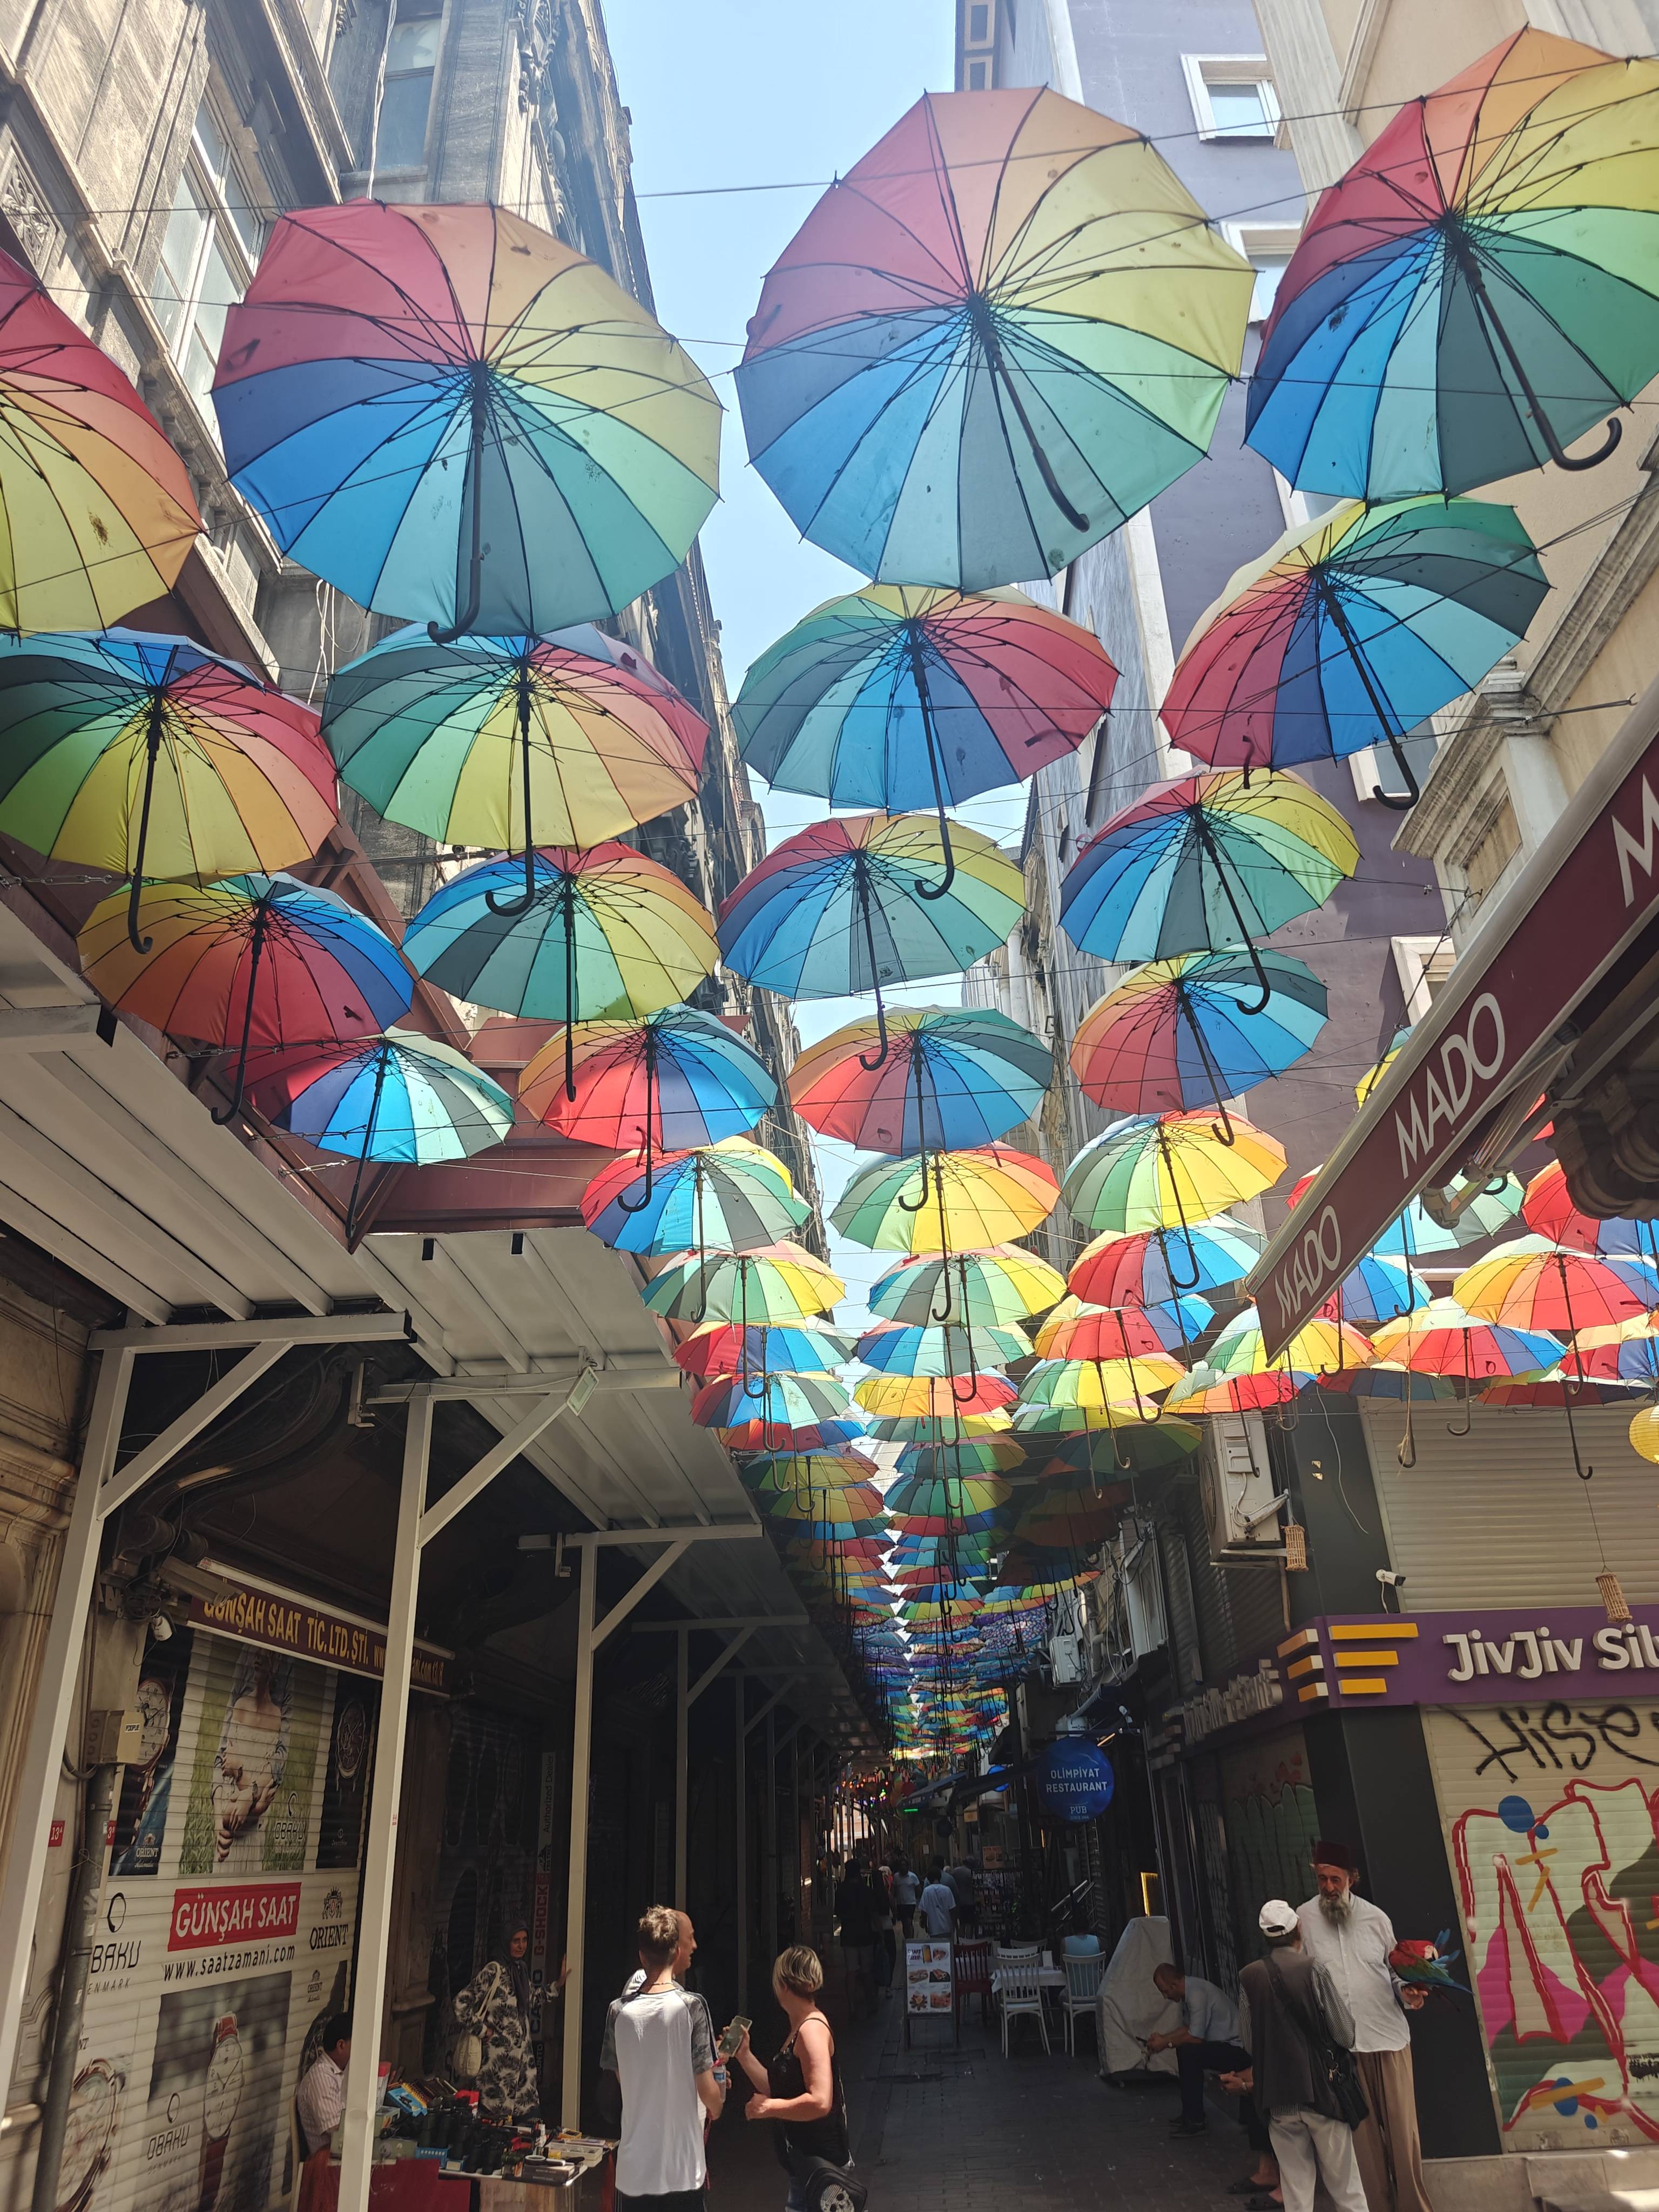
Famous umbrella street
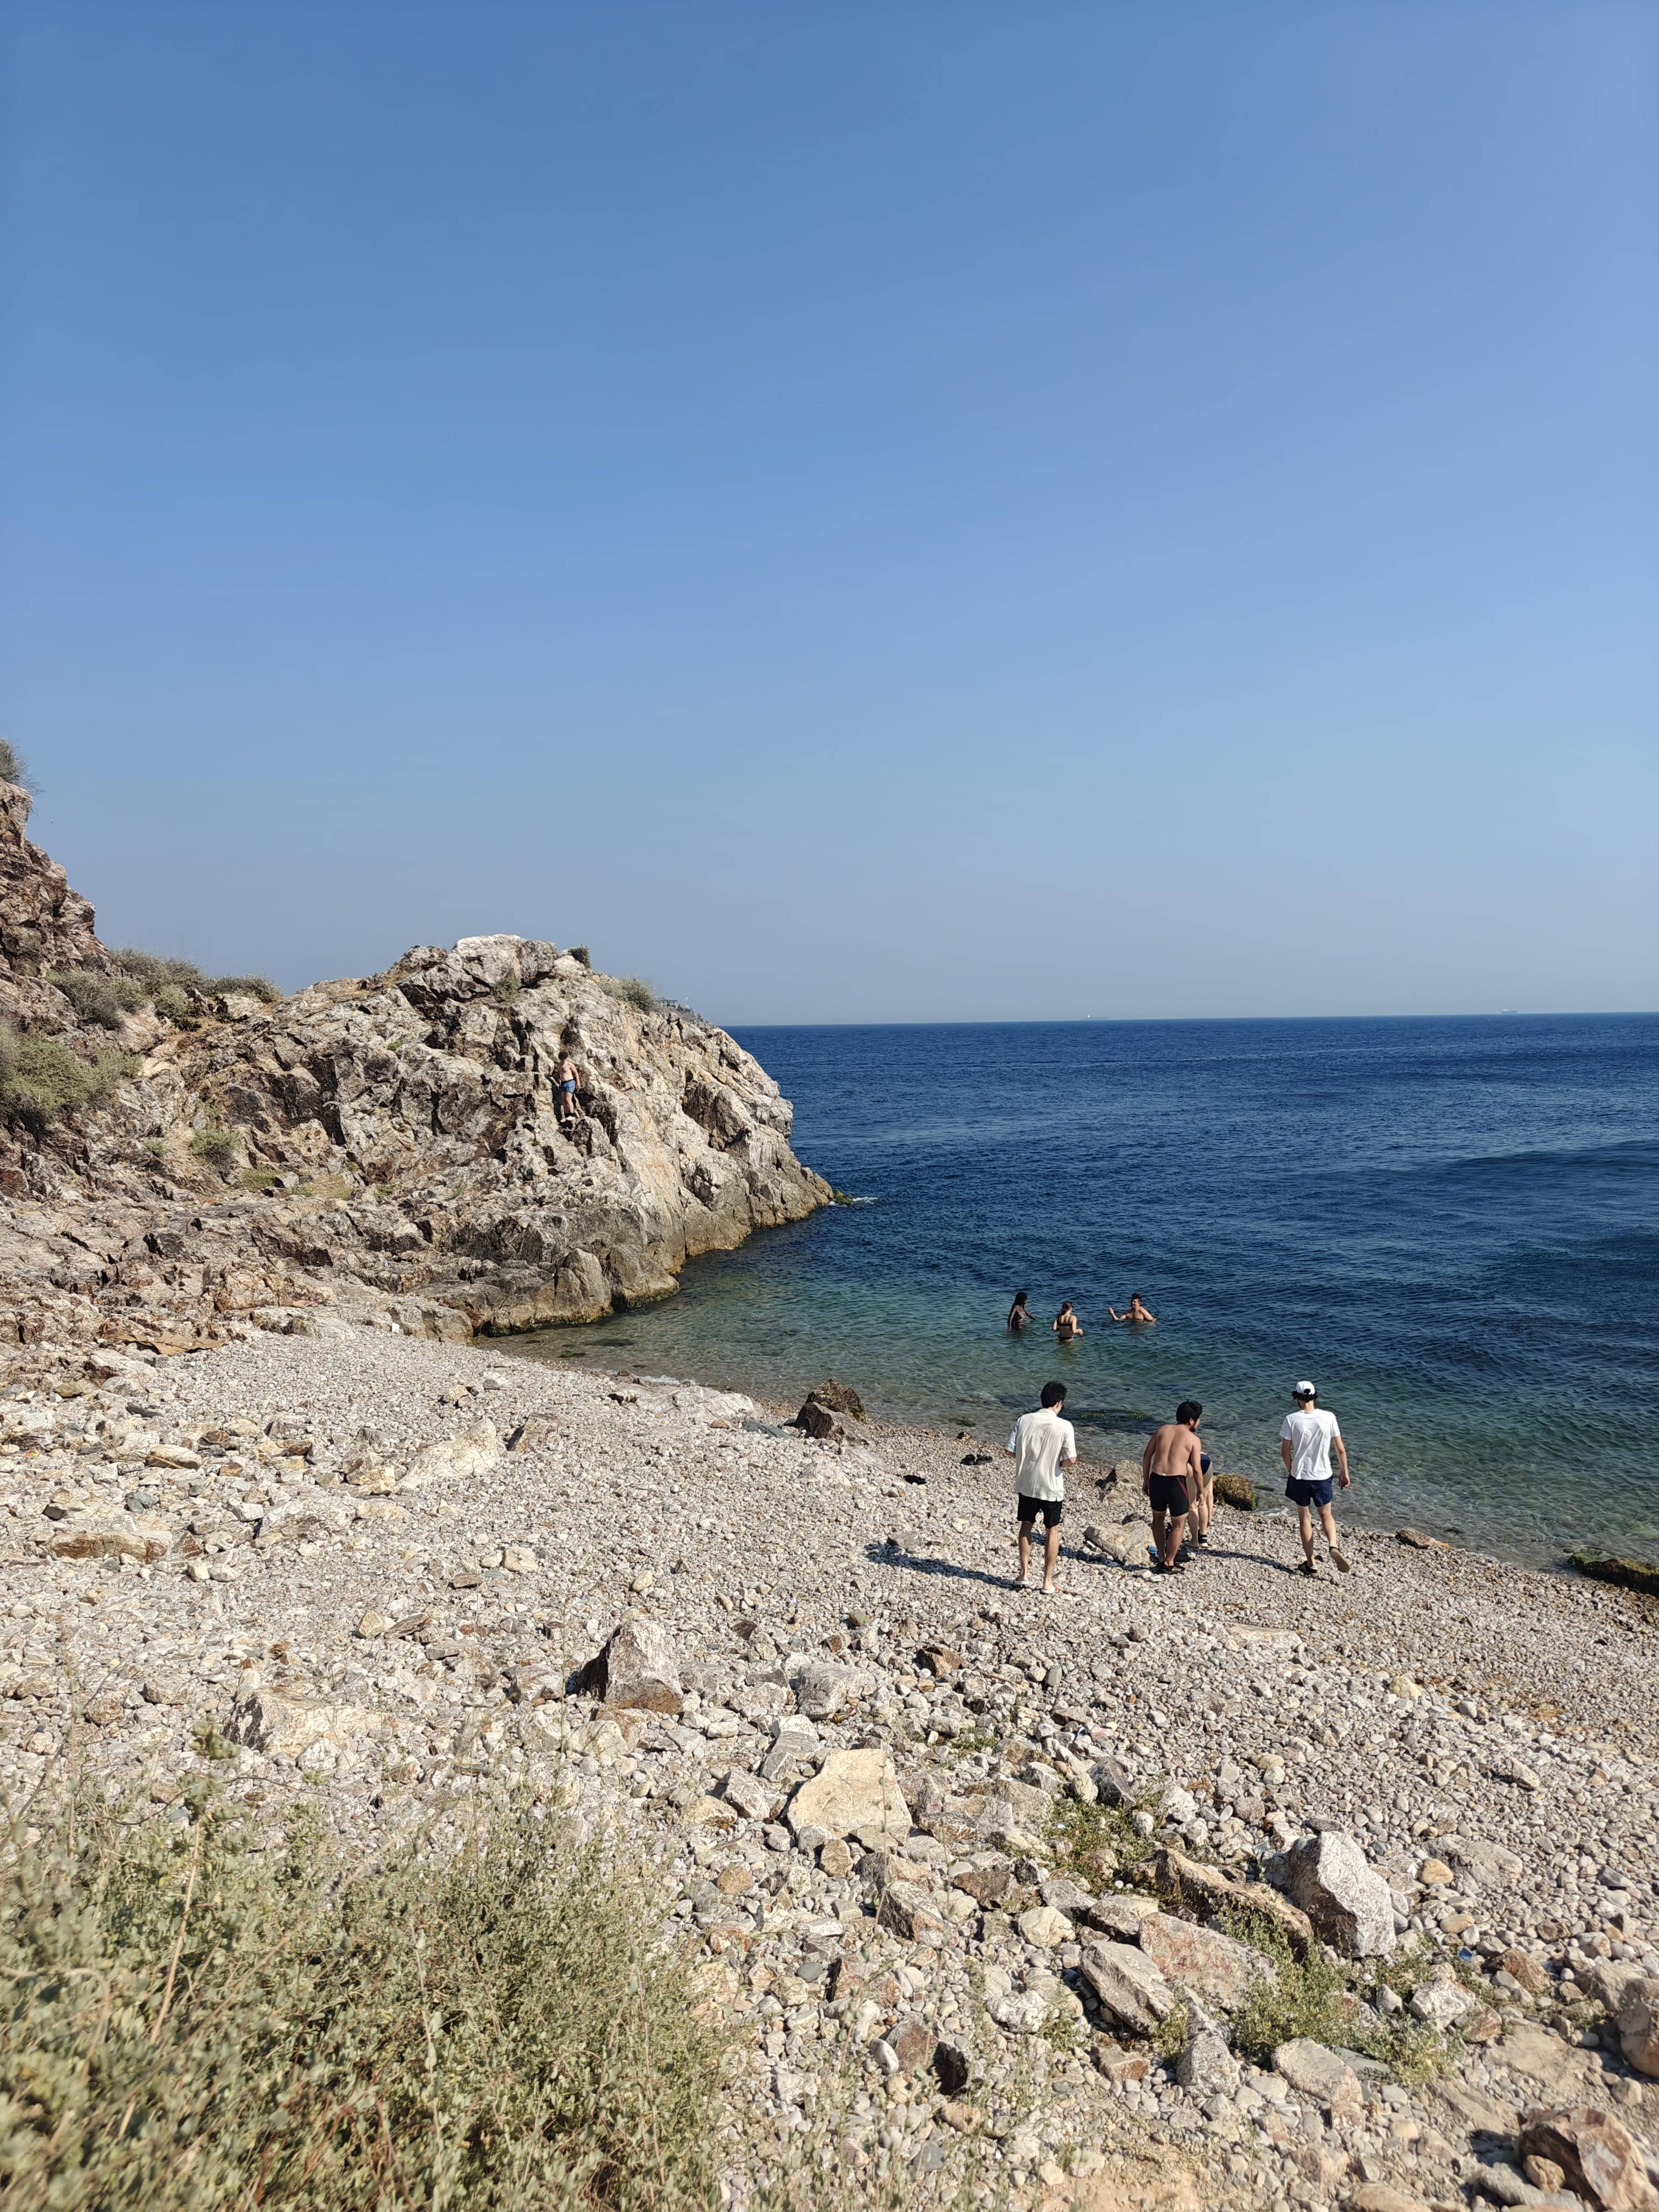
Beach during a day trip
Istanbul by night
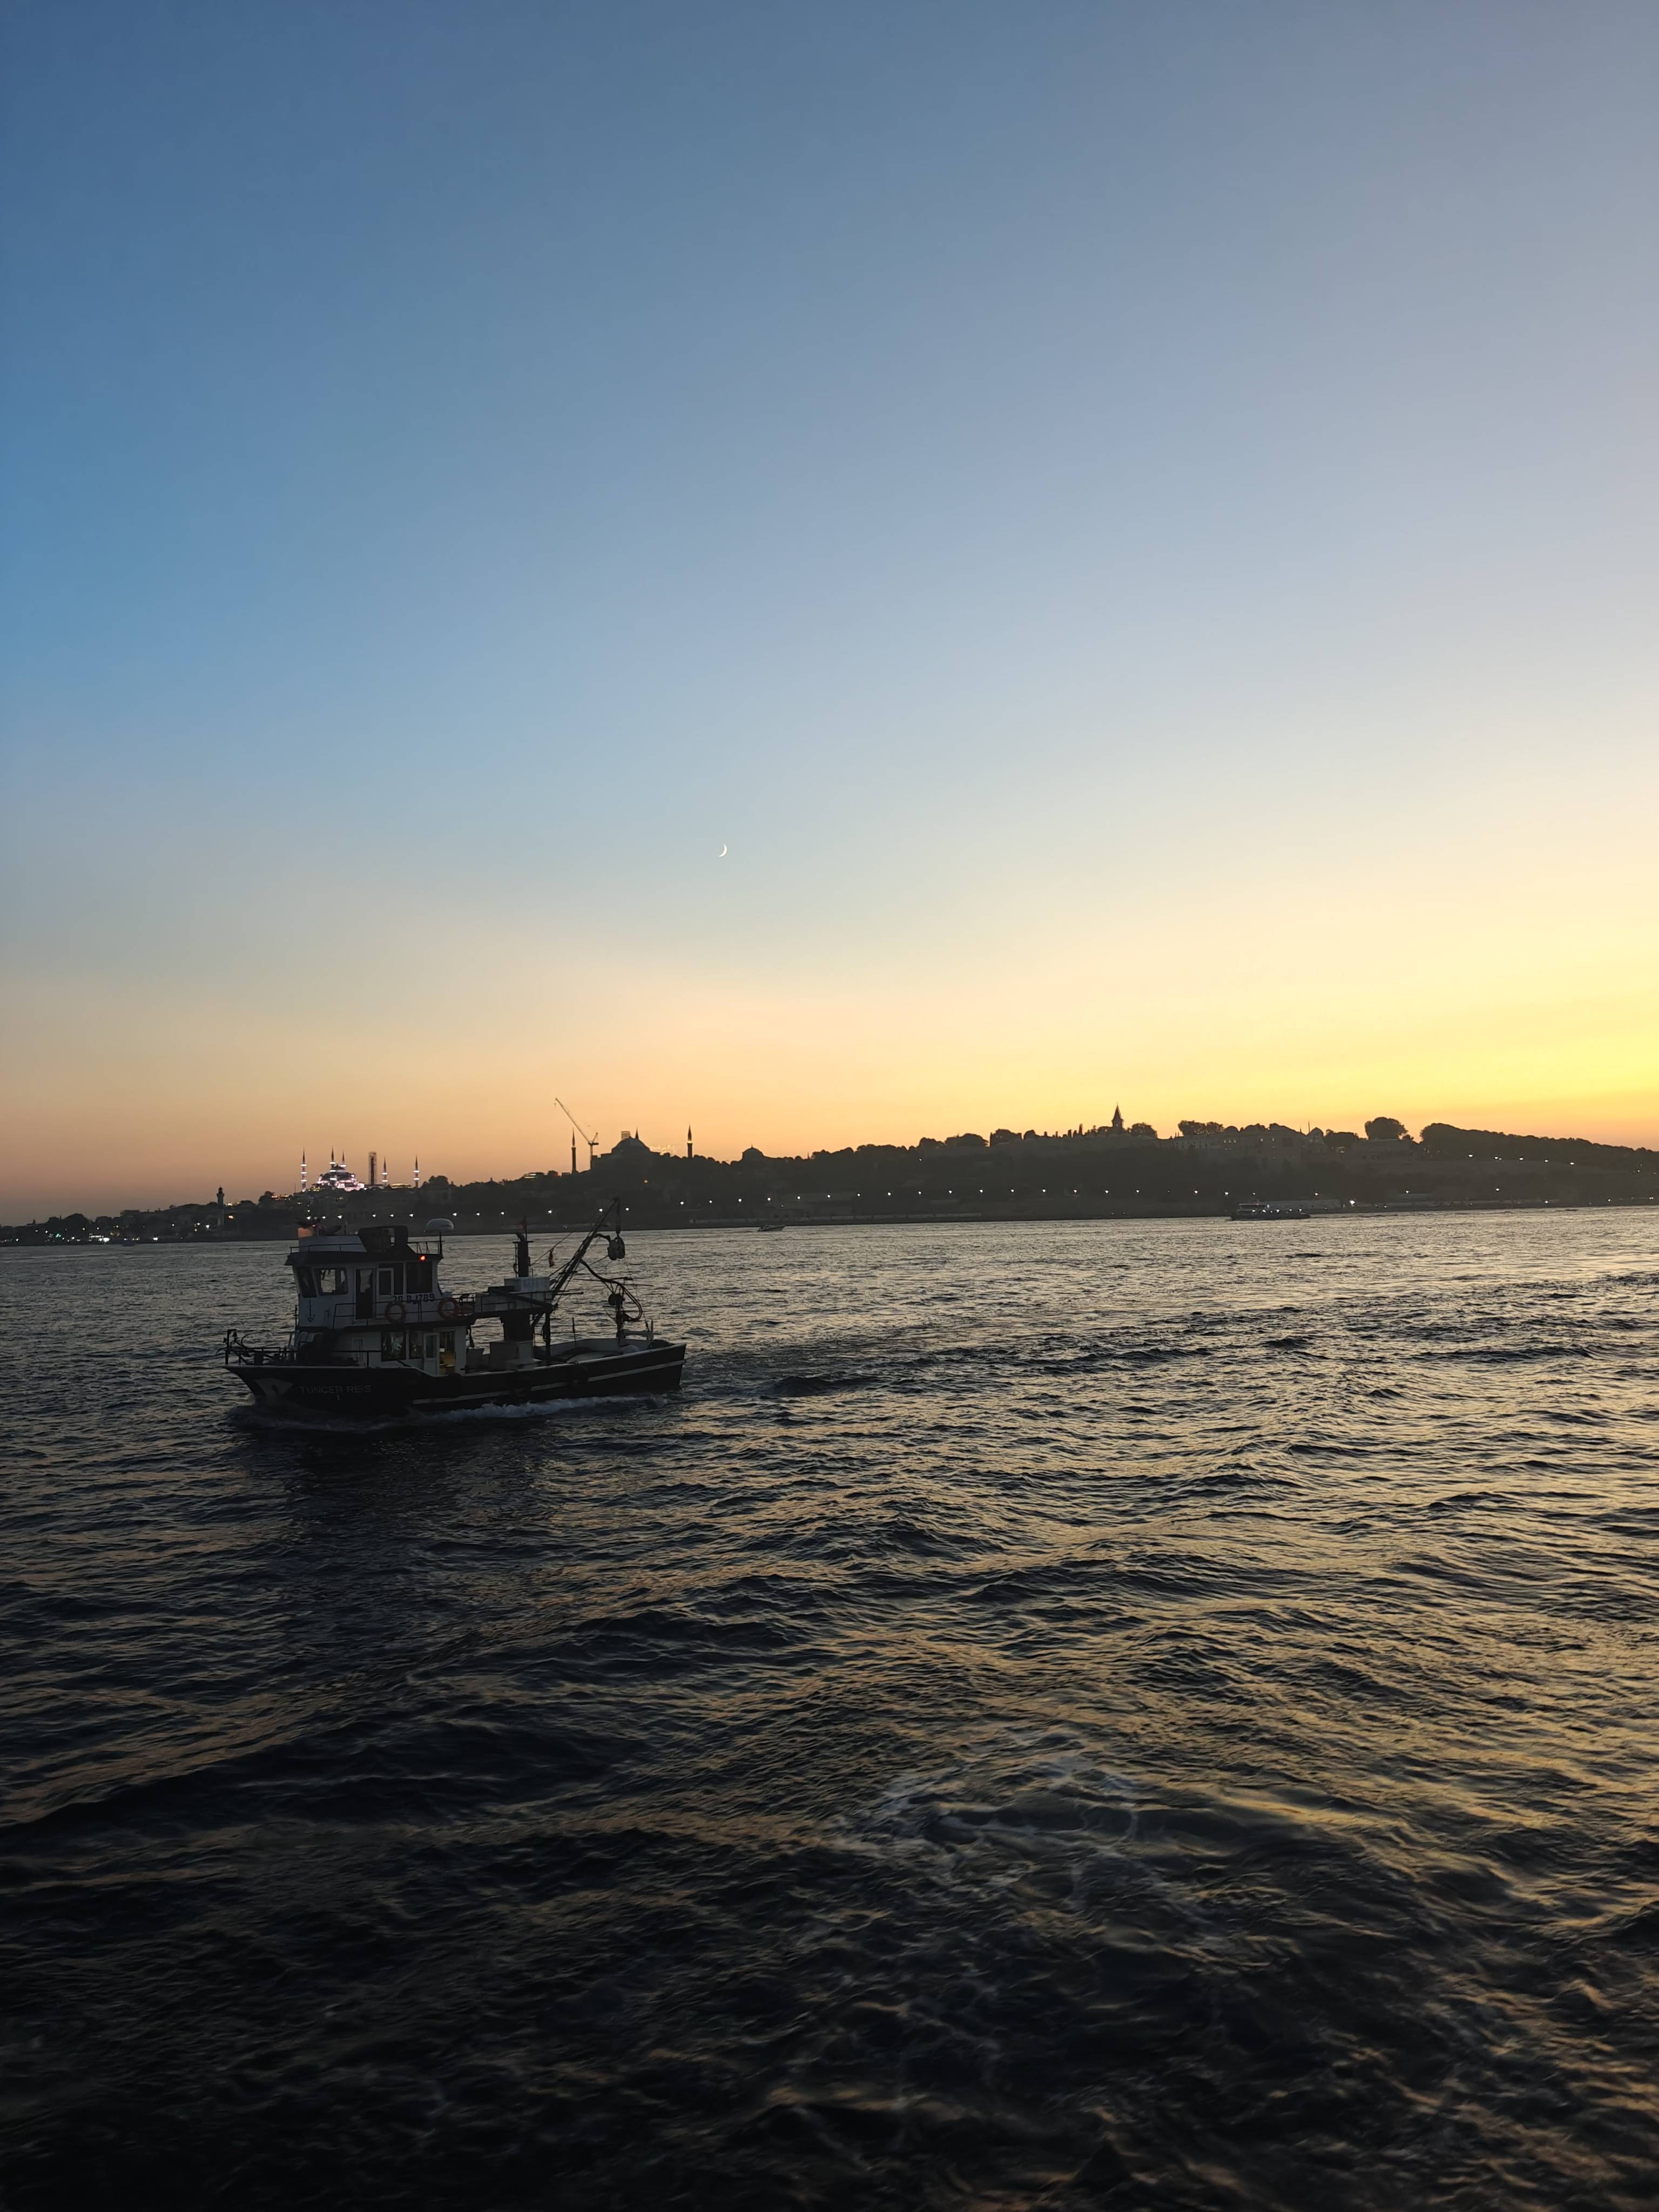
View from a ferry to the other side of Istanbul
The group of people I hanged with during this trip
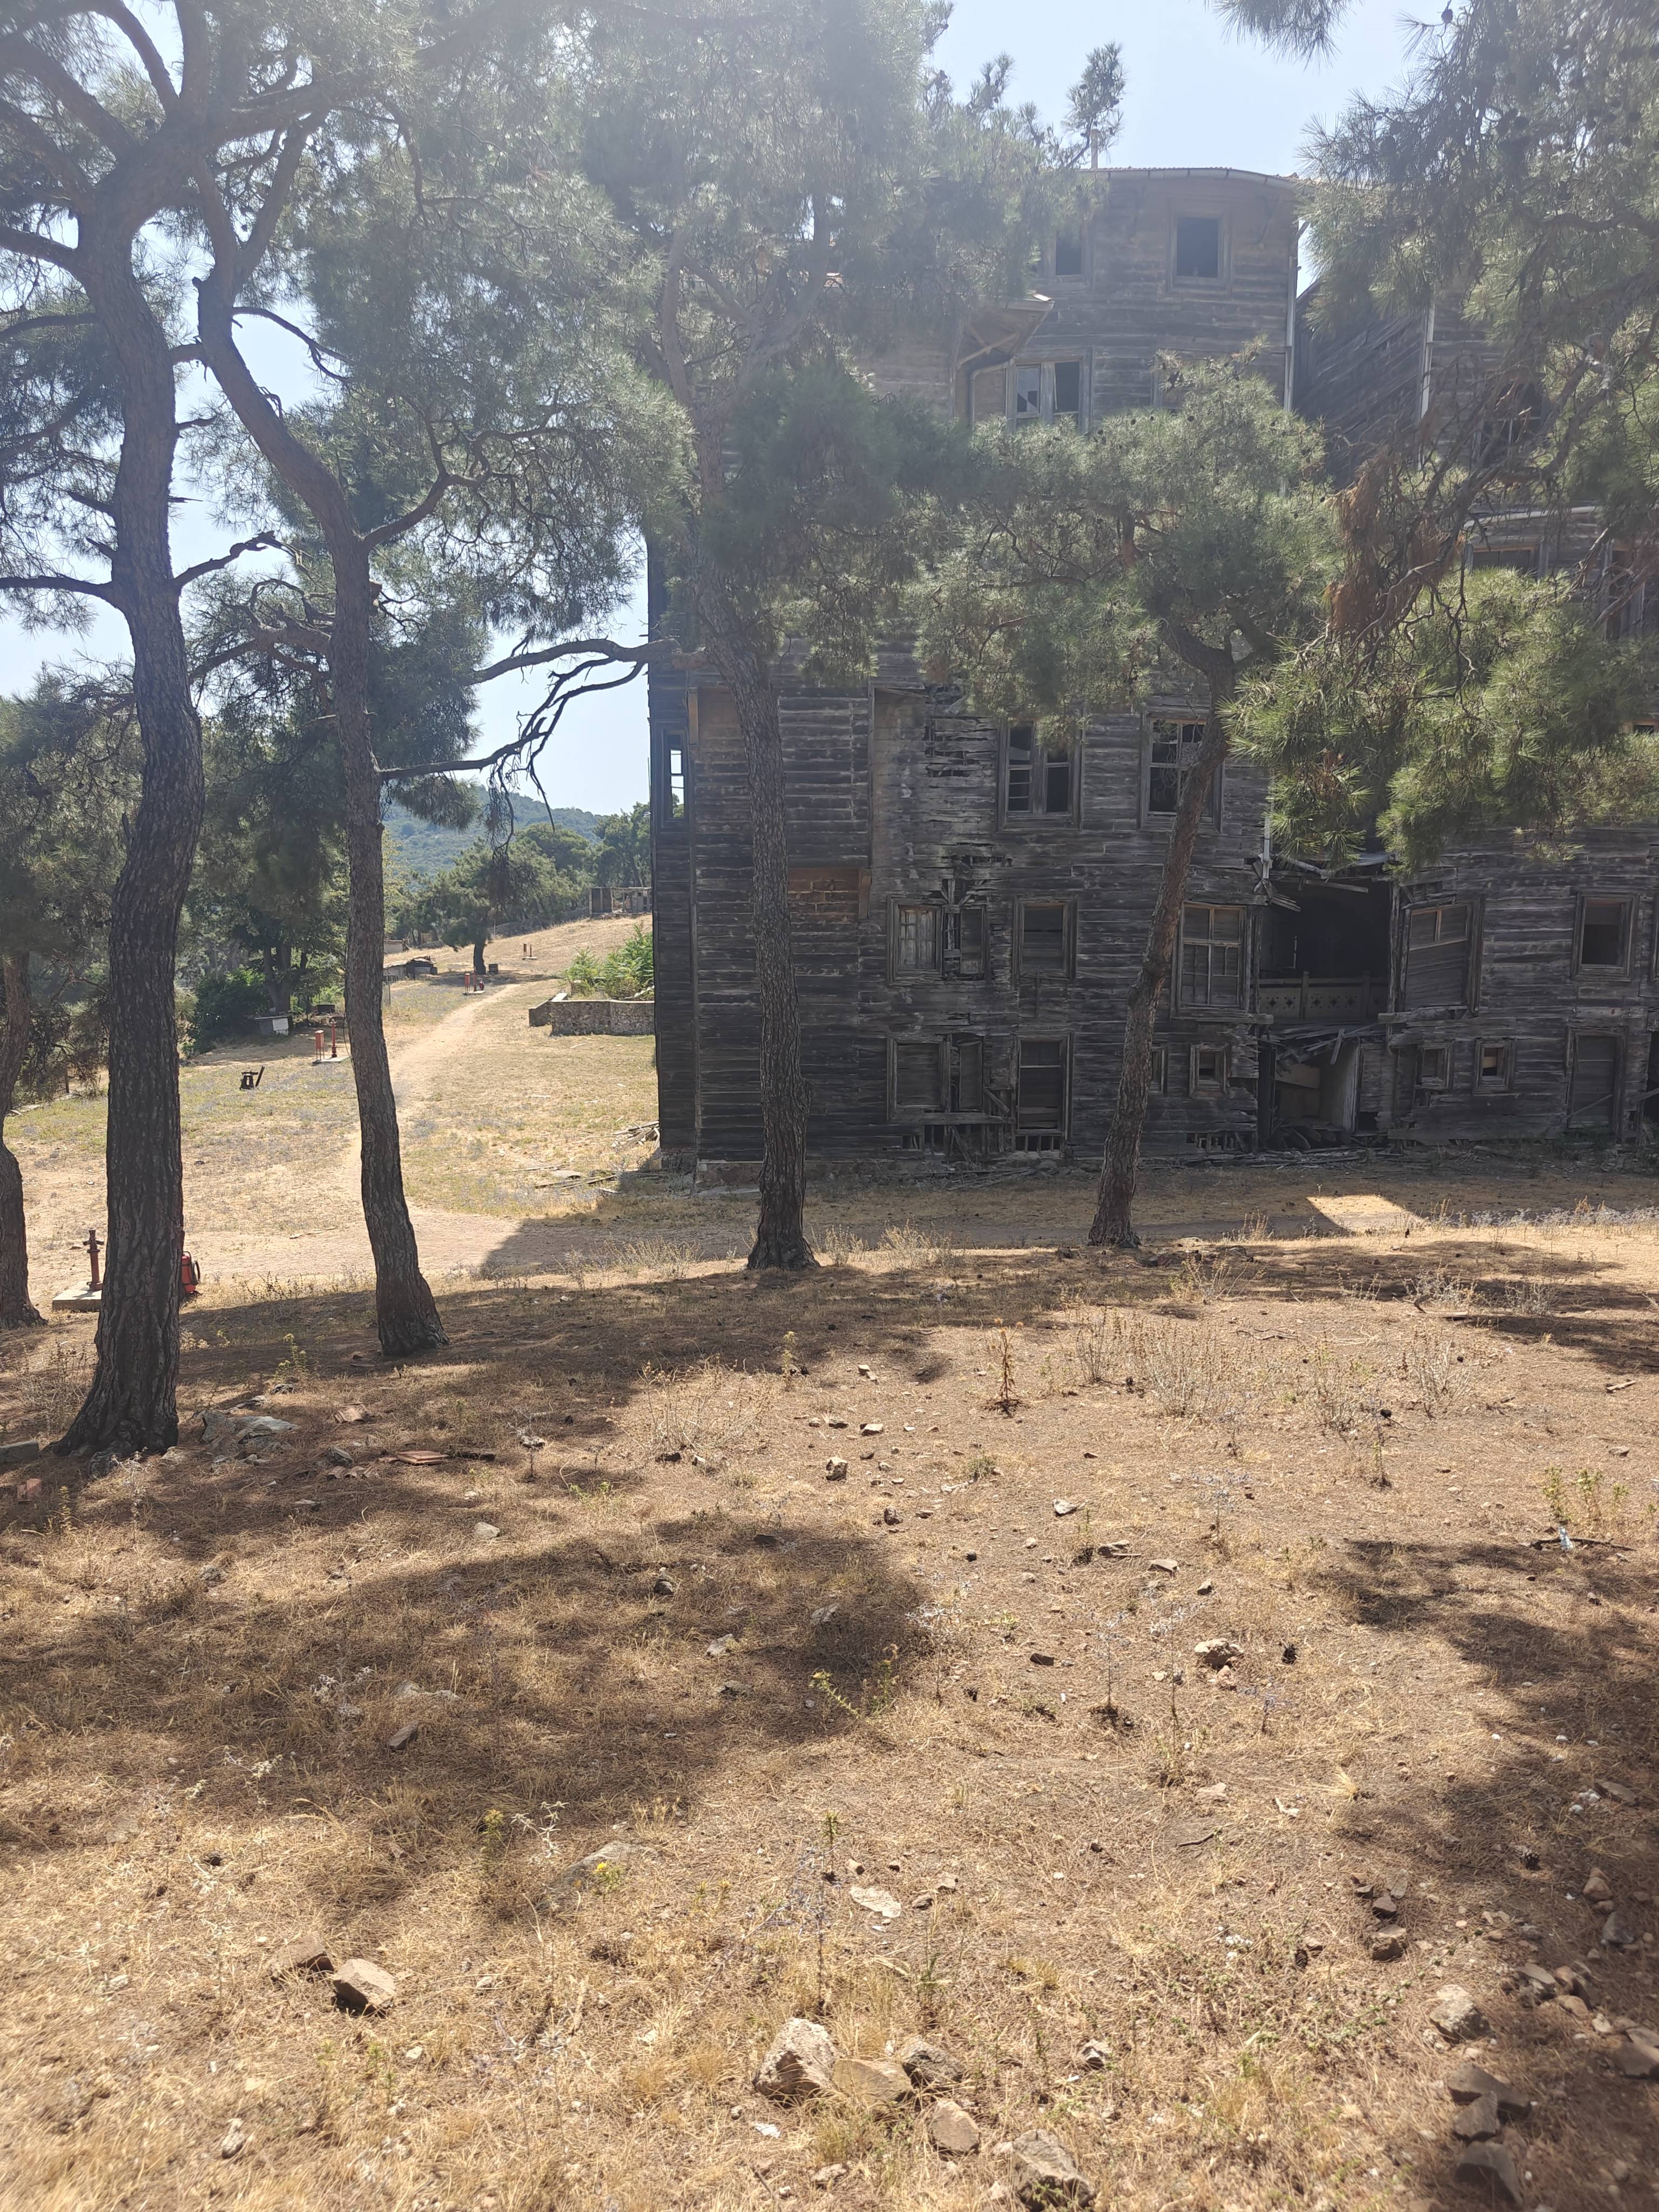
Prince island
One of the biggest wood structure of the world: Büyükada Greek Orphanage
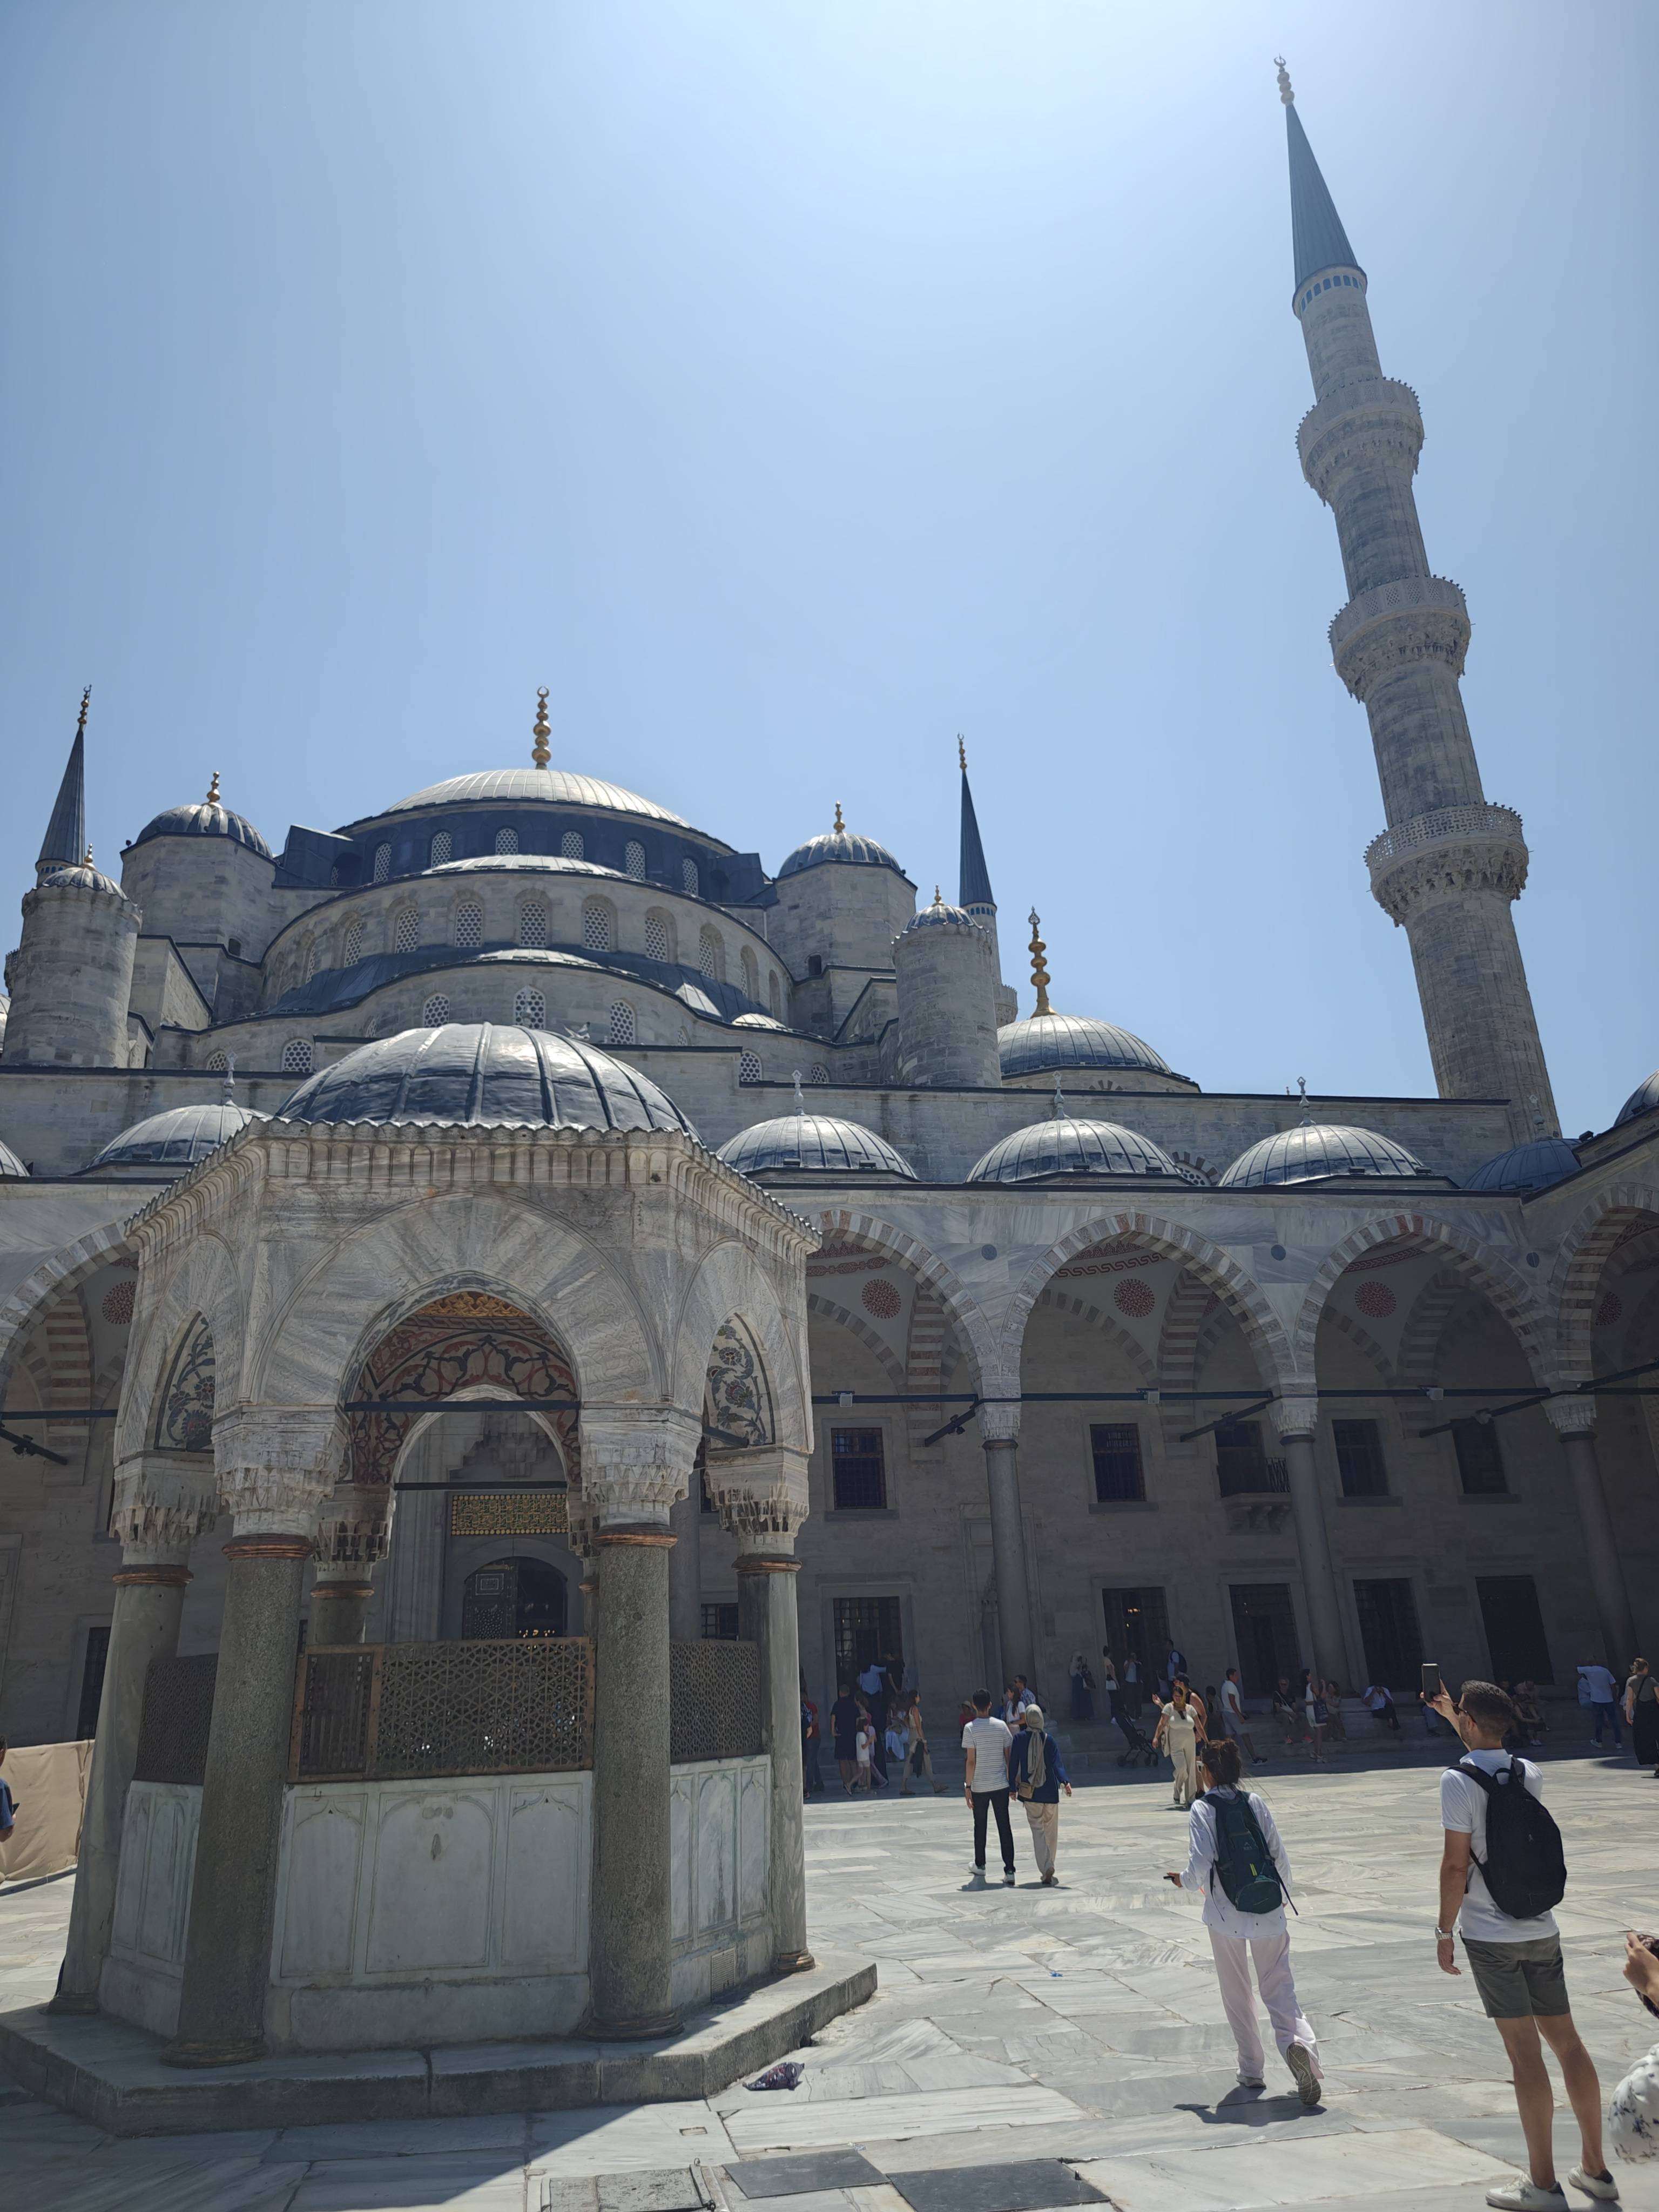
The Blue Mosque
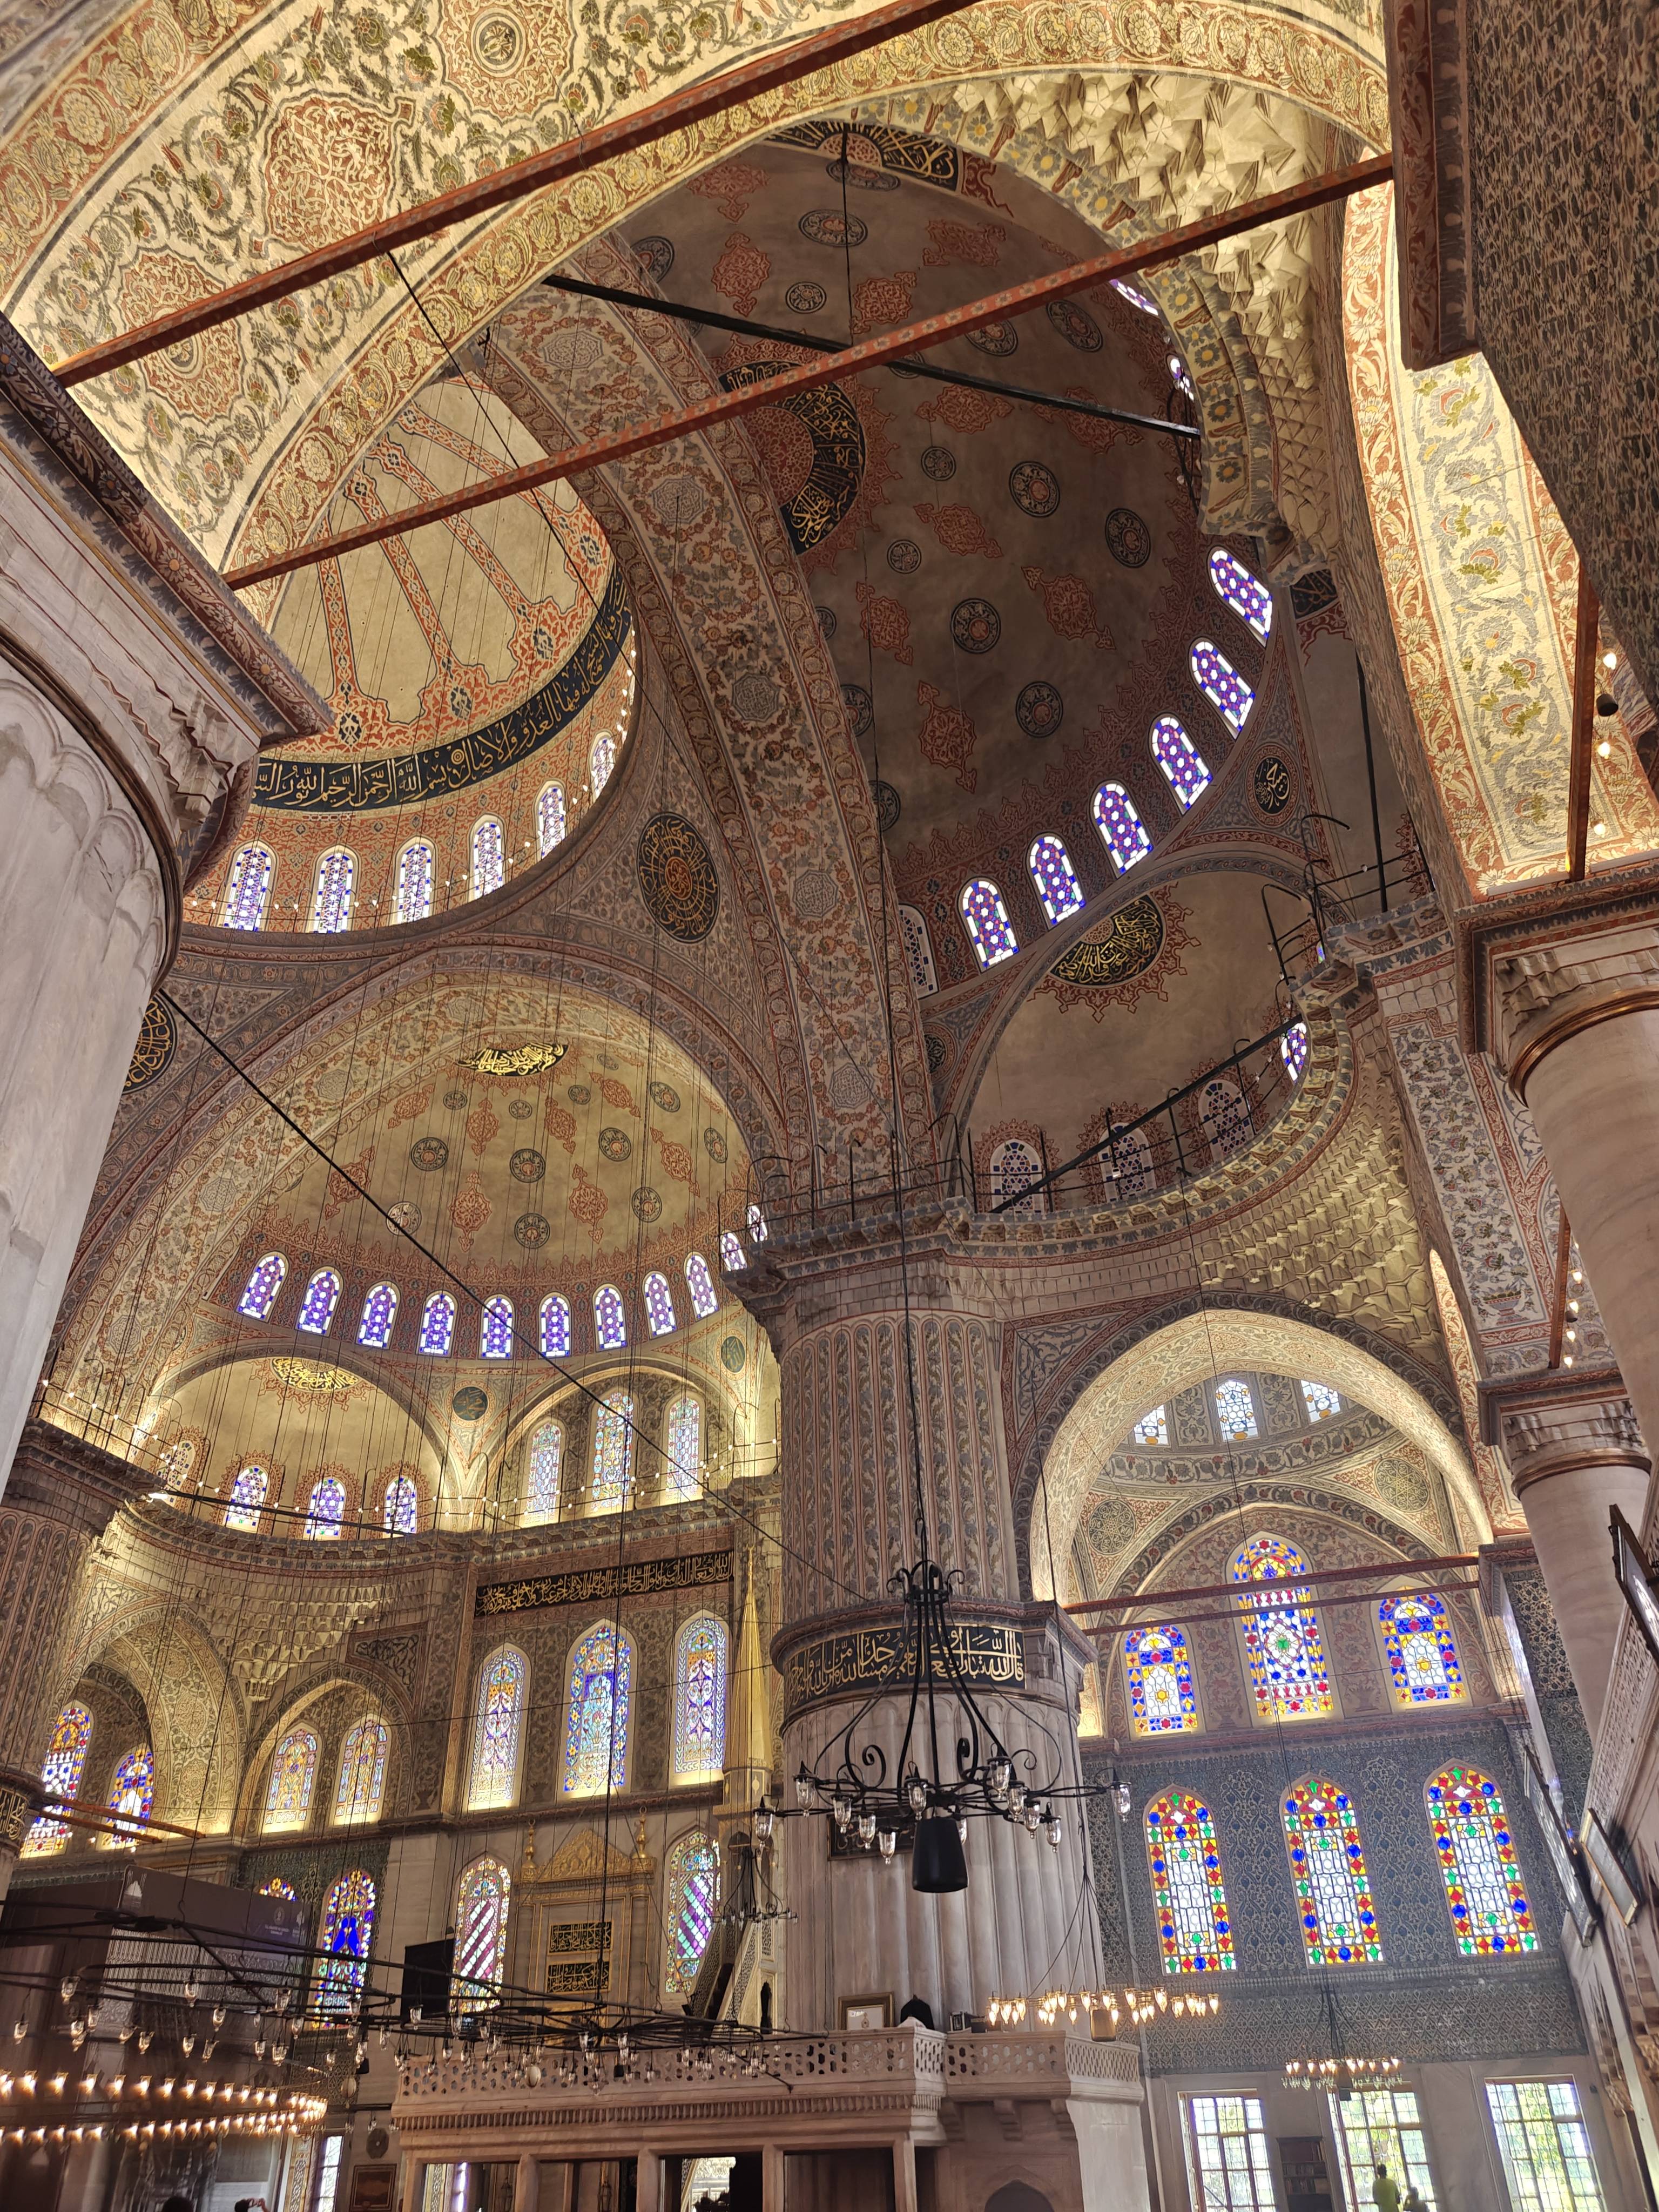
The Blue Mosque inside
Sunset
Selfie on a ferry
Selfie after going to a hammam/turkish bath
And now back to the reality but I am already looking forward to my next
backpacking trip.
A script element has been removed to ensure Planet works properly. Please find it in the original post.A script element has been removed to ensure Planet works properly. Please find it in the original post.
One of the key problems we identified with previous KDE neon releases was that only user edition was receiving any meaningful testing. This often lead to a situation where problems were identified only when user edition was being readied for public release and bug squashing was hurried and therefore less than ideal.
To try and fix this problem, a dev archive named stable was created (this happened in Novemeber 24) and the daily builds for the neon testing are now uploaded there. Various automated and manual tests are run and when we are happy (usually at least on a weekly basis), the archive is snapshot out to the public facing testing archive. This is the same process that is utilised for KDE neon user edition which is snapshot from the dev based release archive.
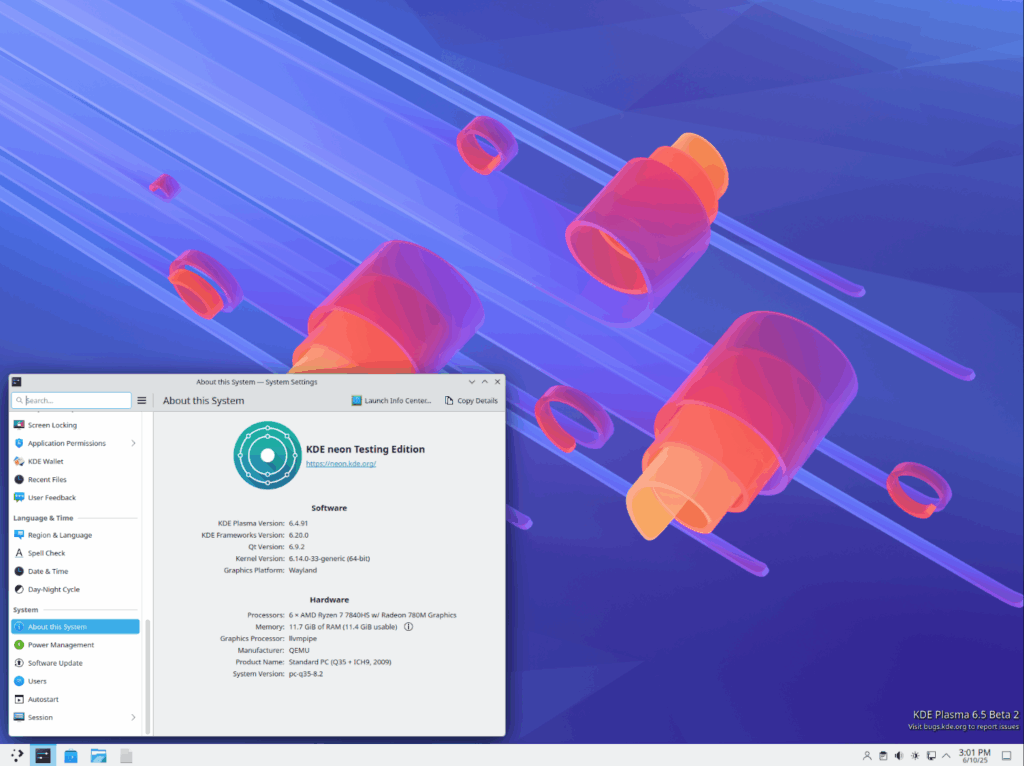
So hopefully users of KDE neon testing and user editions have seen improved stability and less critical bugs over the last year. Live ISO’s are available to try at https://neon.kde.org/download
"This Week in KDE Apps" is back! It's been a long time since the last issue, but every week, we cover as much as possible of what's happening in the world of KDE apps.
Getting back to all that's new in the KDE App scene, let's dig in!
Yuki Joou improved the handling of sender information in the mail viewer header (25.12.0 - link). She also fixed the mail composer not showing the right sender address (25.12.0 - link).
Merkuro Calendar Manage your tasks and events with speed and ease
Yuki also worked on Merkuro Calendar and fixed adding sub-items to tasks (25.12.0 - link), added a menu button to show/hide all calendars from an account (25.12.0 - link), and made sure we are only showing one refresh button in the account context menu (25.12.0 - link)
Supporting PIM libraries
Volker Krause made some more parts of the KMime API const correct and adapted various parts of the PIM codebase to that.
Allen Winter made Akonadi prefer MariaDB to MySQL when both are available (25.12.0 - link).
In 2016, after being a Mac guy for 23 years, I took the plunge and made a full-time switch to Linux. I did my research, and over and over again encountered the idea that GNOME was good for MacOS refugees like myself. So I gave it a try!
But my experience didn’t support the meme. I think a lot of people make this assertion without really having a deep understanding of the MacOS user experience, or the actual positive qualities of the software, because I don’t think GNOME offers a particularly Mac-like experience at all.
Don’t get me wrong, I think GNOME shell is pretty good, and largely succeeds at doing what it sets out to do. But that thing does not appear to be “offer an experience that’s a lot like MacOS.”
I still see this mentioned on forums and YouTube videos today. I don’t think it’s helpful, and today I want to provide a bit of context from my perspective.
So let’s compare MacOS and GNOME! Right away we see some obvious differences:
One of the the two major anchoring user interface (UI) elements on MacOS is the dock. It’s an app launcher and switcher, an unread count notifier, a place for minimized windows to go, a quick shortcut to the trash, downloads folder, and any other files or folders you put on it.
GNOME doesn’t have this. Its anchoring UI element is the Activities Overview screen, which contains a small program launcher, but the whole thing is hidden by default, meaning it can’t be easily used for monitoring unread counts or switching between apps. It’s also not customizable at all, while the MacOS dock is extensively customizable. It’s just a very different experience.
Global menubar and app functionality
The other major anchoring UI element is the global menu. Every Mac app exports a global menu structure, including the desktop itself. This allows Mac apps to be visually simple, because all the powerful features are hidden away in the menu structure.
GNOME has a top bar, but there’s no global menu on it. And while GNOME apps do generally have a level of visual simplicity that’s similar to Mac apps, they’re usually more limited in functionality, and they don’t export menu structures full of extra features.
Desktop icons
On MacOS, you can put files and folders on the desktop, and use it for managing frequently or recently used files. Internal and removable drives appear there, too.
GNOME doesn’t have this. The desktop is just a picture; you can’t use it for anything functional.
Window minimize/maximize buttons
On MacOS, if you need to get a window out of your way, you minimize it, just like you do on Windows, Plasma, etc. It flies into the dock and it’s clear how you get it back. You can also maximize a window from another button on the titlebar, and it goes into another.
GNOME apps have neither of these buttons. As a result, it’s not clear how to get a window out of the way or make it bigger without a lot of manual work. You can add those buttons later using the separate Tweaks app, but it’s clear that the system was not designed for it.
At-a-glance app status monitoring
MacOS includes a classic “System Tray” style UI on the top bar holding the global menu. Here apps can put little icons that communicate their state while running but without any visible windows. The MacOS dock also displays unread counts and progress information for running apps.
GNOME doesn’t have these features, either at all, or in a way that’s always visible. Instead, it relies on apps sending notifications about changes to their status.
Configurability
Contrary to popular belief, MacOS is surprisingly rich in personalization options. You can customize the widgets on the desktop or notification center, the text size, highlight colors, sidebar icon sizes, places panel items, screensaver, scrollbar appearance and behavior, lock screen message, menubar positioning, UI alert sound, almost everything about the dock, and so on.
GNOME’s approach to configuration is much more minimal, and the officially-supported options are pretty sparse. Instead, mostly the way you personalize the system is by using Extensions, which can do much more than you can in MacOS, but also offer no long-term compatibility guarantee, so there’s a chance any of the extensions will break with every new release.
So where does the bridge from MacOS lead?
Again, I think GNOME is pretty good… it just doesn’t offer a MacOS-like experience. What it does offer is a near-zero distraction experience. That’s the design goal, and it succeeds. But it’s not MacOS’s design goal.
So if not GNOME, where’s the more MacOS-like experience for refugees? Honestly, KDE Plasma is what I would recommend. It’s where this MacOS refugee ended up, at least. Let’s compare again, but this time with KDE Plasma:
Like MacOS, Plasma has a dock-style panel. Despite a few visual differences, it handles the same things: launching apps, switching between apps, seeing apps’ unread counts, and holding minimized windows. This panel also contains the System Tray UI. It’s here rather than on a top panel, but it’s a small difference.
Though neither screenshot shows files on the desktop, both support it. Similarly, both support desktop widgets for building highly personalized workflows.
You can also minimize and maximize windows in Plasma just like you can on MacOS.
And finally, you can personalize a Plasma system in a wide variety of ways — as much or more than you can can on MacOS, in most cases — and all in a 1st-party supported way. There are also GNOME-style extensions available for people who want even more, but these make use of a stable API that only changes about once every 10 years, so compatibility issues are much rarer.
There are still differences, of course: major ones are Plasma’s Windows-start-menu-style Kickoff Application Launcher and the lack of a global menu. But Kickoff can be swapped out for something else or removed, and the Global Menu is actually a fully-supported 1st-party feature, simply being off by default. If this is a part of MacOS that you really like, turning it on is very easy:
Other smaller differences include disks not appearing on the desktop, and maximized windows not going into new virtual desktops.
But in my opinion and experience, these differences are relatively minor, and I don’t think it’s worth chasing the dream of a 100% pixel-for-pixel clone of MacOS on Linux. Rather, I think it’s best to take the most successful parts and ditch the sources of awkwardness. And in my opinion, KDE Plasma fits the bill.
So if you’re leaving MacOS because you found it too distracting, then I think GNOME may be a good option. But if you’re leaving for other reasons, give Plasma a try!


 rajeesh


 .
.
 @srisharan_v_s:matrix.org