This year there was another “Display Next Hackfest”, this time thanks to AMD organizing and hosting the event at their office in Markham, Toronto. Just like the last hackfests, there were other compositor developers and driver developers present, but in addition we had the color experts Charles Poynton and Keith Lee to pester with questions, which was very useful. In general, the event was very productive.
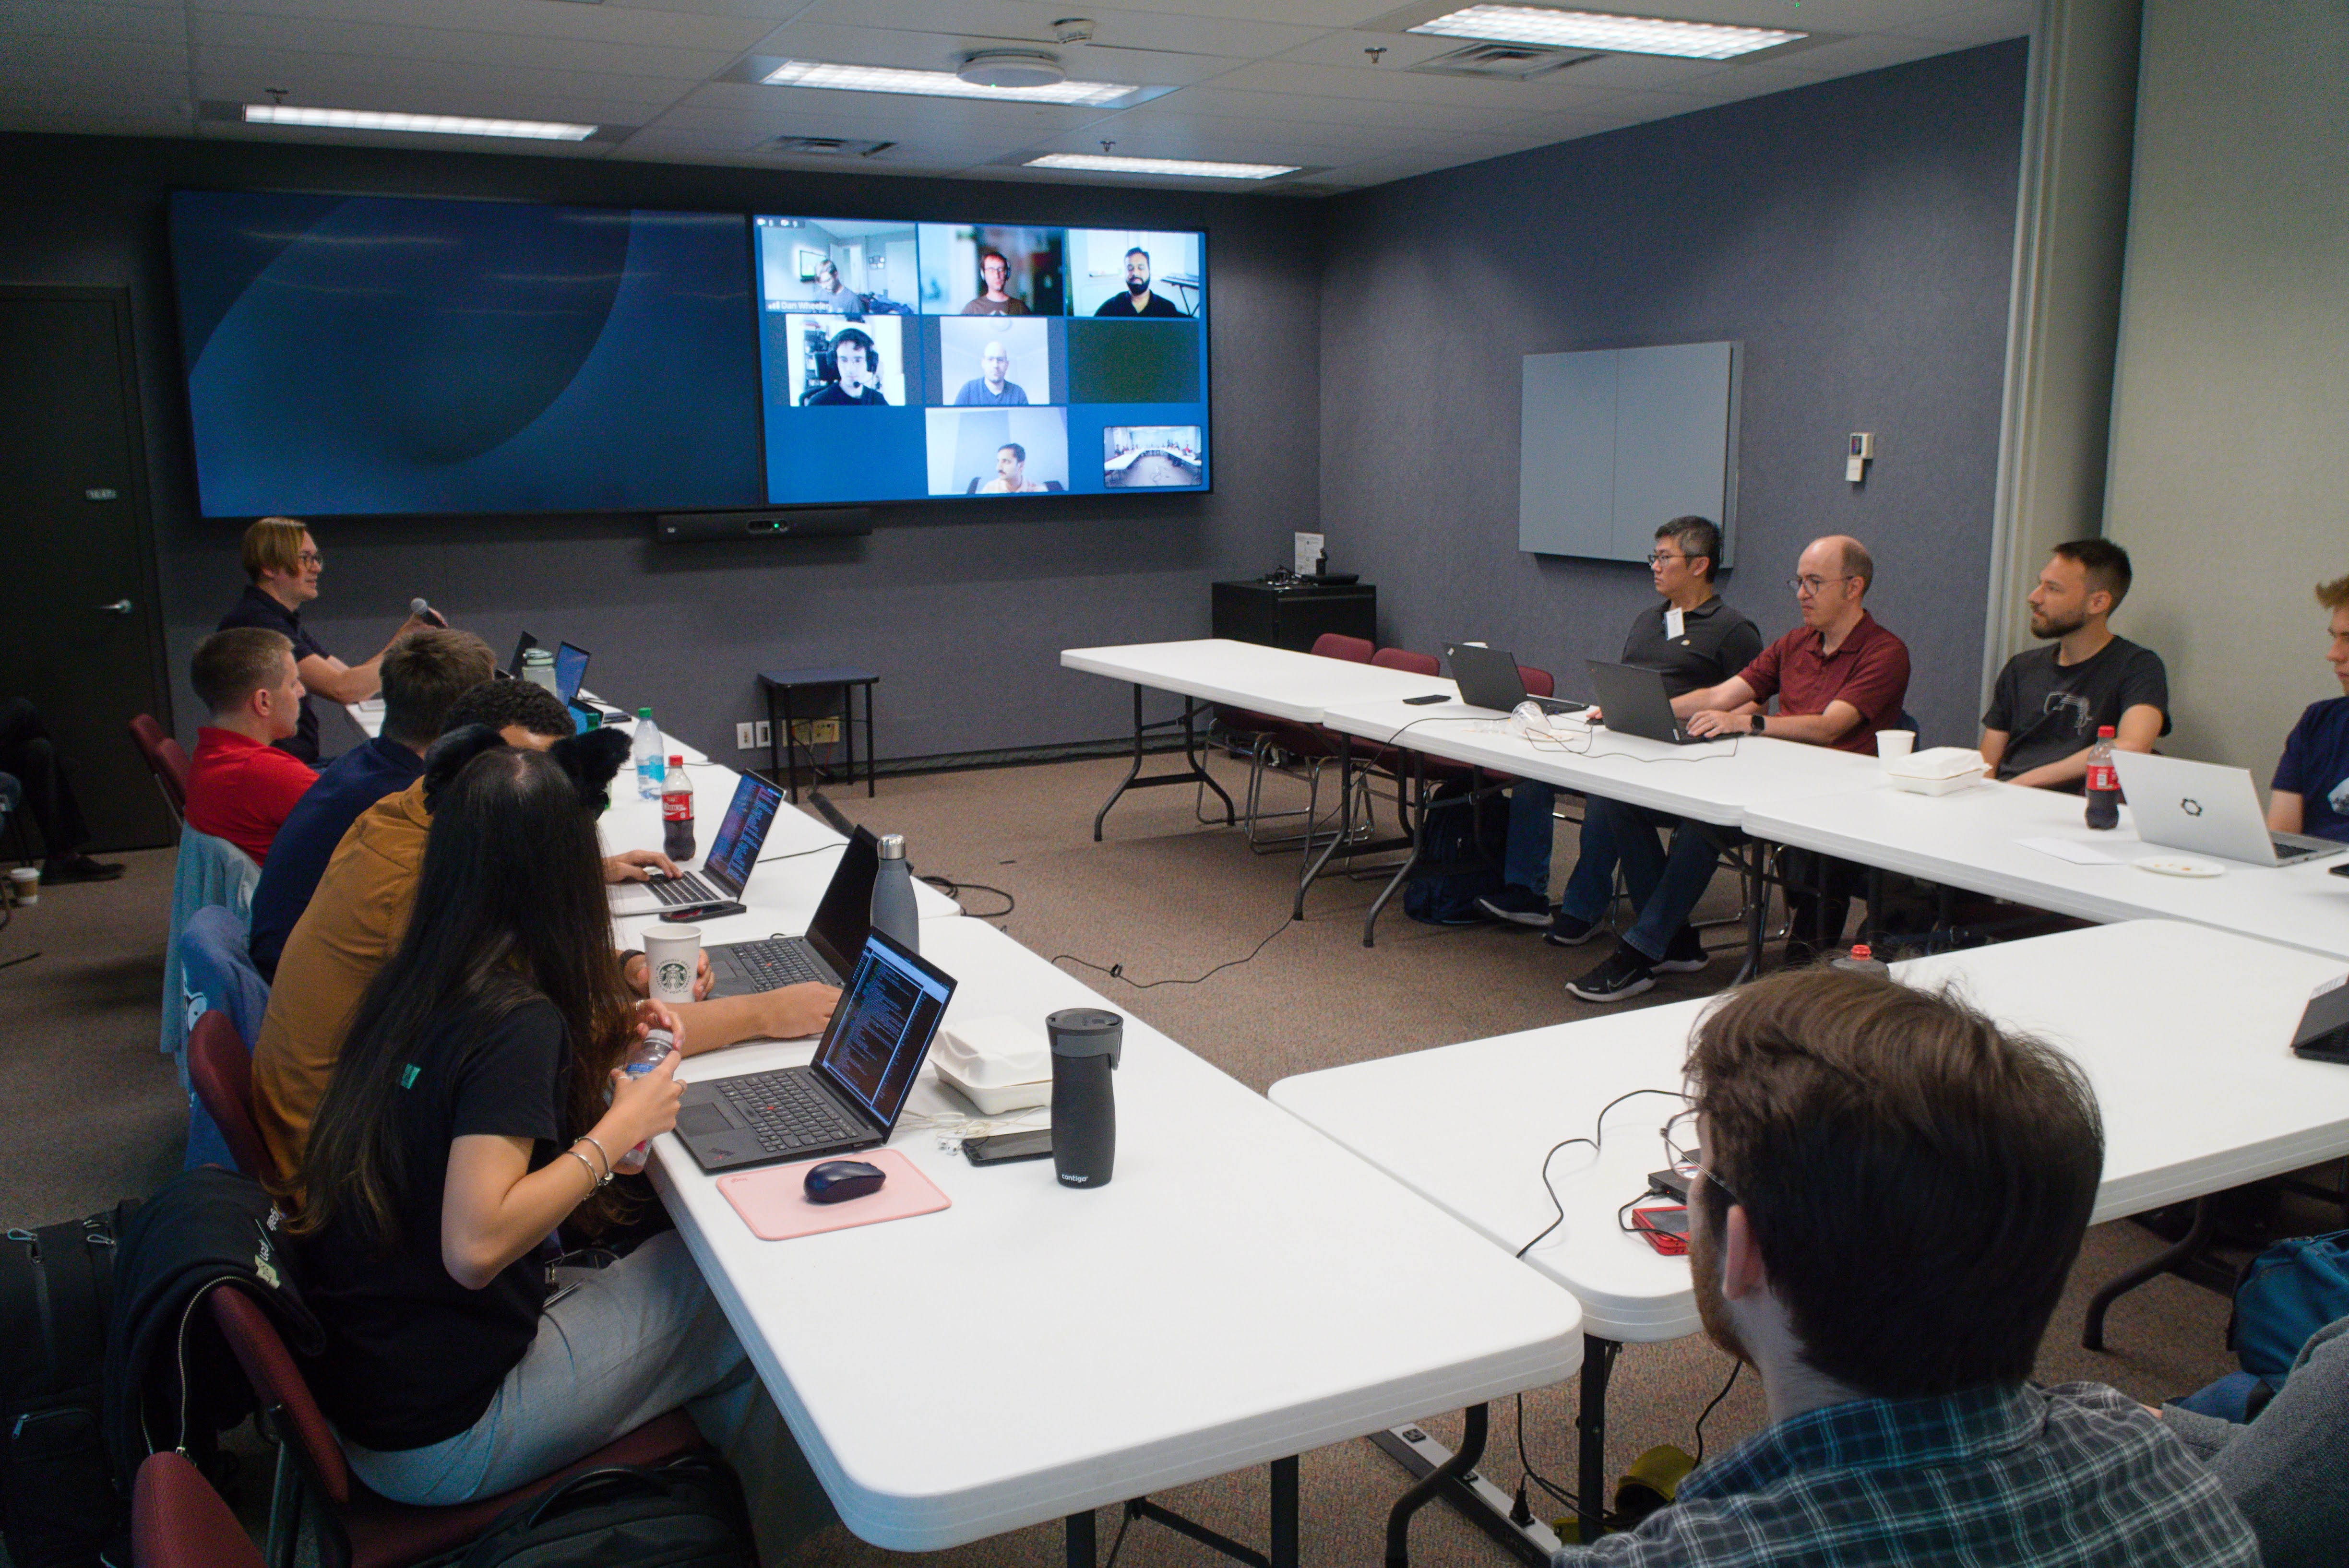
We discussed a lot of things, so this is just a summary of what I personally consider most important, not exhaustive notes on every topic. You can read the full notes on Harry’s blog.
Commit Failure Feedback
Currently, when the compositor tries to commit changes to KMS and that fails, it almost always just gets -EINVAL as the response, in other words “something doesn’t work”.
That’s not just annoying to debug, but can lead to the compositor spending a lot of time with useless atomic tests in some situations, like for example when KWin tries to turn displays on - I’ve seen cases where we spend multiple seconds testing every possible configuration of outputs (while the screen is frozen!), just for the actual problem to be unfixable without turning one of the displays or some feature off.
So we discussed how to improve on that, and the result was basically that we just want something - really anything is better than the current situation. We found that there’s a reserved field in the atomic ioctl, so we can even do this without introducing a completely new ioctl and just make that reserved field an optional pointer to another struct in which the kernel will write the feedback on what failed exactly. The most basic things we agreed to start with are to return
- some enum for common issues, like limited scanout/memory bandwidth, limited connector bandwidth, invalid API usage, things like that
- some string with possibly driver-specific information that the compositor can log, most important for debugging problems on user systems
- an optional array of KMS object IDs for what objects are related to the failure, for example for which connectors are hitting bandwidth limits
New Backlight API
The current backlight API on Linux is that the kernel exposes one or multiple backlight related files in sysfs, and userspace writes to one of them with root permissions. This requires heuristics for which one of the files is the correct one to use, this API can only control a single backlight, it can’t be synchronized to the image a compositor presents, the firmware may or may not do animations, it may be linear or not, the minimum brightness is completely undefined (sometimes it’s zero!), in summary it’s a total mess.
Three years ago there was a proposal to add a backlight API to KMS instead, which however stalled as the author had to work on other tasks. We discussed on what exactly we want from that API:
- a backlight property per connector
- optional additional information about the mapping of backlight values to actual luminance (min/max values, linear/nonlinear curve)
- (where possible) no animations in the firmware
- (where possible) atomically update the backlight with the rest of the atomic commit, so we can properly synchronize content and light level for HDR on SDR displays
Adaptive Backlight Management
ABM is a feature on some AMD hardware, which reduces backlight intensity to save power and at the same time increases contrast of colors on the screen to compensate for that reduced backlight level. This is a bit of a controversial feature - on one hand it improves battery life, but on the other it messes with the colors on your screen, which to some people just doesn’t look good but is really bad if you’re trying to do color critical work.
Currently this feature is controlled through sysfs, which means power management daemons can mess up your colors without you being aware. Additionally it would be nice to automatically turn off the feature when you’re profiling your screen with a colorimeter, and as the feature reduces the backlight, also in very bright environments to get that extra brightness… To improve on that situation, we’ll get a KMS property to control the feature from the compositor side. I intend to make it off by default in Plasma, but users that want additional battery life will be able to easily opt into it in the display settings.
Autotests
We had three discussions about automatic tests - one about measuring power usage, one about testing KMS drivers, and one about testing compositors.
For power usage tests, we didn’t really agree on the best way to get a standardized testing framework, but we found some possible approaches that can work now - tests can be automated to some degree by using compositor-specific APIs, the remote desktop portal or OpenQA.
For testing KMS drivers, we talked a bit about how the IGT test suite is useful for testing specific cases, but it doesn’t really cover all the same bits that real world compositors use. The tests mostly use features in a somewhat self-contained manner, are mostly written by kernel developers, and thus test how they expect their APIs to be used, which is sometimes different from how compositors actually use it. A possible solution for that is for compositor developers to write automatic tests using their compositor, which run directly on KMS and execute some pre-programmed sequence of events, possibly requiring KMS features like color pipelines or overlay planes to be used successfully for the test to pass.
We still have to figure out the details, but if we can get compositors in DRM CI, that could help improve stability of both compositors and drivers.
Last but not least, for testing compositor’s KMS usage, we can’t really rely on our manual testing with actual hardware, and DRM CI tests will still be somewhat limited. Some compositors already use VKMS, a virtual KMS driver, for their automatic tests, and there are some pending kernel changes for configuring it to do a lot more than the rather simple and fixed setup we had so far.
With the new API, we’ll be able to configure it to have nearly arbitrary amounts of planes, add and remove connectors and even entire GPUs! I still have to wire up a KWin autotest for this, but it will be very useful both in development and to prevent regressions in releases.
Color and HDR
We of course also spent a lot of time talking about color management and HDR, and started that off with the current state of implementations. Things are looking really good!
In terms of Wayland protocols, all the important bits are in, namely the color management and color representation protocols. There may still be some smaller changes to the protocols, maybe some additions here and there, but the most important parts are done and used in practice.
If you’ve read my previous blog posts, you might know that KWin’s color management story is in a really good state, but other compositors are getting there as well. While Mutter is still lacking non-HDR color management bits, it now has basic HDR support, the Cosmic compositor has some preparations for it going on under the hood, and wlroots has basic HDR support as well.
On the application side, lots of applications are working on supporting it, like Qt, GTK, Godot and Firefox, or support it already, like Mesa, mpv and gamescope. Notably, Blender even has currently Wayland-exclusive HDR support!
We had a Q&A and some discussions with Charles Poynton and Keith Lee. For details you can look at the notes, but the most important thing I took from it was that we should adapt visuals to the user’s viewing environment based on their absolute luminance too, not just the relative light levels. How to actually do that adjustment in practice isn’t entirely figured out yet though, so that will be an interesting problem to solve.
We also talked a bit about the drm color pipeline API. I won’t go into details about this one either, but I’ll talk more about it my next blog post. TL;DR though is that this API allows us to use many more color operations that GPUs are capable of, to avoid compositing with shaders in more situations. I have a KWin implementation that proves the API works and by now the API and driver implementations basically just have to be merged into the kernel.
My “Favorite”: Pageflip Timeouts
Judging by how often I come across this issue in bug triage, if you’re reading this, chances aren’t too terrible that you’ve heard of this one already, possibly even seen it yourself in the form of
kwin_wayland_drm: Pageflip timed out! This is a bug in the amdgpu kernel driver
kwin_wayland_drm: Please report this at https://gitlab.freedesktop.org/drm/amd/-/issues
kwin_wayland_drm: With the output of 'sudo dmesg' and 'journalctl --user-unit plasma-kwin_wayland --boot 0'
in your own system logs at some point. To be clear, this is just an example and it does not only affect amdgpu. I’ve seen the same with NVidia and Intel too, but as amdgpu’s GPU resets have been a lot less reliable in the past, it’s been a bigger issue for them.
Basically, pageflip timeouts are when the compositor does an atomic commit through KMS, and then waits for that to complete… forever. When this happens, the kernel literally doesn’t allow the compositor to present to the screen anymore, so the screen is completely frozen forever, which is very bad, to state the obvious.
Fixing all the individual causes of the problem hasn’t really worked out so well, and this is a bad enough situation that there should be a way out when it does happen. We discussed how to do this, and I’m happy to report that we figured out a way forward:
- we need a new callback in KMS that tells compositors when a pageflip failed and will never arrive
- drivers need to support resetting the display-driver bits of the GPU to recover it
- if the driver entirely fails to recover in the absolute worst case, it should send a device wedged event, which tells the compositor it should try to reload the entire driver / device
Scheduling Atomic Commits
When presenting images to a display, compositors try to get the absolute lowest possible latency achievable, without dropping frames of course. This is tricky enough with full information about everything, but it’s even worse if information is missing.
Currently, KWin just tries to commit 1.5ms before vblank start of a refresh cycle. This number was figured out experimentally - on a lot of hardware, we could easily reduce latency by 500µs-1ms without any issues, and on some other hardware we’d even need more latency to never drop frames! The latter problem I kind of already fixed by measuring how long each commit takes, but that just measures the CPU time, and not when the hardware is actually done programming the next frame. We also don’t know the deadline, on lots of hardware it is the start of vblank, but with some drivers it may be later or earlier.
We discussed how this could be solved, and concluded that we want
- a callback that gives us a timestamp for when the hardware finished programming the last commit
- information on when the deadline is, relative to the start of vblank
Variable Refresh Rate for the desktop
We want to use VRR to save power, not just to reduce stutter in games. However, for that we really want some additional APIs as well:
- the compositor should be able to set a min and max refresh rate, for example for low framerate compensation (LFC) and for flicker reduction
- the compositor should be able to do LFC instead of the driver having heuristics for that - so we need to be able to turn driver-side LFC off
- on the Wayland side, it would be nice for video players to be able to report their preferred refresh rate, so we can set the display to a multiple of the video. Should be a really simple Wayland protocol, in case anyone wants to do it before I get around to it ;)
- also on the Wayland side, a maximum desired refresh rate for games could be useful
Slow atomic commits
Amdgpu has some issues with atomic test commits being very slow, more specifically when it comes to significantly changing overlay plane state - on my desktop PC, enabling and resizing overlay planes regularly makes the test take tens of milliseconds. On my laptop it’s a lot faster for some reason, where it’s usually not noticeable, but even there a lot of tests take 1ms or more. We may need to do multiple atomic tests per frame, especially when you move the cursor… so that’s still quite bad!
We can work around the problem in the compositor to some degree, by avoiding frequent changes to the overlay plane state - we’ll certainly try to make it good enough to leave the feature on by default. Either way though, someone ‘just’ has to optimize this on the driver side, otherwise you might still see some stutter when enabling or disabling overlay planes.
Actual Hacking
It wouldn’t be a proper hackfest without any hacking of course! Before the event, I was working on overlay plane support for a while, and added color pipeline support on top of my WIP code for that. In terms of KMS offloading, the only big feature that was still missing is underlay support… so I added that at the hackfest. Turns out, if you already have complete overlay plane support, adding underlays to the mix isn’t actually all that difficult.
The code still need some cleaning up and not all of it is merged yet, but on my laptop it’s now basically a challenge to get KWin to not put videos and games on hardware planes, and the result is amazing efficiency for video playback and improved latency and performance for gaming in windowed mode. This is a larger topic though and deserves its own blog post soon™, so I won’t explain how it works here.
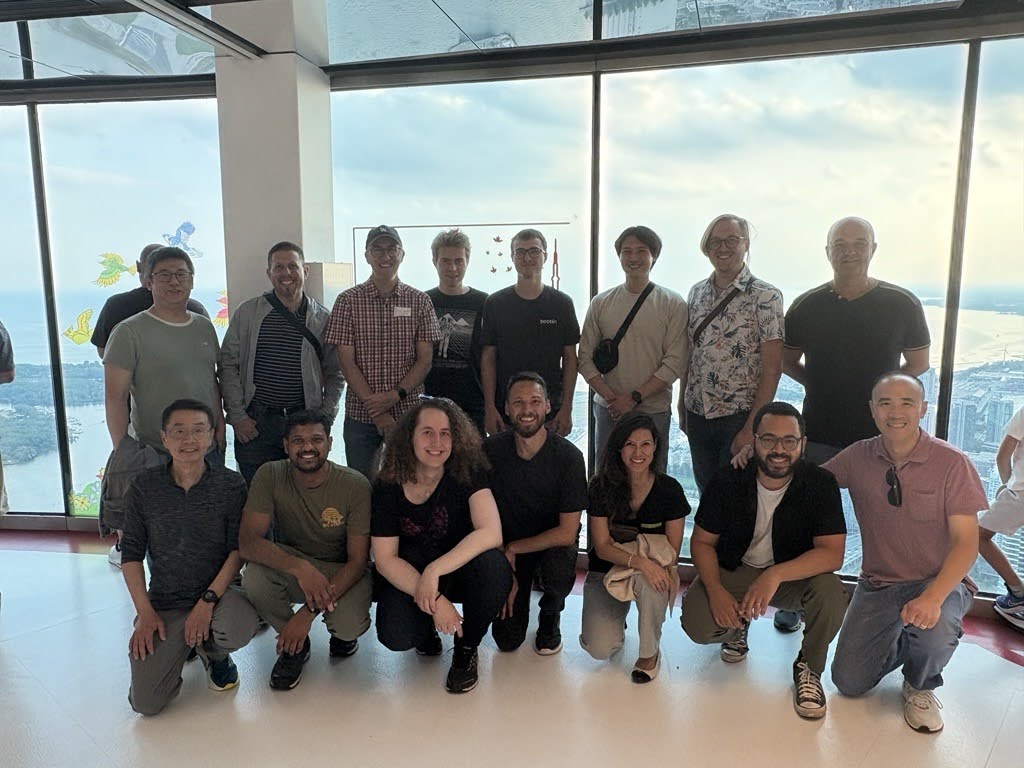
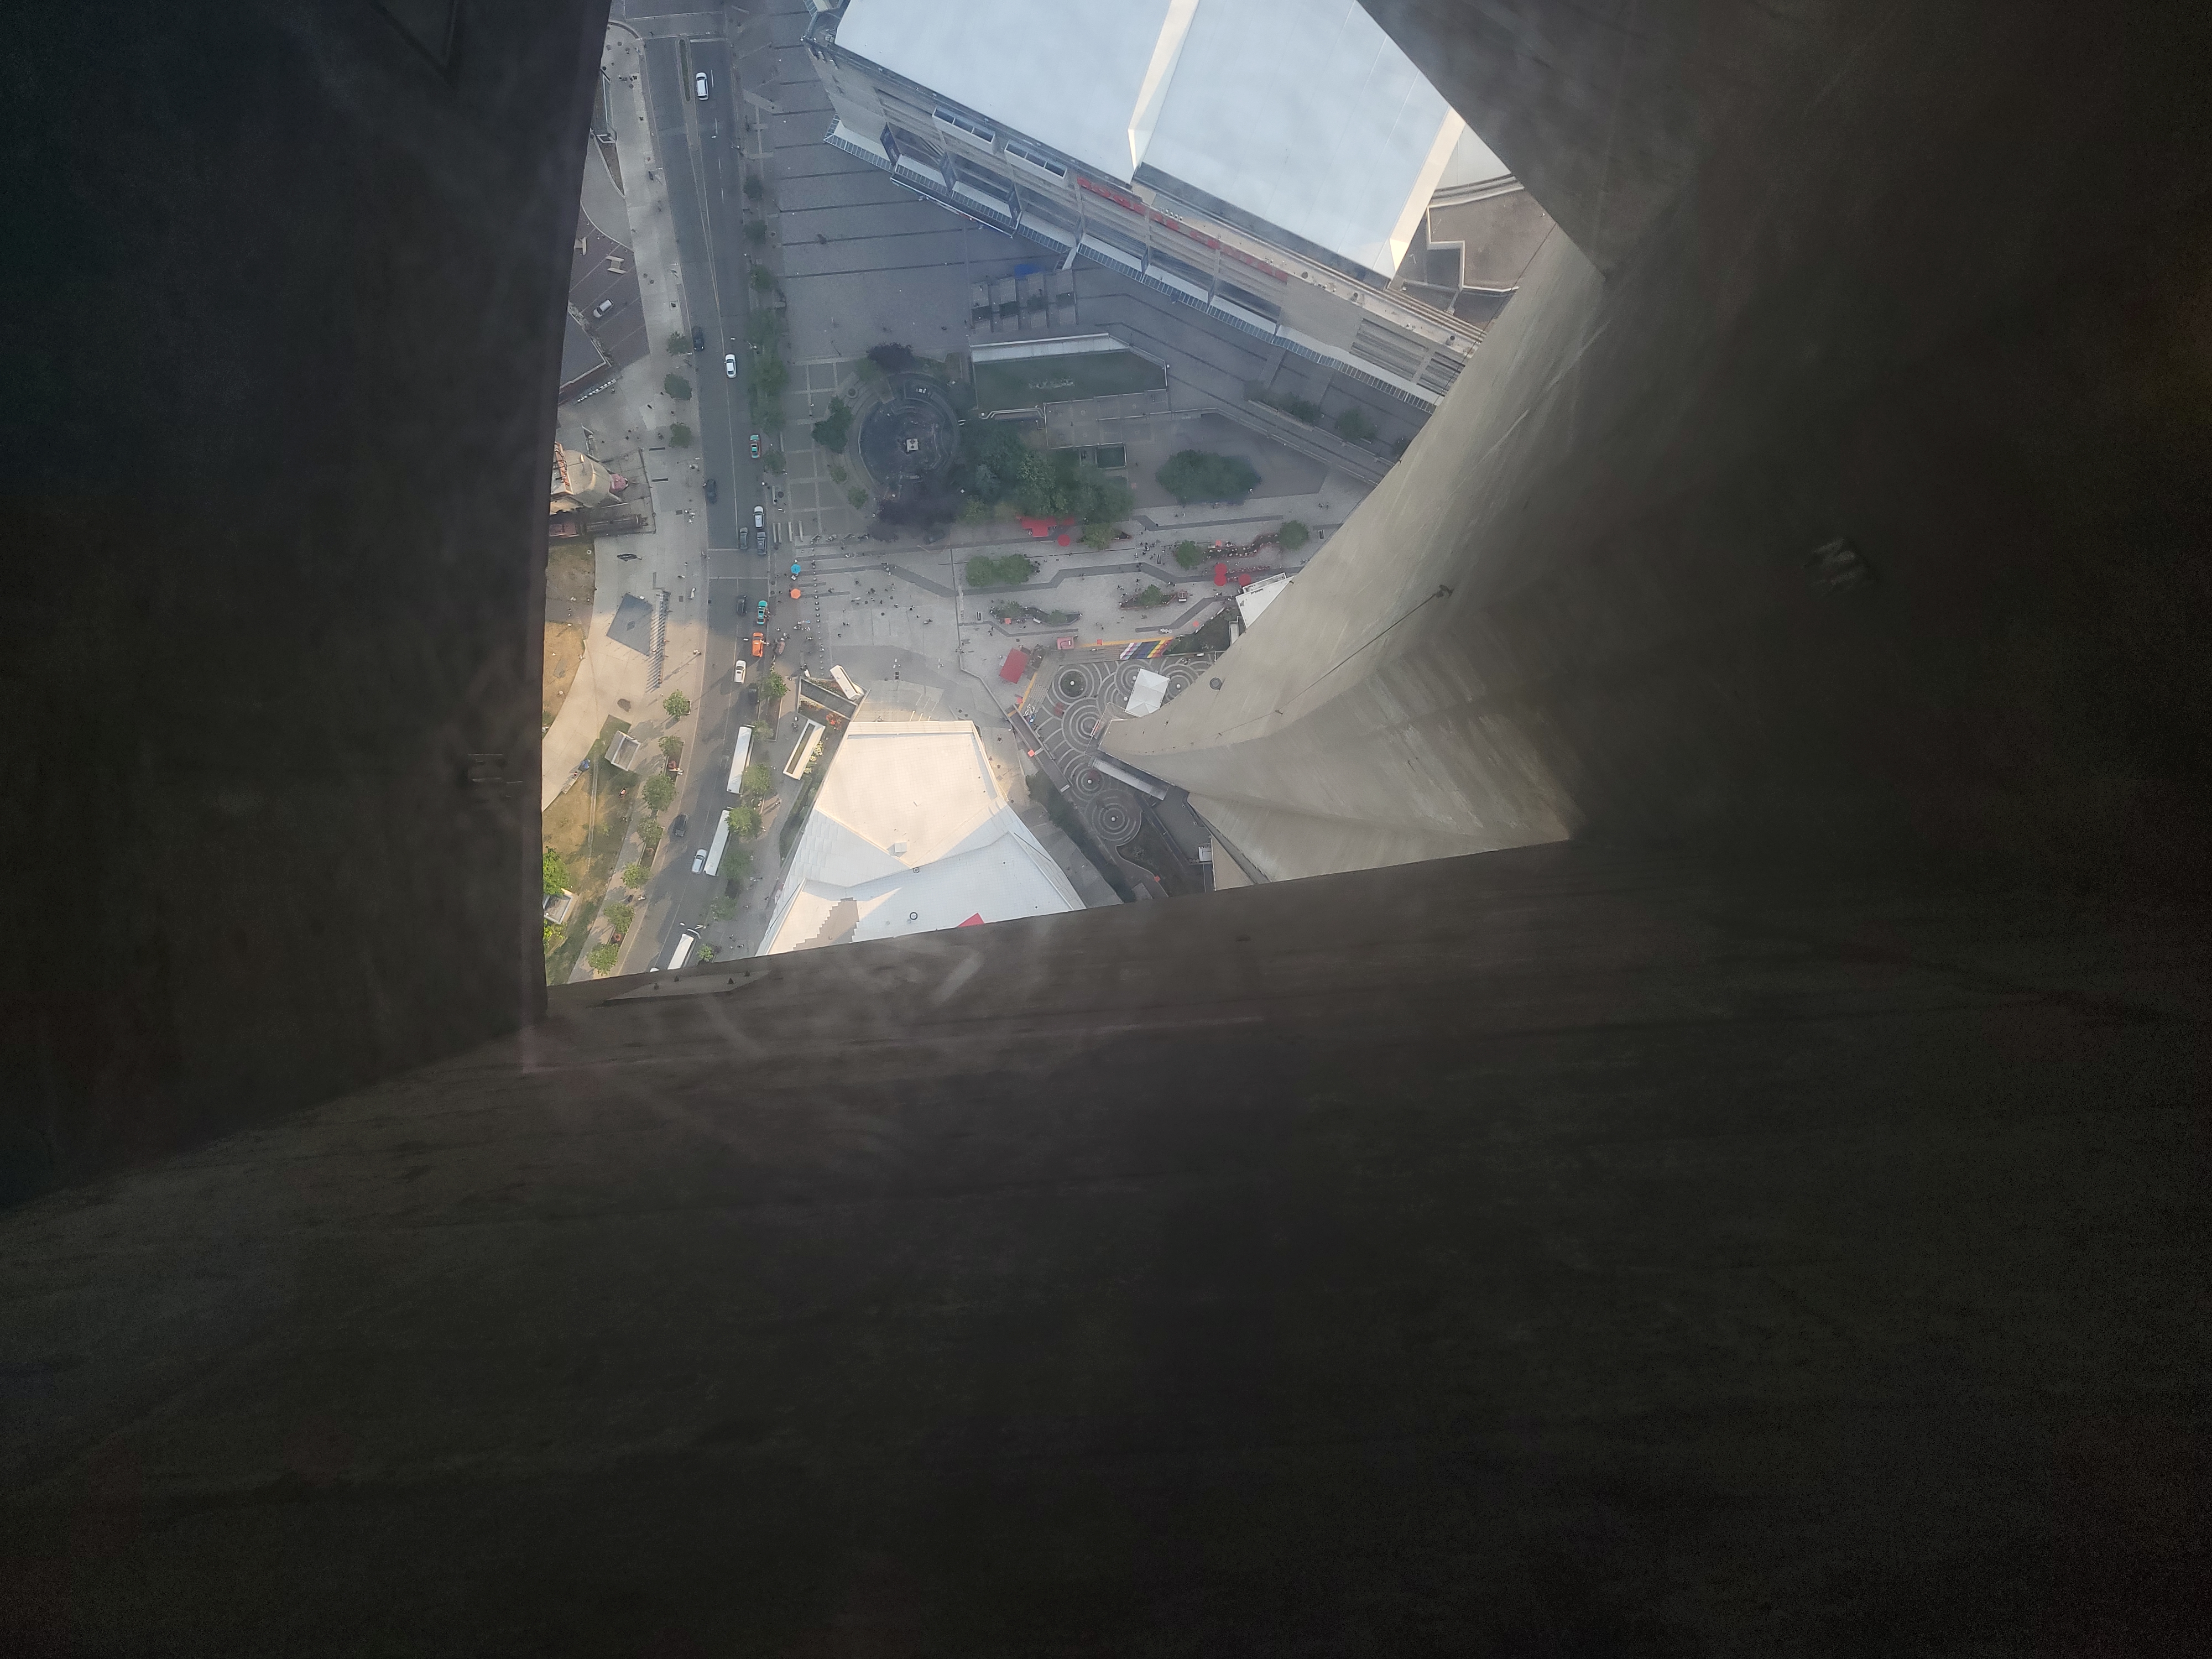
Tourist-y things
AMD invited us to go up the CN tower. It was a little bit foggy, but we still had a good view of the city:


I also visited Niagara Falls. It was a sight to behold!


Conclusion
Thanks again to AMD for hosting the event, it was really fun. There might not be another display hackfest next year, as most of the big topics are finally nearing conclusions, but I hope to see many of the other hackfest participants again at other events :)
 alex1701c

 @rossr:matrix.org


 cullmann
