A bit like Nate’s “5 minutes bugs” initiative, I’m announcing a new initiative to
improve our applications ecosystem. The goal is to improve the quality and
quantity of KDE applications and the number of application contributors. For
anybody who knows me, it is not that surprising. Inside KDE, I have been mainly
involved in apps for many years. I worked on all areas, from development
(maintaining or co-maintaining many apps like NeoChat, Kontrast, MarkNote,
Tokodon, and Arianna, and contributing to numerous other apps, but also design,
promotion, websites (e.g., apps.kde.org) and even a bit of packaging (Flatpak
and to a lesser extent Windows). Hopefully, making this a bit more public and
making this an initiative with a bit more coordination will encourage more
people to help :)
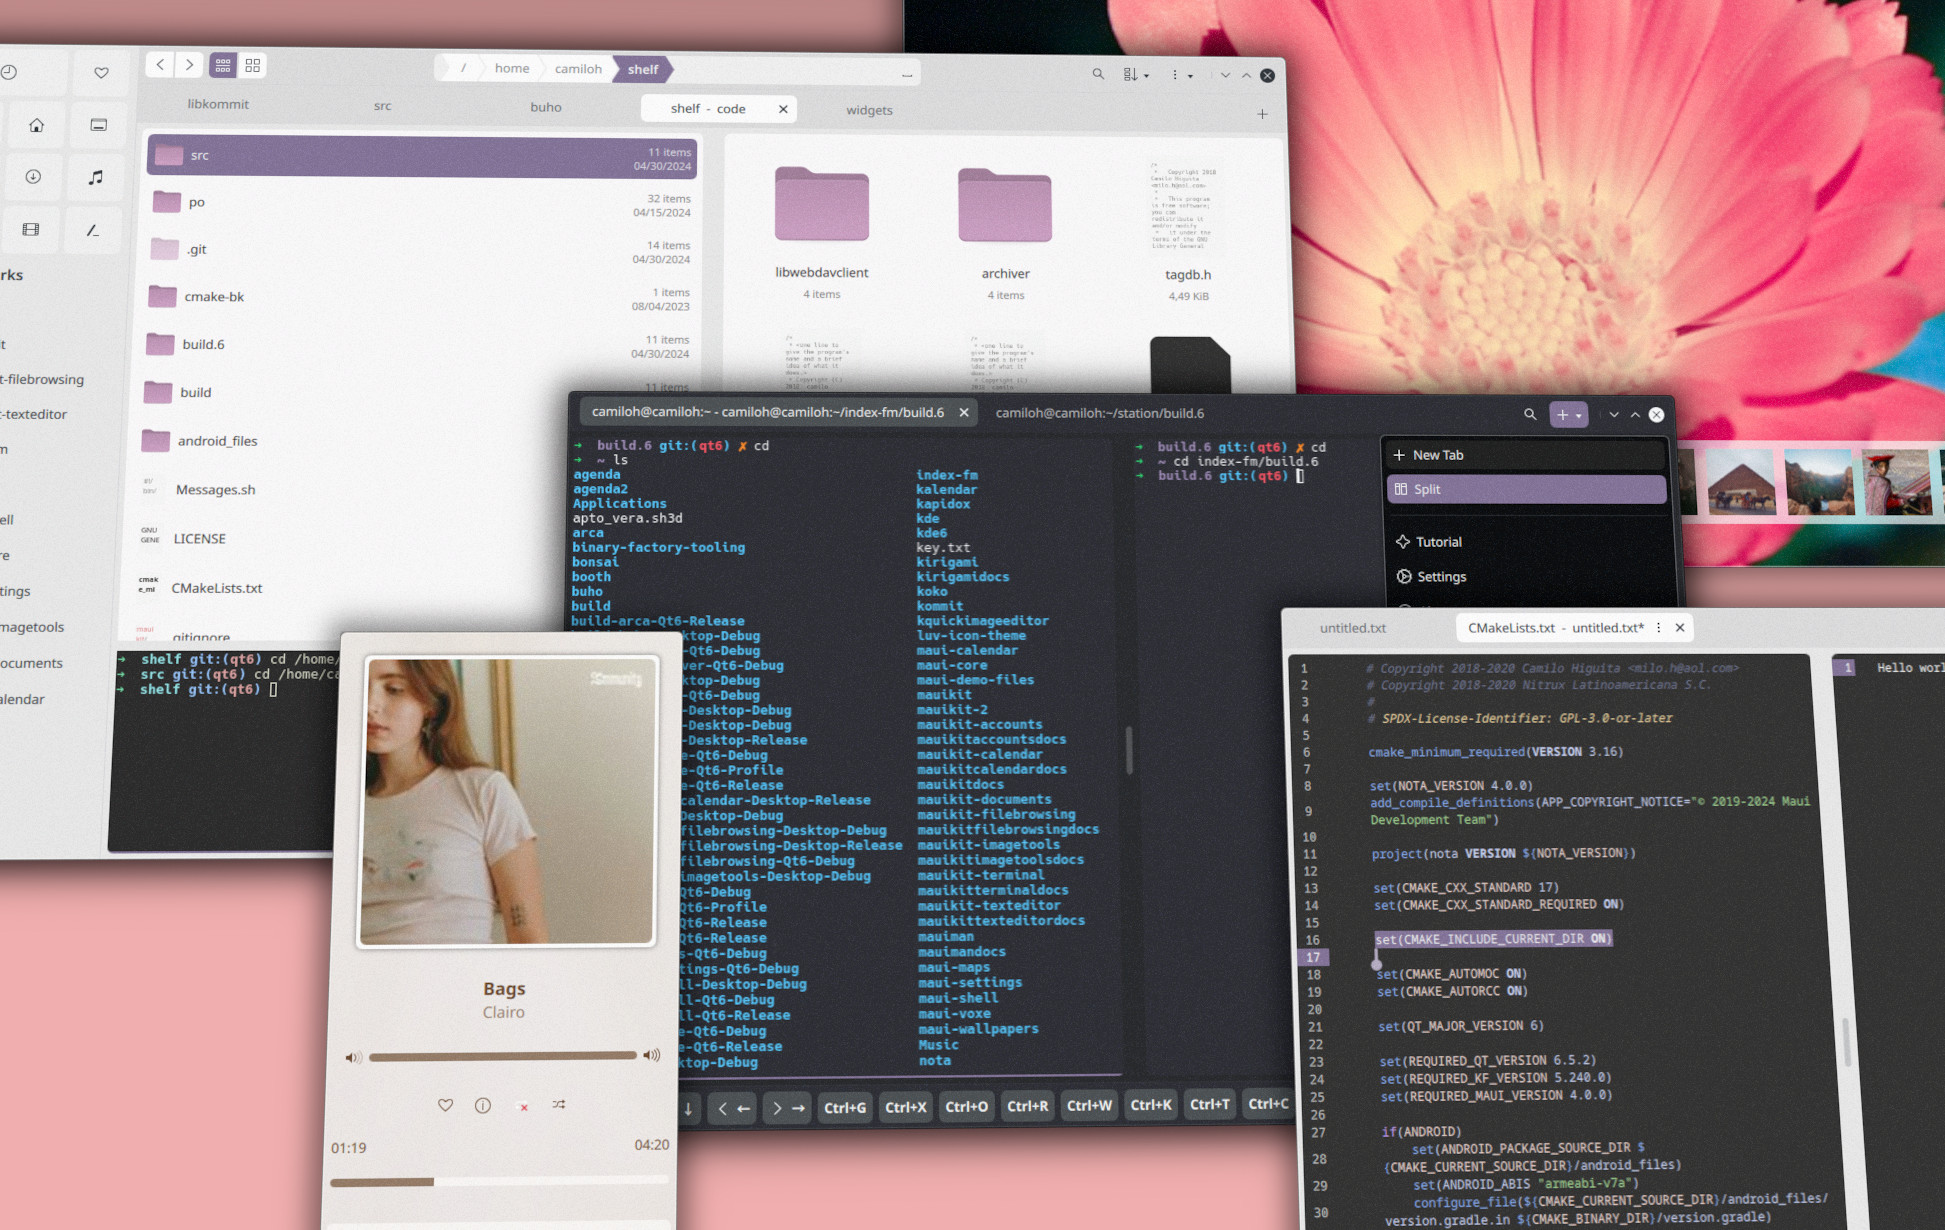
The good thing is that we don’t start from zero. In almost 30 years, KDE
developers have developed over 200 applications, covering many use cases, from
high-quality applications for artists (Krita,
Kdenlive, Glaxnimate) to
educational and office apps. We also have:
- tons of shared libraries that make developing new apps more straightforward
and consistent
- an increasing amount of technical documentation on develop.kde.org/docs
(Thanks to Thiago, Claudio, and everyone else who contributed to it)
- a nice auto-generated website that lists all of these apps (apps.kde.org)
- a whole CI/CD system that makes it easy to test and deploy our apps to
Flatpak, Windows, macOS, Android and FreeBSD
- tooling for the user documentation and the translations of apps
- an opt-in service to ensure that apps are regularly released (KDE Gear)
- tools like Clazy and
Heaptrack to improve the code quality and
performance of KDE apps
- and a lot more
However there are prominent areas where we should improve our story; otherwise,
we would already have a desktop and mobile market share of 90% and archived
world domination.
More concrete here is a non-exclusive list of high-level tasks to achieve this
goal.
Closing the Feature Gap
We need to identify missing apps compared to other app ecosystems (Windows,
macOS, Android, iOS, and GNOME) and see where we could, with little effort,
improve our app offering. While creating a KDE 3D editor like Blender is
unrealistic, we could already go quite far by creating small apps that wrap up
existing CLI tools or KDE libraries. To give some examples, I saw a few days
ago that GNOME has a new document converter app called Morphosis. It’s a simple
wrapper around Pandoc, and we could either do the same and wrap Pandoc or use
Calligra’s rich collection of filters. Another example is a translation
application; we already have a library in KTextAddons that does translations
with many backends (offline and online), and the library even provides a
ready-to-use widget. We could create a simple wrapper around KTextAddons, and
boom; we get a new high-quality application with minimal maintenance effort.
Improving our Existing Applications
Aside from creating new applications, improving and reviving some of our
applications is also highly valued. A lot of work has already been put into
these applications, and by cleaning up their UI and bringing them up to our
latest standard, we could go quite far. Some examples: Calligra (a complete
office suite including presentation tool, spreadsheet, presentation, and vector
editor), KTechLab (an IDE for microcontrollers and electronics), KWave (a sound
editor), Parley (a vocabulary trainer).
Usually for every release, I try to have one or two apps, where I focus some time
on it. In the past, I worked for example on KWordQuiz, KAlgebra, Koko. I
recently ported Calligra to Qt6, so now one of my side quests is to figure out a
way to have a modern QtQuick UI while using the current QPainter-based renderer
using the new Window embedding in Qt 6.7
Better Marketting for our Applications
We need not only more apps but also better promotion. The apps.kde.org website
has already helped a lot by listing all KDE apps, and more recently, we also
created a lot of kde.org/for websites that list some KDE apps for some niches
that might be interested in some of our apps. Further ideas on improving the
marketing effort would be to promote new and lesser-known applications on
social media regularly. But also publish a “This week in KDE apps” blog post
that would cover all the news relating to first and third-party apps (e.g., new
apps, updates, new app relevant APIs), and this would be community maintained
with a process similar to this week in Matrix/GNOME/… where people write in a
Matrix channel and a bot compile the relevant posts togethers. We need to make
the progress on our apps more visible.
In addition to promoting first-party apps, we must figure out how to better
promote third-party apps and extensions that use KDE Frameworks and integrate
well with Plasma. Here, we could get some inspiration from the GNOME Circle
initiative.
Make it More Accessible to Start a New Project
Documentation is essential in making it easy for newcomers to start projects.
In the past few years, we have invested a lot of effort into that. I started
develop.kde.org/docs, moved and updated a lot of old documentation from
techbase.kde.org, and mentored a Season of KDE project to write a Kirigami
tutorial. Nowadays, Thiago is fabulously leading the documentation effort. It
is going in the right direction.
Aside from pure documentation, I’m impressed by the quality of the GNOME
Workbench app and the number of examples it contains. I started a simple
prototype of the same idea with Kirigami a while ago, which I need to finish
(help is welcome 🤗). In the same vein, KAppTemplate and our default templates
need some love.
Aside from documentation, we should create a support channel where people can
ask for help with their applications. We could also make it more evident that
developers are encouraged to ask on kde-devel and the VDG channel for help with
their apps, even if their apps are not first-party KDE applications.
Making it More Attractive to Write KDE Applications
Writing applications using KDE Frameworks is already quite attractive, but we
should communicate more on the advantage of starting an application using the
KDE Frameworks more.
Firstly, by leveraging an almost 30-year-old ecosystem, app developers can
reuse many libraries for their apps and find examples of how to implement the
most common workflow in existing code. KDE Frameworks are also extremely
cross-platform, and creating a KDE application doesn’t restrict you to only
Plasma. Krita and Kleopatra have famously had millions of Windows
installations. We also have Craft, which helps develop and deploy Qt
applications on Windows, macOS and Android.
For first-party applications, our self-hosted Gitlab allows app developers to
have full CI/CD pipelines for many platforms and even automatically publish
them to the Windows Store. We also have infrastructure for translations, user
documentation, wikis, code search, file sharing (Nextcloud), chat (Matrix), OSM
hosting, and more. There is also a human factor; by making an app a first-party
KDE app, the app received a lot of help from experimented KDE developers as
part of the KDE review process and also during the entire life of the app. And
we have a promo team that helps promote your app as much as possible.
For third-party applications, by being LGPL, we give users of KDE Frameworks a
lot of freedom in licensing and monetizing their applications as long as they
contribute their changes back to the library they use.
Not Limiting Us to C++
In terms of cross-language support, there are also two independent efforts to
make KDE Frameworks accessible to more programming languages: one for Python by
alcarazzam, which is part of a GSoC
project I am mentoring, and another one for
Rust by mystchonky.
These efforts should make it easier for app developers to write KDE
applications even if they are unfamiliar with C++ or prefer not to use it.
We now reached a state where most of our applications are automatically
published on Flathub. This is not the case yet for Windows, Apple and Android.
Recently we gained the ability to publish directly from the gitlab CI to the
Microsoft Store, but we don’t make use of that yet in most of our apps. So
let’s change that!
Getting Involved
I started creating a board of issues on gitlab
and filled it with various applications ideas from a
discourse thread. Feel free
to take one of the open task or suggests a new app.
Additionally I also created a
Matrix room
to have a room for conversation.


 Nightrose
 @ivan:kde.org


 GSoC
GSoC


 soumyatheman